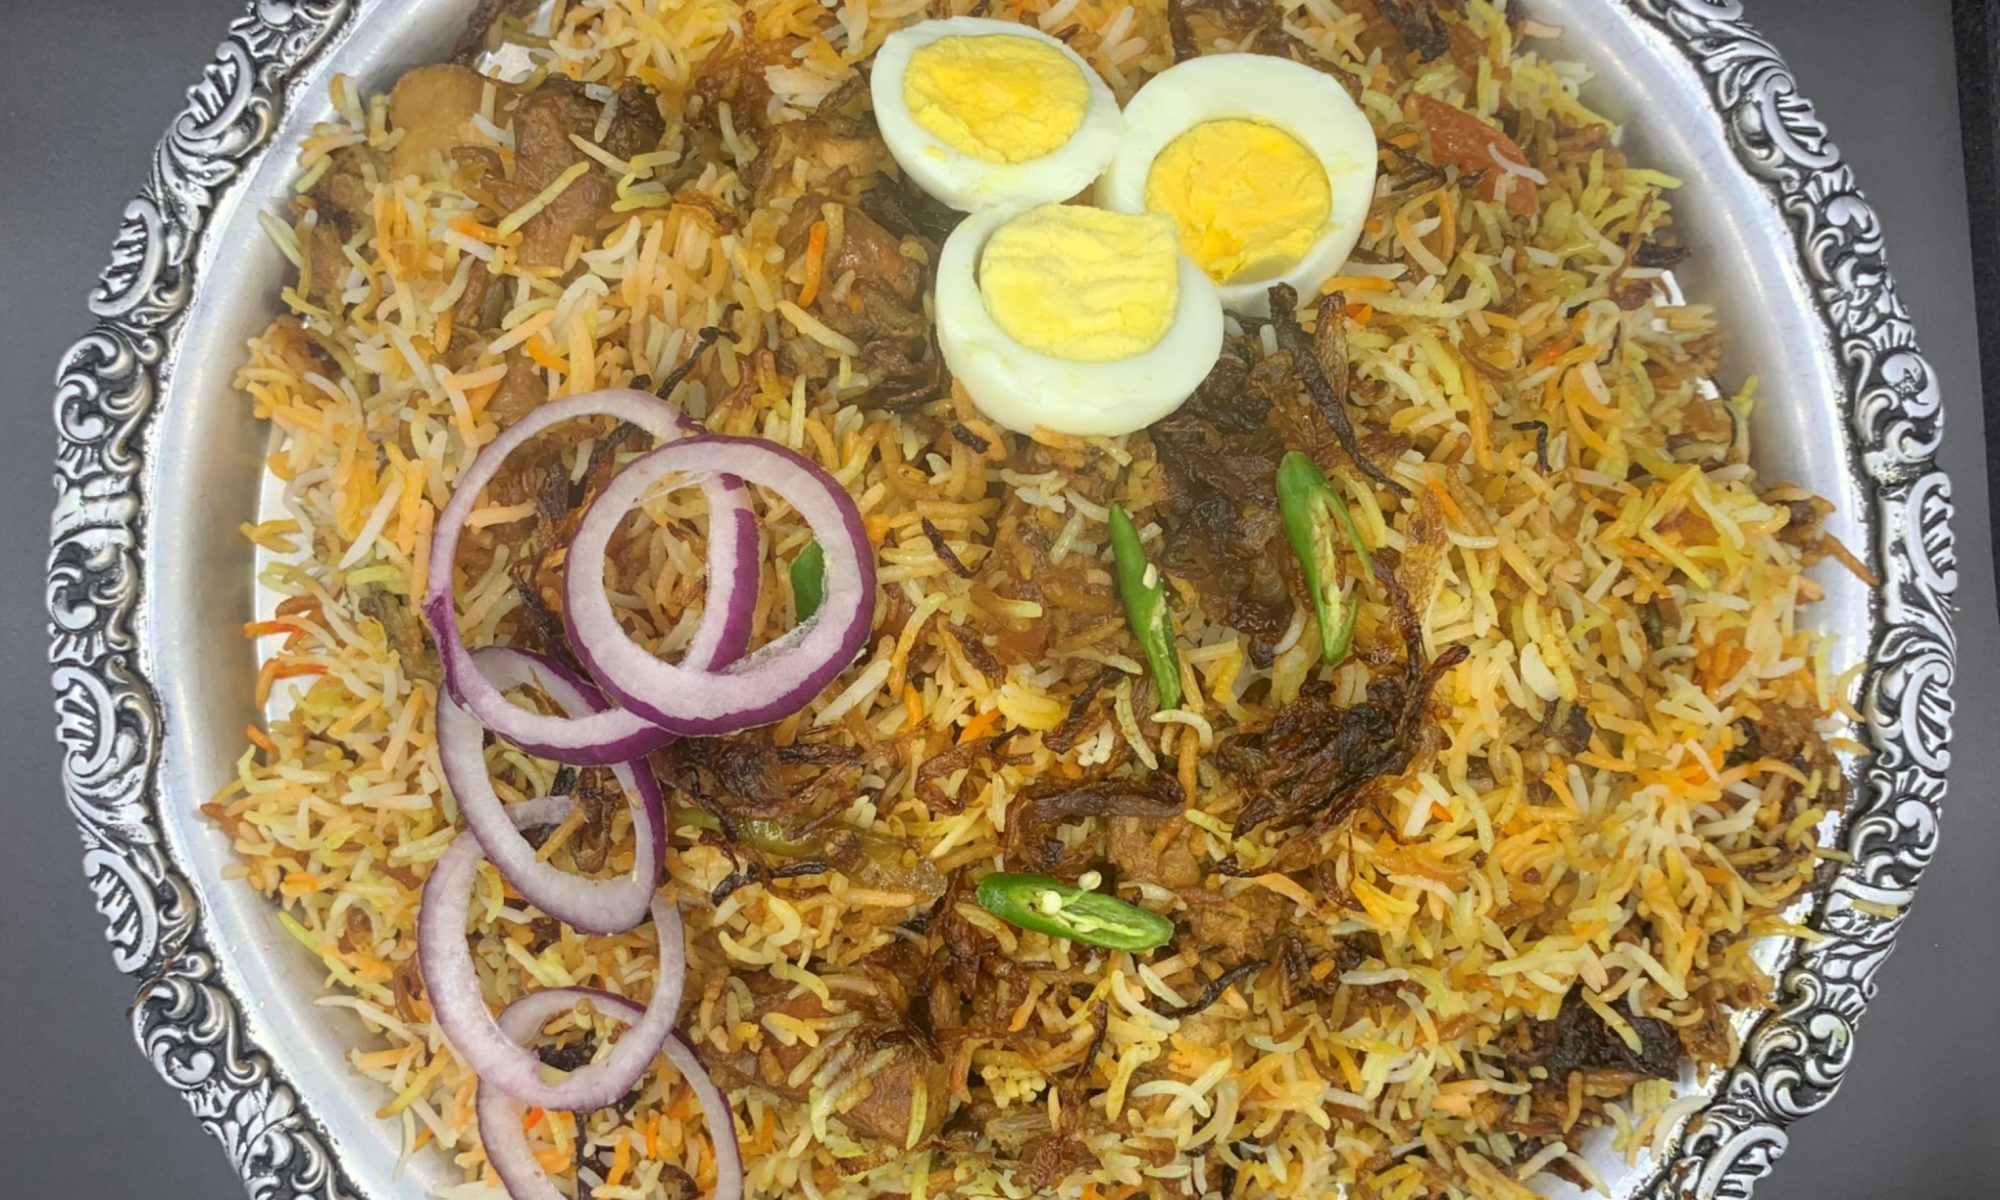
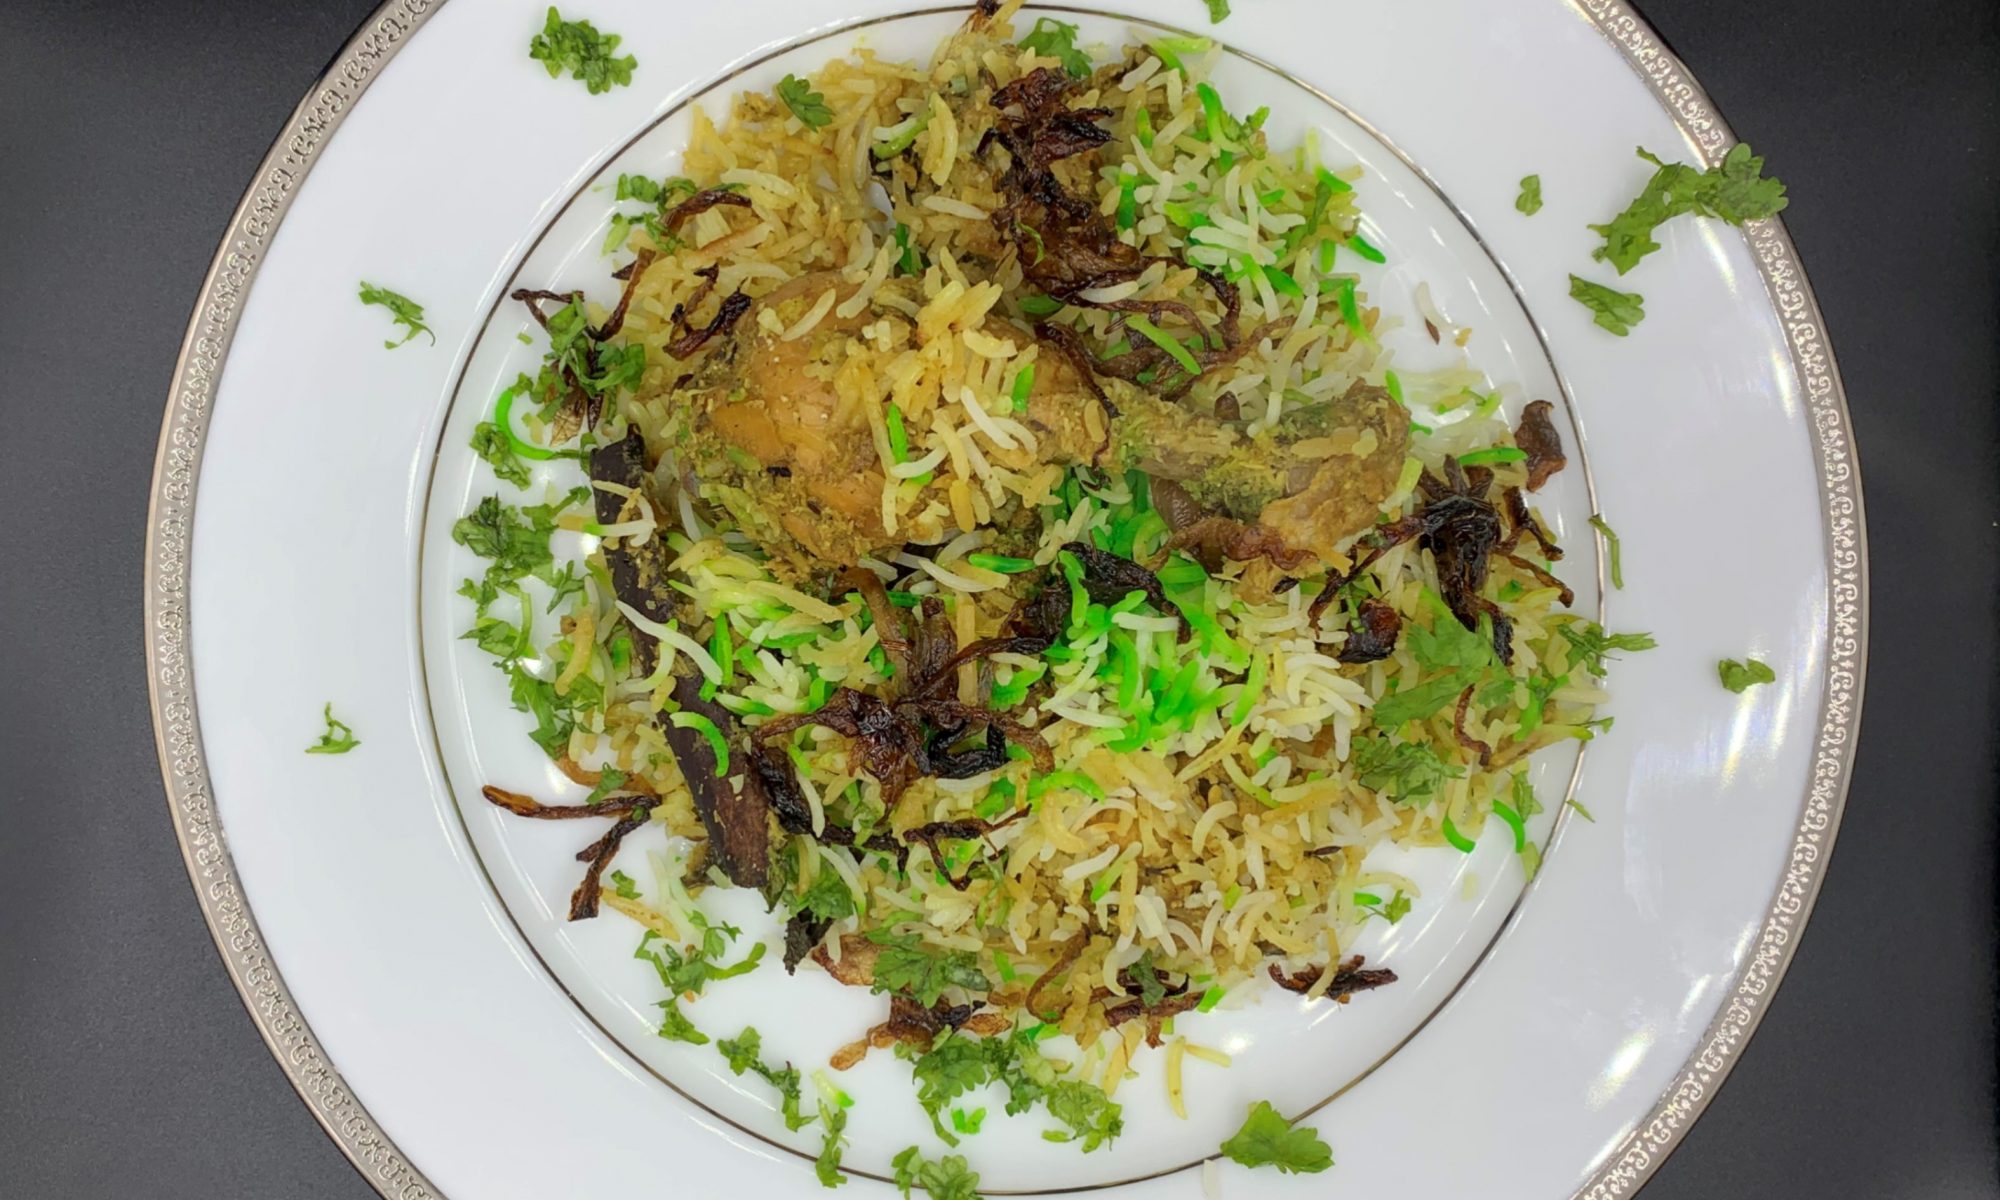
Hyderabadi Biryani: A Legacy of Royal Flavors
Hyderabad is a paradise for biryani lovers, offering countless varieties, each with its own unique personality, flavor profile, and cooking style. Over time, I’ve explored and recreated many different styles of Hyderabadi biryanis — and what always amazes me is how no two are ever truly the same.
Each version tells a story.
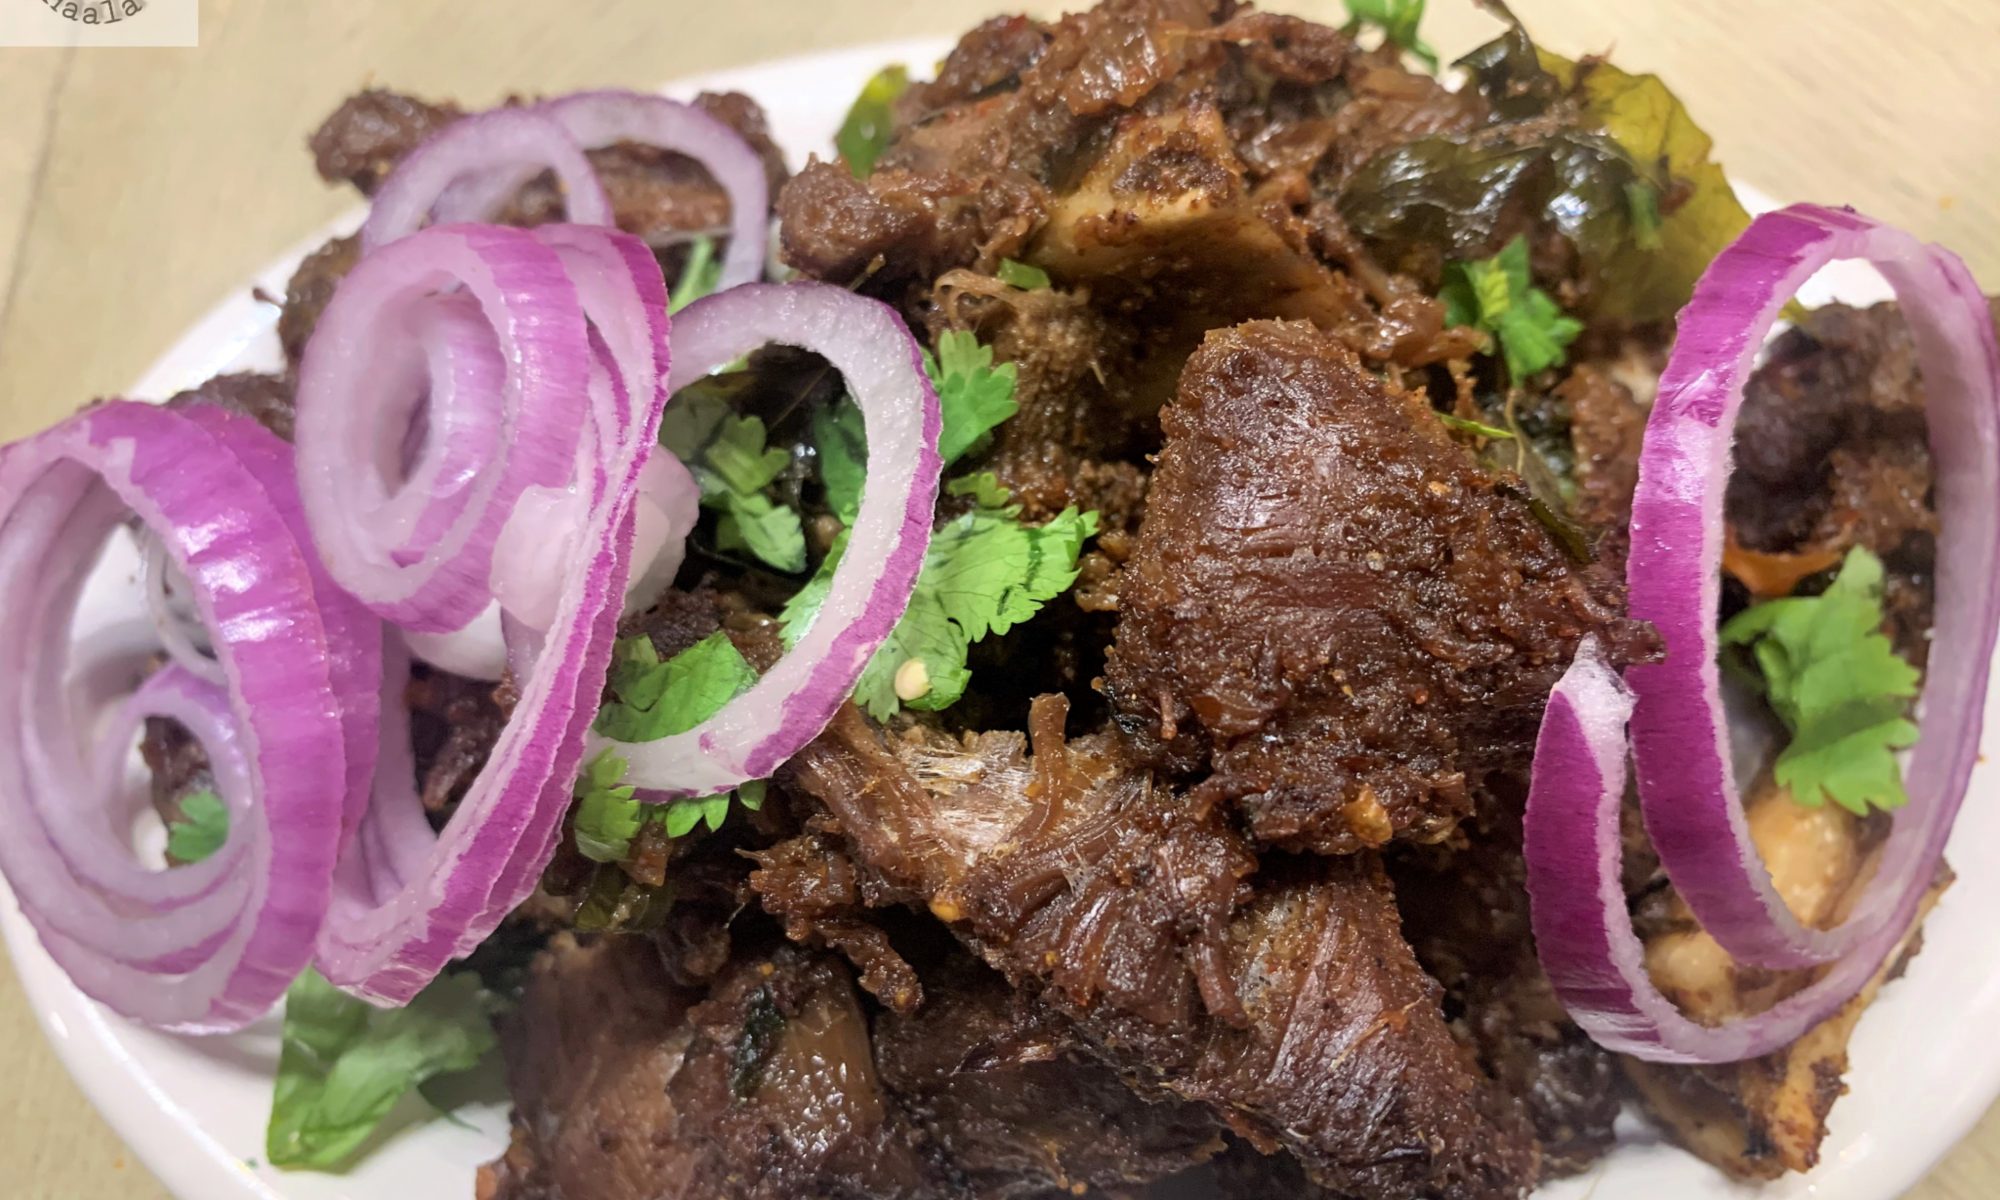
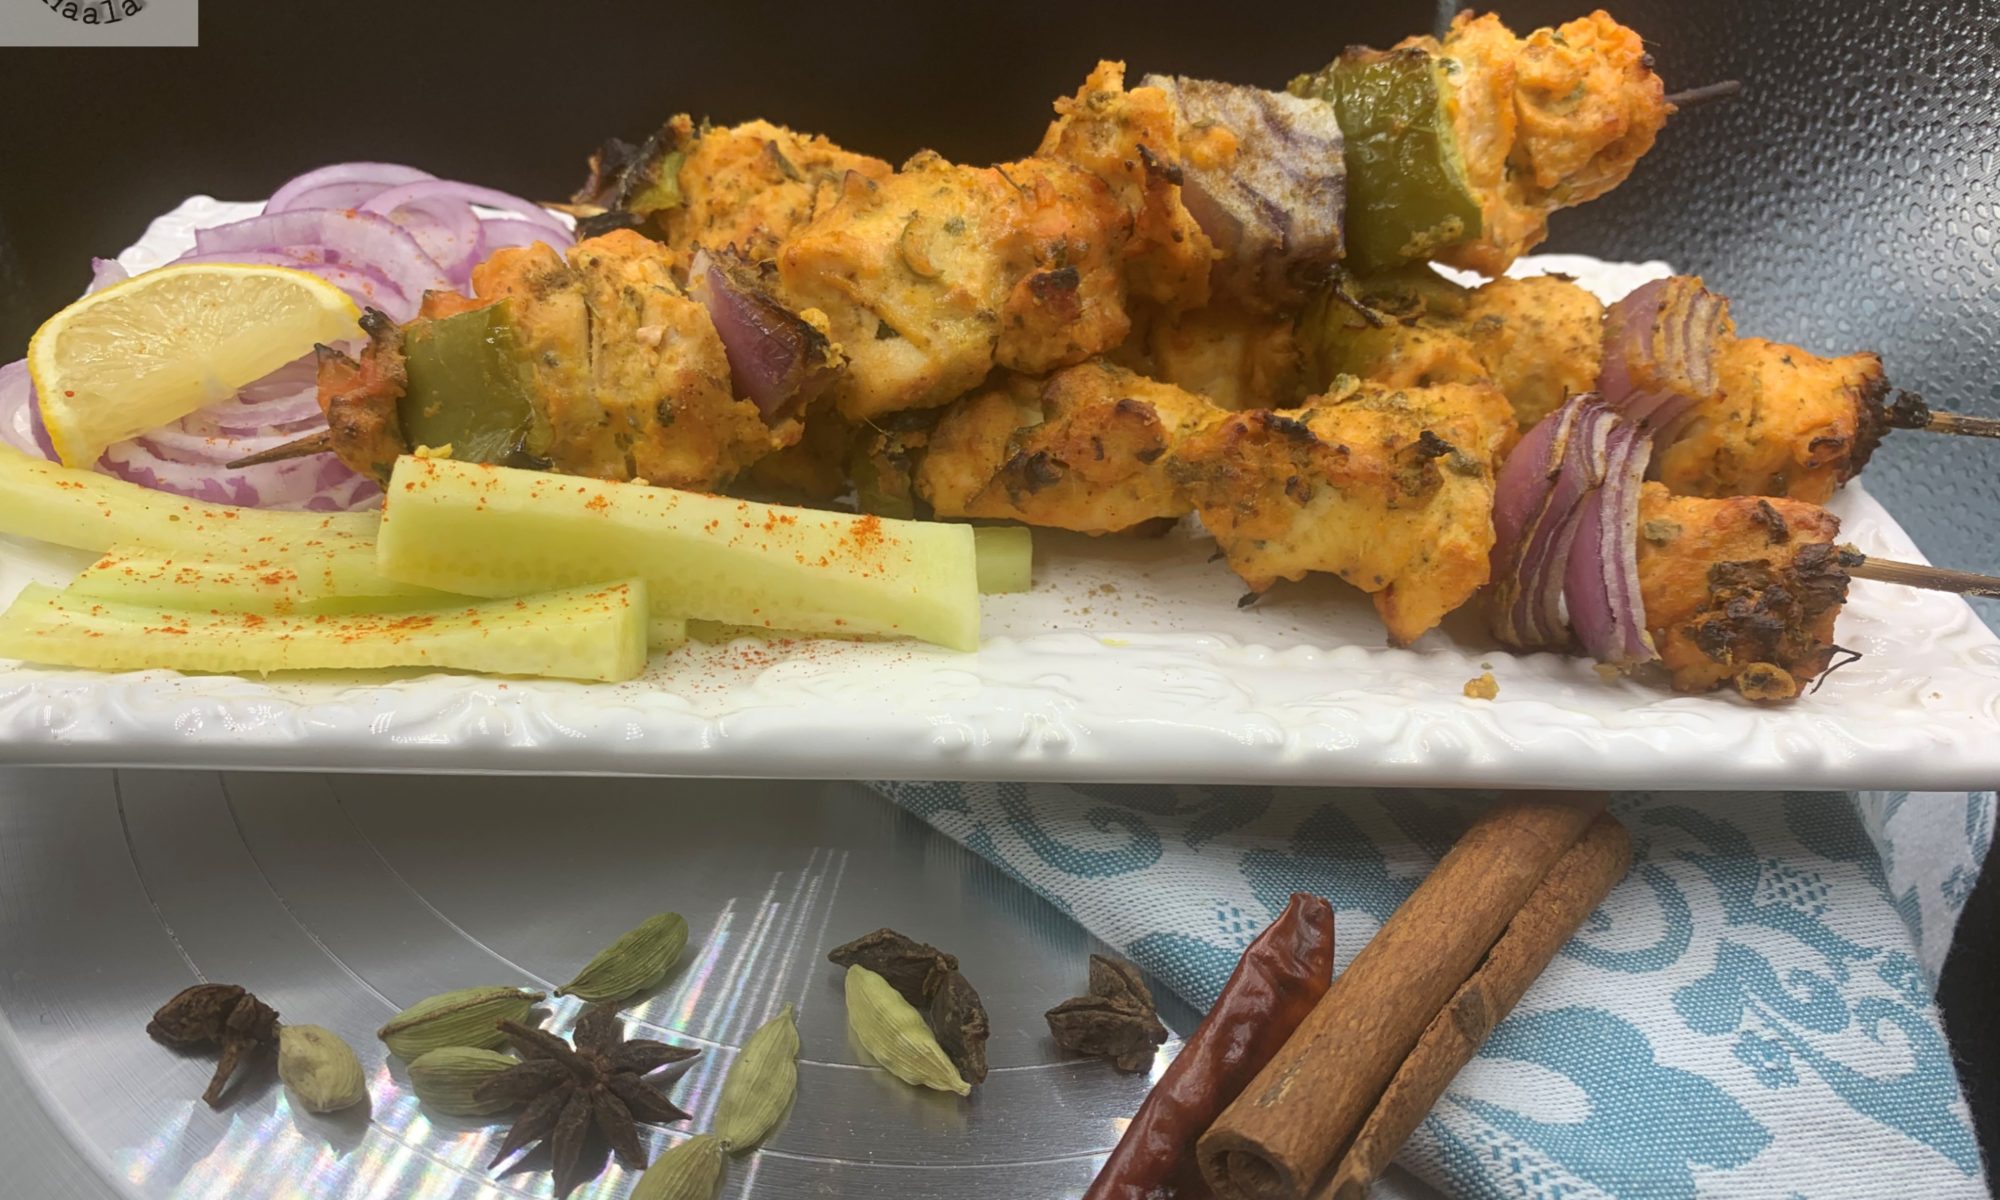
What makes Hyderabadi cuisine so special is the deep influence of the Nizams. Their legacy isn’t just reflected in grand palaces or exquisite jewels, but also in the richness of their food. Every dish feels like a glimpse into a time when hospitality was an art, and food was its grandest expression.
The legendary dastarkhaan of the Nizams was nothing short of spectacular — a lavish spread filled with aromatic biryanis, slow-cooked curries, indulgent haleem, and an array of desserts enriched with dry fruits and cooked in pure ghee. It’s a cuisine built on generosity, detail, and a deep love for flavors.
This particular biryani is a beautiful representation of that heritage — rich, fragrant, yet surprisingly approachable.
What Makes This Biryani Special
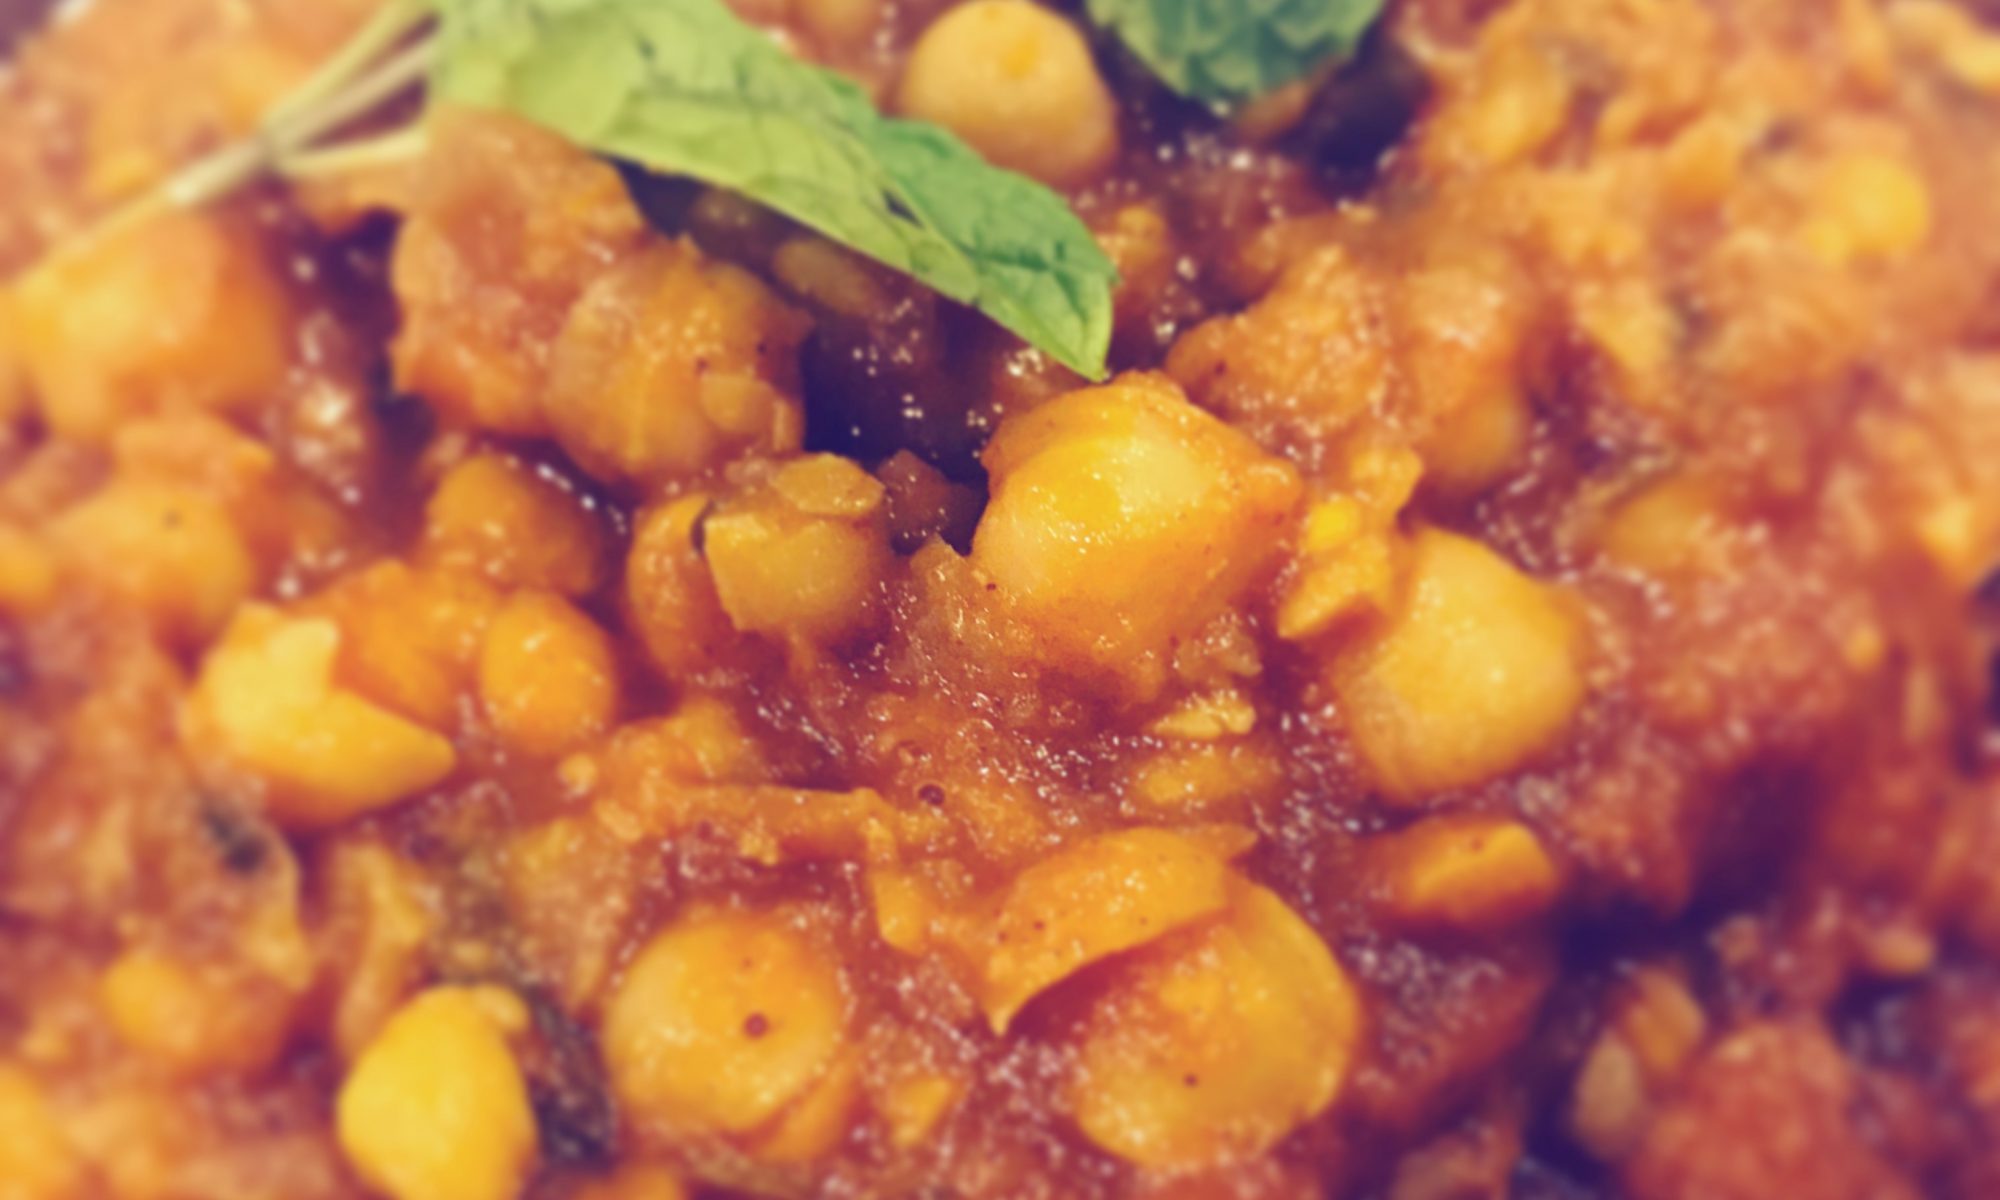
Unlike overly spicy versions, this biryani focuses more on depth than heat. The base includes a luxurious paste made with poppy seeds, cashews, and coconut, giving it a creamy texture and a subtle richness that coats every grain of rice.
The heat comes from a green chili paste, which adds a fresh, vibrant kick without overpowering the dish. If you enjoy a spicier profile, you can easily adjust the number of chilies to suit your taste.
A touch of kewra essence paired with a hint of food color elevates the aroma, giving the biryani that signature royal fragrance — the kind that instantly fills your kitchen and makes the dish feel festive and indulgent.
Simple Yet Elegant
Despite its royal roots, this biryani is surprisingly beginner-friendly. The steps are straightforward, and the ingredients come together beautifully without requiring overly complicated techniques.
It’s the kind of dish that makes you feel like you’ve created something truly special — without feeling overwhelmed in the process.
Final Thoughts
This biryani is more than just a meal — it’s a celebration of history, culture, and flavor. It carries the essence of Hyderabadi heritage while still being accessible enough for anyone to try at home.
So whether you’re new to biryani-making or someone who loves experimenting with flavors, this dish is definitely worth adding to your table.
Enjoy every fragrant, flavorful bite — and let it transport you to a royal Hyderabadi feast.