
Puraani Dilli or Old Delhi is an awesome place for food. I believe being a central place that connects Punjab, U.P., Rajasthan, Bihar and also being close to Kashmir, it has people from all neighboring states. Hence, there is a medley of food. My dad took a lot of trips to Delhi for work. Even we as a family, would be visiting the capital of India quiet often since back in the 80’s and 90’s, we didn’t have the concept of direct trains from one city to another. So, we would take a train to Delhi and then another one to the destination. Since, My maternal family lived in U.K., dropping someone off to Delhi or picking them up from Delhi or we visiting our maternal home was always a trip through Delhi.
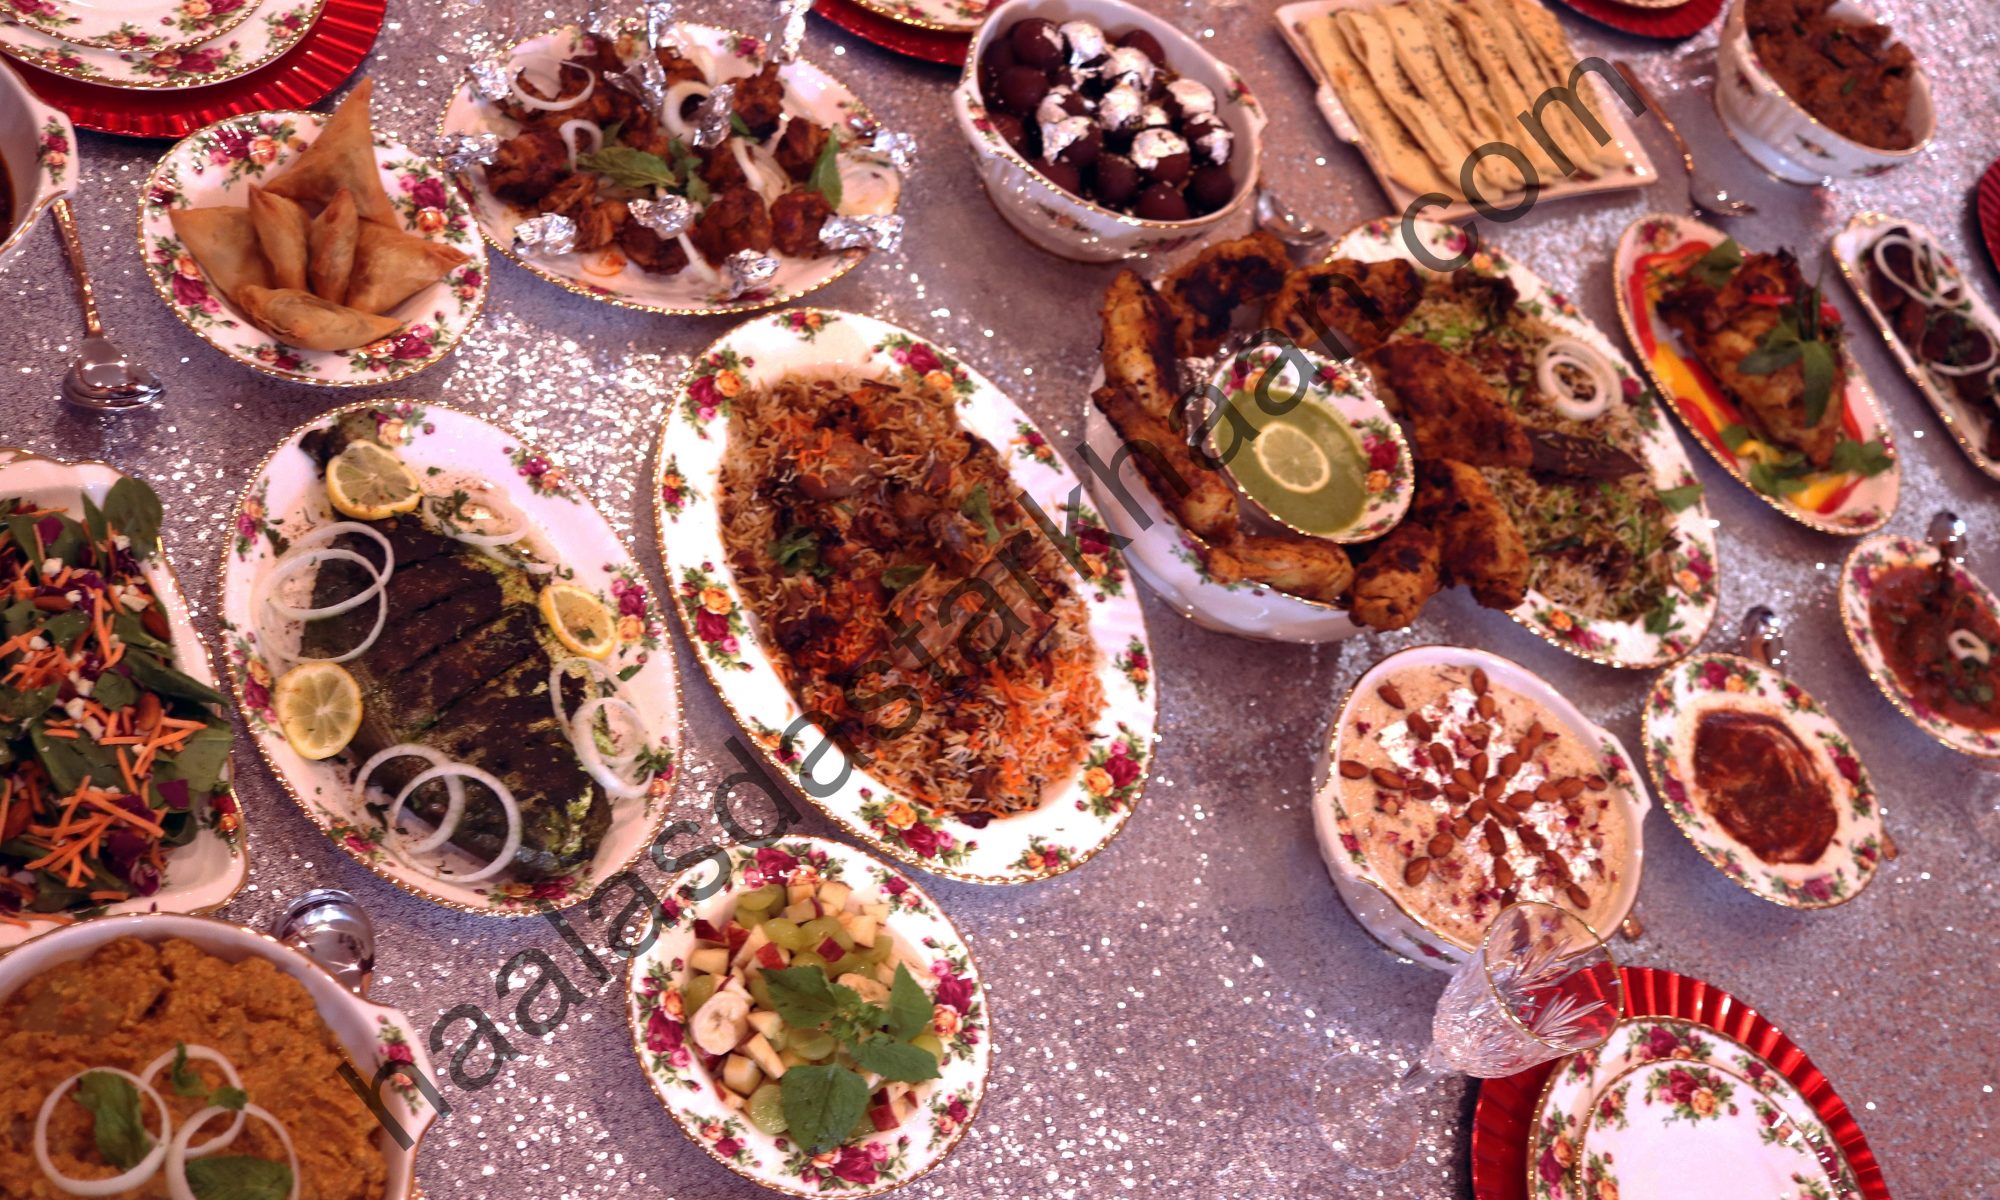
Now, being a non vegetarian, purani delhi is the place to be. Despite the crowd, the pollution and uncountable hygiene issues, every non veg lover at some point visited “jama masjid area” to satisfy their cravings. We did that on almost every trip and my father tried it at least twice each time, if not more. Some very popular restaurants serve awesome and delicious kebabs and curries with sheermaal, roomali roti and finger licking biryani.
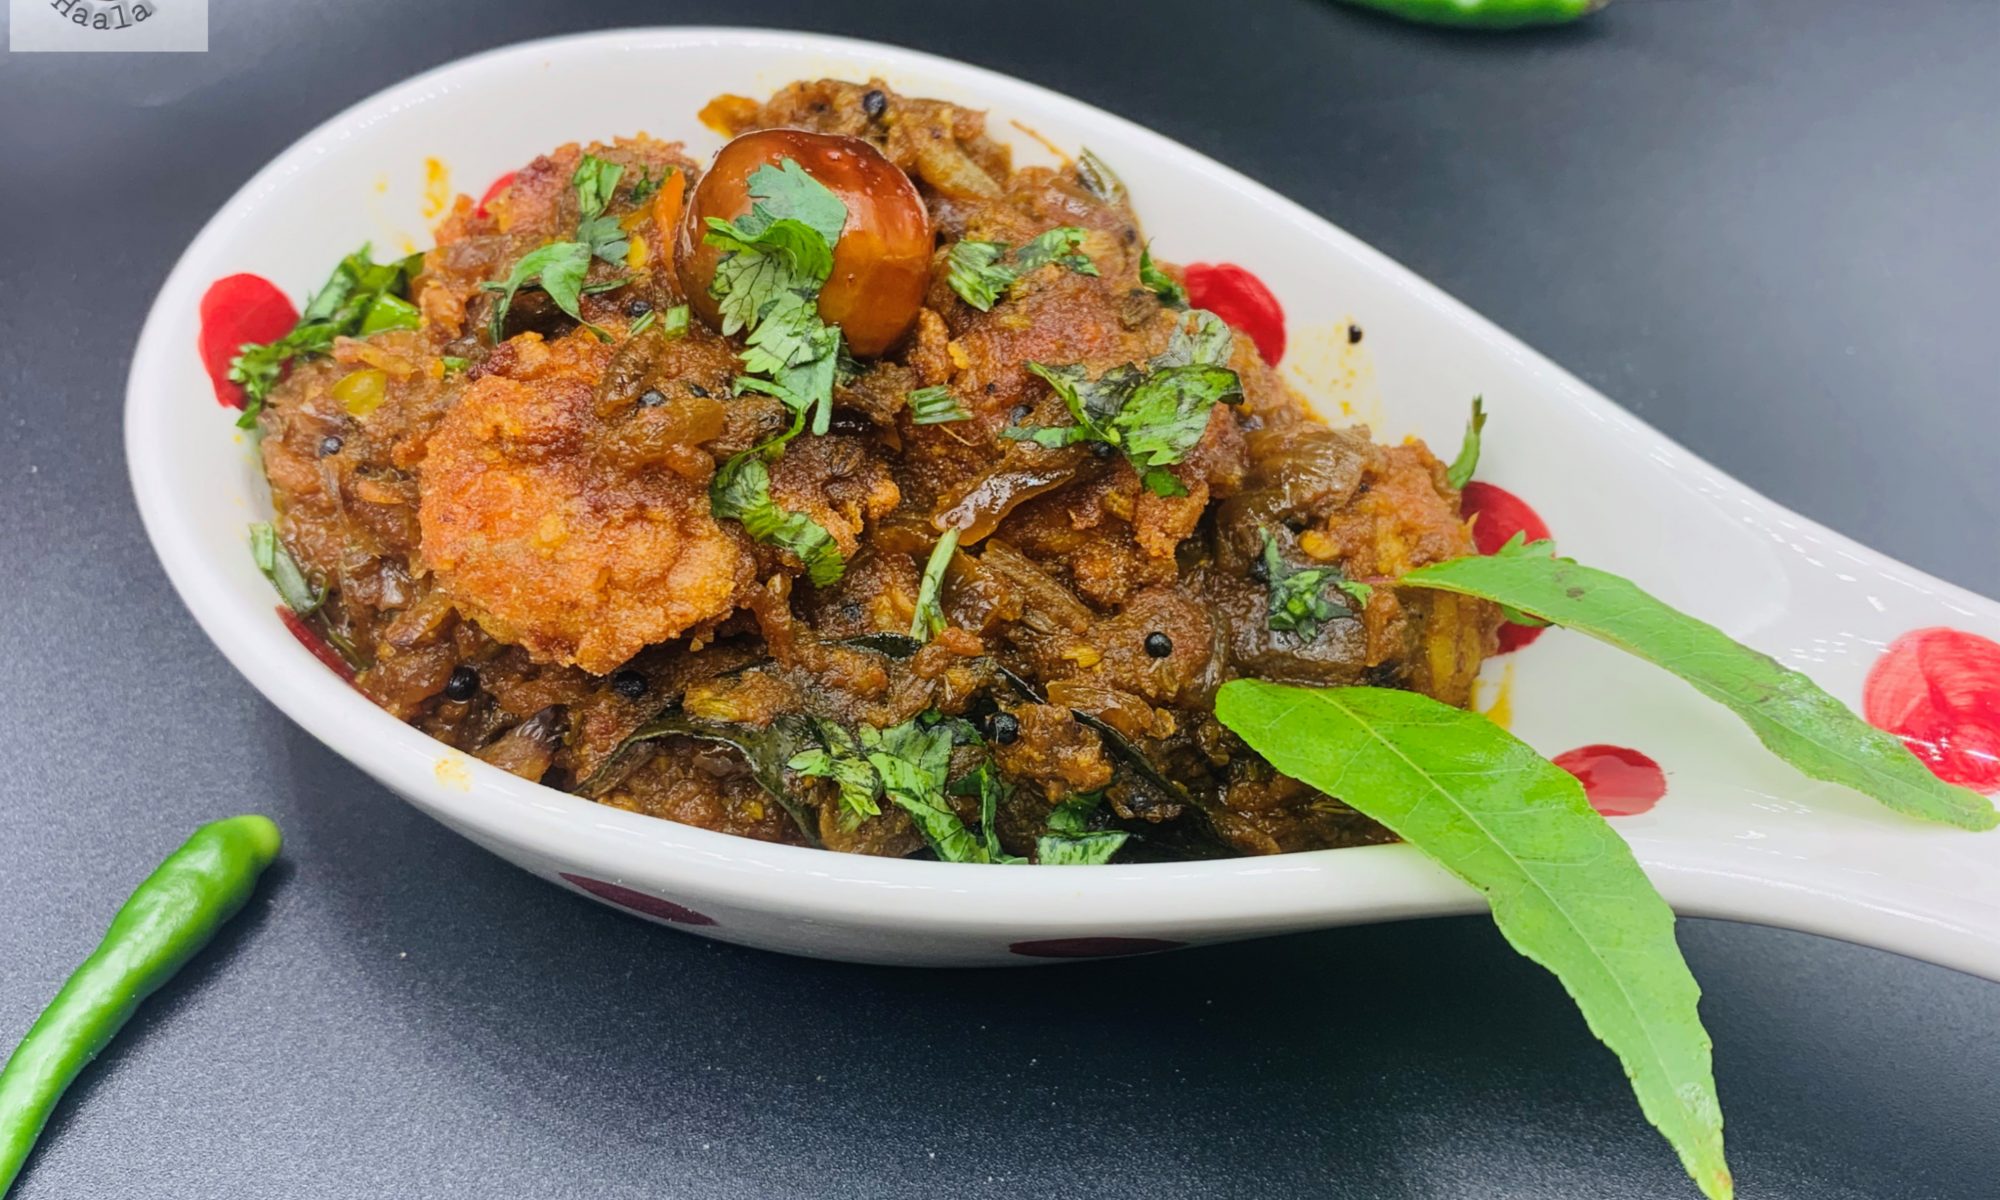
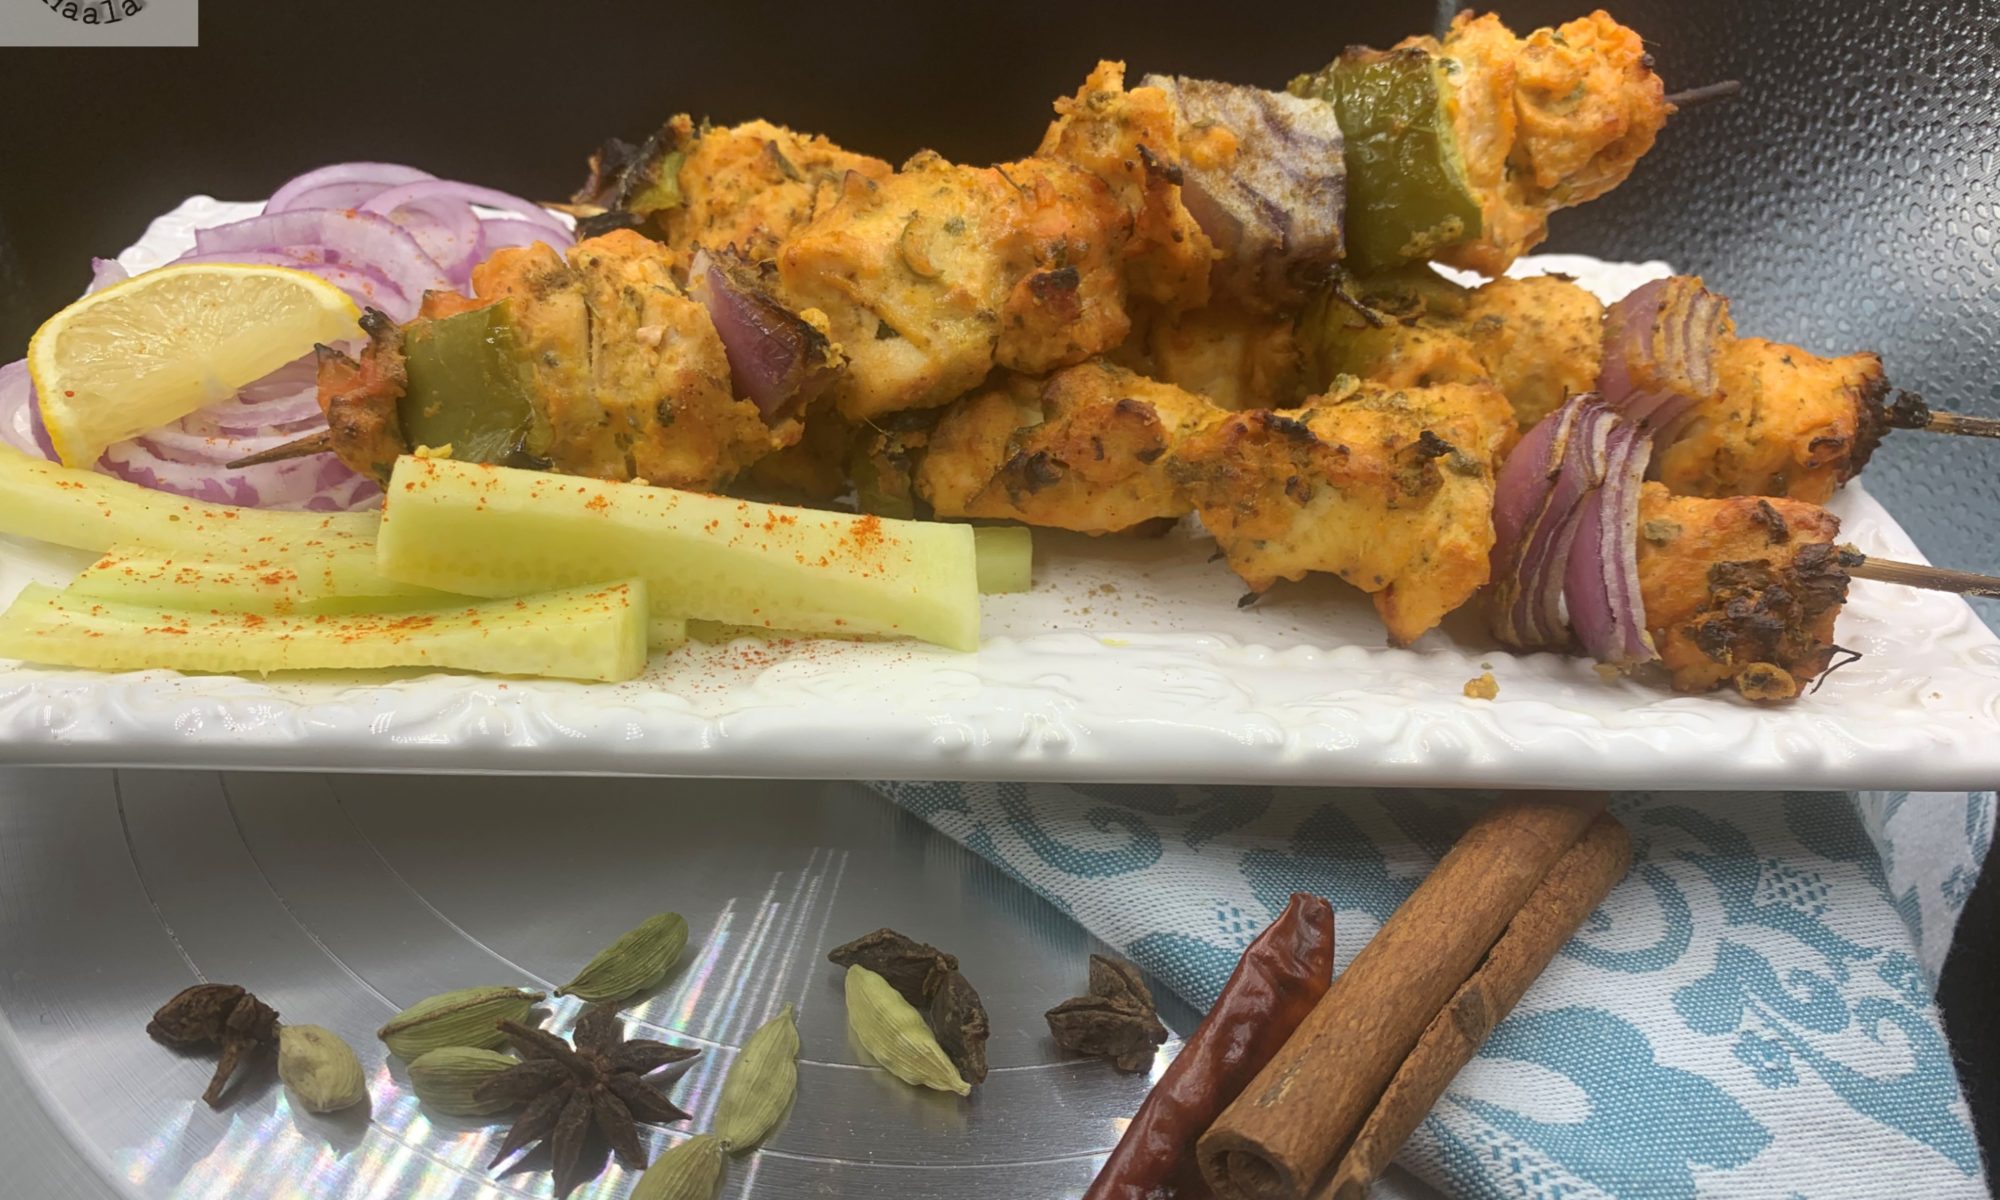
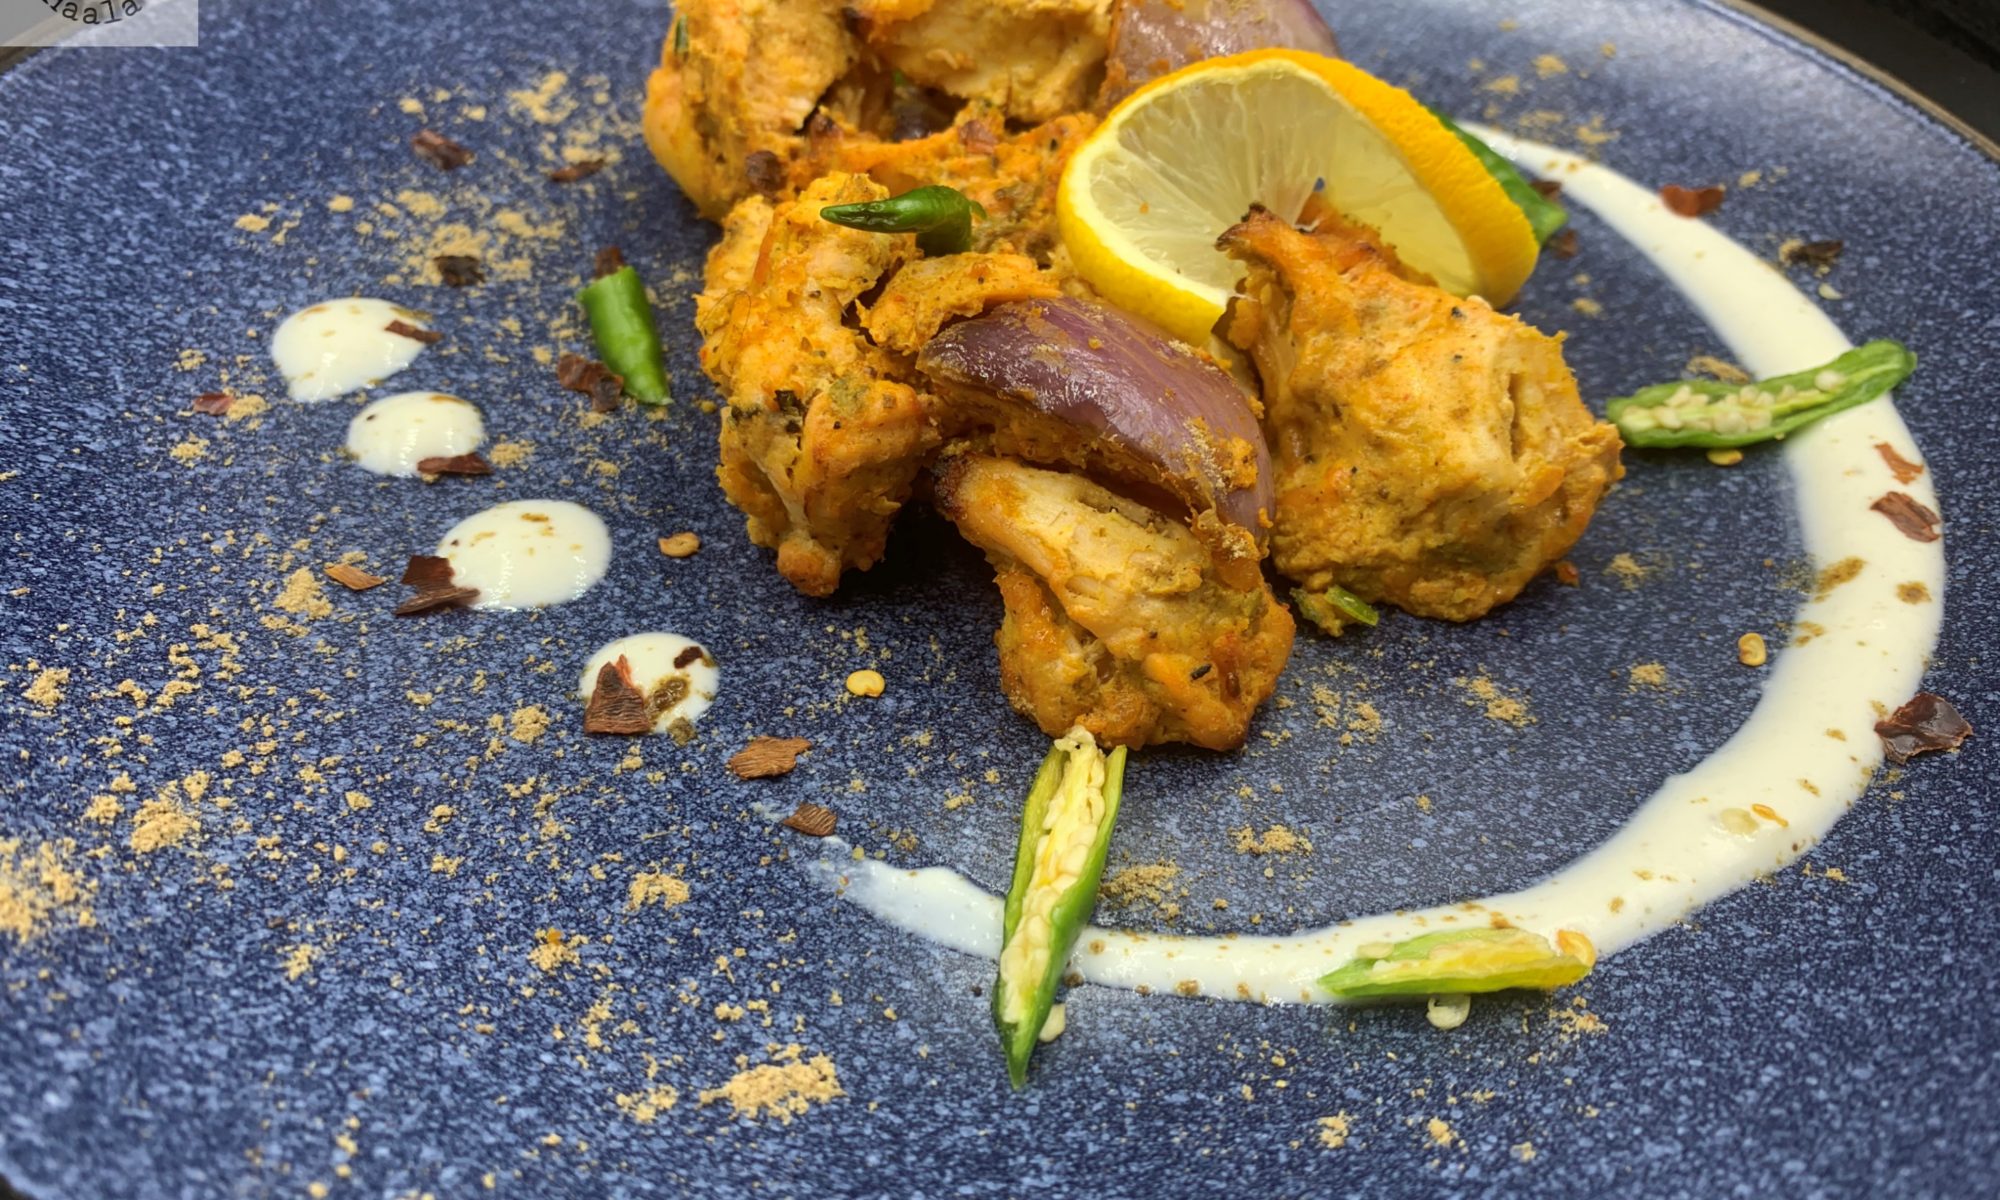
Amongst the various variety of kebabs, Burrah kebabs stole my heart. Made from lamb/Goat meat marinated for a few hours, these kebabs are juicy, crunchy and full of beautiful flavors. So I had to search for the recipe. Though the recipe that I found wasn’t close to what my taste buds witnessed as a kid but being a home chef I knew how to add and deduct things and come out with the exact taste.
Dilli ka Burrah Kebab also has a funny story connected to it. I suffered from Typhoid and I was forced fed all the food without oil or spice for days and when it got over and I fully recovered, the doctor asked me a simple question, “What is the first thing you would like to eat?” and I said, “Burrah Kebab”. Of course the doctor had no clue what a seven year old was saying but my parents couldn’t stop laughing realizing how tortured I was after the sickness.
This is a must try for people who love Mutton kebabs. Pretty easy to make and can be stored too.