Rava Coconut Laddu

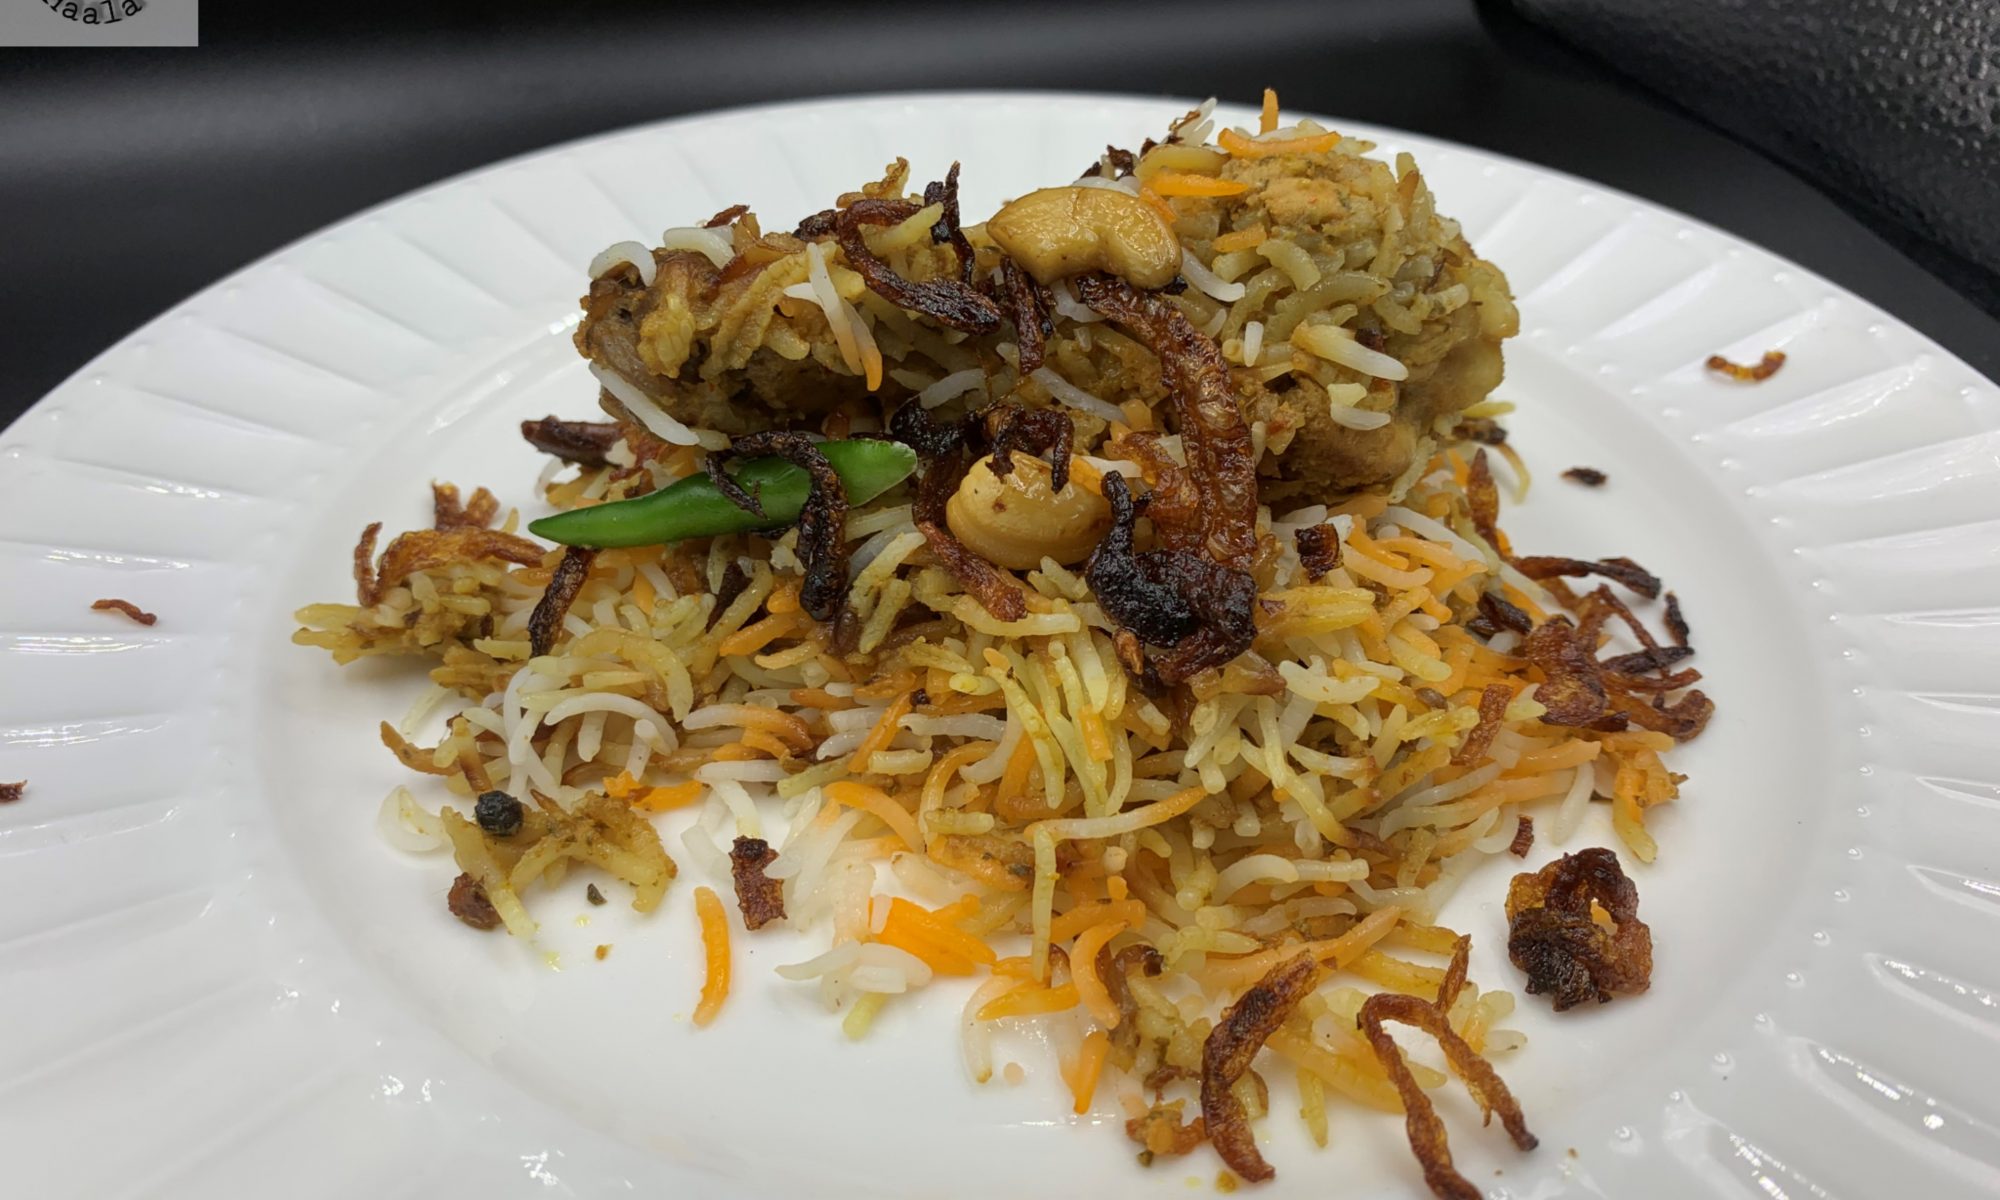
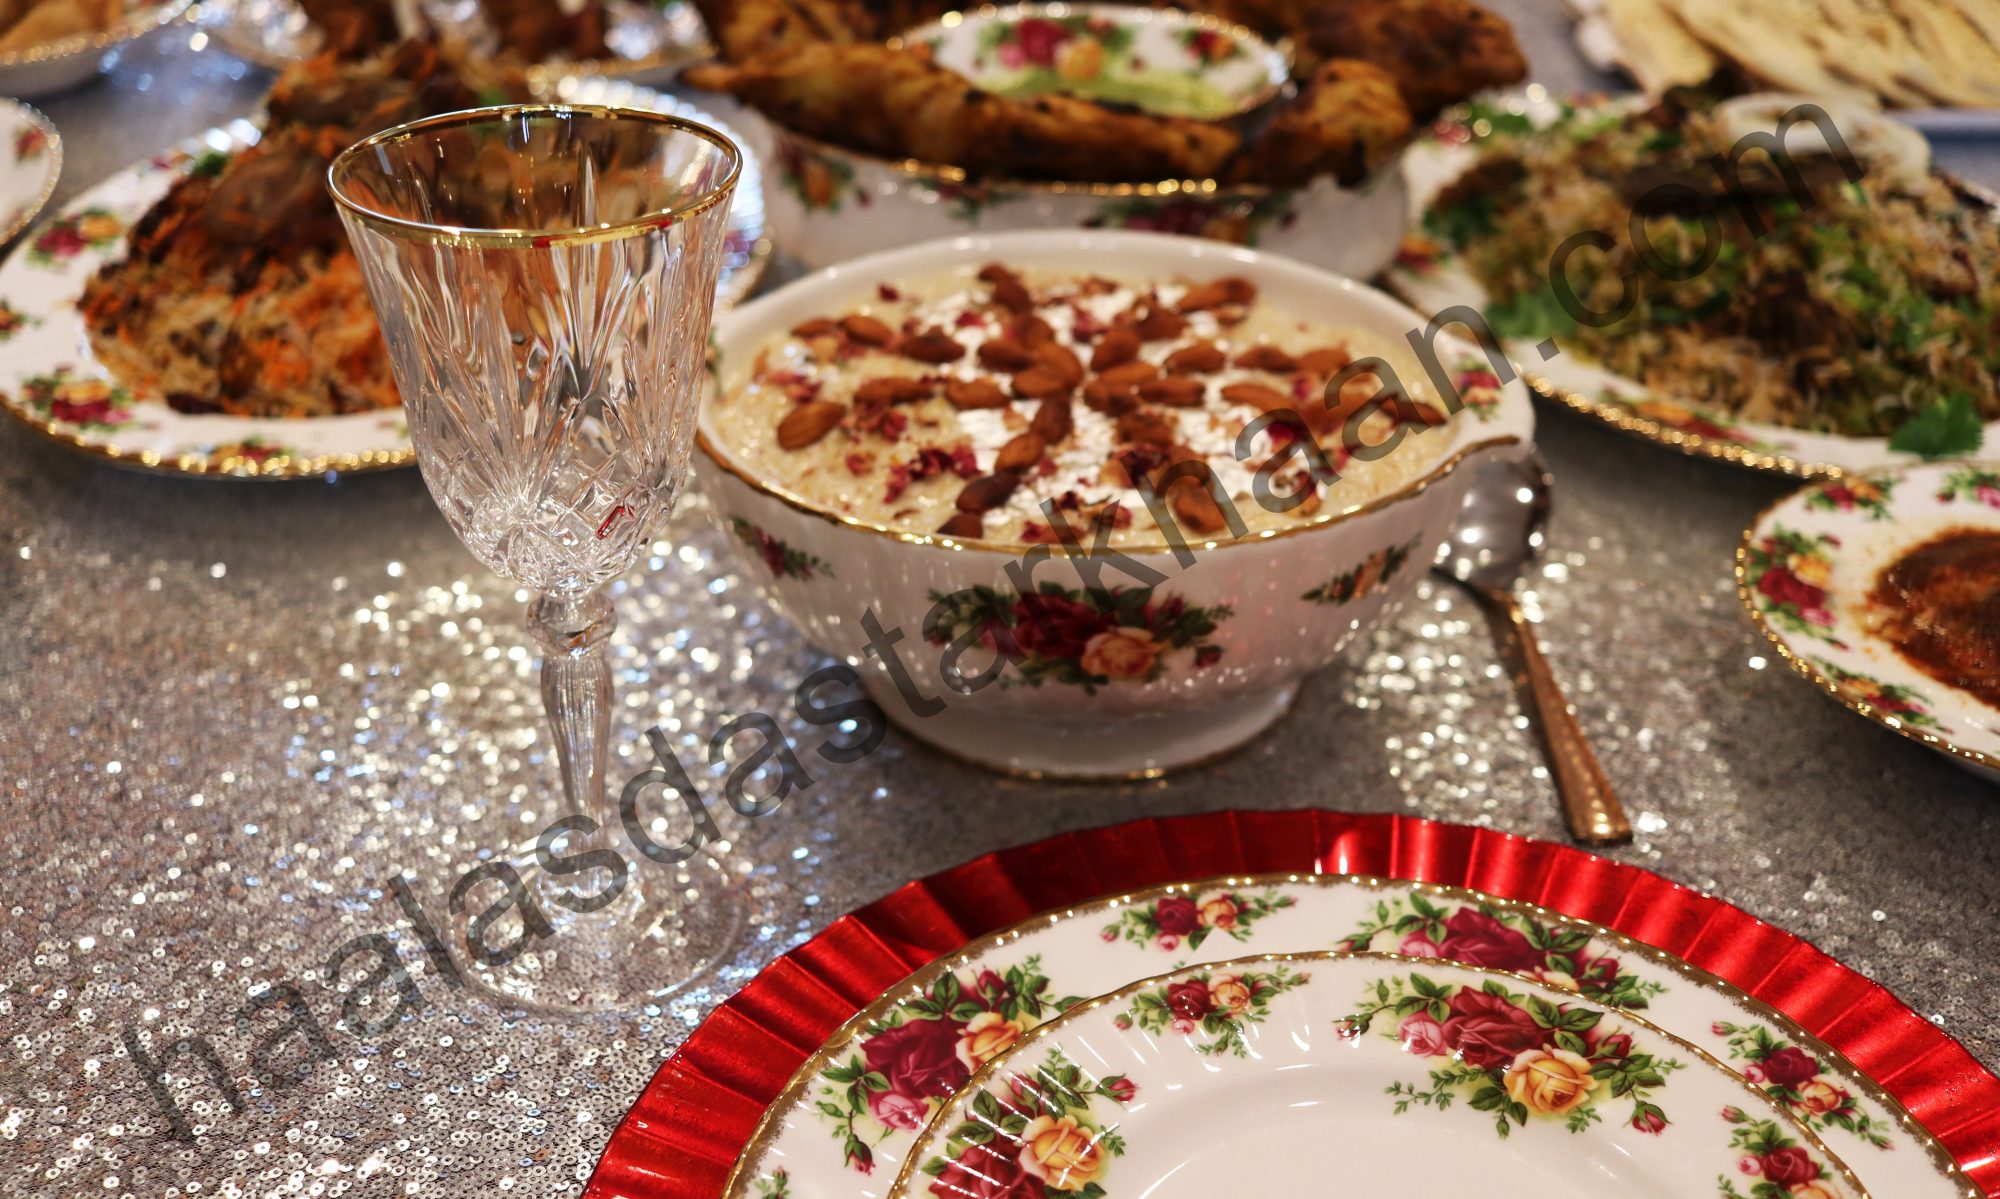
Laddus: Little Bites of Pure Happiness

Laddus are more than just sweets — they’re tiny bundles of joy that instantly bring comfort, celebration, and nostalgia. Across every Indian household, these little round delights hold a special place, whether it’s for festivals, celebrations, or simply satisfying a sweet craving.

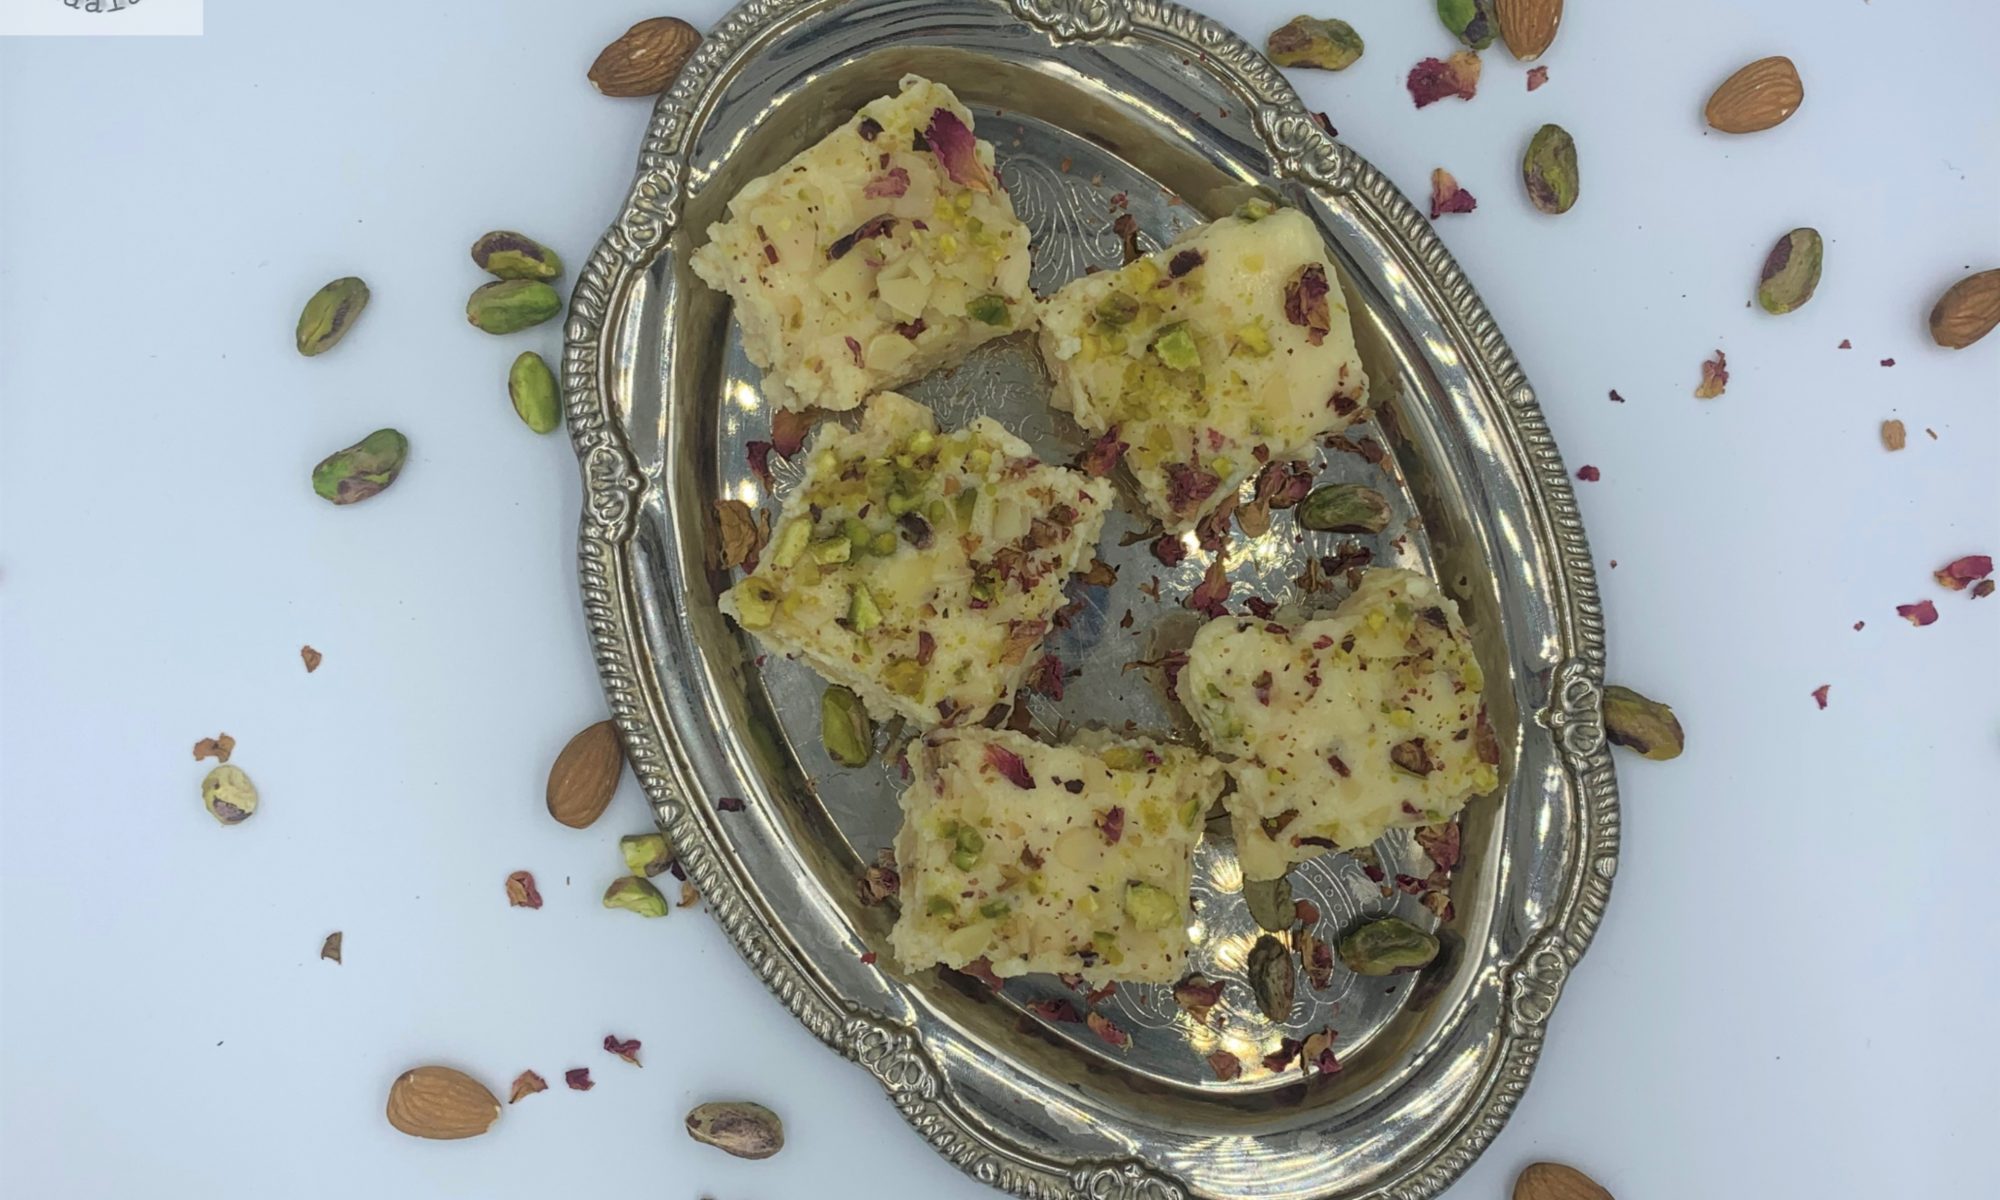
From the rich and nutty Besan laddus to the delicate, melt-in-your-mouth Motichoor laddus, and the tropical sweetness of Coconut laddus — each variety has its own charm. Different occasions call for different laddus, but the feeling they bring remains the same: warmth, happiness, and a sense of togetherness.

There’s something incredibly comforting about their simplicity. Just small, edible balls of deliciousness, yet packed with flavor, tradition, and love.

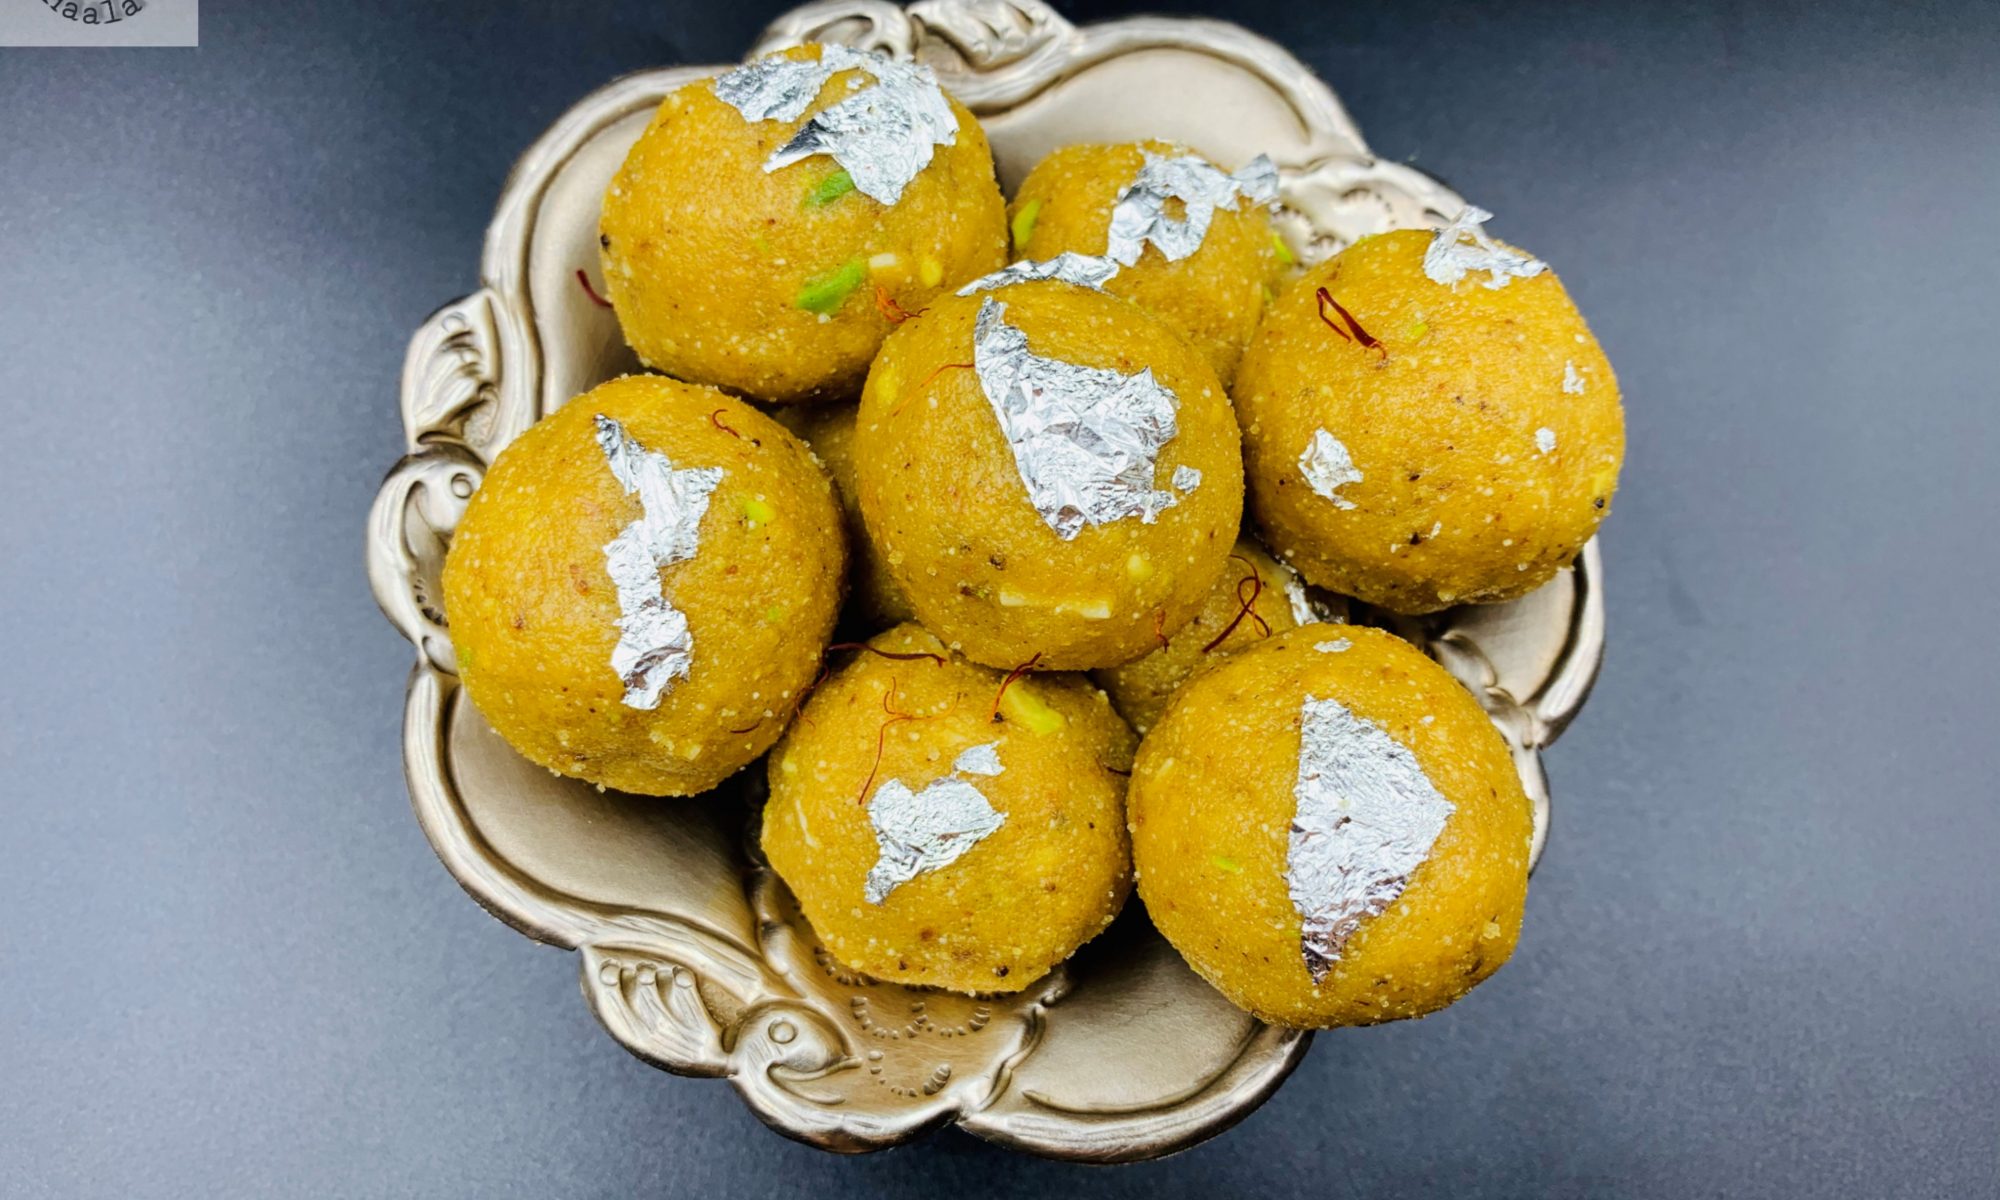
For me, Motichoor laddus have always been the ultimate favorite — the kind of sweet I turn to whenever I need a little pick-me-up. Soft, slightly grainy, soaked in just the right amount of sweetness, they have a way of instantly lifting my mood.

Some sweets come and go, but laddus? They’re timeless. One bite, and you’re reminded why they’ve been loved for generations.

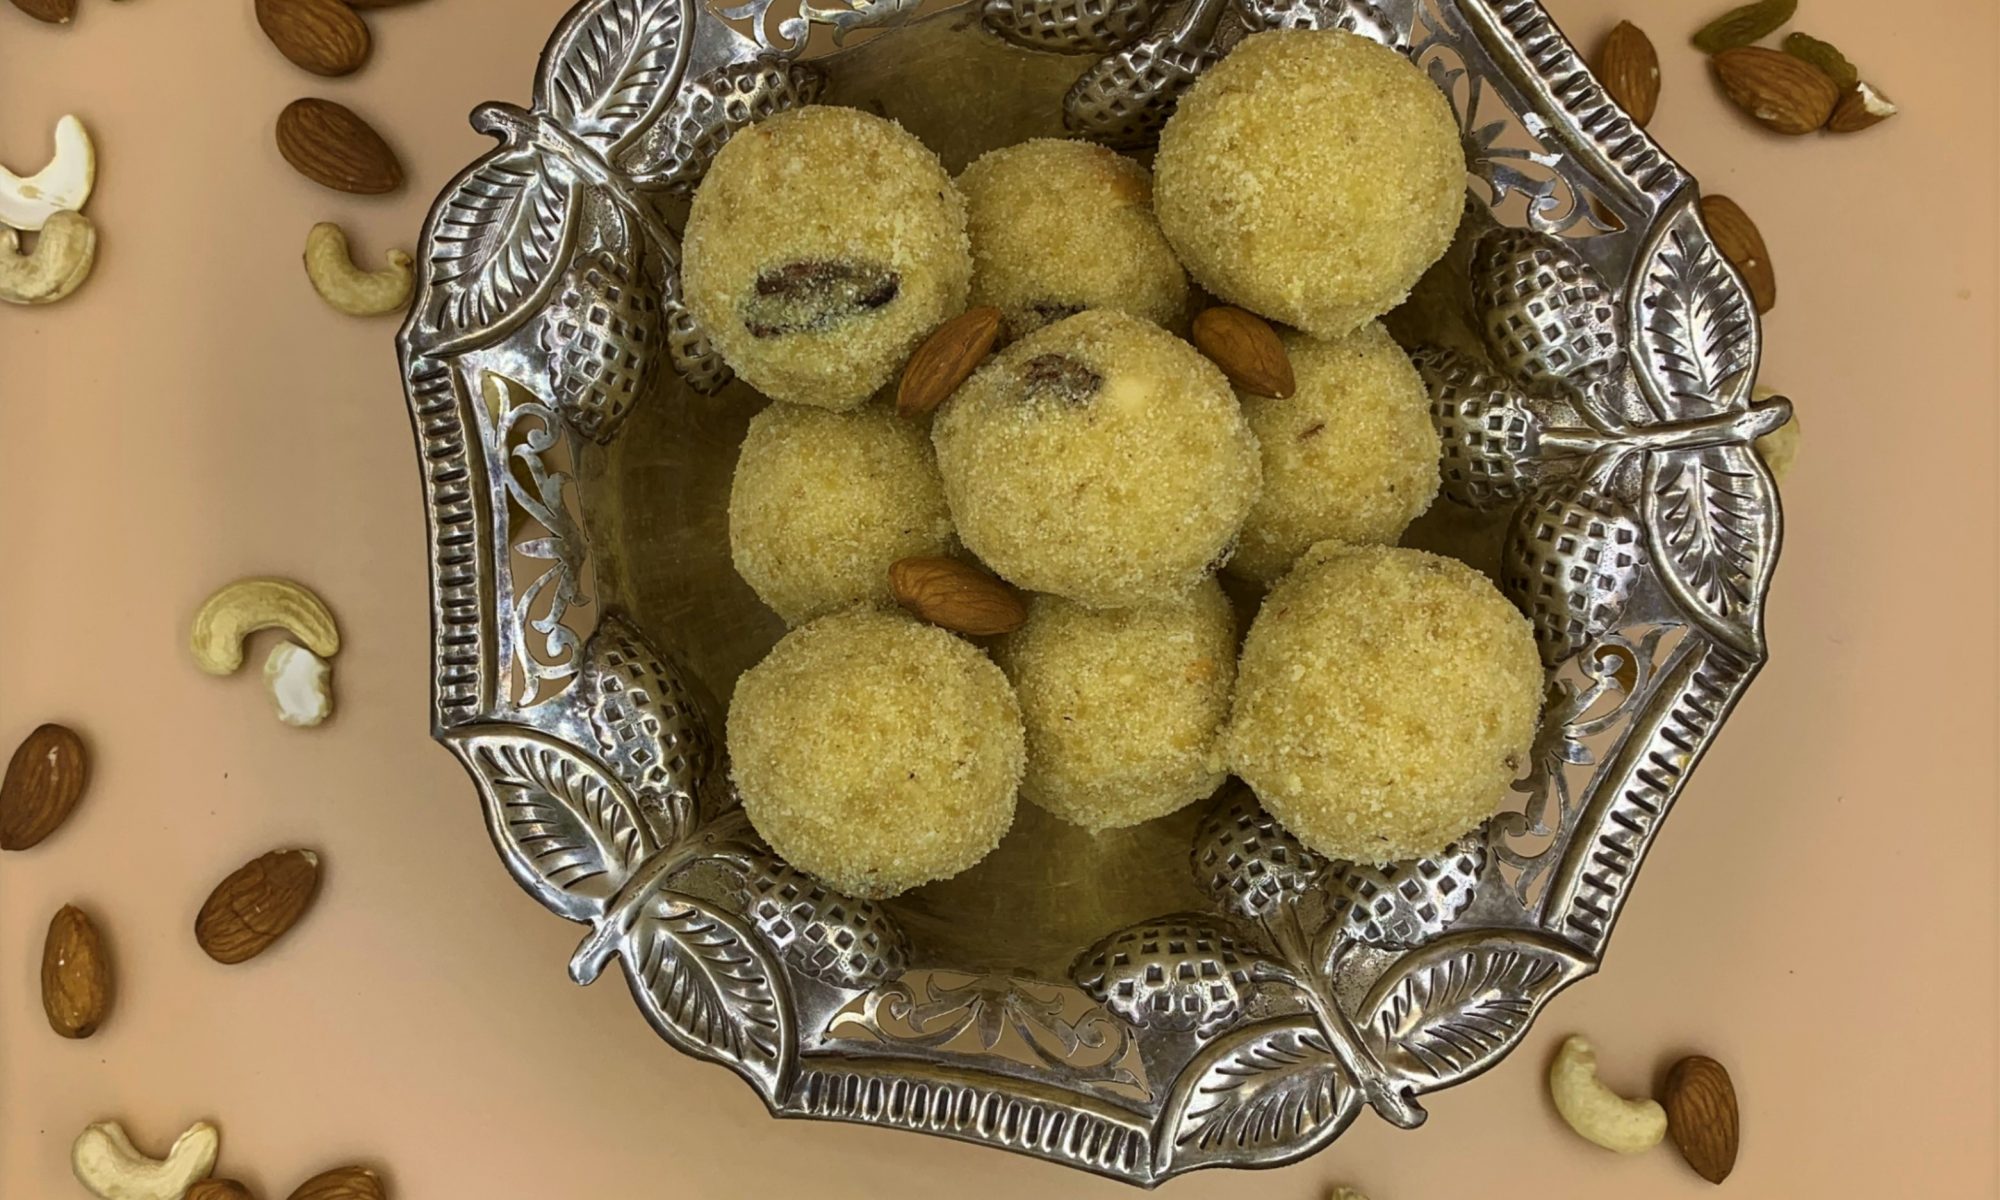
Rava Coconut Laddus: A Taste of Childhood & Love

When I began my journey of self-discovery as a home-based chef, I found myself exploring not just new recipes, but also the stories and memories behind them. Food, after all, is never just about ingredients — it’s about emotion, nostalgia, and connection.

That’s exactly how these Rava Coconut Laddus came to life.

It all started when Mr. Parveez asked me to recreate a laddu he cherished from his childhood — simple, comforting, and full of flavor. Something he had grown up eating and still longed for. And like most nostalgic recipes, it wasn’t just about getting the ingredients right… it was about capturing a memory.

This version you see here is the result of my third trial — and the one that finally came closest to that familiar, childhood taste he had been craving.

The Process

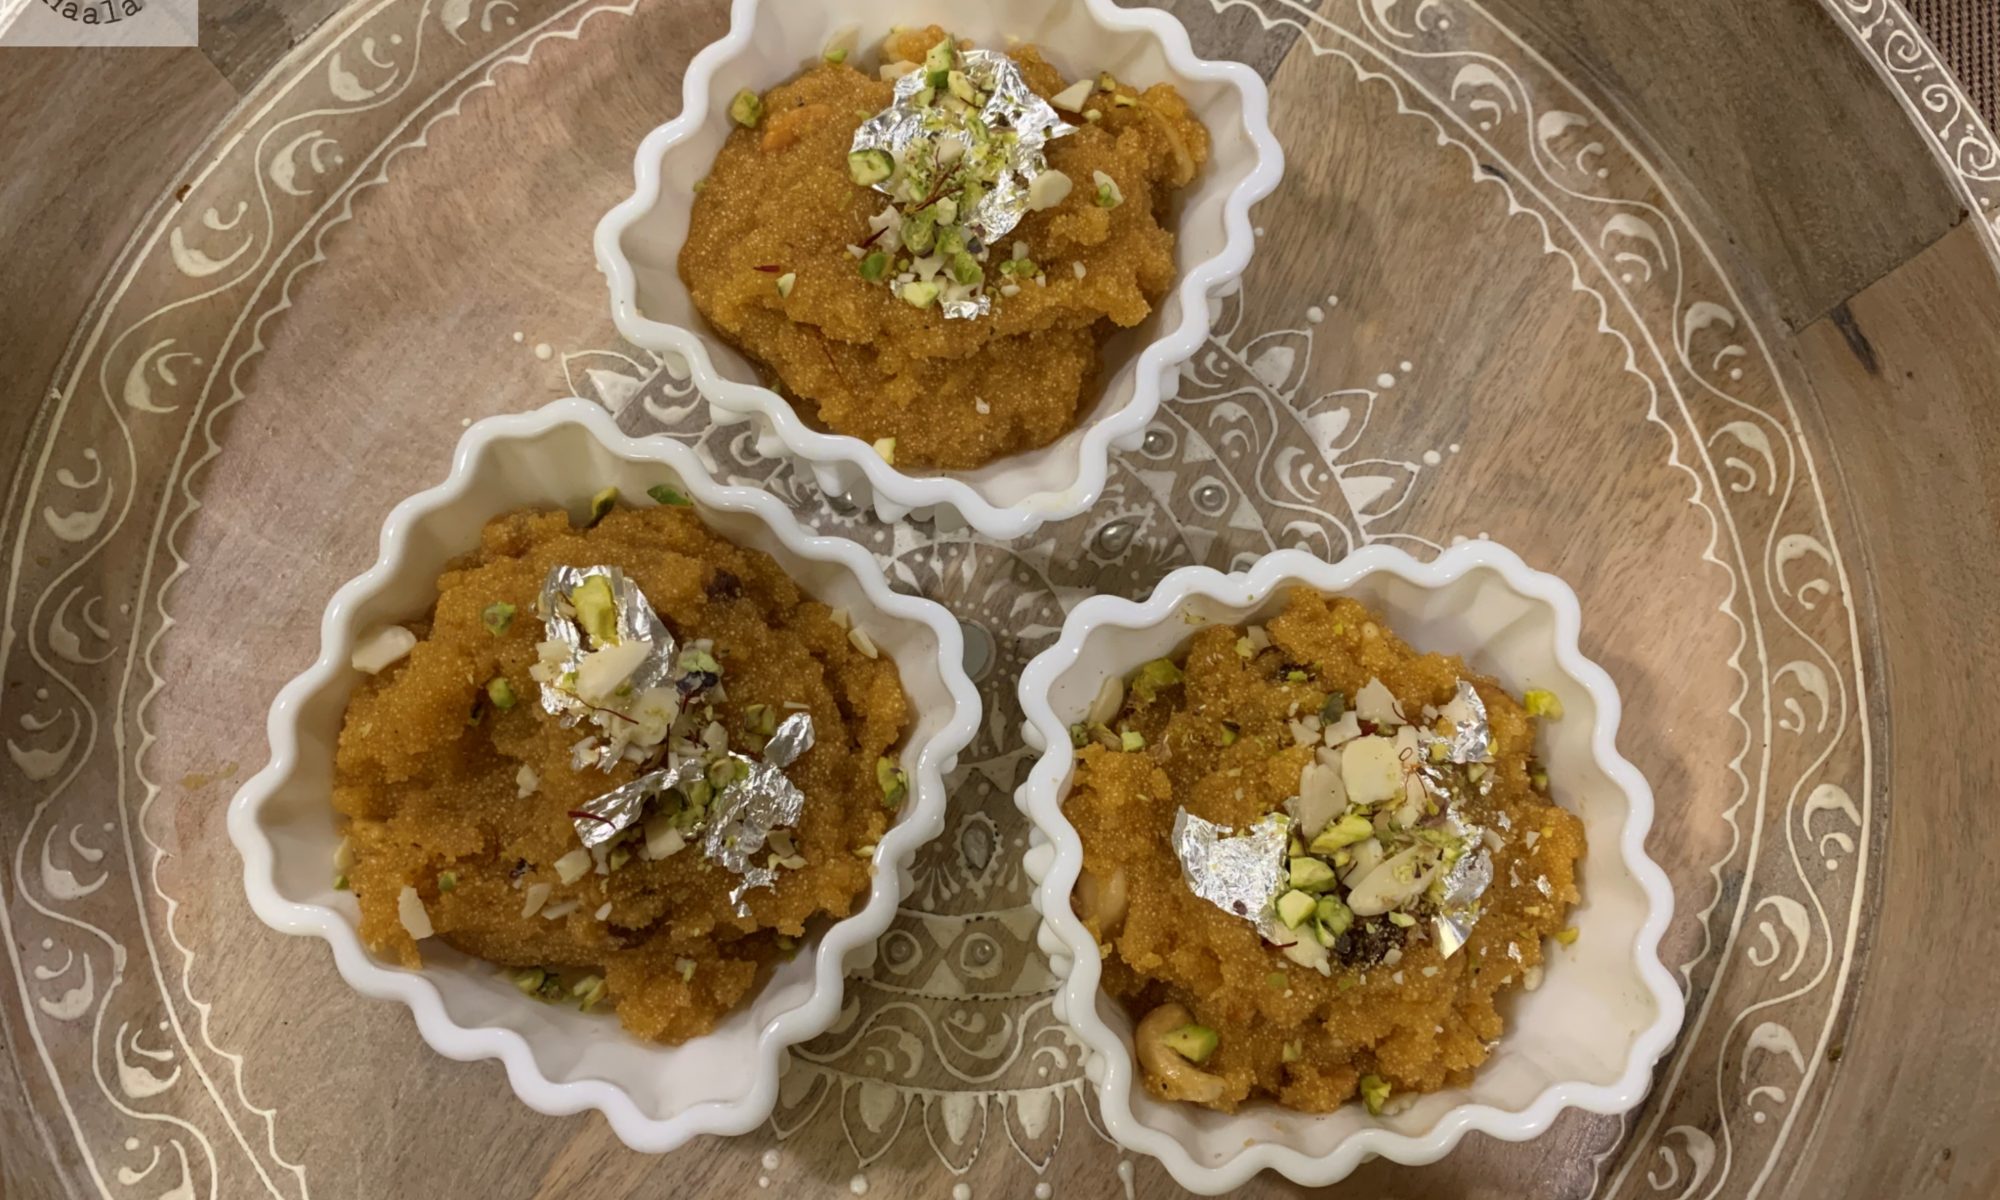
I began by roasting rava in ghee until it turned aromatic and slightly golden — that nutty fragrance is what builds the base of these laddus. To help with binding and add a subtle richness, I incorporated a bit of besan into the mix.

Fresh grated coconut was roasted separately, just enough to remove moisture while keeping its natural sweetness intact. In another pan, cashews and raisins were gently fried in ghee until golden and plump — adding that perfect bite and texture.

Everything was then brought together — the roasted rava, coconut, nuts, and raisins — and sweetened with sugar. A final addition of warm ghee helped bind the mixture, making it easy to shape into soft, delicious laddus.

The Result

What came out of this process was more than just a sweet — it was a memory recreated. Soft, fragrant, lightly textured laddus that carry the warmth of home and the comfort of childhood.

They’re simple, wholesome, and incredibly satisfying.

Storage Tip

These laddus store beautifully — just keep them in an airtight container, and they’ll stay fresh for up to 10 days.


Sometimes, the best recipes aren’t the most complicated ones — they’re the ones tied to memories, love, and a little persistence. And this one? It’s all of that, rolled into every bite.

Murgh Hyderabadi Biryani

Hyderabadi Biryani: A Legacy of Royal Flavors

Hyderabad is a paradise for biryani lovers, offering countless varieties, each with its own unique personality, flavor profile, and cooking style. Over time, I’ve explored and recreated many different styles of Hyderabadi biryanis — and what always amazes me is how no two are ever truly the same.

Each version tells a story.

What makes Hyderabadi cuisine so special is the deep influence of the Nizams. Their legacy isn’t just reflected in grand palaces or exquisite jewels, but also in the richness of their food. Every dish feels like a glimpse into a time when hospitality was an art, and food was its grandest expression.

The legendary dastarkhaan of the Nizams was nothing short of spectacular — a lavish spread filled with aromatic biryanis, slow-cooked curries, indulgent haleem, and an array of desserts enriched with dry fruits and cooked in pure ghee. It’s a cuisine built on generosity, detail, and a deep love for flavors.

This particular biryani is a beautiful representation of that heritage — rich, fragrant, yet surprisingly approachable.

What Makes This Biryani Special

Unlike overly spicy versions, this biryani focuses more on depth than heat. The base includes a luxurious paste made with poppy seeds, cashews, and coconut, giving it a creamy texture and a subtle richness that coats every grain of rice.

The heat comes from a green chili paste, which adds a fresh, vibrant kick without overpowering the dish. If you enjoy a spicier profile, you can easily adjust the number of chilies to suit your taste.

A touch of kewra essence paired with a hint of food color elevates the aroma, giving the biryani that signature royal fragrance — the kind that instantly fills your kitchen and makes the dish feel festive and indulgent.

Simple Yet Elegant

Despite its royal roots, this biryani is surprisingly beginner-friendly. The steps are straightforward, and the ingredients come together beautifully without requiring overly complicated techniques.

It’s the kind of dish that makes you feel like you’ve created something truly special — without feeling overwhelmed in the process.

Final Thoughts

This biryani is more than just a meal — it’s a celebration of history, culture, and flavor. It carries the essence of Hyderabadi heritage while still being accessible enough for anyone to try at home.

So whether you’re new to biryani-making or someone who loves experimenting with flavors, this dish is definitely worth adding to your table.

Enjoy every fragrant, flavorful bite — and let it transport you to a royal Hyderabadi feast.

Mutton Ghee Roast

With the wide variety of Kebabs that we make, we love kebabs made from meat the most. I love the way meat Kebabs are always so juicy and tender and absorb all the flavors so naturally. The texture of meat and the spices blend in so well together. I am sure if you look into details of cooking that when it comes to Kebabs, meat Kebabs definitely make to the top of the list. I have heard a lot of people liking Beef too, but since I have never cooked or consumed beef, I don’t really have an idea. But I do think that since Beef has a lot of fat, cooking with its own fat must be adding more flavor to it.

Coming back to Ghee Roast. I came across some cuisine where they mentioned the dish and showed how the meat is boiled till it’s cooked. after roasting the whole masalas, they are ground to a powder, and then the meat is cooked in ghee with spice powder, onions, curry leaves, and green chilies. This dish is pretty easy to make and makes it to my top ten list of easy and flavorful kebabs.

The best thing about these kebabs is that they can be partly premade a few days in advance as well. You can boil the mutton a few days in advance and refrigerate or freeze it, depending on how many days you want to use it. Similarly, you can always dry roast the whole masala and grind them and store them in a dry and airtight container. These kebabs are juicy, moist, flavorful, and go really well as a side dish or by itself. If you are a fan of meat kebabs, you will love the scrumptious chunks of flavorful meat. Enjoy!!!

Tellichery Biryani

This recipe also happens to be from Kerala and is the second Biryani from this state that I tried out. Kerala is a state of distinct flavor. I know every state has their own flavors that are distinct and are easily distinguishable from the use of their local grown spices with methods of cooking different cuisines and also availability of local vegetation. Not forgetting their natural climate. Isn’t it amazing how every place has different things popular during different seasons and few things that are good to eat during all seasons. Hats off to generations before us who tried, tested and made so many different varieties of food that we just need to follow. And though, it all seems walk in the park, we still do not follow those age old recipes because we find them too time consuming in our busy lives today.

Thalassery town of Northern Kerala has a unique blend Arabian, Persian, Indian and European styles of cooking as a result as its long history as Maritime Trading Post. Tellichery is an anglicized name for Thalassery. The original name of Thalassery has been restored post Independence. Although both refer to the same place, the Tellichery Biryani is different from the Thalassery Biryani. This one is a little simpler version.

This Biryani does not use the Jeerakshala/Kaima Rice like the Thalassery Biryani and should be cooked with Long grain Basmati Rice. This recipe also displays the influence of Mughals in its flavors but seems to be slightly revised. Going through the ingredients, I do not find any ingredient that would distinguish this dish as a dish from Kerela. The recipe makes me feel that its made by some settlers who still did not adapt to the flavors of Kerela cuisine and were still new to incorporating the spice or certain ingredients to the dish. In all, this dish is great for all Biryani lovers, specially for Beginners. Therefore, if you happen to be someone new at making Biryani, this is for you. An easy, delicious and simple way of making a delicious Biryani.

Pindi Chhole

This hearty, healthy and delicious dish is from Punjab, India. I initially thought that the name comes from the word Pind used for village in Punjabi. But, actually the name of the dish is from the place it was originated from. It is named Pindi Chana after the town Rawalpindi, which used to be a part of Punjab before India-Pakistan partition and later became a part of Pakistan. Pindi chhole is a recipe from Rawalpindi and now is proudly cooked everywhere and popularly known as Pindi Chhole.

This recipe is easy to cook, it makes for a wholesome meal when served with poori or Kulcha or Naan and an onion salad. Pindi Chana can be made with dried chickpeas, which needs to be soaked overnight and boiled until soft. The recipe also requires the use of chana daal along with chickpeas. I usually soak a large amount of chickpeas and boil them as well. I usually then divide them into smaller packs and keep them in the freezer for future use.

I never realized till I was much older that there were so many different ways of making chhole. I felt every family had there own version of making chhole, like with my Punjabi friends, their moms made chhole that didn’t have a lot of gravy and usually were a little dark in color and didn’t have too many tomatoes either. Where as, my mom always had her own version of making chhole with yogurt. The chhole recipe I follow is from a family friend and I make my chhole using tamarind, tomatoes and fennel seeds. And, then one day I came across Pindi chhole made by a close family friend and loved the flavors. This is when I found out that in most Punjabi families, people tend to boil chhole with whole spices and tea leaves which tends to darken the color of the chhole. Punjabi food anyways uses a lot of whole spice in their dishes and there always seems to be a very strong taste of cloves and cinnamon in their cuisine.

All in all this is one awesome chhole recipe. It goes really well with poori or parantha or kulcha. I serve them for breakfast usually with sooji ka halwa on the side, but that can always be when you have friends over or if its a special occasion, but these chhole with poori can definitely make it to your weekend brunch table. Enjoy!!!

Kolhapuri Chicken Biryani

Biryani is an absolute classic that needs no introduction. India offers so much on its culinary platter but the one dish Non vegetarian Indians unanimously love indulging in is the mouth-watering biryani. With local and hyperlocal variations having evolved into distinctive styles of biryanis, one is spoilt for options when it comes to experiencing this melting pot of flavors. The delicious complex blend of spices are the reason behind the love this dish gets from people of all generations.So if you are a die-hard fan of this delicious dish, take things up a notch and tease your taste buds a little more with the story of what makes biryani so extraordinary.

Though it may appear to be a dish indigenous to  India, in reality the dish originated quite far away. Biryani is derived from the Persian word Birian, which means ‘fried before cooking’ and  Birinj, the Persian word for rice. While there are multiple theories about how biryani made its way to India, it is generally accepted that its a gift to the Indian cuisine from the Mughals. Along with extraordinary skills of architecture and artillery, they also came along with the beautiful flavors of orange blossom, screw pine water and Rose water mixed with saffron and the skill of using the beautiful spices India offered with other spices from the middle east and create so many non vegetarian dishes that would make Indian/Pakistani cuisines thank them till the end of the world.

One legend has it that the Turk-Mongol conqueror, Temur, brought the precursor to the biryani with him when he arrived at the frontiers of India in 1398. Believed to be the war campaign diet of Temur’s army, an earthen pot full of rice, spices and whatever meats were available would be buried in a hot pit, before being eventually dug up and served to the warriors.

The Nizams of Hyderabad and Nawabs of Lucknow were most famous for their appreciation of the subtle nuances of biryani. Their chefs are renowned the world over for their signature dishes. These rulers popularized their versions of the biryani, which by the way, just in Hyderabad is around 20-25 varieties along with mouth watering accompaniments like mirchi ka salan, Dahi ki chutney/ Raita, khatte baingan, Dalcha and baghare baingan. All different regions in India offer different accompaniments with the Biryani that they serve.

The perfect biryani calls for meticulously measured ingredients and a practiced technique. Other than the technique, spices also play a critical role in dishing out a good biryani – some recipes call for a very limited use of spices while others use more than 15 different spices. Meat or chicken is often the main ingredient, though in some coastal varieties, fish, prawns, and crabs are also used. Use of rose water, screw pine water / kewra water in biryani is also common, a practice prevalent since the medieval era. The pot, sealed around the edges with dough, or covered with a cloth with the lid or something heavy is placed on the lid that doesn’t allow the steam to escape and for the meat to tenderize in its own juices while flavoring the rice.

This recipe of Biryani as the name indicates is from the princely state in Southern Maharashtra, Kolhapur, also popular for its footwear. Though the original recipe also has Raisins, but I have not added them as I do not enjoy sweet with spicy in my Biryani. You can always add it if you prefer. This recipe is super spicy, since most Maharashtrian foods are spicy so this one is a little more for the daring ones. But for sure a recipe that’s a must try for any Biryani lover.


Kalakand

Kalakand is a popular and delicious Indian sweet. Its made by mixing Paneer with sugar and further mixing them with Reduced milk. Its a pretty dense milk fudge. It’s soft, grainy and delicious. It has a light flavor of Cardamom and saffron.

It has a subtle flavoring of cardamom and fragrance of Saffron. The top is decorated with Almonds and pistachios. You can also add some Rose petals. This recipe helps you make Kalakand at home with ease. The fact is when you are in a country far from home and you don’t get your favorite sweets where you live, then you have to make them at home. This recipe has all the details that will make the perfect Kalakand, the exact flavor from our home country.

Not that this recipe will be easy, but for sure the steps from this recipe are simple to understand and if you follow them properly, your Kalakand will be as amazing as it should be. The recipe is made from scratch and you can do it pretty easily, no fancy gadgets or ingredients needed either. It requires basic skills to stir well and stay focused for an hour and trust me, the result won’t just amaze you but it will be worth every second you spend. My hometown Jodhpur has some wonderful stores that specialize in making Kalakand and every time my family wanted kalakand, we would always get it from that particular sweet shop. When I tried making it at home, my mother definitely thought that I have gone completely nuts, but I didn’t have another option. Another problem with sweet stores in USA is that they do not make sweets other than those which are popular like Bengali sweets, one or 2 kinds of laddus, jalebi to name a few. They do sell Burfi but if you ever feel that you will find a wide variety like India then you will be highly disappointed and that’s when people like me come in and teach you easy ways of making your own.

Kalakand recipe is made using a handful of very basic ingredients like Homemade Cottage cheese/Paneer, Milk, cardamom crushed / cardamom powder, saffron, sugar and almonds+pistachios to garnish. As fancy as it looks, there is actually nothing too hard about this scrumptious sweet dish. Kalakand is best served cold, so make sure you keep it refrigerated.

Just make sure you keep a few things in mind when you decide on making Kalakand. Its always advisable to use freshly homemade Paneer. Fresh Paneer is soft in texture and blends well when we cook it with milk, giving that perfect grainy texture to the Kalakand, which is what you really want. A store bought Paneer is usually not too fresh and becomes firm. A firm and old Paneer or a frozen Paneer will never give you the same results. Almonds, Pistachios are rose petals look on Kalakand. To make it look more expensively rich, adding a few saffron strands would be great too. Enjoy!!!

Besan ke Laddu

Besan ke Laddu is just pure love. I mean you have hundreds of varieties of Indian sweets, there can be different Kheers, Halwas and other numerous kinds of burfis, also Laddus, but there is something about Besan Laddu which is just pure love at first sight.

I know I sound like those Moms from some Bollywood movies from the 80’s and 90’s who always made Laddus for their kids and handed them in a large steel container while they would be leaving for work/studies to another city and it always came in with instructions of how the son should just be eating one each day and not share much, which of course the son forgot with convenience as soon as he reached his destination and his room mates and friends could smell the fragrance of home made Laddus from a mile away… OMG! can’t believe I just had the time and energy to mention all this. Well, hope it reminded you of your childhood movies if you have watched the “Masala Bollywood” and if you have not, I am sure the story still brought a smile to your face.

So, one day like a Bollywood mother I also got in the groove of making some Besan Laddus and I think its not just one of the easiest but one of the best sweet dishes ever. Its easy to make, few ingredients and takes very little time. If you are new at making Indian sweets, this is your go to dish. The instructions are pretty easy which makes it easy to follow and wonderfully impressive. Enjoy!!!

Sooji Ka Halwa

Sooji when made sweet, is called Sooji ka Sheera. Several variants of this dish are available under other names in various parts of India. People also call it Sooji ka Halwa or Mohan Bhog. This dish history shows its connection with the Middle east where this cuisine, semolina is roasted and then further cooked with water, honey, camphor, saffron, and sesame oil. In 14th-century Spain, semolina was cooked with almond milk, oil and optionally saffron for coloring, therefore the actual origin of our “Indianised” Sooji ka halwa is actually unknown. But, it still is one of the fastest and yummiest sweet dishes ever.

So, a friend called me asking me for the recipe of Sooji Ka Halwa. I just casually said, “you could have just checked my blog” to which she replied that she couldn’t find it there and decided to call. That’s when I realized that I have not shared the recipe here. Sometimes, the simplest of things are things we forget to do. Honestly, this Halwa is so easy that it can be made by my 9 year old…Okay! little exaggeration, but definitely by a Bachelor who’s missing his mom’s food and can do basic cooking like making an egg. Its easier than making an omelet, since no knives and chopping is involved, Sooji ka Halwa is an easy impressive dish.

My mother never made Sooji ka halwa at home, but weddings in Rajasthan tend to have at least one gathering where this is served as a sweet dish. Don’t ask me why. While halwa is a broad term used for pudding like desserts in India, the most common halwa that my mom made was Gajar ka Halwa during winters, Ande ka halwa on some occasions halwa and Aate ka halwa on most weekends.

Sooji ka halwa was not that common and now when I think of it, I feel it might be something my mom never enjoyed cooking because if she did, she would have made it since it can be easily made it 15-20 minutes. So, Sooji Ka Halwa is made with sooji (semolina), ghee (clarified butter) , sugar and water. Everything else is optional. I only like using cashews, almonds and pistachios, whereas, Mr. Parveez likes Raisins as well in his Halwa. Some like adding milk in place of water, but I think that makes it a little heavy and creamy. Milk also tends to overpower the flavor of Sooji, so I prefer making it with water. I like flavoring mine with cardamom and saffron, making it more rich in fragrance, but you can always skip them both. Though, I would suggest that you use Cardamom powder, even if you omit the saffron.

I usually use half the amount of ghee as to Sooji. Some people prefer more ghee, but I feel this amount is good enough and it does really make a great halwa. For this recipe, I do use same amount of sugar and sooji. I use granulated sugar therefore this might sound too much sugar, though if you are using sugar with bigger granules, you should boil the sugar in the water till the sugar melts and add the water to the roasted sooji. If you are using granulated sugar like me, you can add the sugar straight to the roasted sooji and add warm water to it.

I use 3 times the water since I like my halwa more on the softer side. The most important step! If you don’t roast the sooji properly, the halwa will have raw taste. I don’t like to brown my sooji for the halwa. So I roast it on low heat, stirring continuously until it’s nice and fragrant. It takes around 7 to 8 minutes for it to roast on low heat. When you add hot water to the hot pan of roasted sooji, it bubbles up like crazy. So be very careful. Add it slowly and be careful. Make sure your halwa is smooth, so stir continuously as you add the water. If you don’t do that, it will form lumps and won’t have the creamy texture.

Aate ka Halwa

This sweet dish takes me back to my childhood days. Though this sweet dish is the most easiest and simple sweet dish you could ever make, but you know how somethings are simple yet delicious.

A delicious 4 ingredients Indian Dessert, Aate Ka Halwa is very easy to make and is quite scrumptious. Loaded with ghee and dry fruits, Atta Halwa or Wheat Halwa is definitely indulgent. This is easy to make at home with some simple tricks. It is usually served for breakfast or before bedtime to keep the body warm. You can also serve it as dessert after meals.

Although you can use any whole wheat flour available to make this halwa, making it using coarsely ground flour will give you the best result. If you have access to freshly milled flour, then the results will be best. This halwa should be made in ghee or clarified butter for the best result. If ghee is not available, then you can use unsalted butter, but not oil. If you are conscious and prefer your halwas in Oil, then I would say that you are depriving yourself with real taste of Halwa. Secondly, I see a lot of people use White sugar and Brown sugar, but the actual Aate ka halwa is made with Gudd/Jaggery.

My mother has often made this Halwa during weekends, specially in winters for breakfast. I loved the fact that it would be ready on demand and everyone at home enjoyed and loved it. Its always made our weekend more special and sweet. As much as I did try, I do not think I can make it as delicious as how my mother made it, but its still pretty close.

You can easily store the halwa in an airtight container in the refrigerator for 3-4 days. When you want to consume, just take it out and heat for a few minutes before serving. You can also freeze it in freezer-safe container for up to 3 months. My steps are simple and I keep it as basic as I can so it’s easy to follow and the taste connect us to the authentic flavor too. Enjoy!!!