Rabri

Rabri has been one of my most favorite sweet dishes ever. The thick mavaa and just perfect amount of sugar makes this dish delicious enough to die for. There is a very old shop/ small eatery in my hometown Jodhpur that is popular for Rabri, Lassi and Kulfi. They sell amazing Rabri which is something I have to eat on every visit. But, the sad part is that I visit my hometown only during the scorching summer days and as much as I love to try all my favorite foods, it kind of gets impossible to enjoy them the way i should. Rabri happens to be one of them. Summer days do not make you crave for milk based sweets.

Rabri is a gift of Mughals to India. Just like they brought in Gulab Jamuns and jalebis, or any other sweet dish that requires sugar syrup, they also brought in sweets that are made from milk solids and require thickening of the milk. Mughals were very dedicated to cooking good and rich food. The use of dry fruits, nuts, cream, Khoya, Kewra or screwpine water, orange blossoms or even rose water comes in from them. An amazing addition to India food, that foodies like me love reading about.

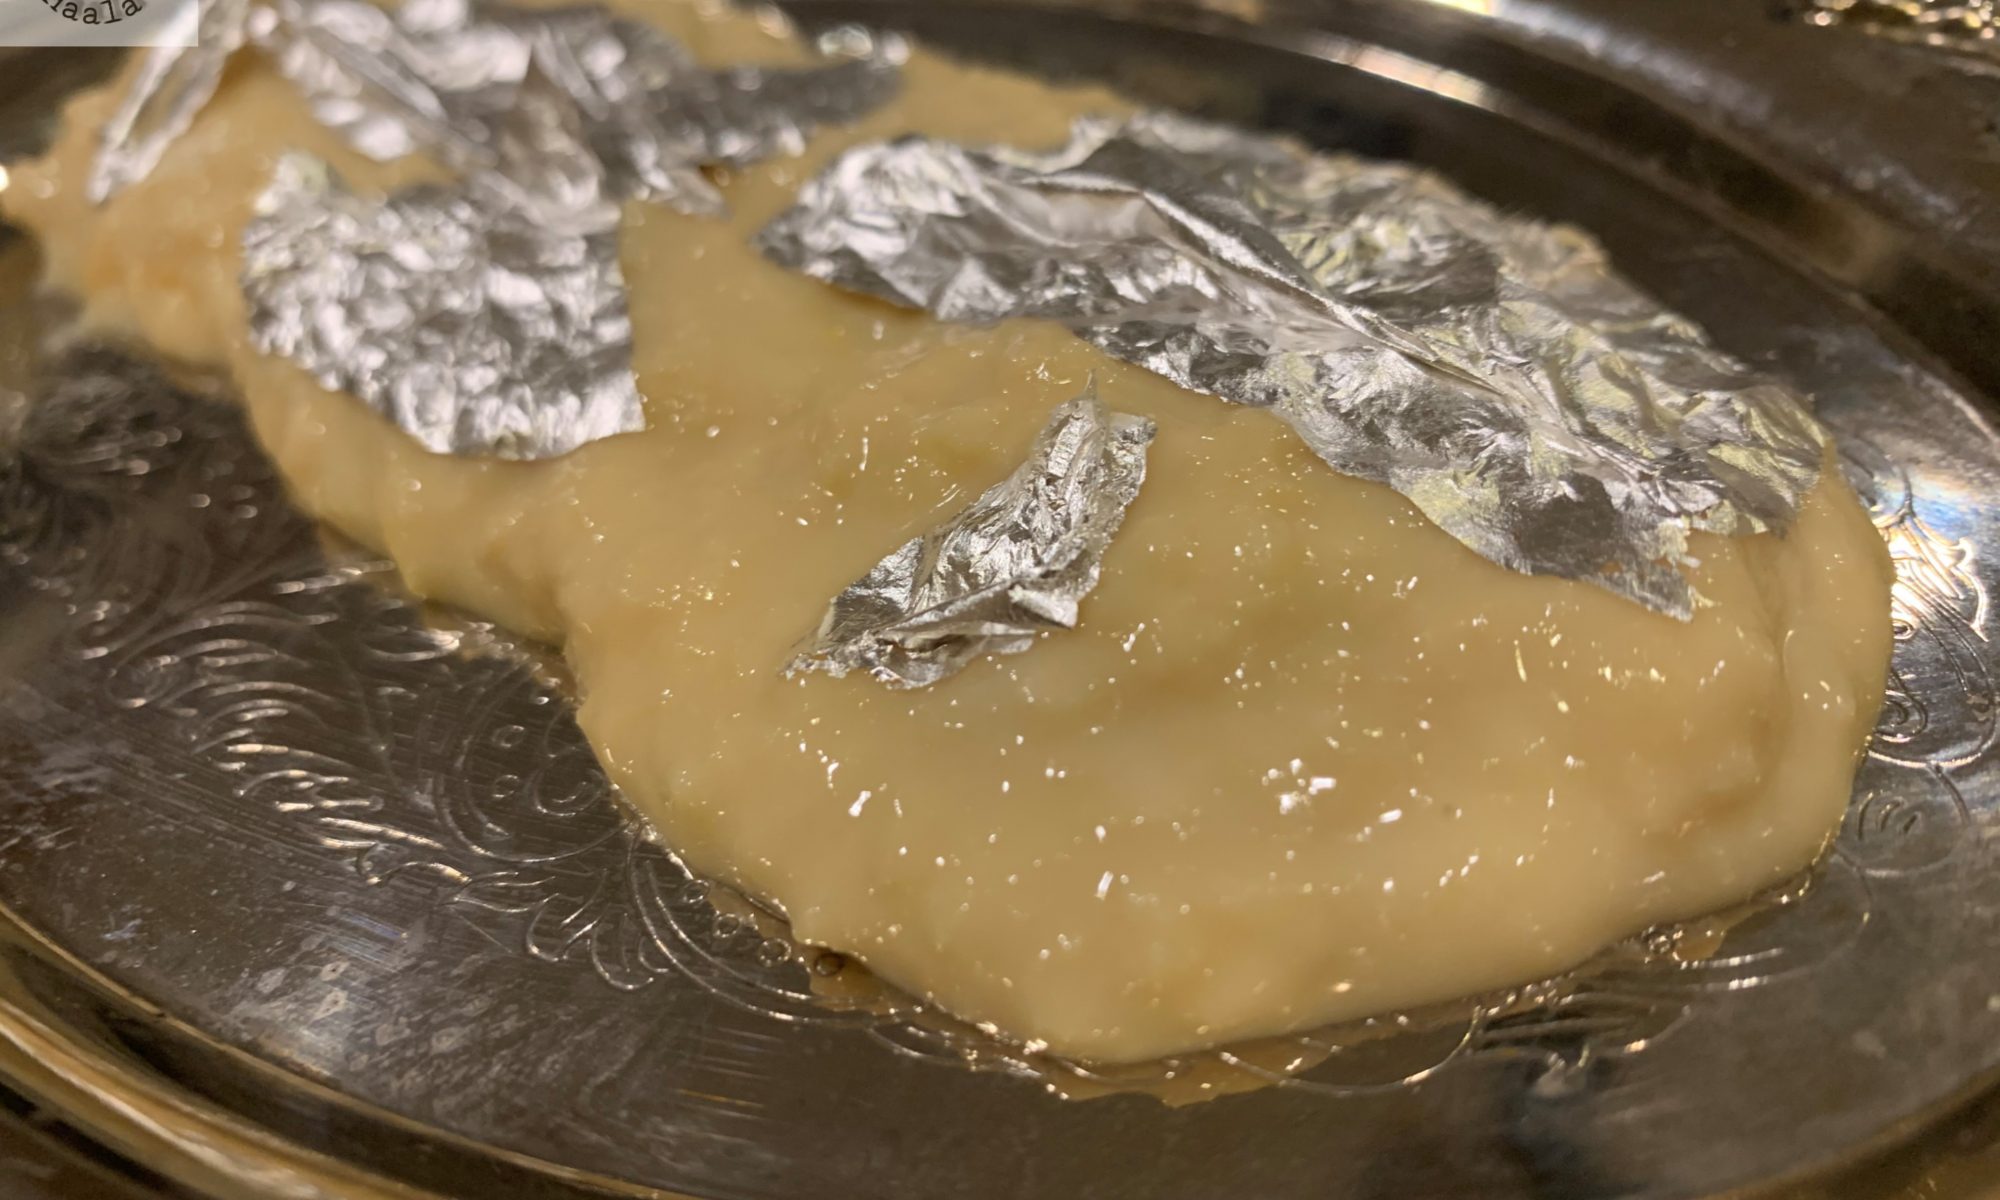
Anyways, I definitely cannot change the time I travel to Jodhpur and there was no way my cravings could be turned off. So I did what people like me are born to do…. Make my own Rabri. And boy, that was one of the best decisions I ever made. I still remember making it the first time, not being sure of whether the 2 liters of milk would go down the drain and saying my silent prayers that even if this Rabri came out half as good as what I like, I would be immensely happy. To my surprise, my hard work paid off so well that what I made was the best Rabri I have ever tasted. Amazingly delicious, thick, perfectly sweet and a teaspoon in your mouth makes you sweetish romantic.

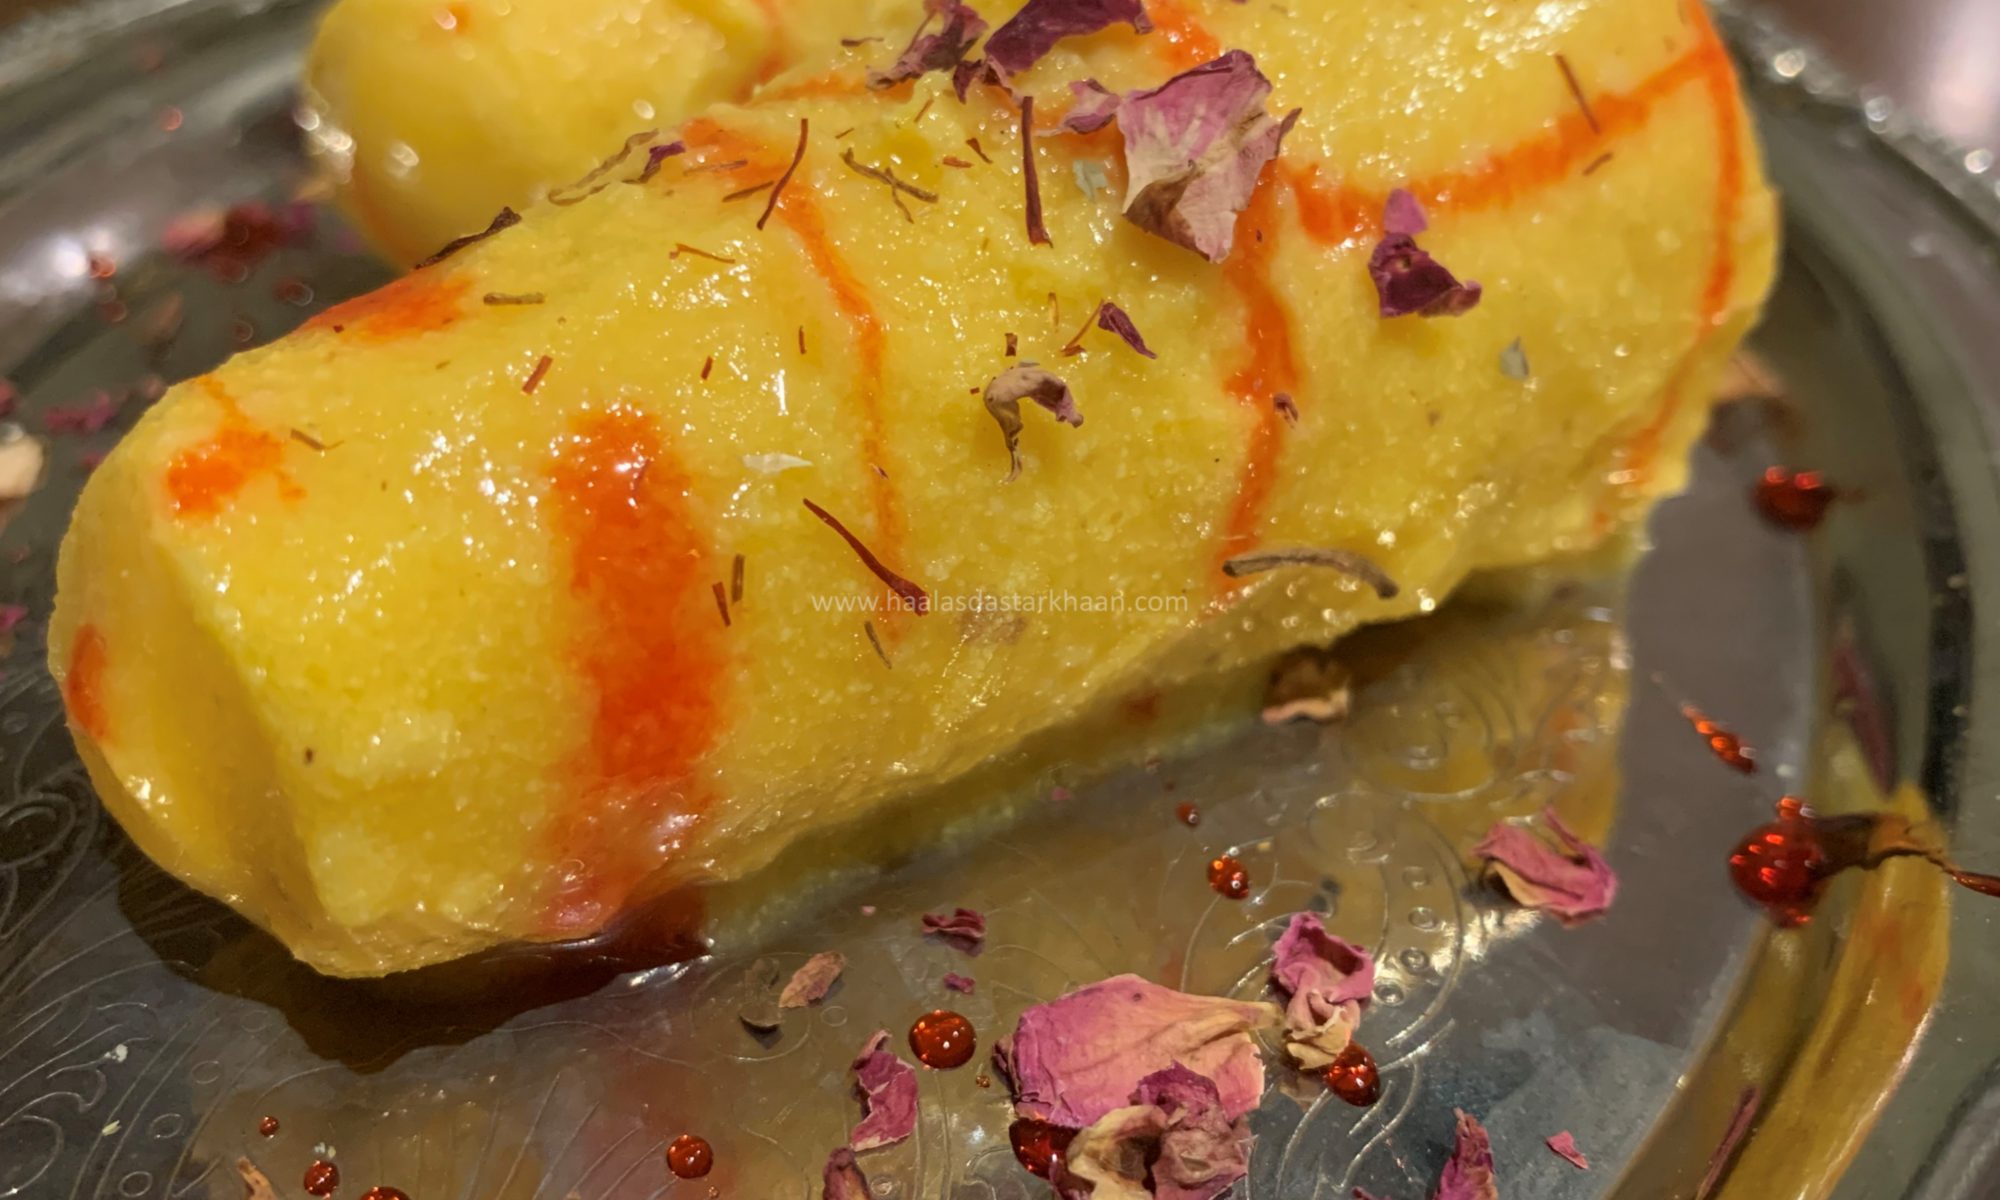
The key to a perfect Rabri….apart from the ingredients, time, patience and a good cooking saucepan. You will need Milk, sugar, Kewra water and Khoya. You are required to use Whole Milk because you will have to take the cream off every 5-7 minutes and stir that cream into the milk. You need time to make rabri and undivided attention, which I believe we need each time we make any milk based sweet, but slightly more when it comes to Rabri. The milk has to be cooked on very low heat and needs constant stirring. It has to be cooked till it remains only quarter of the original quantity. In between that we add Khoya and sugar and cook it more since Khoya tends to make the milk thick, sugar on the other hand releases water. It needs constant stirring. Adding cardamom powder and Kewra water gives it an appetizing fragrance. You can also add saffron strands like I did, but its completely optional.

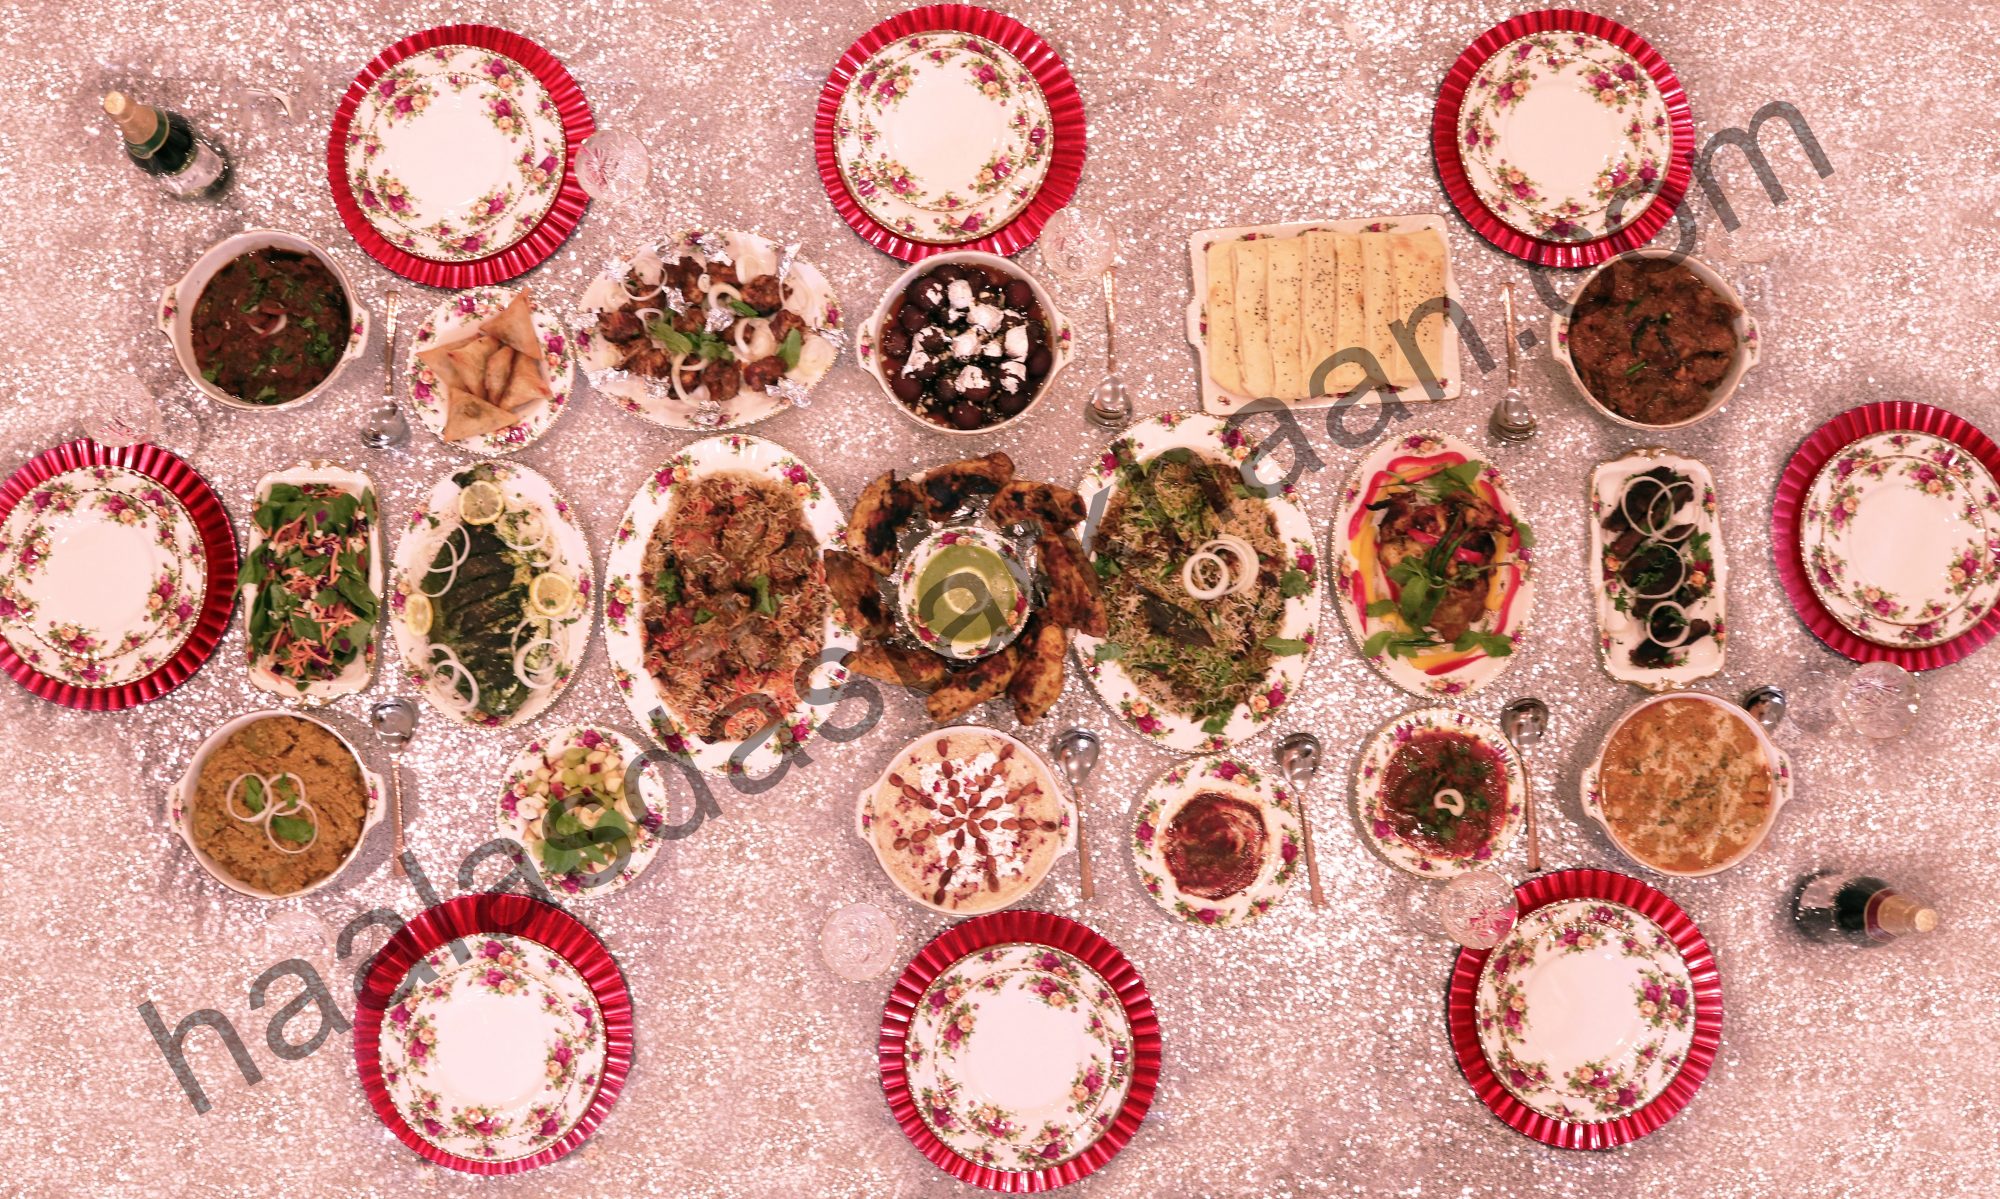
Rabri once cooked needs to cool down and refrigerated for at least 6-7 hours before you serve it. Rabri can be perfectly served by itself but also goes well with warm sweets, mostly Jalebi and Malpuas. This dish can be refrigerated for a week. Enjoy!!!

Khoya Seviyaan

Seviyaan are an integral part of Ramadan and Eid celebration in every Muslim. Seviyaan can be made in different ways and this is one of those ways. Though Vermicelli is made in almost all Indian Families, sweet and spicy, but there is something very special about “seviyaan Zarda” or sweet seviyaan that is cooked in Muslim families during the holidays. The taste is awesomely delicious and is always treated as something very special. I personally always looked forward to the seviyaan made by my mother every Eid.

I have a funny story with this dish. So, after I got married, during my initial “cook to impress hubby” days, I asked my mother for the seviyaan recipe. Back home, in India, people like my mother don’t cook with proper measurements, but its mostly a calculation done while cooking and always comes out perfect. So, my mother gave me the recipe based on her calculations, but what she didn’t realize is that I required perfect measurements. Anyways, I started cooking and was happy that it smelt and looked like what my mother makes. Once done, I decorated my seviyaan and started waiting for Mr. Parveez to get back from work. I felt he will be super impressed and happy and honestly, he did love the look but just as he took a spoon to dig on, he just couldn’t stop laughing. My seviyaan, once on room temperature got so hard that it if thrown at someone, the other person could get injured. Mr. Parveez though behaved like a good husband and tried his level best to break that rock solid seviyaan. That time I didn’t understand what went wrong but now I do. I put too much sugar and very little water . The imbalance of ingredients made the dish terrible.

After that episode, Mr. Parveez cooked seviyaan and since then seviyaan became his dish, which he would cook on Eid and other special days… and I always enjoyed them and so did my boys, till one day I learnt that seviyaan can also be made with Khoya and I felt that this recipe is pretty different from what Mr. Parveez cooks and it should come out good. I must say, this is one of the best kinds I have ever eaten.

Here the Vermicelli is cooked with milk solids and is very different from the seviyaan we normally make. The dish is cooked using Ghee and its a request that if you decide to make this dish Please use Ghee. No matter what oil you use, it will never make the dish appear, smell or taste this amazing unless you make it using Ghee. Please follow the recipe properly in order to get a perfect dish. This dish serves as a great sweet dish for parties, specially Eid and Ramadan. It can be prepared a day before and just needs to be reheated.

If you like this Please do have a look at Gulbahar as well.

Shahi Mutton Raan

Bakra Eid is one of the most important holiday for us Muslims. The month of Hajj is not just sacred, but also very special. Eid inculcates the value of sharing and sacrifice. Most Muslim families offer sacrifice on this day, which is divided into 3 parts, one part being for the less fortunate or poor, second part for relatives and friends and third part to kept for yourself. As much as I grew up with these values, I never tried to understand the reason and philosophy behind them. Now, as a mature adult I understand the deep meaning of how the religious reasons are ways of making us more caring and attentive towards our community and people.

Although, back leg of a goat would be available at your local butcher any day, but there is something about the back leg that is kept from the Qurbaani [animal sacrifice] and is usually cooked after a few days or weeks. Trust me when I say, there is something special about the meat from Eid. A taste that you never get on the regular meat from your butcher. And I cook meat leg from Eid and regular meat back leg from the Butcher too.

This recipe is pretty simple. The thing that needs most attention is the way you make slits in the back leg. The deeper the cuts, the easier it is for the spices to make their way in the meat, making it more flavorful. The main ingredient in the marination will be raw papaya. Raw papaya acts as a meat tenderizer and makes sure your meat comes out cooked well from inside and also stays soft and juicy. In case you do not have raw papaya/ green papaya available, you can also use the store bought meat tenderizer powder and use according to the instructions by the manufacturer.

I always marinate Raan with 2 separate marination. The first one is with basic Raw papaya paste, roasted Cumin Powder, Turmeric powder and salt and set it aside for an hour. The second marination includes Ginger garlic paste, Red chili powder, Tandoori masala, Anardana powder, Yogurt and Vinegar. I also add butter to this marination , but you can always add Oil if you prefer a healthier version. This marination should be kept for at least 8 – 10 hours or overnight. Cooking this on a grill is the best way to have it. I have cooked them on Gas grills and charcoal grills as well. Oven might not be as good of an option though if you do not have an outdoor grill, you can always use the oven with a with the marinated back leg on a mesh tray and a tray underneath to catch any drippings.

This dish will definitely make simple day seem a special occasion and make your dining table look extremely fancy. Enjoy!!!

Chicken Rotisserie with Veggies

I have always loved Chicken Rotisserie. Looking at the chicken in those glass ovens with whole chicken turning around seem amazingly delicious and I always thought they taste this perfect only at restaurants, since I tried making it at home in the oven, but unfortunately, the oven does not give you the same result as the restaurant, because there is no way for you to rotate it and make it crispy and cook it evenly.

But, the problem grows more when you are a foodie and the crave to cook something is just too hard to let go. Your creativity needs that platform and you need rush out all the ideas and serve t on a platter. And little do people understand that similar to people getting upset when they aren’t able to take their favorite vacation, the home based or a restaurant based chefs happen to be the same. Till you are not authorized or left to decide and serve things as what you heart desires, you go a little crazy.

Since I was going nuts over cooking the Rotisserie, we came up with the idea of grilling the chicken. Same marination, little less oil, just sparingly brushing it around every few minutes, working hard with gas grill and charcoal grill, different times. Both were great, smoky flavor, taste of fresh cooked on fire, crunchy but not the Rotisserie, the flavor we were looking for was still very much missing. And, Finally Mr. Parveez bought me a Rotisserie maker. Can you imagine the excitement ? It was beyond what can be expressed in words.

Another thing, we aren’t a fan of Turkey. As much as we have always tried fitting ourselves in the traditional American “Thanksgiving” holiday, we still could not get ourselves to eat Turkey with ease. I always found the bird to be a little dry and it failed to absorb the flavors of the marinade that I used, hence it stayed bland and made gulping it down my throat even more difficult.

Finally with my Rotisserie maker, I was ready to roll. The chicken if marinated overnight or for at least 6-8 hours, makes the chicken absorb the flavors well. Make sure you make slits at the right places as shown in the pictures below. Also, the marinade needs to be rubbed in well, specially in the cuts and slits made. I always prefer using the whole chicken with skin. The fat from the skin adds a lot flavor to the chicken and it tastes incredibly delicious as well. The chicken should be tied from the legs and wings to be able to hold properly while being turned around. Mine was crispy and done in around an hour. This is must try if you are a Rotisserie fan like me. It surely does add a lot of glamour to your dinner table and is always a very fancy addition to the menu.

Shikari Chicken Rice

This is an invention by only hearing about the dish…Yeah I know I can go nuts when it comes down to trying to make a new dish. This happens to be one that I really planned out well and craved to make it.

Like I always say, every dish has a story. This one has one too. While speaking to a close friend about different Biryanis that we get at famous and not so famous eateries in India, I was told that a popular restaurant served something that was close to Biryani, but not Biryani. That really got my interest. Giving me further details, that its mildly flavored bed of Rice served under these awesomely juicy grilled chicken. I mean who wouldn’t want to act on this description and try and make it. It’s actually not just the details of the dish, but the way it was described and the fact that it topped the list of Chicken and Rice. I had not even seen the dish, yet I was head over heels in love with the dish and felt challenged to make it.

When you are aware of a dish, you tend to study it by searching about different chefs who have made it or by trying the dish out at different restaurants or even making the dish a couple of times to achieve the desired flavor or result. But when its a dish, you have never heard of until now, tried, seen or tasted, and you crave to cook it, you are definitely a crazy chef…LOLzzz. I think I fit the bill.

So, I am not aware of the Chicken served is with bones or without, but going according to my Biryani basics, I picked Chicken with Bones and marinated the chicken with spices and Yogurt for around 2-3 hours. Though my chicken came out delicious, I still recommend that a chicken is more flavorful if marinated overnight or for at least 6-8 hours, though in today’s time and age, things happen unplanned and we have a little time before we decide what we need to cook. For all those times, marinate, cover, and place the chicken in the refrigerator. Refrigeration helps blend the flavors faster and better. Once I was ready to cook them, I took them out of the refrigerator and preheat the oven to 400F or 180C. I placed them on the grill with a tray underneath to catch the dripping. The cooking time was around 25-30 minutes, with an extra 5 minutes of high heat grill, since I wanted them to look well done. If you want, you can cook them in the oven and do the latter process in a pan, or on naked fire. Any which way will give you great outcomes.

I made a gravy as well to spike up the layers of Rice. The gravy was made very similar to Biryani Yakhni shorba. For initial whole spices, I added fennel seeds along with cinnamon, cloves, green cardamom, and cumin seeds. I further fried the onions, taking half of it out for garnishing and using them while layering the Rice. That was followed by Ginger garlic paste and spice powders. Further adding tomatoes and Yogurt, combined with green chilies, mint leaves, and coriander leaves. I also added the marination left behind after the chicken is taken out, so it gets a little flavor from the chicken as well since we aren’t cooking the chicken in the gravy.

This is a lovely recipe for a weekend Brunch or to display your cooking skills to those uninvited guests, when you don’t want to spend too much time in the kitchen. It’s a pretty quick fix to traditional Biryani and modern-day Chicken over Rice. One of my self invented and the best recipes ever…Enjoy!!!

Methi Chicken Curry

This curry is one of my most initial curries. My love for cooking during my earlier cooking days never had curries on the menu. I have always been more of a Biryani and Kebab person. It was much later that I started making curries and Methi chicken happened to be one of the first ones that I tried following a recipe I read in the book.

Now just to be clear, my mom does not make Methi Chicken, so honestly, I had no idea whatsoever if this dish will even come out and be edible. The dish really surpassed all my expectations and it became a must for special and not so special occasions, but with time, as I improved in my cooking skills, I felt few changes here and there would make it more flavorful.

The initial recipe required only tomatoes for Gravy, which I feel if made a few hours before tends to get a little dry. See, it’s simple logic, protein does tend to absorb moisture in the curry over time, therefore if you make a curry always make slightly saucy. Even with curries that are supposed to be thick in gravy, while making the curry should not be kept too thick, specially if you are cooking a few hours in advance. Once the curry is cooked, or for that matter when you cook any dish, it tends to get thicker as it cools down. Therefore, to make the consistency of the gravy a little thinner, I add Yogurt along with the tomatoes. Secondly, most recipes, actually almost all recipes where I see methi leaves as an ingredient for the dish, the recipes use kasoori Methi and as much as I like the way Kasoori Methi works its magic in curries, it can never beat fresh green Methi leaves. From my point of view, for curries where methi leaves are one of the main ingredients, we should use the fresh ones as opposed to the dry kasoori methi. Curries such as Butter Chicken or Malai Kofta require kasoori methi since its only needed for flavor enhancement and balancing the creamy texture of those curries.

I marinate the chicken in this recipe, for around 15-20 minutes, which is enough time for you to finish chopping the onions and start with the initial process of cooking this curry. A wonderful recipe and one of the best Methi Chicken curry that you can ever have. Enjoy!!!

Chicken Reshmi Seekh Kebab

Reshmi is an Indian word used for “silk”. Reshmi Kebab are silk textured, soft, juicy and delicious kebabs made with minced meat or chicken from the Mughal Kitchen. As the name depicts, Reshmi Kebab is juicy succulence of meat added to the skewers. The meat has to have a perfect texture thanks to the marinade in which it is soaked.

The problem with seekh kebab that usually happens is that it goes dry if the marinade isn’t good enough. A good marinade for seekh kebab cannot be too saucy or it will be hard to hold the seekh shape and it cannot be too dry or the seekh would not taste so good. As much as you have to be careful about the ingredients that go into the dish and a lot of times, I see people messing it up with the seekh breaking mid way while being cooked, the process is simple. A few tricks and you are good to go.

In this recipe, I added a paste of fried onions. Onions by itself release water when added to a dish so the best way to add onions to a dish when you want the flavor and fear the dish getting excess moisture is by frying the onions. The process of frying onions dries up the moisture. The fried onions also tend to get a little sweeter so, make sure you adjust the spices accordingly. When you grind the coriander leaves with mint leaves and chilies, make sure that you don’t add too much water. In fact, add water a drop at a time and avoid if not needed. The green paste doesn’t really have to be a paste, it can be roughly chopped paste.

If you follow the recipe properly, you will be able to achieve a perfect seekh kebabs and trust me, these ones are to die for. They are perfect, juicy and absolutely delicious. Enjoy!!!

Chicken Cheesy Tikka

Chicken Tikka has always been my go to recipe whether I have to make quick kebabs for the family or friends or even if we decide late in the evening to have a barb-e-cue dinner, Chicken Tikka is always the easiest, safest and yummiest recipe to go to. The flavors can be any which way you want. The boneless chicken pieces easily absorb the flavors quickly and the result always comes out delicious, unless you are determined to mess it up, otherwise its hard to mess up the chicken marination.

This recipe is a chef’s fluke or should I say determination of make sure I make something using shredded cheese, making sure the kebabs are soft, but also making sure that the boys taste no cheese. Isn’t it funny, life as a mom who loves to cook but is restricted by the weird taste buds that won’t allow her to experiment with flavors stressing on the fact that their peculiar taste buds won’t allow them to enjoy their favorite tikka. Therefore, this recipe was a challenge, and if you are sailing in the same boat as me, this recipe is for you.

The chicken I used is boneless chicken breast and Chicken breast tends to go a little dry and cheese helps it stay moist and juicy. I love kebabs that have that crunch top and is super moist inside.

Tughlaqi Chicken Kebab

Tughlaq Dynasty was a Muslim dynasty of Turkish-Indian origin which ruled over the Delhi sultanate in medieval India. Its reign started in 1320 in Delhi when Ghazi Malik assumed the throne under the title of Ghiyath al-Din Tughluq. Though Tughlaqs weren’t anywhere like Mughals who built numerous monuments in India and mingled and married princesses and came to India with a vision of settling down, but they weren’t too different either. Mohammed bin Tughlaq is the most famous ruler amongst all the rulers of that family and the dynasty expanded its territorial reach during his reign with the help of military campaign. As much as a lot of people while reading Indian history don’t appreciate these Persian or Turkish rulers entering the Indian territories, the fact that we fail to understand is, that it was a norm back then, just like today it is for each nation to compete and show their might by showcasing their missile or nuclear power. I enjoy reading history and love to read about how different kings ruled over their kingdoms, the culture, their traditions and specially their foods.

When the Tughlaq dynasty reigned, the Persians were still getting accustomed to the spice India offered and as much we take spice marinades and cooking like a walk in the park today, since our food palettes know the taste that each spice would give out to a dish, it wasn’t that easy when the blending took place in those old kitchens. Its easier to experiment with flavors now except if you go all out experimenting with something totally new. Getting back to this recipe, the name to this dish comes from someone who loves coming up with awesome names. After the name I started reading history about the Kitchen during the era of Mohammed Bin Tughlaq and discovered though the name came in a fluke but I did discover that this kind of recipes made it to the initial Turkish-Indo recipes. This recipe has a blend of both sides. The hint of Indian spices, the use of Ginger and Garlic which is inspired from Turk-Persian rulers, the idea of marinating chicken before cooking and of course frying them till crunchy. So, with all that I stick to the name and believe the name is apt.

This recipe has a mix of spices with flour and corn starch powder, fried with curry leaves served with my Garlic mayo sauce and some sliced Onions. Its a quick, easy and delicious recipe. Enjoy!!!

Mango Kulfi

Kulfi or Qulfi is an indian word derived from the persin word “Qufli” which means covered cup. The dessert was likely originated during the Mughlia Reign in the 16th century. The Mughal Khansamas or cooks were already popular with their mastered skills of creating sweet dishes with dense evaporated milk.

Kulfi is traditionally prepared by evaporating sweetened milk. The key is constant stirring and slow cooking. The milk has to be reduced, thickened and later add your favorite flavors. The best thing about kulfi is that once the milk is thickened, it accepts all flavors , be it fruits, dry fruits or even just plain essence. Reduced milk is very accepting when it comes to other flavors and the blend is delicious. The thing that most people don’t understand is a basic rule of constant stirring to keep milk from sticking to the bottom of the vessel where it might burn, until its volume is reduced by a half, thus thickening it, increasing its fat, protein, and lactose density. The semi-condensed mix is then frozen in tight sealed moulds and put in the freezer.

Desserts are every family’s favorite and Kulfi for us seems to top the chart during summer. My homemade kulfi is always loved by my family and friends. After trying different types of Kulfi using a variety of dry fruits, I decided to venture out using fruits. One of the first fruits I experimented with was Lychee and though the end product wasn’t a disaster, the Kulfi never came through.

I believe after that failed experiment that fruits for Kulfi should always be fresh. The Lychee I used was canned, but this time when I tried the delicious Mango Kulfi, I wanted to make sure nothing goes wrong and we get to enjoy the most loved fruit combined with the most loved dessert.

And that’s when I thought of making Mango Kulfi. Although I would have loved to make this delicious treat with Hapus Mango, but unfortunately Hapus isn’t available here like India, so I had to bear with the best ones we get here and so I did. Remembering Hapus, I was actually challenged by someone recently claiming that with the confusion I have with Mangoes, I surely have never tried Hapus. Honestly, I am one of the weird ones who isn’t a big fan of Mangoes and as much as people find it insanely funny, its a fact that I can look at a wonderful and beautiful mango and walk away. So, I will definitely share my hapus story another day but for for now, Please enjoy this wonderful and beautiful recipe.