Pineapple Milk Shake

Milkshakes are always so popular in people. Mango, Chocolate, Strawberry, Banana, Oreo and of course so many more. As a kid, I always loved going to this juice shop with my father. In India, before this super age of these fancy cafes, small pizza places, restaurants and ice cream parlors, we had juice corners. Fresh juices made on demand were always full of flavor and nutrition.

Those juice corners still exist, but since the competition is tough and they take pressure of making fruits available without season too these days, which of course means more canned fruit and more sugar syrup and less natural fruit with natural sugar. As much as these juice stations were fun and nutritious before, they aren’t as much anymore.

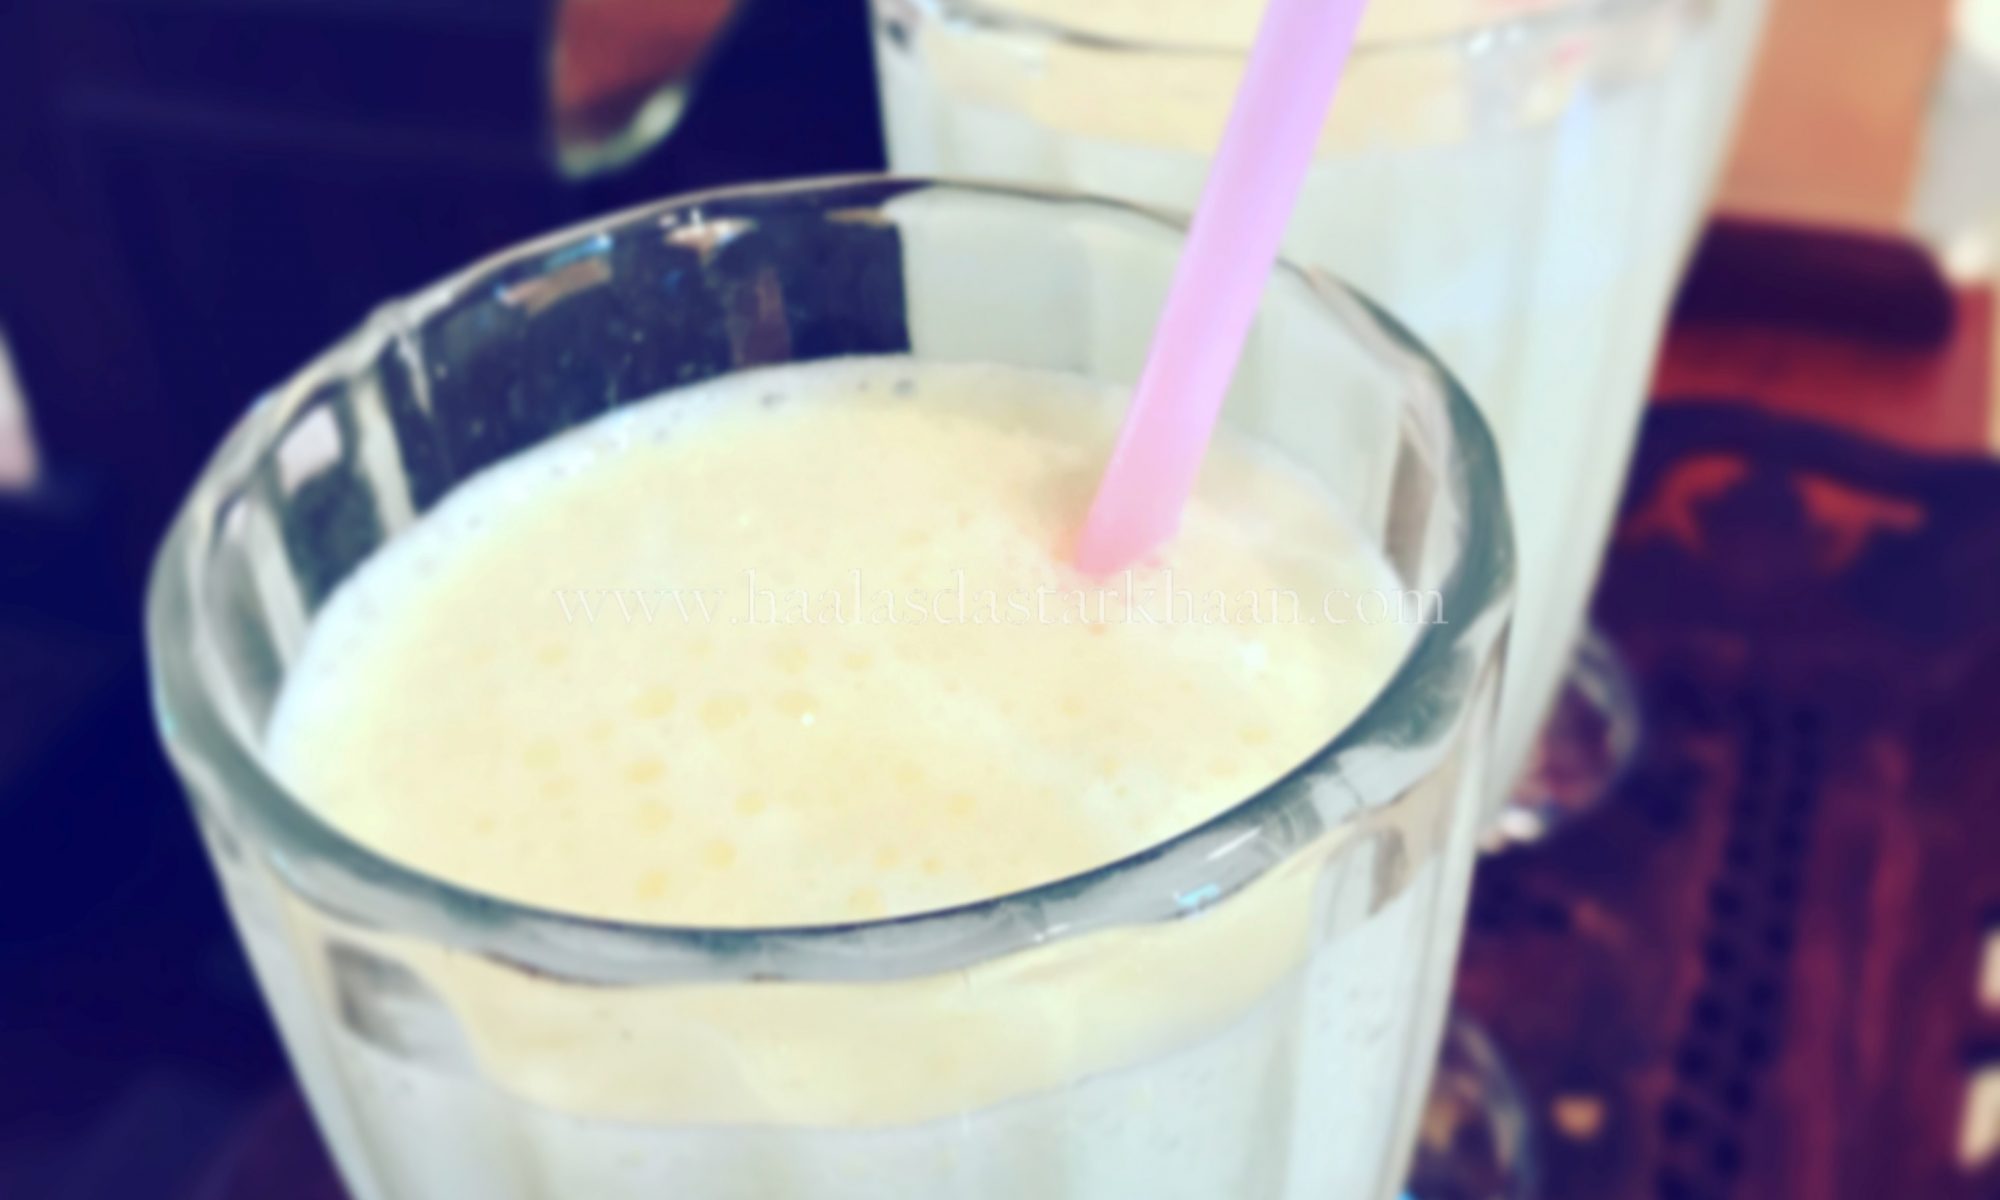
I believe eating fruits as per season and eating local fruit is better than eating something not in the season. So, whenever we visit juice shops, we try and have things meant for the season. Getting back to Pineapple Milkshake, I always loved it and the canned fruit used these days makes it taste stale and that made me want to try making it at home. There were few trials and errors before I came up with this recipe that is worth teaching and sharing. I think when they say that best things in life are simple, this is what they mean. While trying to master the flavors from my childhood, I tried all things that made the drink fancier, forgetting that things were never this fancy when I was a kid. Once realized, that, I started taking baby steps towards what was available then and I was able to create what I always loved.

The milkshake is simple, easy to make and definitely pleases the crowd and popular between kids.

Plain Shrikhand

When I was in school, I had a friend from the southern part of India. Her father was in a transferable job and he happened to be in Jodhpur for a few years. We were good friends and we used to have playdates. The family had a maid, who was an old woman and she traveled with them wherever they went. She was from their hometown and she was a super amazing cook. The people in the family, including my friend, lovingly called her “Amma”. My first experience of trying Shrikhand was at my friend’s house and I remember not liking the first look. Then I was told that its yogurt with sugar and I was convinced since I loved my Dahi-chini.

First, bite into that yummy dish and I loved it so much. I was ten years old then and I still came home and told my mom everything I gathered, but unfortunately, the information wasn’t enough for her to recreate that sweet magic.

And, then came in a company selling their flavored shrikhand in the market, and of course, we were the first few buyers in our closest store in the neighborhood. A store-bought product is something that was made weeks or even months ago, contains preservatives, has been refrigerated, thawed, and refrigerated, may taste great, but you know your portion has to be very controlled and you can’t eat it as carefree as it would be with something homemade. The difference between the first Shrikhand I tried at my friend’s house and the store-bought one was the texture of the Yogurt. While the Shrikhand at my friend’s house was a little runny, the store-bought one was thick and creamy.

I, then started experimenting and tried making my own Shrikhand at home, following all the advice of hanging the yogurt for at least 30 minutes, using castor sugar, and grinding cardamoms to a perfect powder. But, nothing would match the taste. There was something that was lacking and I just couldn’t figure that out. With time, my zest to perfect my Shrikhand took a back seat too.

A few years later, after I am settled as a homemaker, I try my hands on it again. This time my experiment had two new ingredients, Vanilla essence, and Rosewater. Now for those of you who love making Shrikhand at home, the rule is to always hang your Yogurt in a muslin cloth so it takes away all the excess water. If you do not have a lot of time in hand, since hanging the yogurt requires anywhere between 45-60 minutes, you can also use Greek Yogurt. Greek Yogurt is thick and 15 minutes in muslin cloth is enough to drain out the excess moisture. Now, you might already be adding rose water, but the addition of Vanilla essence just makes it a whole lot better. Vanilla essence not only enhances the sweetness but also the flavor adds a lot of freshness to this sweet dish.

So, don’t wait to try this awesomely delicious and super easy, no-cook, no-bake sweet dish and impress everyone around you.

Pull Apart Long Buns

My boys prefer home lunches and also love varieties for their lunch. When I use the word variety, I mean that they would not want a dish to be repeated in 2-3 weeks and believe it or not, its a lot of pressure to make something that tastes great and that they would love it as well.

These chicken buns are easy to make and can be easily made by beginners as well. The chicken does not have to marinated for too long and even the process of marination is with pretty simple ingredients. This is great dish if you have boneless chicken available and haven’t thought of anything in mind, and need to get things ready in a rush.

My boys prefer this in the hot dog bun Sandwich, but this chicken would taste great even with a tortilla and Roti wrap too. I have tried them with ciabatta, french long bread and croissants as well.

I usually make this and serve it with a different spicy sauce . The recipe for the spicy sauce is in the sauce section. A blend of mayo, ketchup, hot sauce and mustard sauce goes perfectly with this spicy shredded chicken to give that kick to this sandwich.

Oven Fried Chicken Roll

A little twist to our all time favorite fried chicken roll. My kids love the fried chicken roll. We tried it in some restaurant in India a few years back from a popular joint. The roll was amazing crunchy and delicious. Since, we returned, these chicken rolls found a place to our play date parties, since they are a big hit in kids.

Though I would always fry my chicken but then when a dish is made more often, it sometimes makes you switch to a healthier option and that is exactly what I did with my fried chicken roll. Instead of frying it in oil, I substituted my fryer with my oven to make the chicken a little more healthier. The bread/Roti that i made for the roll is also cooked on a skillet without using oil.

Its funny that a person like me who isn’t very conscious about what she eats and I also truly believe that flavors shouldn’t be played around with and I made sure of that with this one too. This dish came to perfection after a few trials and errors and this is the final outcome, as good as the regular one.

Now, the first try for making the chicken without frying was cooking it in the air fryer. I am not sure if people achieve a lot of success while using air fryers, because I don’t seem to like them much. I have an air fryer from one of the best companies and I did follow all the instructions as well, but the chicken came out very chewy and the outer part wasn’t as crunchy either. I tried again and this time sprayed a little oil. The result was great exterior and very chewy inside.

Then I decided I should give my oven a try too and though everyone has their preference, but trust me on this one that the oven gives you much better results than an air fryer. There is definitely a little more work where you will have to turn the pieces around mid way cooking to ensure the chicken is cooked evenly from all sides, but, it’s totally worth it.

The sauce that I used to assemble the roll is pretty simple to make. The recipe is available in sauces. If in case its not, please feel free to remind me. Being a homemaker and a mother to two boys, I do forget updating things…LOLzzz

Meanwhile, please do go through the recipe. I am sure you will love to try it too. Its easy, simple, and healthy. Enjoy!!!

Grilled Tilapia

Tilapia is one of the most wonderful seafood I have tasted. I am someone who loves Fish, but I do not like seafood options that are too fishy in taste. So, for people like me, Tilapia is a great option.

This fish is flaky, tastes mild and goes along great as a side dish, or a light lunch/dinner. This recipe is a quick marination and once its grilled, its just a perfect go to dish.

We loved the whole grilled Tilapia. I did realize that it tastes much better if you buy fresh live fish. Frozen options would be nice too, but there can be nothing better than getting your fish fresh.

Though I always have Mr. Parveez grill the fish for me, but I have given details of grilling the fish in the oven too.

Carrot Masala Toast

This masala toast is a famous snack from Iyengar bakery, which I had never tried. Being from North India, there are these few things that you miss out on. Like the fresh made veggie toast. Ohhh!!! Don’t get me wrong, I love the north Indian malai bread and potato sandwich or paneer sandwich, but I still fell completely in love with this iyengar bakery masala toast.

This was first made by my husband, Mr. Parveez when he wanted to flaunt his cooking skills, show casing how breakfast can be made quick, delicious, light and above all, healthy.

This toast can have variety of veggies put but, the authentic iyengar bakery toast only has carrots, tomatoes, onions with a few spices and chilies. It’s a perfect breakfast for on the run, or a perfect snack for warming up those after school/evening cold winters with a warm drink.

Butter Chicken

Never met anyone who doesn’t like Butter Chicken. Simple, flavorful and so divine. But most of time people never try and make it at home and Butter Chicken becomes an eat out special. Many times I have read where people tried the recipe following a famous chef, but the dish still does not come out as good as the ones at restaurant.

The recipe below and simple to make and the closest you can get to the authentic Butter Chicken flavor.

Burrah Kebab

My dad took a lot of trips to Delhi for work. Even we as a family, would be visiting the capital of India quiet often since back in the 80’s and 90’s, we didn’t have the concept of direct trains from one city to another. So, we would take a train to Delhi and then another one to the destination. Since, My maternal family lived in U.K., dropping someone off to Delhi or picking them up from Delhi or we visiting our maternal home was always a trip through Delhi.

Now, being a non vegetarian, purani delhi is the place to be. Despite the crowd, the pollution and uncountable hygiene issues, every non veg lover at some point visited “jama masjid area” to satisfy their cravings. We did that on almost every trip and my father tried it at least twice each time, if not more. Some very popular restaurants serve awesome and delicious kebabs and curries with sheermaal, roomali roti and finger licking biryani.

Amongst the various variety of kebabs, Burrah kebabs stole my heart. Made from lamb marinated for a few hours, these kebabs are juicy, crunchy and full of beautiful flavors. So I had to search for the recipe. Though the recipe that I found wasn’t close to what my taste buds witnessed as a kid but being a home chef I knew how to add and deduct things and come out with the exact taste.

This is a must try for people who love lamb kebabs. Pretty easy to make and can be stored too.

Boti Kebab

These are one of the first mutton kebabs I made of for Mr. Parveez and since then they are a family favorite. The kebabs are spicy in flavor, crunchy from outside and soft from inside. These kebabs are steamed before pan frying.

The good thing about steaming is that if there is any extra fat in the meat, it gets drained which kind of makes the kebab a little healthy. To eat these on diet, you will have to pan fry them with as little oil as possible or you could also use those oil sprays. Steaming is different from boiling. Boiling the kebabs might take away the flavor and spice, where as steaming cooks the spice and the meat is completely tender. So, when you pan fry, it only takes a few minutes for the meat to get crunchy and its ready to eat.

A super fab recipe to serve guests as a side dish. Easy to make and easy to please.

Bhuna Gosht Masala

As a kid, I never liked mutton curries. I grew up believing that Goat/Lamb is something I just never enjoy until, I started my cooking experiments and realized that the problem is not with mutton, its the way it was cooked in my house. There were just 2 kinds of curries and I just happened to not like any. Though, I did prefer one and found it a little easier to gulp down somehow. I think the reason that I didn’t have too many options as a kid when it came to food choices is the reason I make so many varieties…LOLzzz.

So, when I started cooking lamb/goat, I preferred cooking them as kebabs. Different kebabs, with bones, boneless, minced meat, but never a curry. I could just never gather courage to make a curry, because I was convinced that it wouldn’t be good.

All that changed after I got married. Mr. Parveez has some fabulous goat curry recipes, passed down from his family and that’s when I started following the recipes and got more confident about it. Experimenting with different flavors added a lot of variety to my lamb and goat dishes. This recipe happens to be one of them.

This dish is a little thick in gravy, so its great to be eaten with phulkas or Rotis or a side dish with Daal-Chawal.