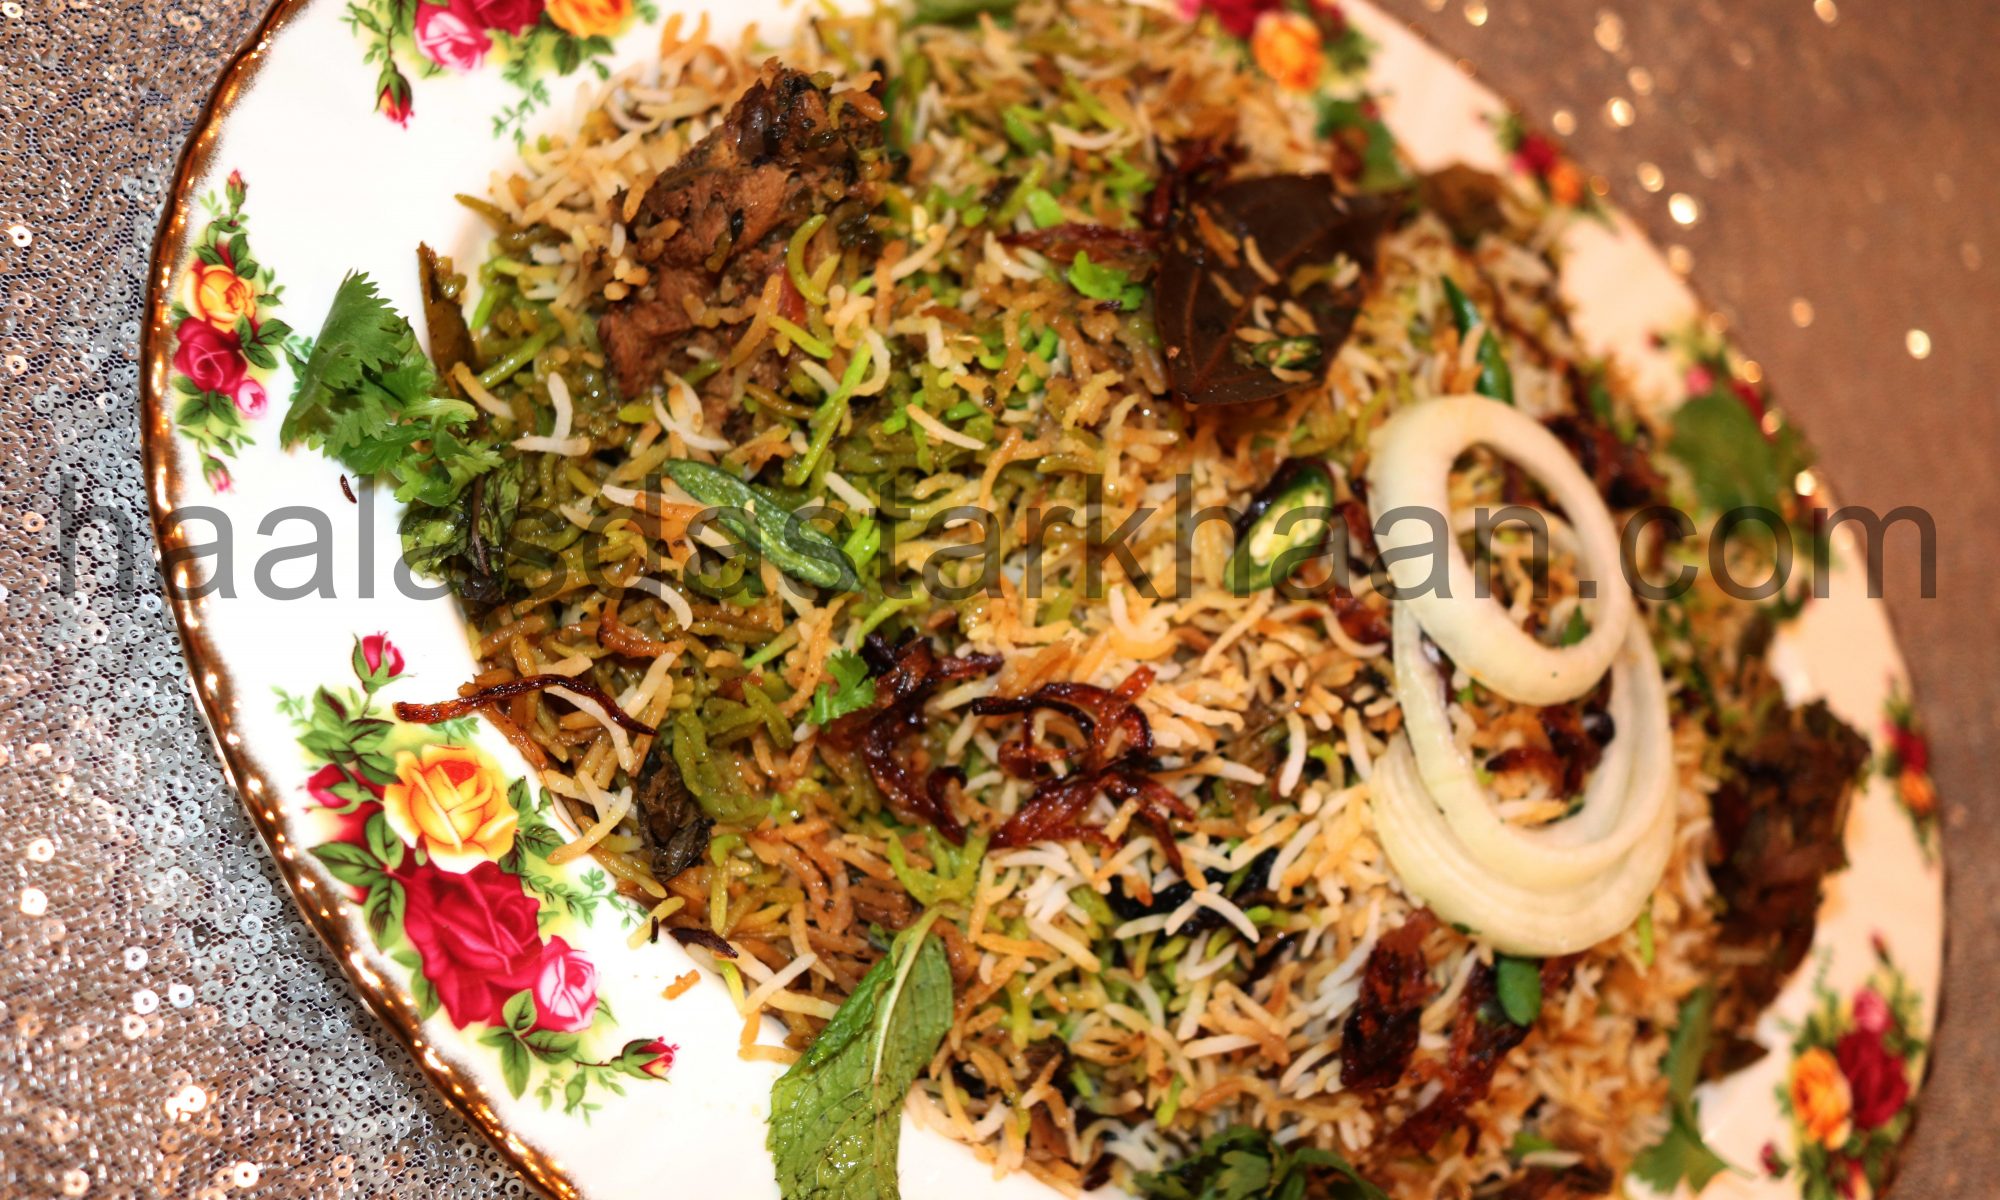
Ambur, nestled in the Vellore district of northern Tamil Nadu, is renowned for its signature biryani, a dish that has become emblematic of the region’s culinary identity. What sets Ambur Biryani apart is its use of zeera samba rice—a short-grain, aromatic variety known for its ability to absorb flavor while maintaining a firm texture. Unlike the long-grain basmati used in many other biryanis, zeera samba gives Ambur Biryani its distinctive mouthfeel and subtle fragrance.
🍽️ A Glimpse into Ambur Biryani’s Origins
- Historical Roots: The dish traces back to the Nawabs of Arcot, whose kitchens blended Mughal techniques with local ingredients. Some stories suggest that Mughal soldiers, craving biryani while stationed in the south, adapted their recipe using available spices and zeera samba rice.
- Regional Spread: Though Ambur is the epicenter, neighboring towns like Vaniyambadi also share this biryani tradition, each adding its own nuance.
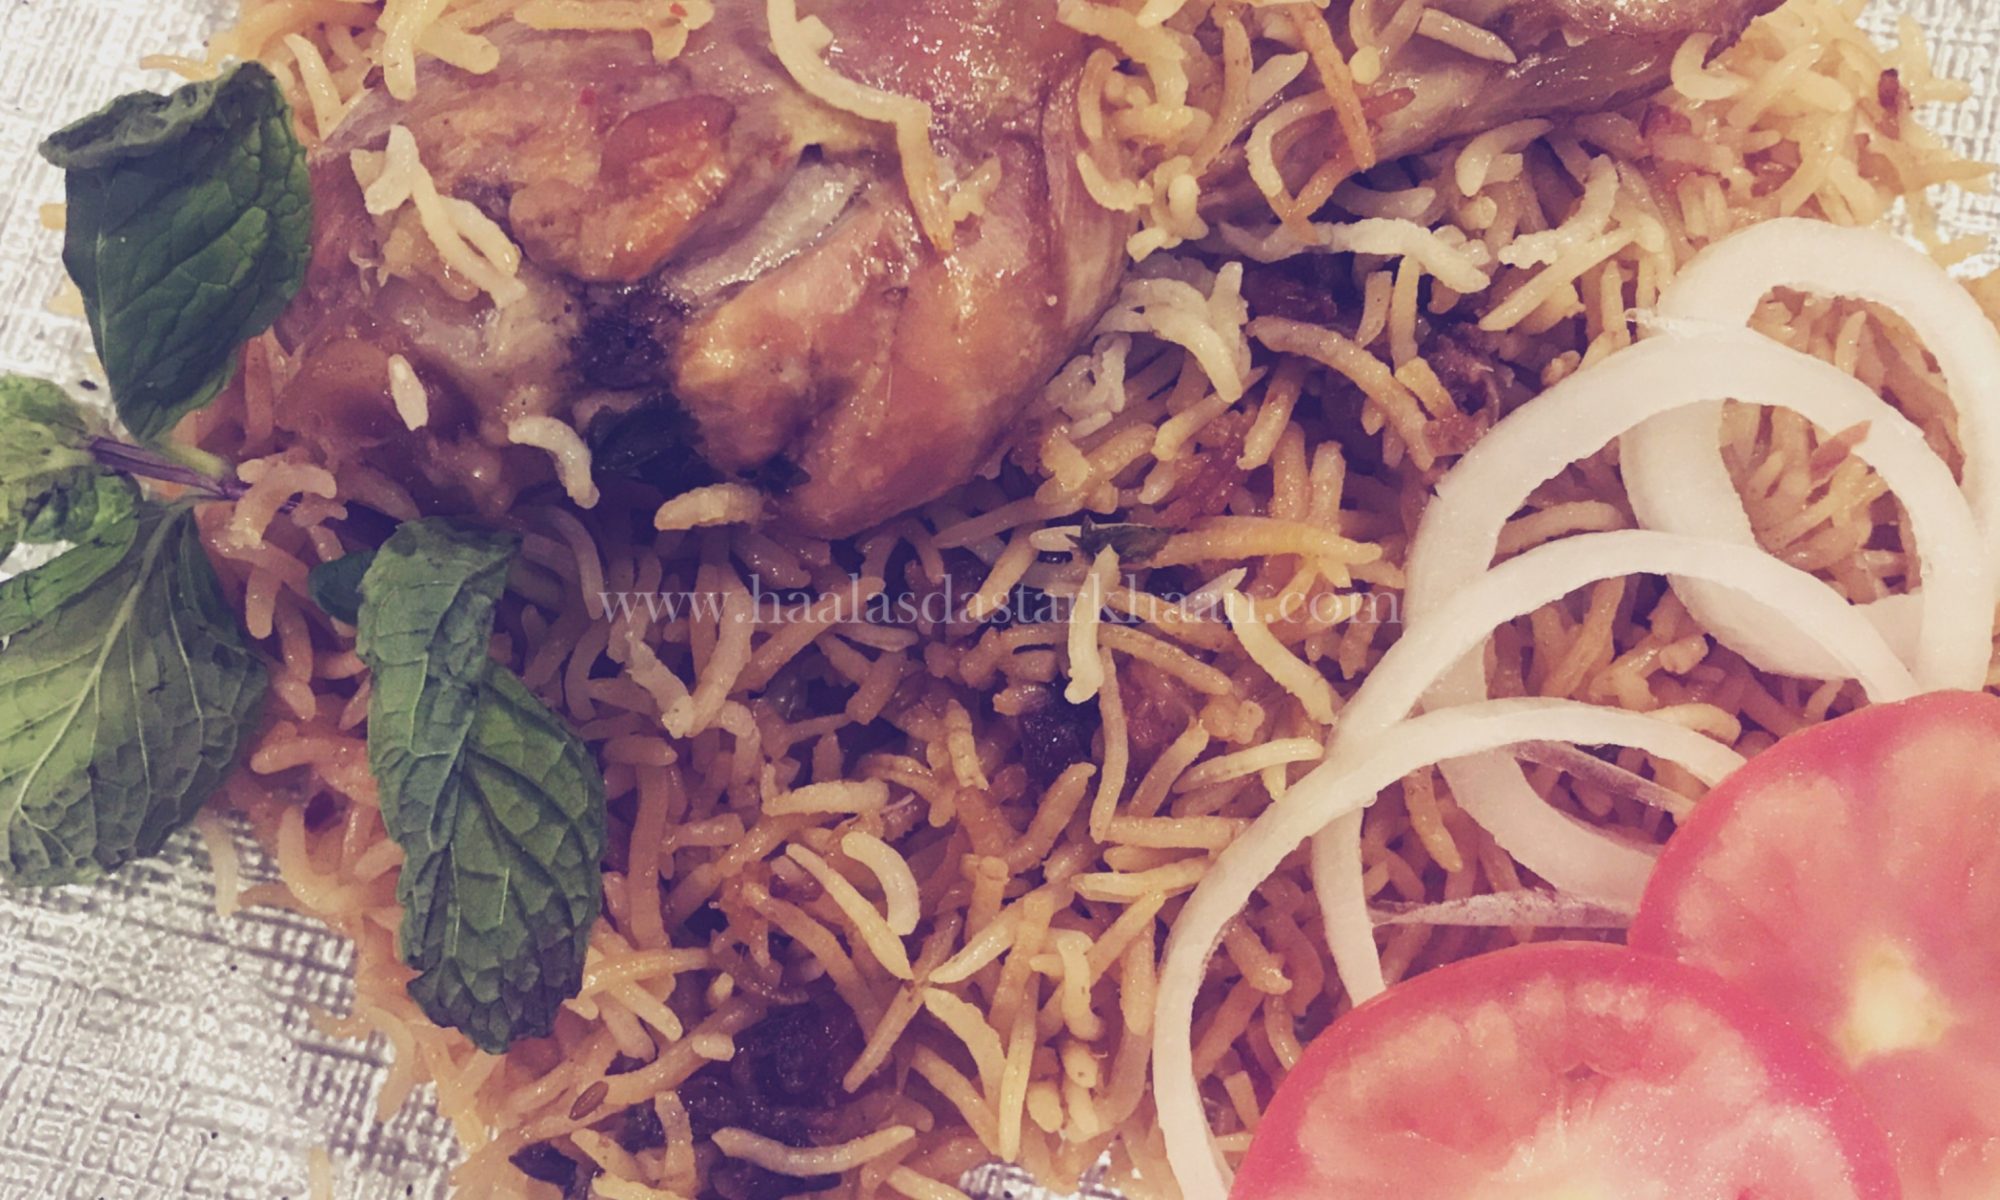
- Flavor Profile: Ambur Biryani is known for being moderately spiced, with a curd-based gravy and a higher meat-to-rice ratio. It’s often served with dalcha, khatte baingan, or raita, making it a complete and satisfying meal.
Ambur & Vaniyambadi Biryani: A Legacy of Flavor
Ambur and Vaniyambadi, neighboring towns in the Vellore district of northern Tamil Nadu, are known not just for their leather craftsmanship—but for a biryani that has become iconic across South India. With a significant Muslim population and a rich culinary heritage, these towns gave rise to a style of biryani that’s both humble and unforgettable.
The dish is believed to have been introduced by the Nawabs of Arcot, whose royal kitchens blended Mughal techniques with local ingredients. Another story suggests that Mughal soldiers, stationed in the southern region, longed for the biryani of their homeland. With limited access to familiar spices and basmati rice, they adapted the recipe using zeera samba rice—a short-grain variety native to Tamil Nadu, known for its ability to absorb flavor while retaining texture.
📺 A Friday Tradition, A New Flavor
As most of you who follow me know, I have a soft spot for trying new biryani recipes. It’s become a bit of a ritual—every Friday, without fail, I cook biryani for dinner. It’s my way of ending the week with warmth, aroma, and a plate full of comfort.
One Friday morning, while watching an Indian TV channel, my husband, Mr. Parveez, spotted a segment on a restaurant serving Ambur Biryani. Intrigued by its unique style and regional roots, he couldn’t resist. I was out grocery shopping when my phone buzzed with a FaceTime call from his office.
“Baccha, can you look up Ambur Biryani and make that today?” I smiled. Of course I could. That’s the beauty of biryani—it’s endlessly adaptable, and every version carries a story. That day, Ambur Biryani became ours.
🍽️ A Pleasant Surprise in the Aisles
While I’m always up for trying something new, I’ll admit—having to rearrange my shopping list last-minute can throw me off. So when Mr. Parveez requested Ambur Biryani on a Friday morning, I braced myself for a bit of a scramble.
To my surprise, the recipe didn’t call for anything fancy. In fact, I had everything I needed right at home. No exotic ingredients, no elaborate prep—just honest, flavorful cooking. It was so straightforward that after finishing, I double-checked the recipe to make sure I hadn’t missed a step!
Ambur Biryani turned out to be not only easy to make, but a true crowd-pleaser. If you’re a biryani lover like me, this one’s a must-try. It’s proof that sometimes, the simplest dishes carry the richest stories.

| Prep Time | 10 minutes |
| Cook Time | 40 minutes |
| Passive Time | 45 minutes |
| Servings |
people
|
- 1 Kg Chicken with bones, cut to medium size pieces
- 1 cup Yogurt Preferably hung for 30 minutes
- 5 No. Tomatoes medium size, roughly chopped
- 2 tbsp Ginger garlic paste
- 1/2 tsp Turmeric Powder
- 1 cup Coriander leaves
- 6 No. cloves For the Yakhni
- 6 No. Green cardamom For the Yakhni
- 1 No. Cinnamon Medium size, For the Yakhni
- 1/2 tsp Shahi zeera For the Yakhni
- 2 No. Bay leaves For the Yakhni
- 5 No. Onion medium sized, Thinly sliced
- 7 No. Whole Red chilies soak for 10 minutes and grind to a paste
- 1/2 cup Oil
- 1 tbsp Ghee
- 7 No. Green chilies slit, more or less according to your taste
- 4.5 cups Long grain Basmati Rice Washed and soaked for 20 minutes
- 1/4 tsp Shahi zeera For the Rice
- 2 No. Star Anise For the Rice
- 1/4 tsp cardamom powder For the Rice
- 2 tbsp Kewra water For the Rice
- 1 tsp Salt More or less according to your taste
Ingredients
|
|
- Add oil to a pan and add bay leaves, shahi zeera, cinnamon, cardamom and cloves. Add onions and cook till the onions turn golden/brown.

- Take 2 TBSP of onions out for garnishing later. Add ginger garlic paste and saute for 2-3 mins.

- Add the red chili paste. Saute for 2 minutes.

- Add chicken to the pan and saute for 10 minutes.

- Add turmeric and red chili and tomatoes. Add ½ cup water. Cook till the tomatoes have soften.

- Add coriander leaves and green chilies to the pan, followed by salt.

- Add yogurt to the pan. Cook till the oil separates. Turn off the gas. The yakhni is ready.

- Take another pan. Add ghee. Add the cardamom powder, shahi zeera and star anise. As soon as the zeera starts crackling, add water. Add kewra water to the water and let the water come to a boil.

- Meanwhile, drain the soaked rice. Once the water boils, add the rice to the pan. Add salt. Let the rice cook till its half done. It should be soft from the middle and a little hard from the sides, if you take a grain in hand. Drain the water.

- Now, take the drained rice and mix it softly with the yakhni prepared. You should always take a spatula in each hand and mix it softly from the bottom.

- Garnish it with the onions we kept on the side. The Biryani is ready for dumm. Cover the top with a cotton cloth and place the lid. Another way is to put a dough seal all around the pan so the steam doesn’t escape. If you are placing it in the oven, the oven needs to be pre heated at 350F/180C. Let it dumm for 45-50 mins. If you are placing it on a burner, you need to place the pan on a tava instead of placing it on naked fire. It needs to be on medium for the first 5-7 mins and then on low for another 30 mins.

- The Biryani is ready. Serve with a side of raita or daalcha. Enjoy!!!

https://www.instagram.com/reel/DOH15UnjGD7/?igsh=bmYyNnJja3Ixd2sz