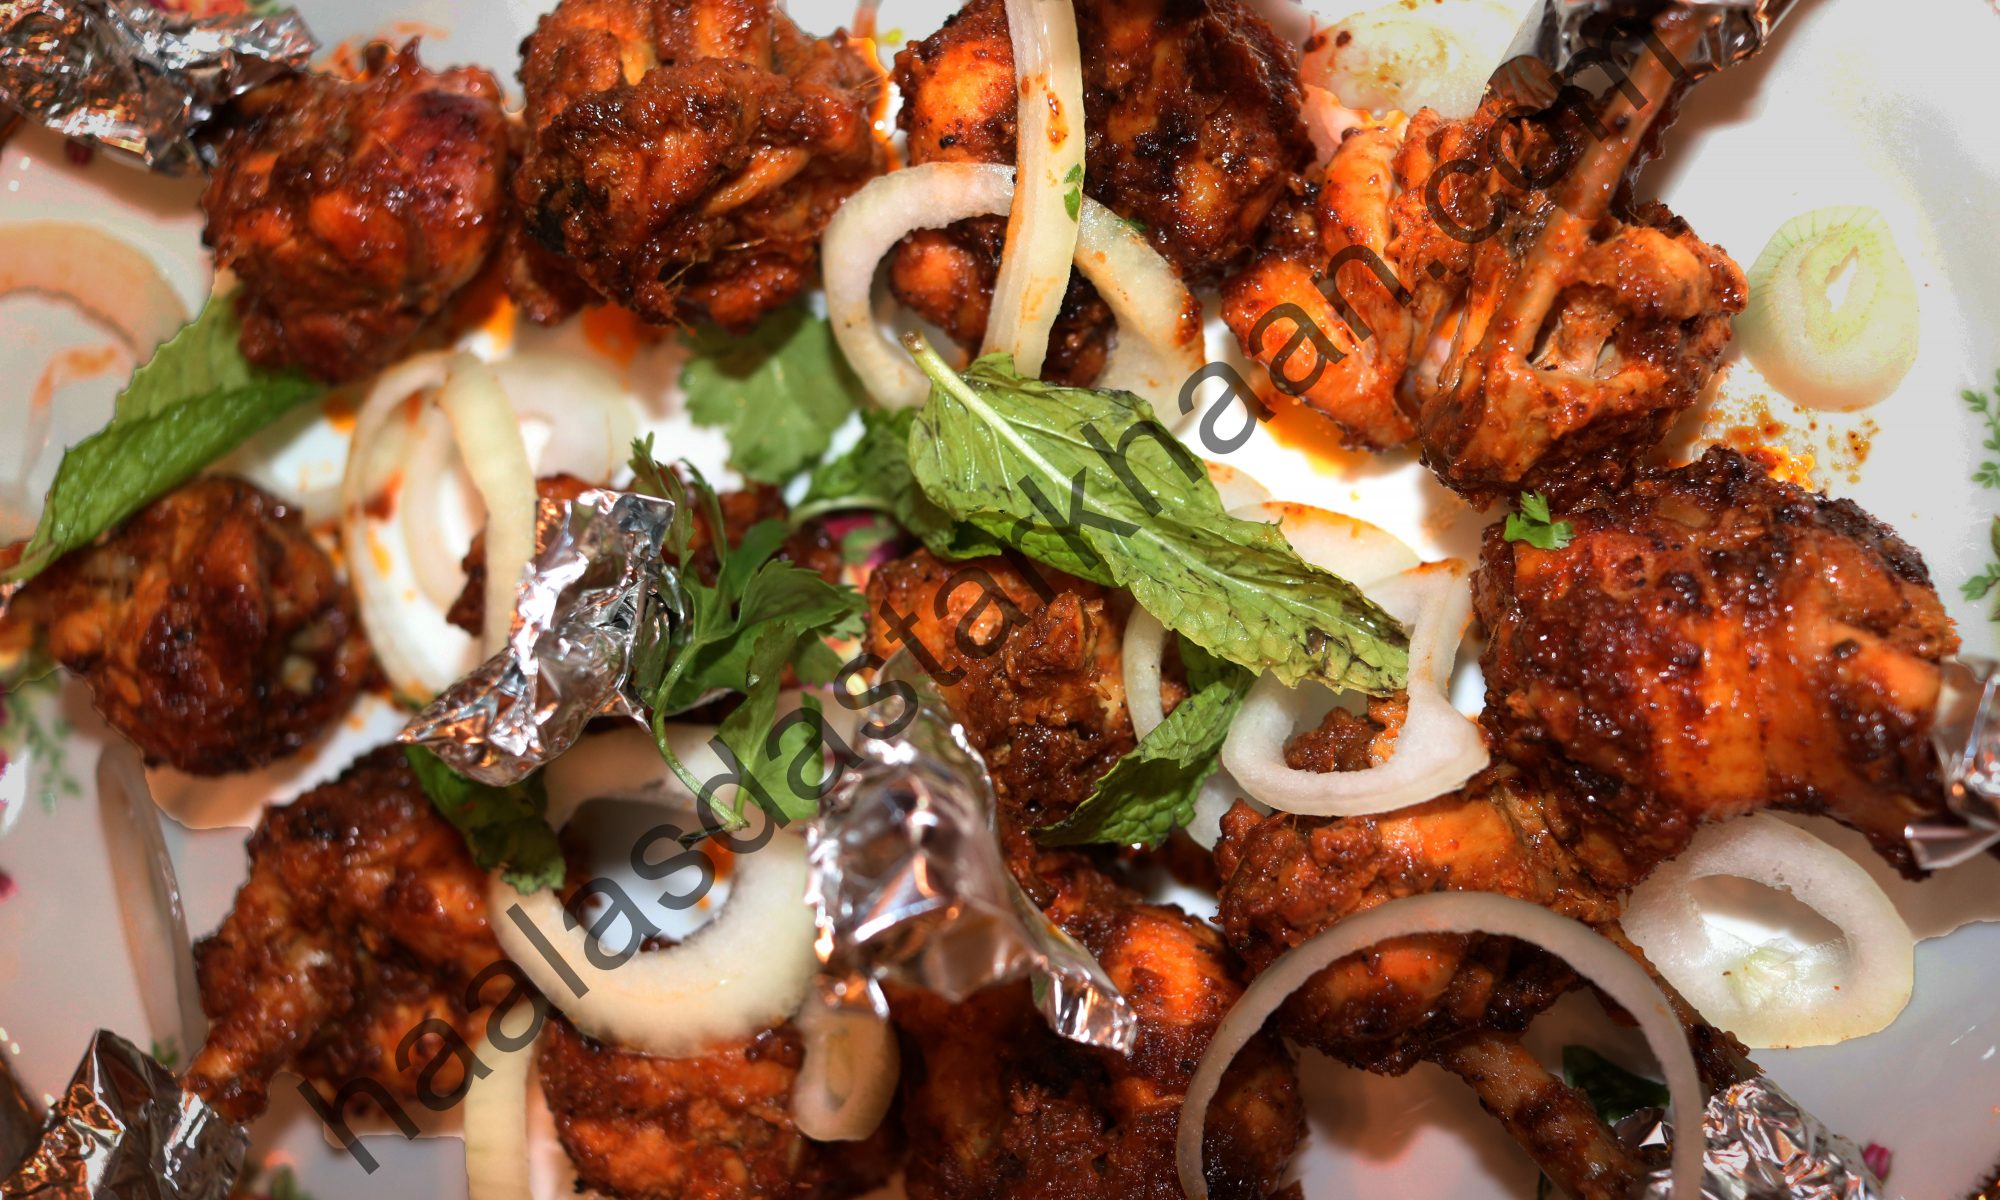
Maa’s Tikka Boti

As the name suggests, this recipe comes from my Mother.

🥘 Maa’s Tikka Boti: A Taste of Home and Bombay’s Irani Cafés

At my mom’s place, it’s simply called Tikka Boti. But for me, it’s Maa’s Tikka Boti—a dish that carries the warmth of her kitchen and the flavors of a memory she brought back from Bombay. Years ago, she visited an Iranian café tucked into the bustling streets of Mumbai. That experience stayed with her, and somehow, it found its way into our family’s food.

This recipe is a tribute to that moment. It’s bold, smoky, and deeply satisfying—perfect for non-vegetarians who love their meat tender and their spices unapologetic. And while kheema paav from those cafés holds a special place in my heart, it’s this tikka boti that feels like home.

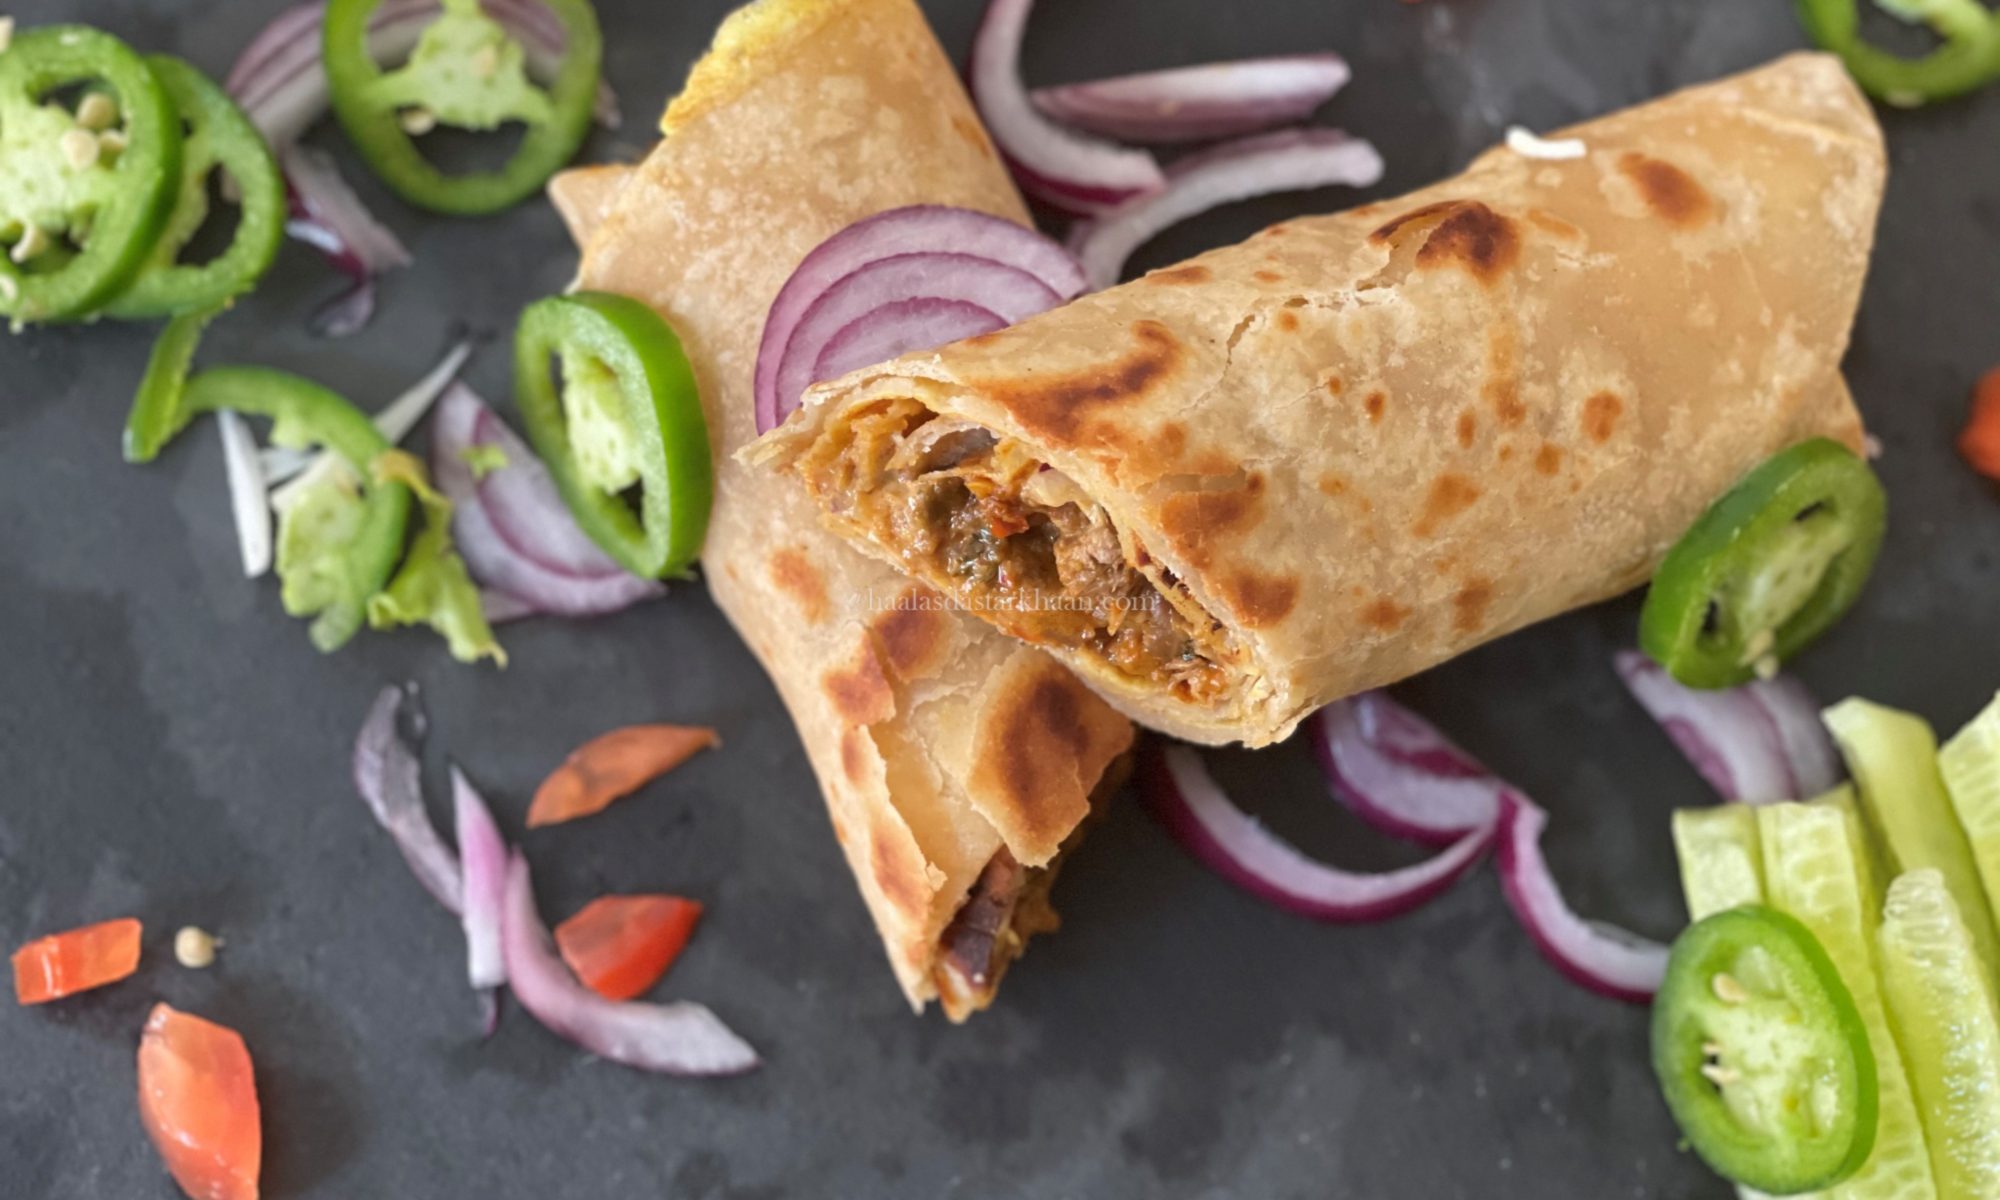
A Roll, A Memory: Maa’s Chicken Creation

It started with a bite in Bombay—my mom, on vacation, tried a chicken roll at an Iranian café. She couldn’t ask for the recipe, but she carried the flavor home in her memory. What followed was years of trial, intuition, and love. Her version became a dish I adored, but it was never made casually. It was reserved for get-togethers, for moments when her effort would be acknowledged, when the kitchen’s heat—literal and emotional—felt worth it.

Growing up in Rajasthan, cooking wasn’t just about ingredients. It was about navigating 45°C summers in kitchens without air conditioning, stretching resources, and still managing to create something unforgettable. That chicken roll wasn’t just food—it was her triumph.

Maa’s Chicken Roll – A Taste of Home, Made Simple

From my mother’s kitchen to yours, this roll is a tribute to flavor, memory, and love. Inspired by an Iranian café in Bombay and perfected over years of intuition, this dish is rich, satisfying, and surprisingly easy to make.

🧄 Ingredients:

  • Boneless chicken (250g), marinated in ginger-garlic paste, red chili powder, turmeric, and salt
  • Onions, thinly sliced
  • Green chilies, chopped
  • Freshly ground spice mix (dry roasted and blended)
  • Ghee or oil for cooking
  • Rotis (store-bought or homemade)
  • Eggs, whisked with a pinch of salt

🔥 Method:

  1. Marinate the chicken for at least 30 minutes.
  2. Cook the chicken with onions, chilies, curry leaves, and your spice mix until semi-dry and aromatic.
  3. Prepare the rotis: If using store-bought, spread whisked egg on one side and fry on both sides until golden.
  4. Assemble the roll: Place the chicken filling inside the egg-fried roti, roll it up, and serve hot.

🍽️ Serving Suggestion:

Perfect for get-togethers or cozy dinners. Pair with mint chutney or a simple salad for a complete meal.

Is this dish different from Kathi Roll?

Exactly—and that’s the beauty of regional food traditions. Even dishes that seem similar on the surface, like rolls or wraps, carry distinct identities shaped by technique, texture, and taste 🌯✨.

Kathi rolls, especially the Kolkata-style ones, often use a flaky, layered paratha that’s pan-fried with egg poured directly onto it while cooking—creating a rich, crisp exterior. The filling is typically spicy chicken or paneer, accompanied by onions and sauces that add tang and heat.

My mother’s version, inspired by an Iranian café, sounds more delicate and home-style—less about street food flash and more about depth and comfort. The egg-brushed roti is a clever adaptation, and it gives the roll a softer, more tender bite compared to the crispiness of a Kath roll.

I appreciate both for what they are. Would I ever consider writing a piece that compares these two styles—my Maa’s roll and the Kathi roll—as a way to explore how food reflects place, memory, and innovation? I’d love to do that someday, maybe.

This isn’t just me sharing the love of this dish, but the memories with my mother and the love she poured into everything she cooked, and the flavor I always feel, no matter how hard I try, is never like hers. I guess that’s how we all are with food cooked by our mothers.

This dish is great for school/office lunches, and an easy road trip lunch/dinner.
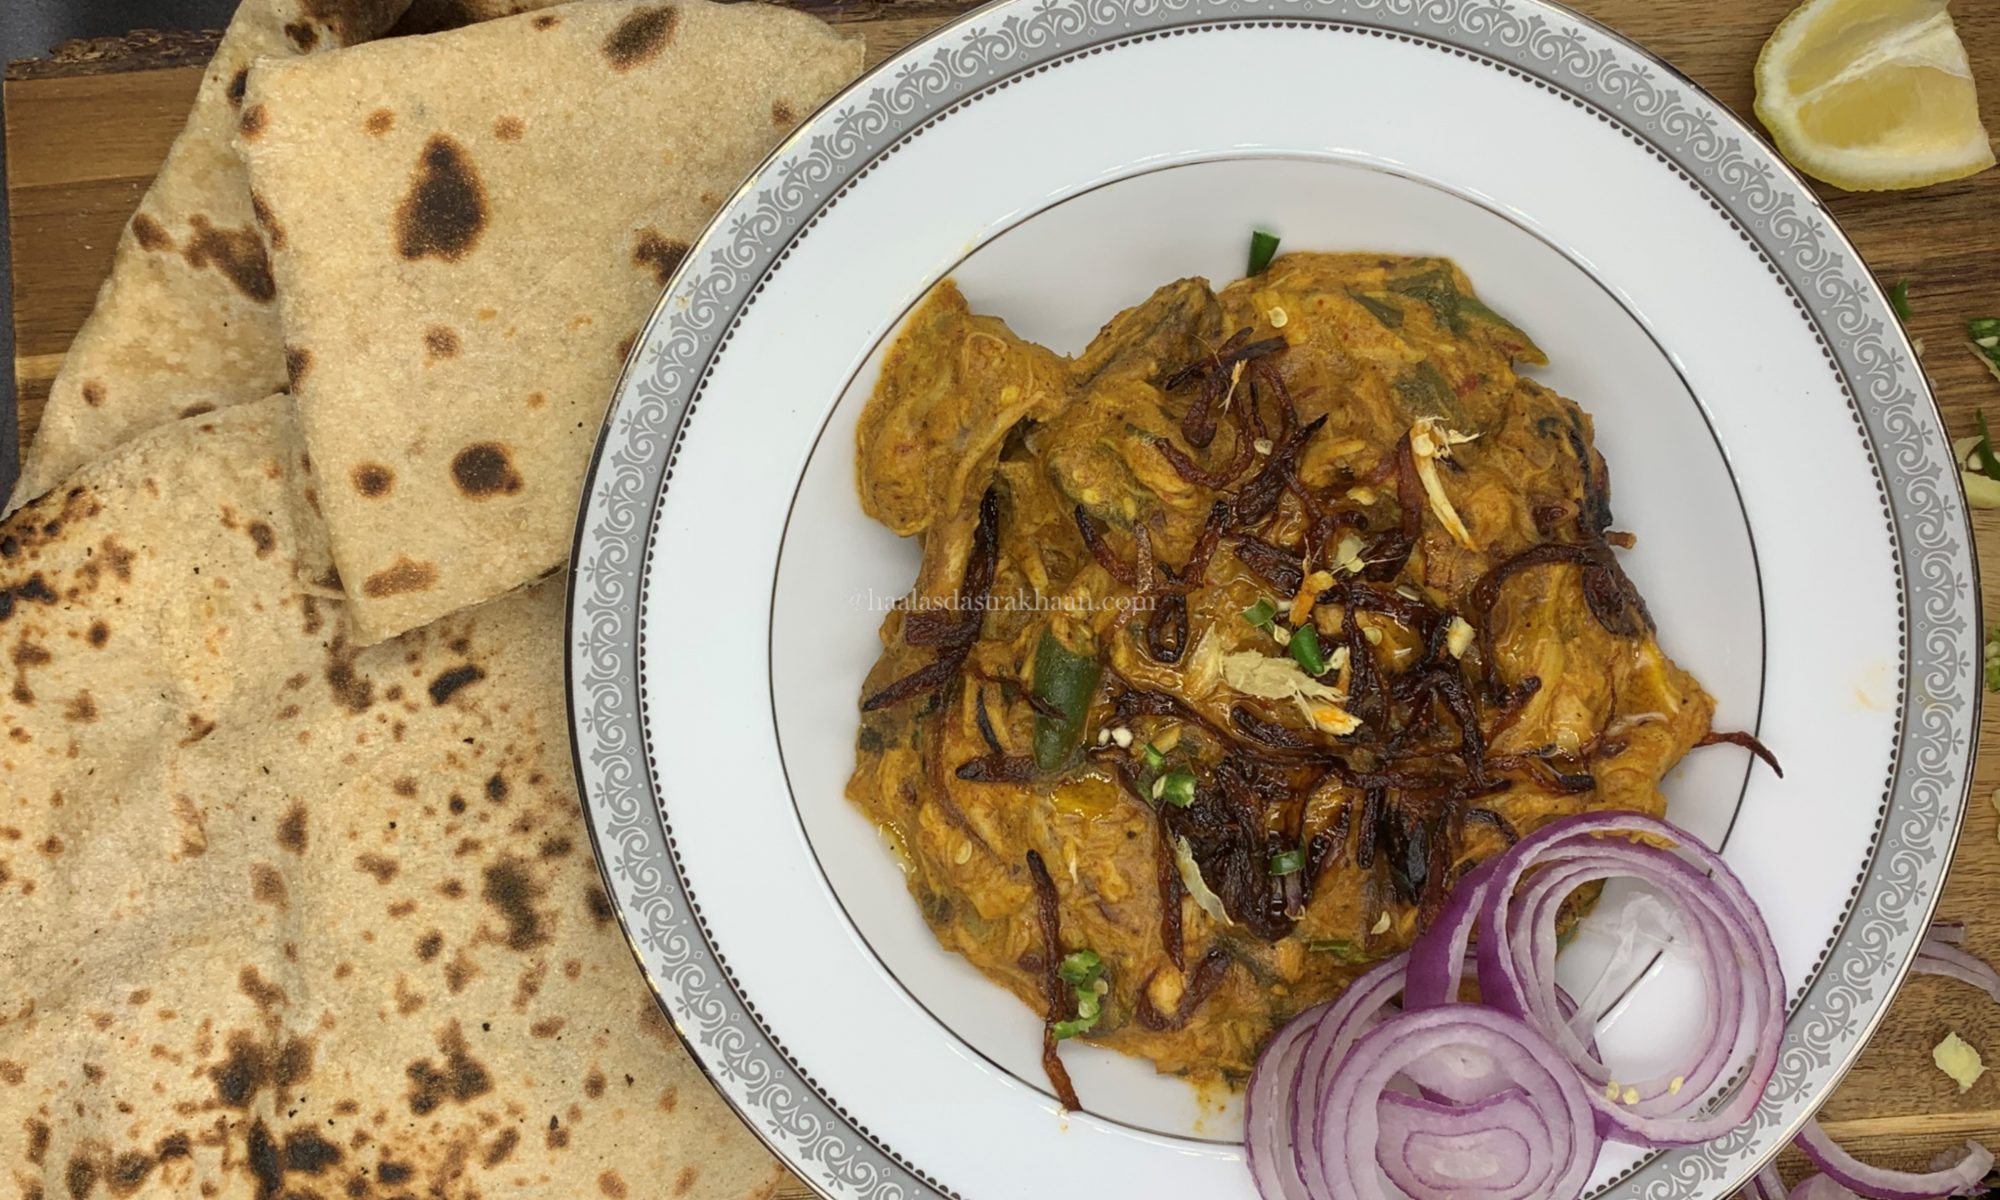
Chicken Nihari

Nihari is a traditional Muslim dish that traces its roots back to the Mughal kitchens. Over time, every region has developed its own version, adding local twists and flavors to the original recipe. The word Nihari comes from the Persian word “Nahar,” meaning “early morning.” True to its name, Nihari was traditionally eaten for breakfast.

It’s a rich, hearty dish — and honestly, it makes sense that it was served in the morning. With its deep spices and slow-cooked meat, it can feel a bit too heavy for any other meal. Nihari reaches its best flavor when cooked slowly on low heat. In the old days, chefs would let it simmer overnight. While that’s not quite practical now, I still believe that patience makes all the difference. Cooking it gently in a heavy-bottomed pan brings out that signature depth and aroma that make Nihari so special.

Nihari is always finished with barista (fried onions), julienned ginger, green chilies, fresh coriander, and a squeeze of lemon. When I was a teenager, my mom began making Nihari at home—sometimes with mutton, sometimes with chicken. I’d eaten it countless times, yet never once felt the urge to cook it myself.

In the beginning, my mom relied on store-bought masala packets from Delhi. But with time, she started experimenting. The packets listed the ingredients, and through a few rounds of trial and error, she figured out the perfect balance for each spice. Before long, she was making her own Nihari masala—richer, more fragrant, and far more authentic than anything that came out of a packet.

I’ve had Nihari more times than I can count, and it’s easily one of my all-time favorite dishes. Yet somehow, I never felt the urge to make it myself. It was only after experimenting with different chicken curries that I finally decided to give Chicken Nihari a try. I called my mother, asked her for the spice proportions and her recipe, and finally took the plunge.

My mother always cooked Nihari in ghee. But during a trip to Jama Masjid, New Delhi, with Mr. Parveez, we learned something interesting. While chatting with the chefs and staff at one of the local restaurants, we discovered that traditional Delhi-style Nihari is actually cooked in mustard oil. It may sound unusual, but that’s the authentic method.

When I tried making it myself, I couldn’t bring myself to use only mustard oil—it’s quite strong. So I balanced it by mixing in a little olive oil, and still used ghee for tempering. The result was a version that stayed true to tradition but suited my taste perfectly.

Nihari is a traditional Muslim dish that originated in the Mughal kitchens. Over time, every region has developed its own version, blending local flavors with the original recipe. The word Nihari comes from the Persian word “Nahar,” which means “early morning.” True to its name, Nihari was traditionally eaten for breakfast.

It’s a rich and hearty dish—perfect for mornings, but a little too heavy for later in the day. The magic of Nihari lies in its slow cooking. The longer it simmers, the deeper and more complex the flavors become. In the old days, chefs would cook it overnight to achieve that perfect balance. While that’s not so practical today, I still believe that taking it slow, keeping the flame low, and using a heavy-bottomed pan makes all the difference.

The spice mix is what gives Nihari its earthy aroma and rich depth. It’s spicy, but not the kind of heat that brings tears to your eyes—it’s balanced, layered, and deeply comforting. What truly elevates the dish, though, are the toppings: the barista, thin slices of ginger, chopped onions, and green chilies. Don’t skip them if you want the full experience.

You can skip the fried onions and julienned ginger at the end, but I’d strongly recommend adding them. The mild sweetness of the barista beautifully balances the spice, tying everything together. Nihari carries a long history, and while the dish itself is simple, it demands patience and care. It takes time and a bit of effort—but when you taste that first spoonful, you know it’s absolutely worth it.

Aate ka Halwa

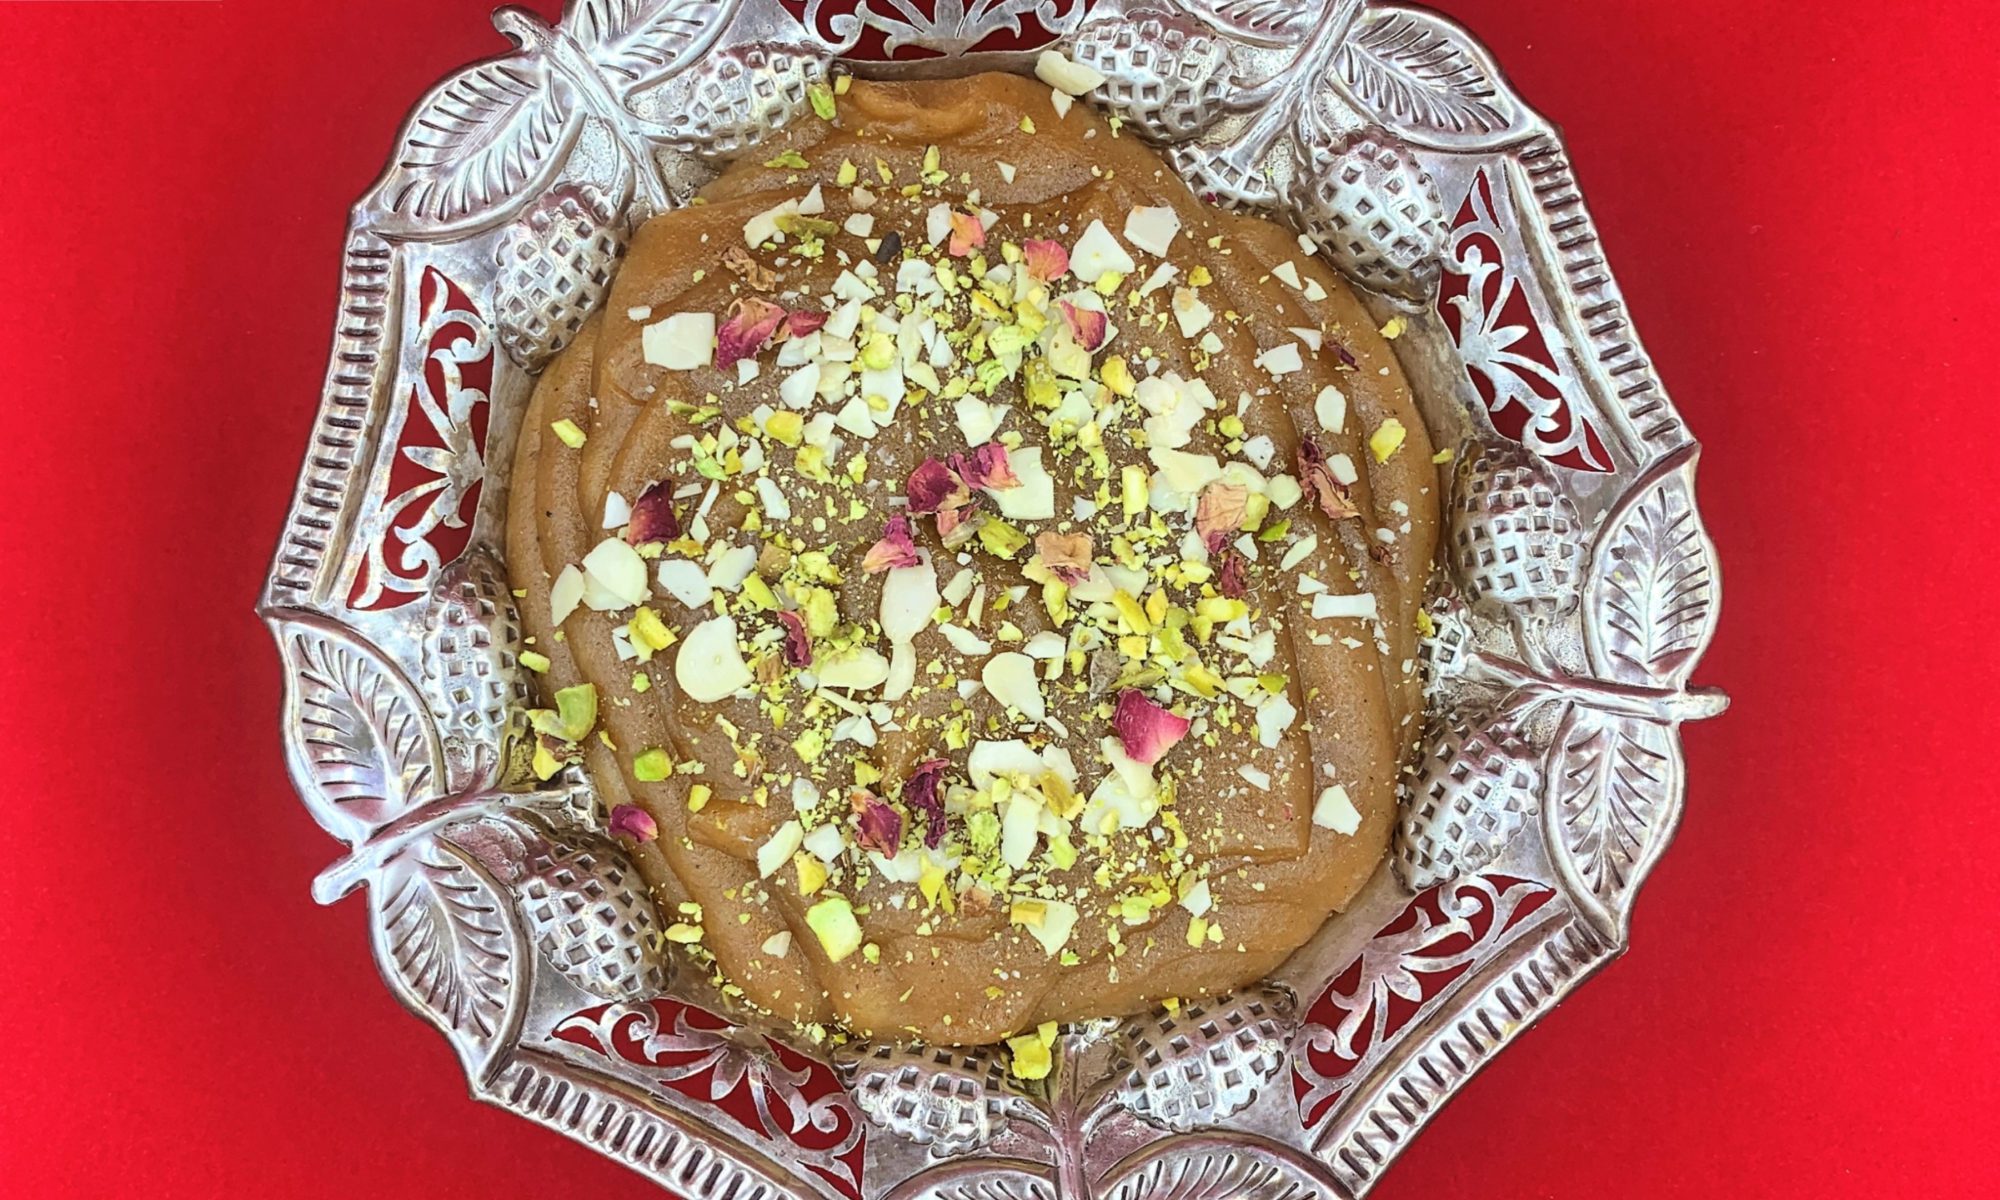
This sweet dish takes me back to my childhood days. Though this sweet dish is the most easiest and simple sweet dish you could ever make, but you know how somethings are simple yet delicious.

A delicious 4 ingredients Indian Dessert, Aate Ka Halwa is very easy to make and is quite scrumptious. Loaded with ghee and dry fruits, Atta Halwa or Wheat Halwa is definitely indulgent. This is easy to make at home with some simple tricks. It is usually served for breakfast or before bedtime to keep the body warm. You can also serve it as dessert after meals.

Although you can use any whole wheat flour available to make this halwa, making it using coarsely ground flour will give you the best result. If you have access to freshly milled flour, then the results will be best. This halwa should be made in ghee or clarified butter for the best result. If ghee is not available, then you can use unsalted butter, but not oil. If you are conscious and prefer your halwas in Oil, then I would say that you are depriving yourself with real taste of Halwa. Secondly, I see a lot of people use White sugar and Brown sugar, but the actual Aate ka halwa is made with Gudd/Jaggery.

My mother has often made this Halwa during weekends, specially in winters for breakfast. I loved the fact that it would be ready on demand and everyone at home enjoyed and loved it. Its always made our weekend more special and sweet. As much as I did try, I do not think I can make it as delicious as how my mother made it, but its still pretty close.

You can easily store the halwa in an airtight container in the refrigerator for 3-4 days. When you want to consume, just take it out and heat for a few minutes before serving. You can also freeze it in freezer-safe container for up to 3 months. My steps are simple and I keep it as basic as I can so it’s easy to follow and the taste connect us to the authentic flavor too. Enjoy!!!

Masala Poori Chaat

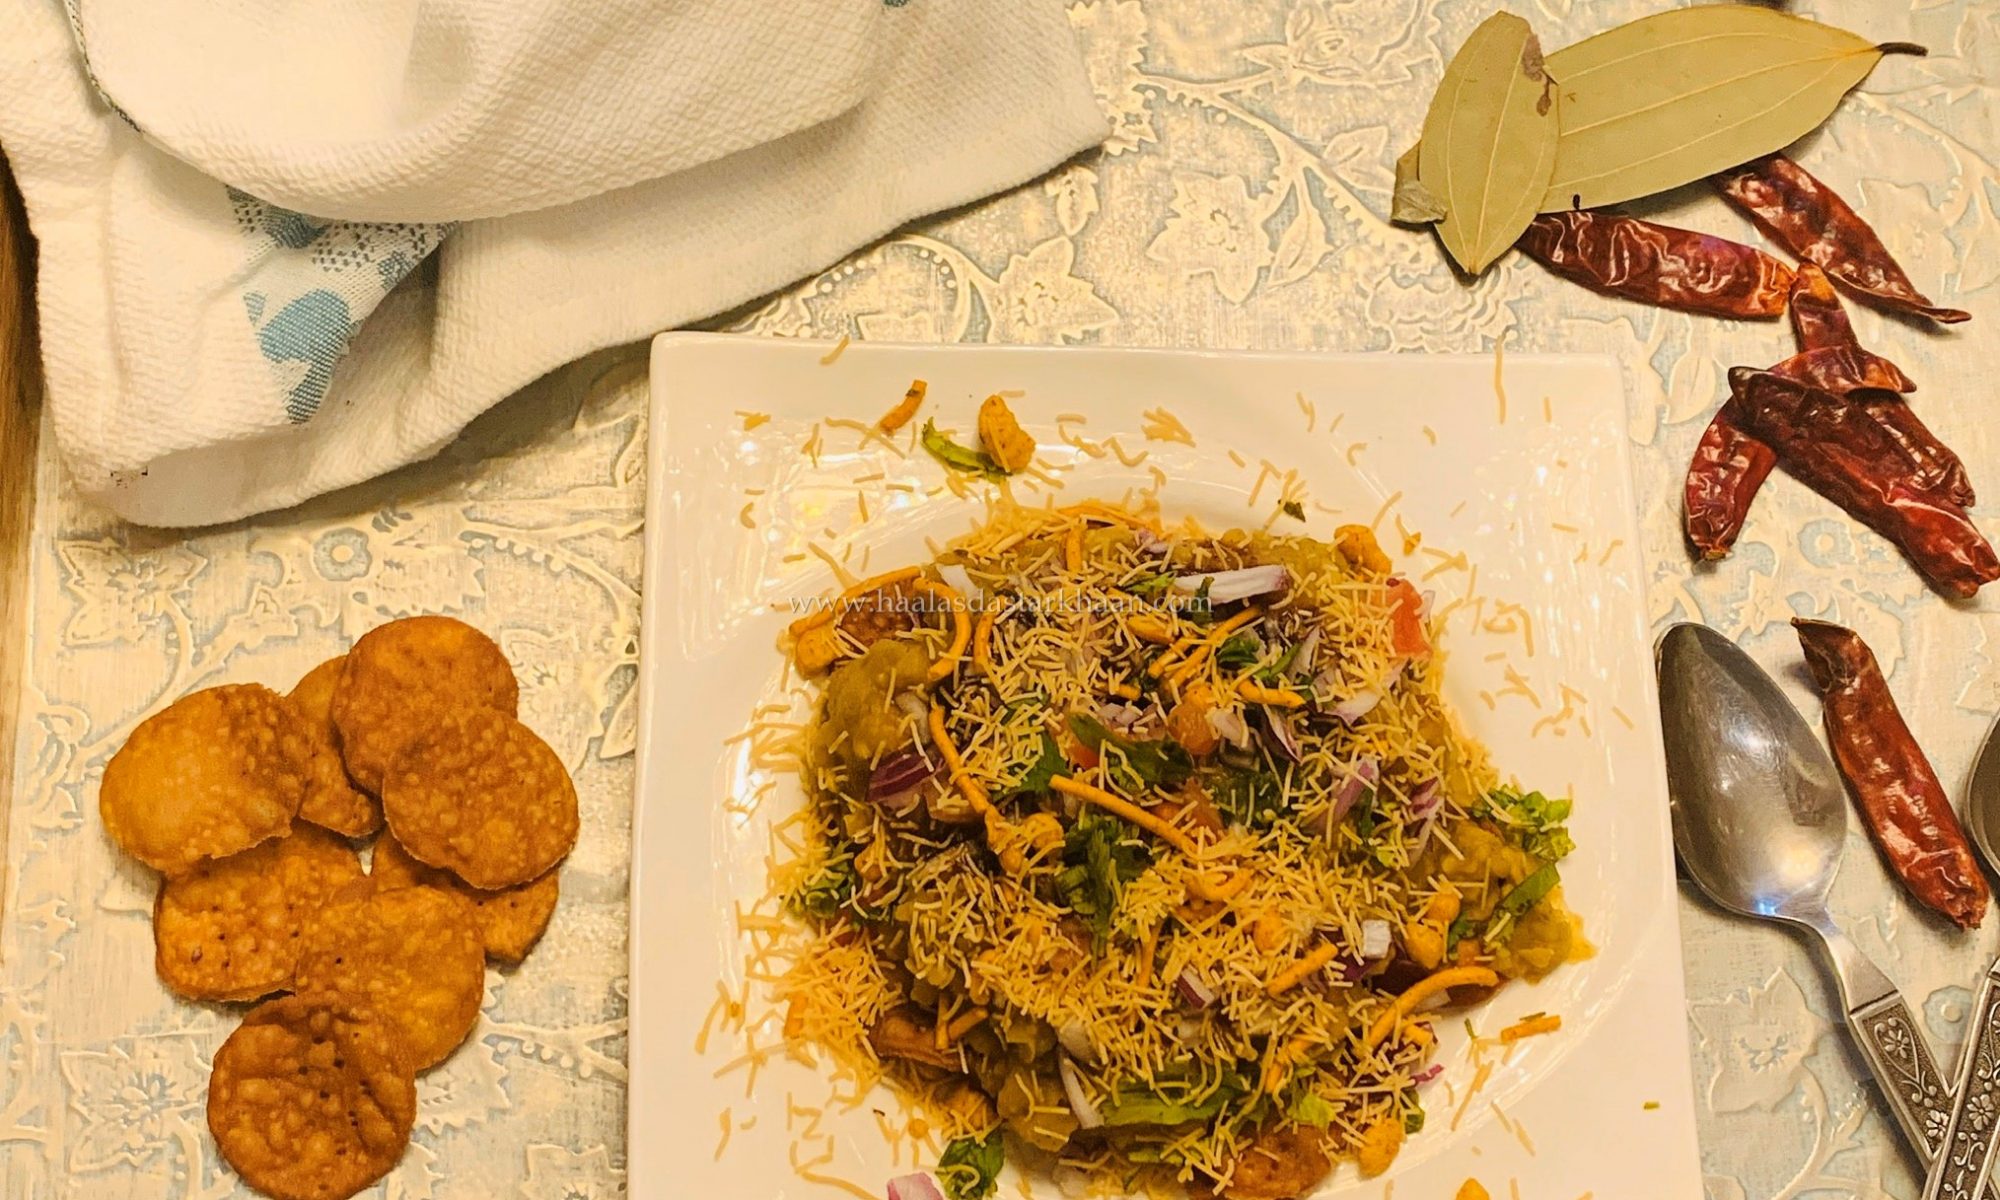
Masala Poori or Masalpoori is a popular chaat in Southern states of India, mainly Tamil Nadu, Karnataka, Telangana and Andhra Pradesh. This chaat can be made spicy and sweet, and of course the best way, which is sweet and spicy.

I think all chaats need to have “Tikhi-Meethi”, which is sweet and spicy in hindi. A chaat has to have medley of flavors that just make you happy. Chaats should make you remember and enjoy good times. See, people usually don’t realize but more than any sweet dish, chaats spread more happiness. Sweet dish is a part of every family and usually made or brought in from sweet shop every time for an occasion, big or small, sometimes not so important and sometimes made even without an occasion. But, Chaat, people mostly don’t make it at home and when they step out to enjoy their favorite chaat, its more like an event.

If you happen to be a chaat lover like us, and enjoy making them at home, this is a recipe for you. This chaat is different from all other chaats, the difference is North and South, literally. This one is more cooked, blended, mixed in and a little more effort from our regular chaats, but the end result is all worth it.

This chaat is mostly made with peas and sometimes with Chickpeas/Kabuli Chana. I have made both ways and I feel the Kabuli Chana is much better so preferred in my house, but you can always substitute and follow the same steps. Peas do not need to be soaked so you can always make this chaat in around an hour if using peas. Make sure you follow the steps of mashing and blending, the flavor would not be the same if you omit those steps. The chaat is served warm and would fill you like a meal, so I recommend it more for tea parties or chaat evenings than an appetizer. It is also a great option for Ramadan Iftaar, if you have an hour gap between Iftaar and dinner. Also, I prefer making my papdi at home, and I make it with Whole wheat flour. Nevertheless, using store bought Papdi gives exactly the same fabulous result. If you want to make yours at home, feel free to follow my recipe. You can also substitute whole wheat with All purpose flour as well.

My better half, Mr. Parveez introduced me to this chaat. It was his college days when he would be out with his friends, after college and at times bunking classes enjoying mouthful of flavors and mostly it was Masala Poori. All in all, loads of wonderful memories. Now, I can definitely bring back his wonderful carefree days, but every now and then I help him remember them with a smile by offering his favorite chaat.

Chiroti Khajas

I have mentioned in my other food stories of how my better half, Mr. Parveez has loads of stories of his different food flavors that he has experienced since childhood.

One of his childhood favorites were Khajas. Khajas are also known as Chirotis down south. Now, let me get this straight, I had never tried khajas before, so when Mr. Parveez told me the story about Khajas, the explanation was, “Its has layers, its fried and its sweet”. According to him the details good enough but imagine getting these details for something you haven’t seen or tasted.

But, when Mr. Parveez demands something, I have to try and do everything to make it for him. Cooking for him, specially what he demands give me immense happiness. I get a kick out of it….LOLzzz.

So, basically I was still clueless as to what he expected and just went ahead with what I understood and the result was a disaster. They were too soft, chewy and absorbed too much oil and were nothing close to what Mr. Parveez desired. But, I can’t give up so easily, therefore there was a second try and this time I made sure I do proper research before a try.

Mr. Parveez always called them “Khajas”. While doing my research, I found that they are widely known as “Chiroti”. Reading various regions making it, I not only understood how to make them, but also got an idea of so many variations in them.

This recipe that I am sharing is fool proof and very easy. Loved by kids and adults. Do try it.

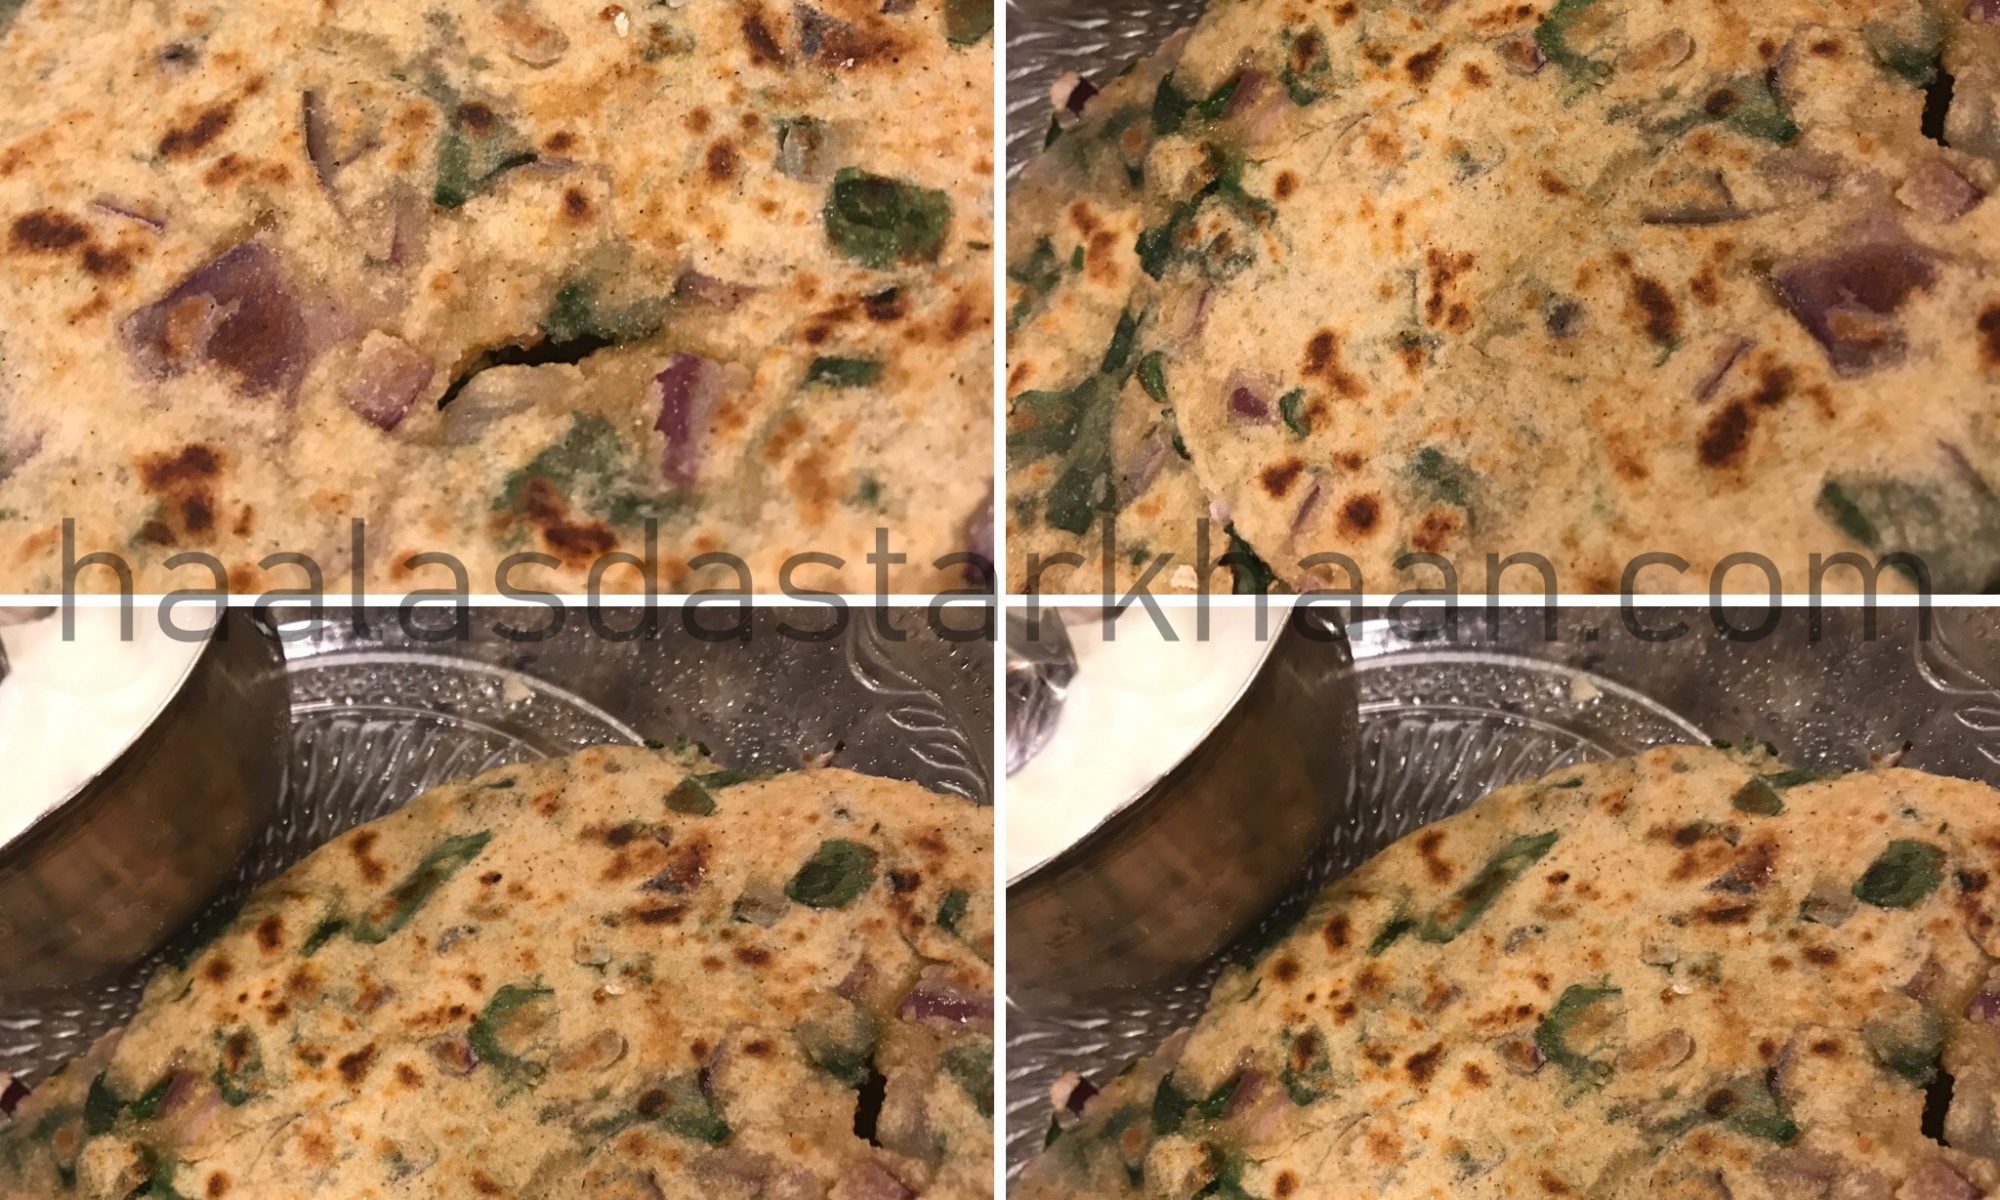
Palak ka Parantha

We love Palak/ Spinach and if you follow my recipes, you would know that I always try to find new ways of making spinach. Sometimes, with meat, chicken and so many types of different daals or making palak in different kinds of dry curries as well.

After all those I felt making Palak ka parantha for breakfast would be a great idea. We love methi parantha and the recipe was simple and great, so I decided to use the same recipe for Palak parantha.

The good thing with palak parantha is that the kids enjoy eating it too with yogurt and it makes a great and healthy breakfast. Its a great option for lunch too and you can conveniently eat it on diets as well.