Maa’s Tikka Boti

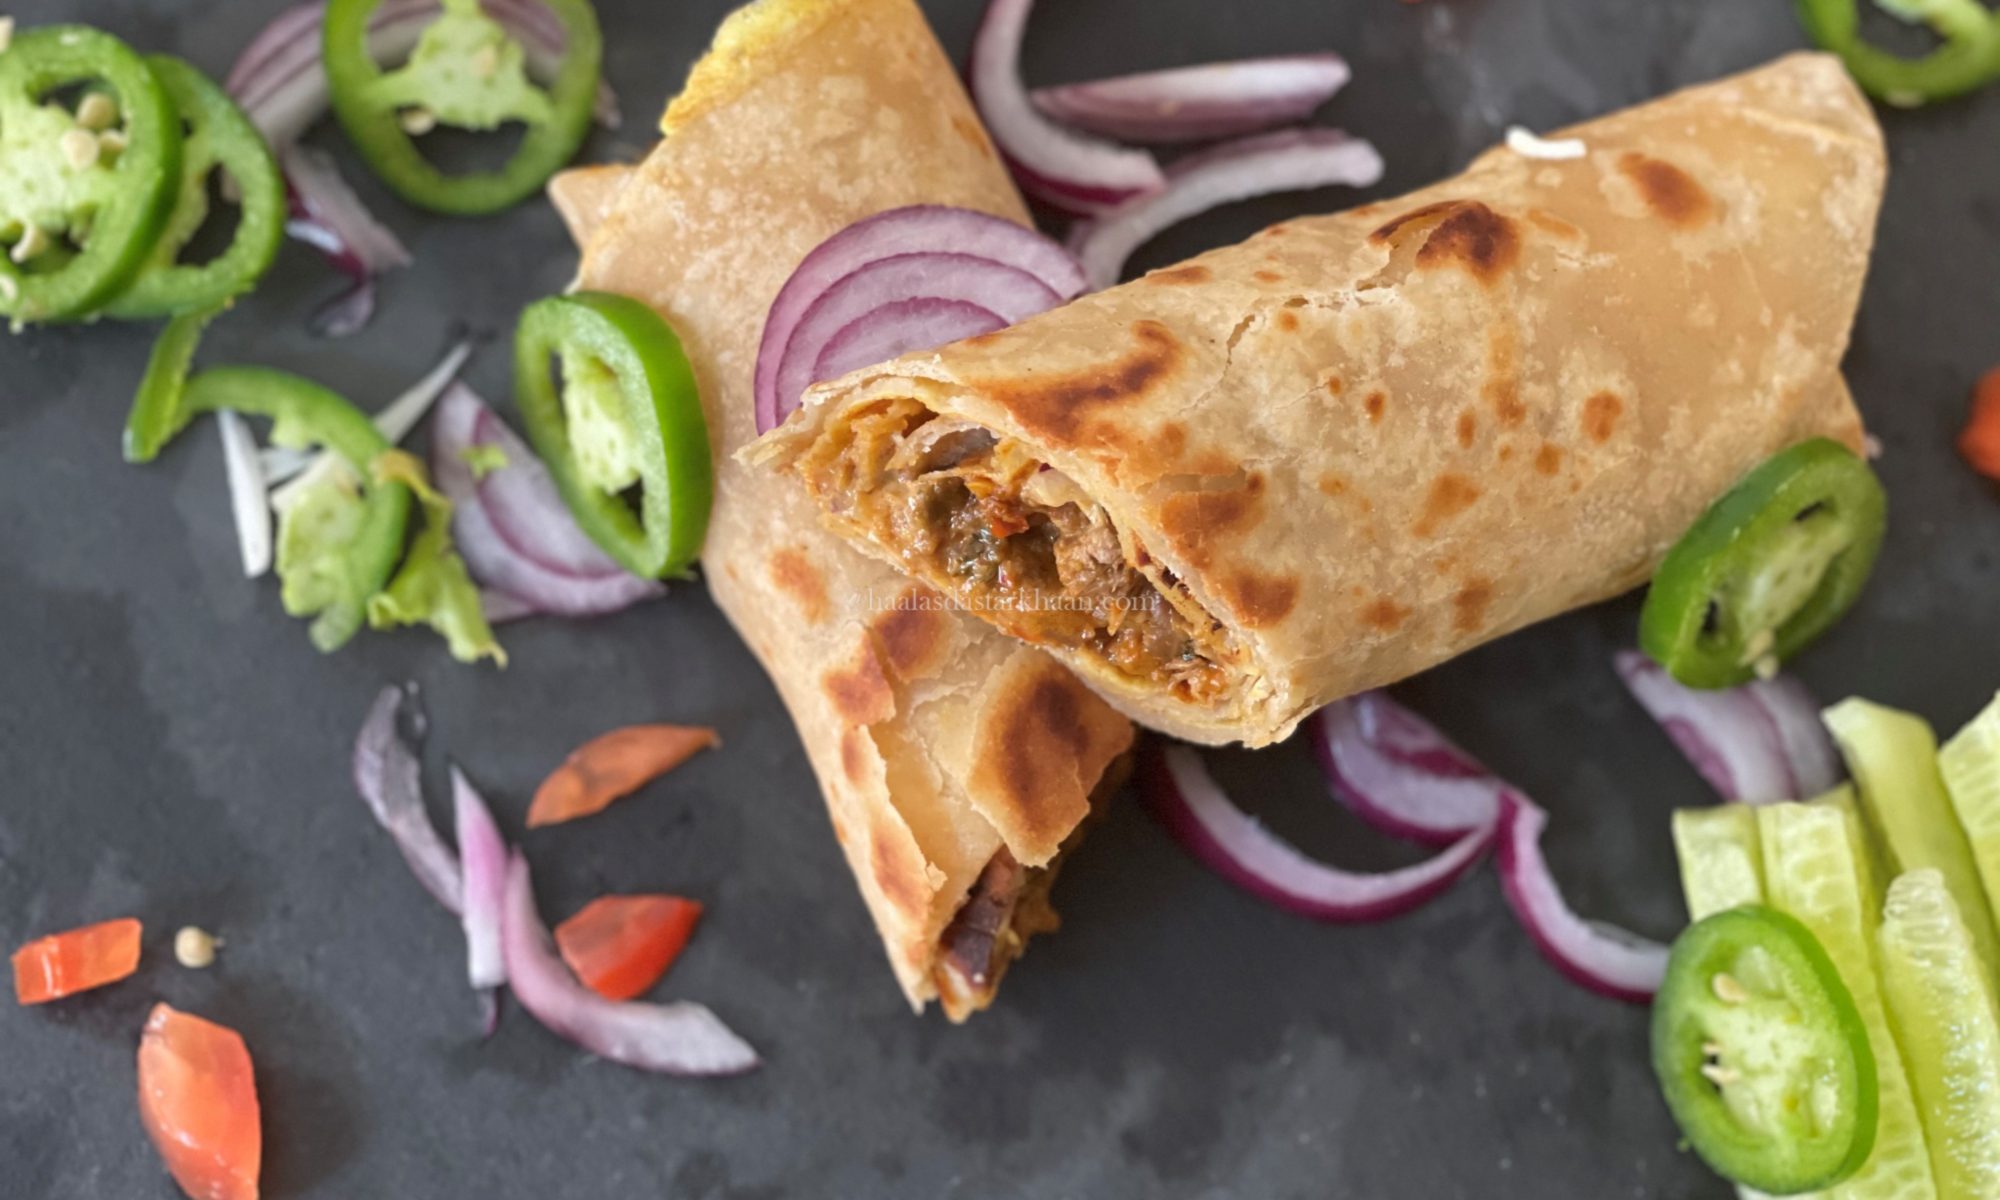
As the name suggests, this recipe comes from my Mother.

Maa’s Tikka Boti is called Tikka Boti at my mom’s place. This recipe is very close to my heart and one of my favorites. My mother, once when she went on a vacation to Mumbai, then Bombay tried something from an Iranian cafe. Now Iranian cafes in Mumbai have food to die for, especially the non-vegetarians. Iranian kheema paav is one of my favorite dishes as well.

So, getting back to my mom’s trip. She tried a chicken roll from the cafe and though she couldn’t have asked for the recipe, with what she tasted, she calculated roughly and started making this dish and this was one dish I always loved having. For the years, I always felt there should be more occasions when this should be made. I feel there was so much effort that went into making this dish that my mom always found it tough to make it on a random day and probably somewhere felt more acknowledged when there were more people around to appreciate the effort. Therefore, this was strictly only made on get-togethers. I feel that was just a way of thinking and also a shortage of resources. Like, when I was a kid back in India, the kitchens weren’t airconditioned [most aren’t airconditioned now either] plus the region I belong to, Rajasthan, was hot, and cooking in those extreme temperatures was more than tough.

Now things are so much more convenient and easier for those who want to cook at home. So, here I am with a recipe most loved by me and everyone who has tasted it, from my mother’s kitchen. The recipe is pretty simple and if you find it hard to make Rotis at home, you can always get store-bought rotis and spread some whisked egg over it and fry from both sides.

Is this dish different from Kathi Roll?

Not really. It’s different since I have not seen eggs being spread on Kath rolls and the parantha that they make is also a little different. I like both, they are made differently and have their own special flavor.

I just happen to love this more since this dish brings me beautiful memories and the flavors are just reminders of pure mother love.

This dish is great for school/office lunches, an easy road trip lunch/dinner.
Garlic Lemon Butter Tilapia with Shrimp

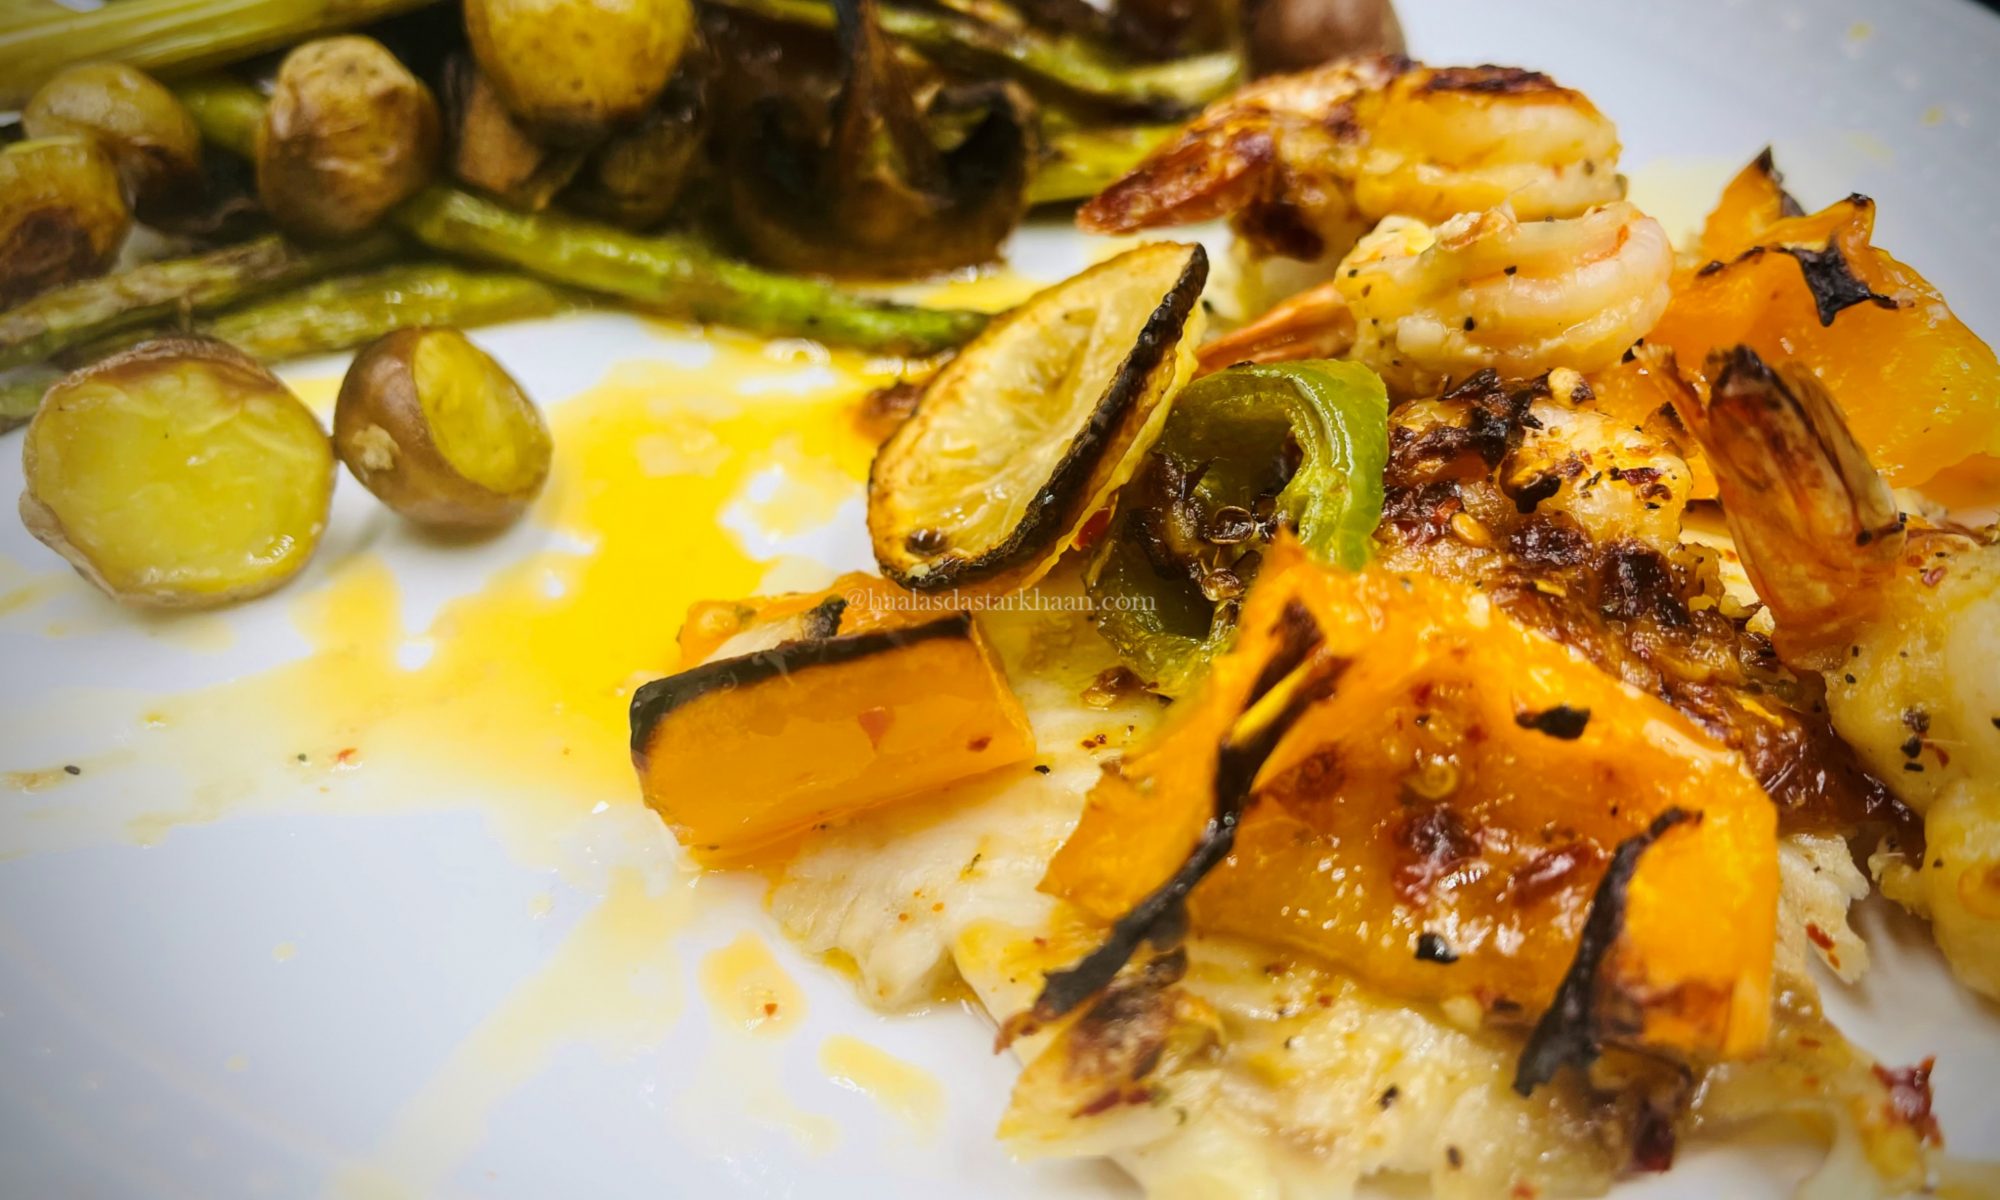
Seafood has amazing recipes. I usually don’t enjoy baked fish, as I feel baking tends to make the fish dry but this recipe for baked fish is just outstanding. This recipe doesn’t require any mayonnaise, or cheese, or any kind of flour or bread crumbs. All you need is butter, lemon, garlic, a few spices, and salt. This Fish by itself is also Keto friendly. I paired the fish with baby potatoes, asparagus, and mushrooms. I also cooked the Fish and shrimp with bell pepper and jalapenos. But the choice of vegetables is always a personal choice. You can always substitute the vegetables you like. This dish is super simple, low carb, gluten-free, and amazingly delicious.

What kind of Tilapia is good?

If you have a store that sells fresh and clan fish, there can be nothing better. That kind of seafood is the best in quality. But mostly, the fish that I buy, especially Tilapia is frozen which is good too. There is always a possibility that any fish you buy has been frozen at some point in order to keep it fresh for transport.

Frozen fish sometimes are better than the Fish that appear fresh but you don’t see them live. Frozen fish is said to be freezer right after the catch, therefore feel absolutely sure to use the fish that is frozen since it is just as good to use as a live fish, and in most cases better than fish from the counter.

Tilapia is generally best and healthy if it’s wild-caught which is the case with most seafood. Farm-raised fish is also considered very healthy. Tilapia is a great source of protein. Though if you are buying farm-raised fish, make sure you check the reputation of the farm and the kind of feed they use for their fish.

I used Shrimp for some extra flavor which I feel goes fabulously with Tilapia. Baked or grilled veggies are a great source of fiber and fill you up too. This dish is great for kids too. The dish is filling, healthy, and low in carbs. Enjoy!!!

Honey Lemon Chicken Wings

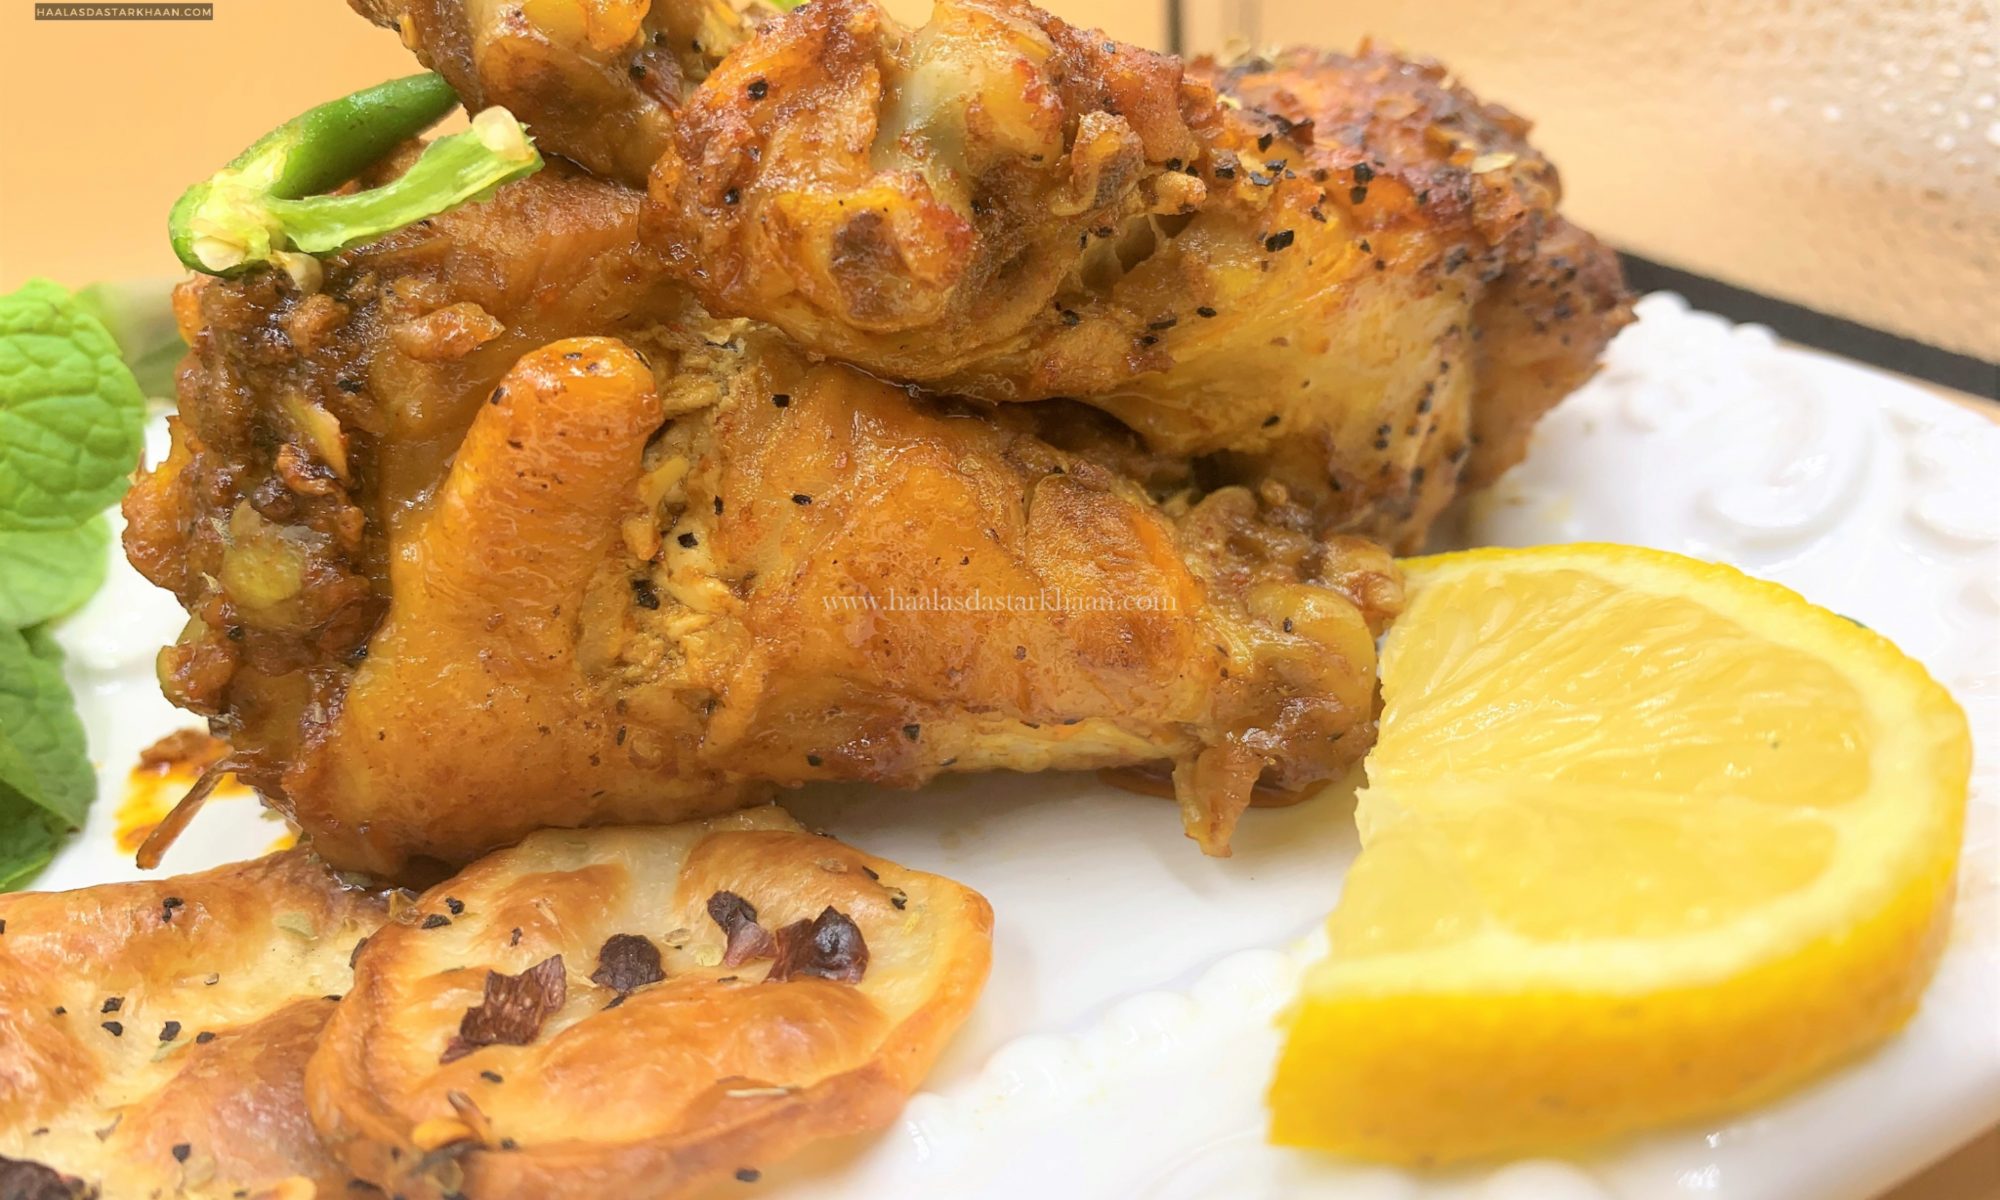
Chicken Wings are an all-time favorite for everyone I know. I had never tried Chicken wings before I came to the USA. Our cuisine in India does not offer kebabs or appetizers using Chicken wings. Initially, Chicken wings were always something we ate outside. It’s not that I didn’t think of trying them but it’s just that Mr. Parveez and I as a couple liked Chicken wings but weren’t that huge of a fan. There was a halal restaurant that made Chicken wings with green masala and every once in a while we would go and enjoy the awesome wings. And, after a couple of years, the restaurant shut down.

Well, that didn’t really inspire me to start making my own Chicken wings. A few months later we discovered another wonderful Halal Gyro place that all make Hot saucy Chicken wings which were great, but with time the restaurant lost its taste of making good food. I believe the management changed and hired a new chef that couldn’t maintain the flavors. This is when I felt I should start making my own.

The first-ever Chicken wings I started making were the Buffalo Chicken wings. The kids loved it and it served as a great appetizer or a side dish for brunches and playdates. Once I spent few years making them and seeing fans increasing, I decided on experimenting with different flavors using wings. That’s when I made the green Chicken wings followed by the Special Haala’s hot saucy Chicken wings and finally these. The main reason behind trying these was that I wanted to come up with a recipe that has a little sweet and spicy taste. This recipe is great for people who find it hard to handle spices.

Why Wings?

Wings are cooked with skin and when pan-fried or deep-fried become crunchy. Any flavors, especially those that are saucy taste great with anything that is crisp.

Why use honey and not sugar?

Honey blends in better with spices than sugar. Sugar tends to crystallize or make the sauce more watery so, honey is the best option.

These wings are lightly sweet and lightly spicy which tantalize the taste buds in a way of playing hide and seek. Spicy and sweet together are a wonderful combination and if you combine that with Chicken wings, the crispy texture of the skin and the flavors mingled along with it are just beyond the word “delicious”. If you like Chicken wings, you should try this recipe.

Cheesy Garlic Pull Apart Bread

Who doesn’t like Garlic bread? No one I ever met said they didn’t love a good Garlic bread. Growing up I always thought that Garlic bread and Pizza go hand in hand thanks to a food joint. I could just not take the fact of people not ordering garlic bread as an appetizer before eating Pizza. And, I am sure that famous “Pizza” joint and it equally good famous competitors must have seen so many like me.

As much as my family and I love getting the Garlic bread and Pizza, at times its just not possible to order restaurant food. I mean, there are Big names and Big companies, but at times the thought of you not knowing how fresh is the food that you are consuming or is it a mix of preservatives. With all that confusion and realizing that you are blessed that you can cook, we decided we make our own. Now, it isn’t that I feel people who order take outs are doing something wrong, but I do feel that eating that kind of food every day or every other day isn’t very healthy. And then when making it at home is pretty easy.

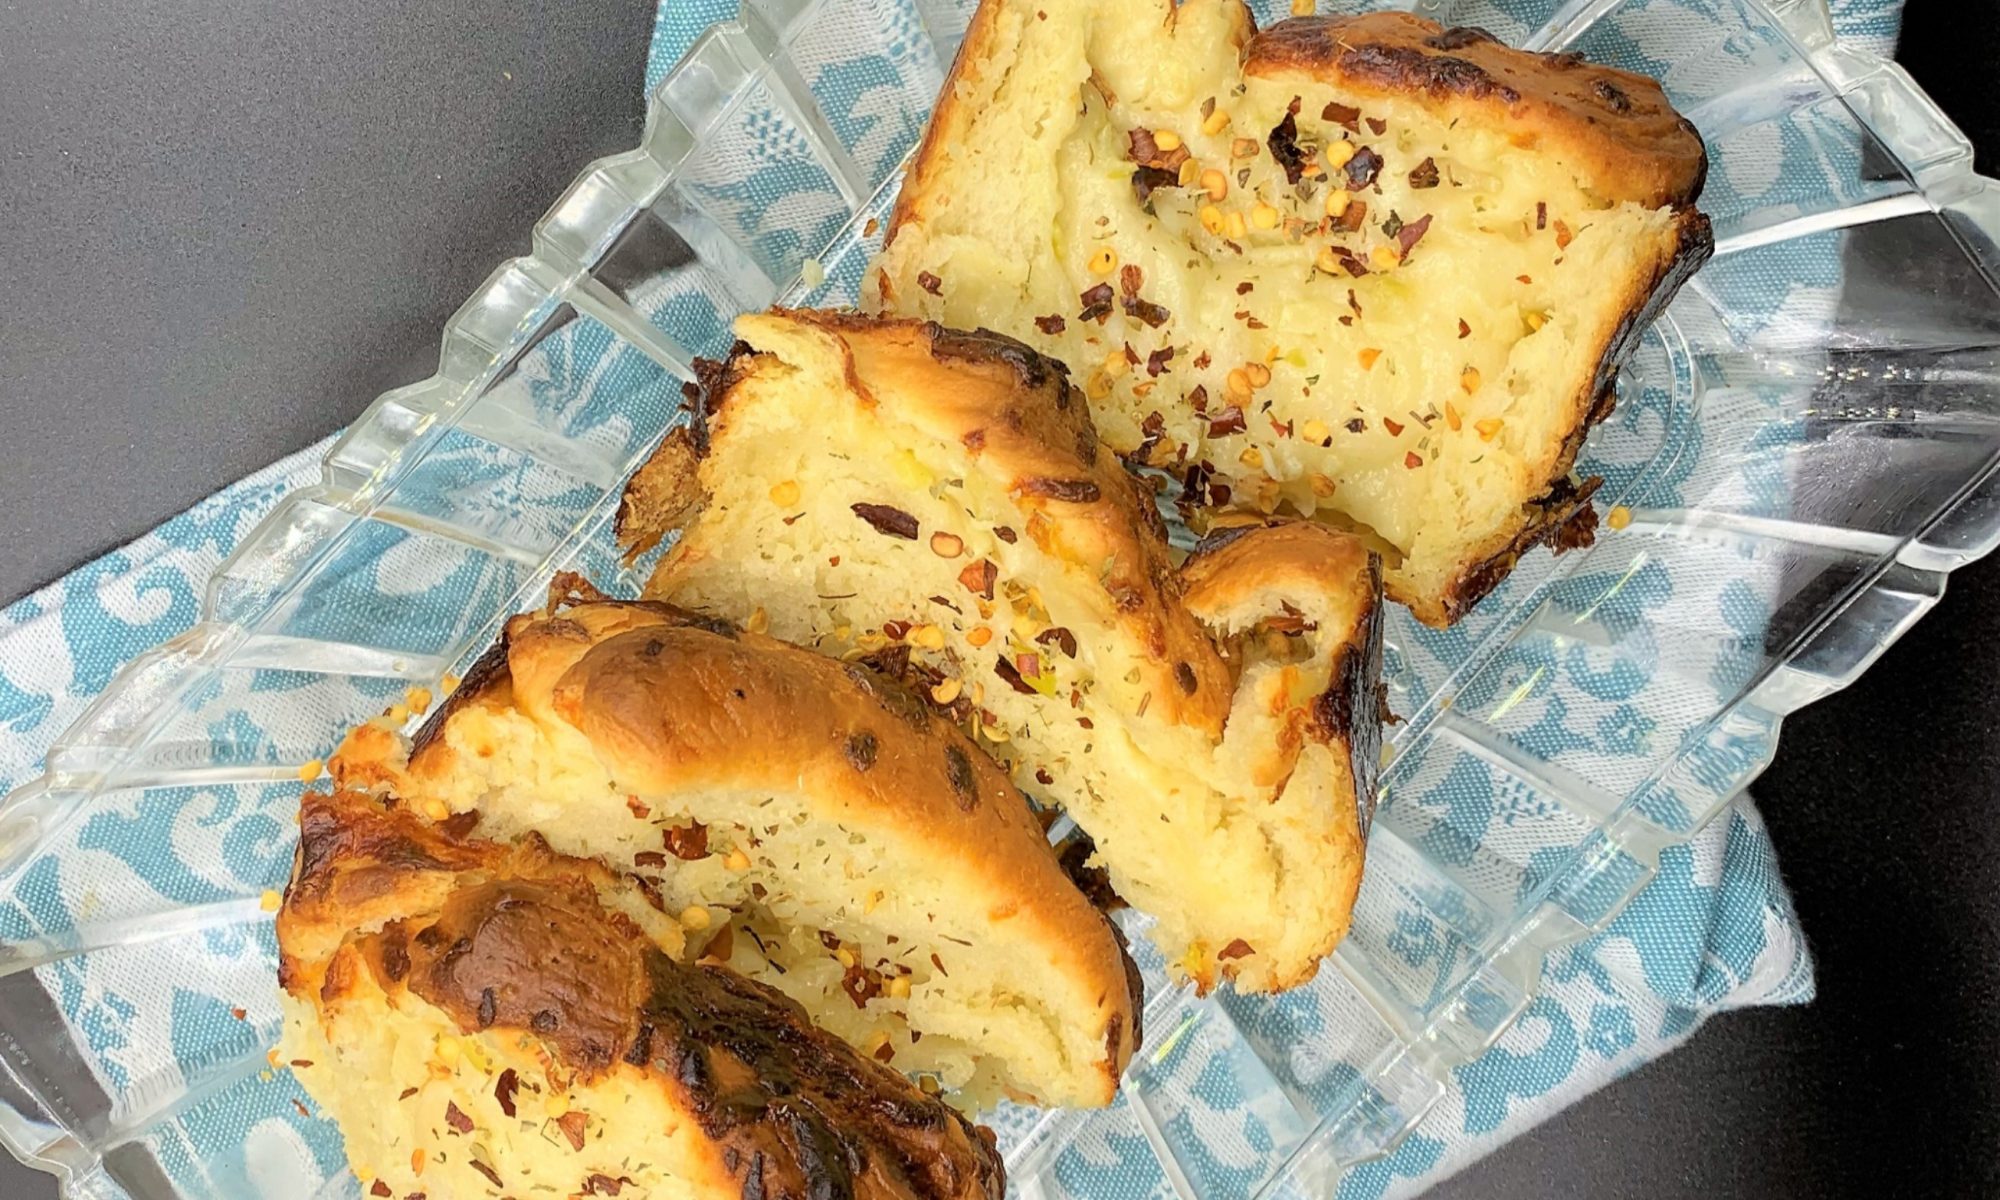
Typically, Garlic bread is made using a French baguette, or sometimes a sourdough like ciabatta which is partially sliced downwards, allowing the condiments to soak into the loaf while keeping it in one piece. The bread is then stuffed through the cuts with oil and minced garlic before baking. Alternatively, butter and garlic powder are used, or the bread is cut lengthwise into separate slices which are individually garnished.

I made mine a little differently. I made the dough using warm milk, yeast and egg with flour, sugar and salt and added butter. Once the dough had risen, I added minced garlic, butter and scallions. Sprinkle some cheesy and bake….Serve hot and enjoy the oozing flavors.

Badusha

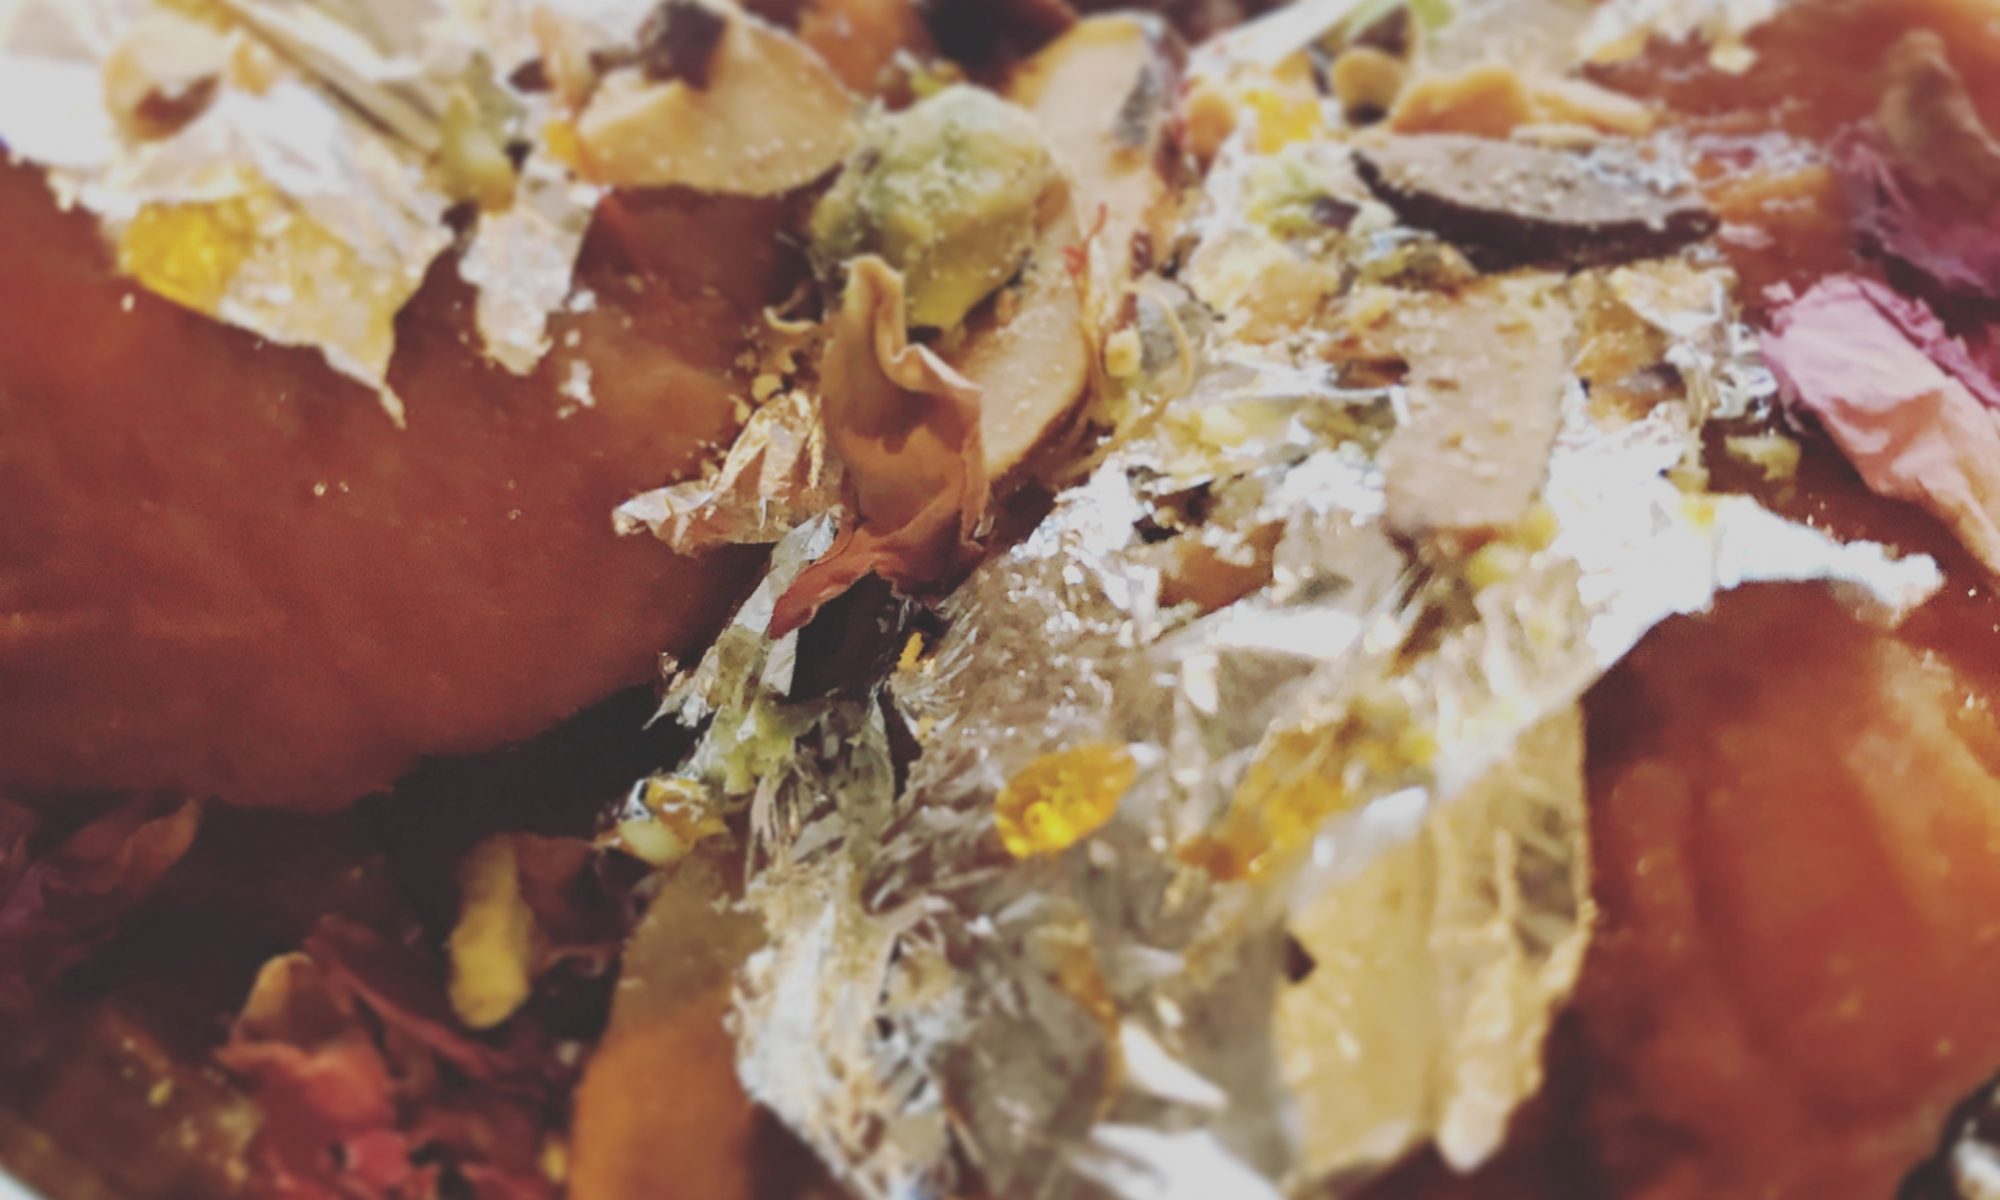
Some sweets are connected to beautiful festivals. They always remind us of occasions and celebrations. I always connect Badusha or Balushahi with Diwali. I had friends who would serve homemade and sometimes store bought Badushas and they would be loved by everyone. I know this post should have actually been a Diwali special but sweets don’t need an occasion, they just need a sweet craving and zest and time to make a sweet dish.

Diwali is over but still posting this delicious balushahi recipe as I can’t resist my cravings and eternal love for Indian desserts or mithai. Since we don’t get Badusha in USA as it ain’t that popular here, mainly I feel its because the people have not tried it. So, I decided on making my own, multiple unsuccessful trials but I just had to make it perfect and I am glad I did. The temptation was too strong to let it go.

My mom is a big fan of this sweet dish. In fact I have heard stories that this was one of the sweet dishes made on my parent’s wedding. There is an old sweet market in my home city Jodhpur called “Pongal pada” and the street has variety of Badushas in different colors and textures and are called Maakhan Bada [meaning sweets made using butter]. Though Badusha is soaked in sugar syrup, the Maakhan Bada is covered with thick coated sugar, something close to fondant but slightly hard.

Once I cracked the recipe of the Badusha, there was no looking back. Its easy, flaky and your desire to eat just one, Did I say eat just? No one eats just one Badusha. Never!!! Its Balushahi in North India and called Badusha in South India. So, no matter what you call it, do try the recipe and make your own. These come out awesome, flaky and light. Once you try them, you will never bother getting them from the market sweet store anymore. Hope you like and enjoy them as much as I did.

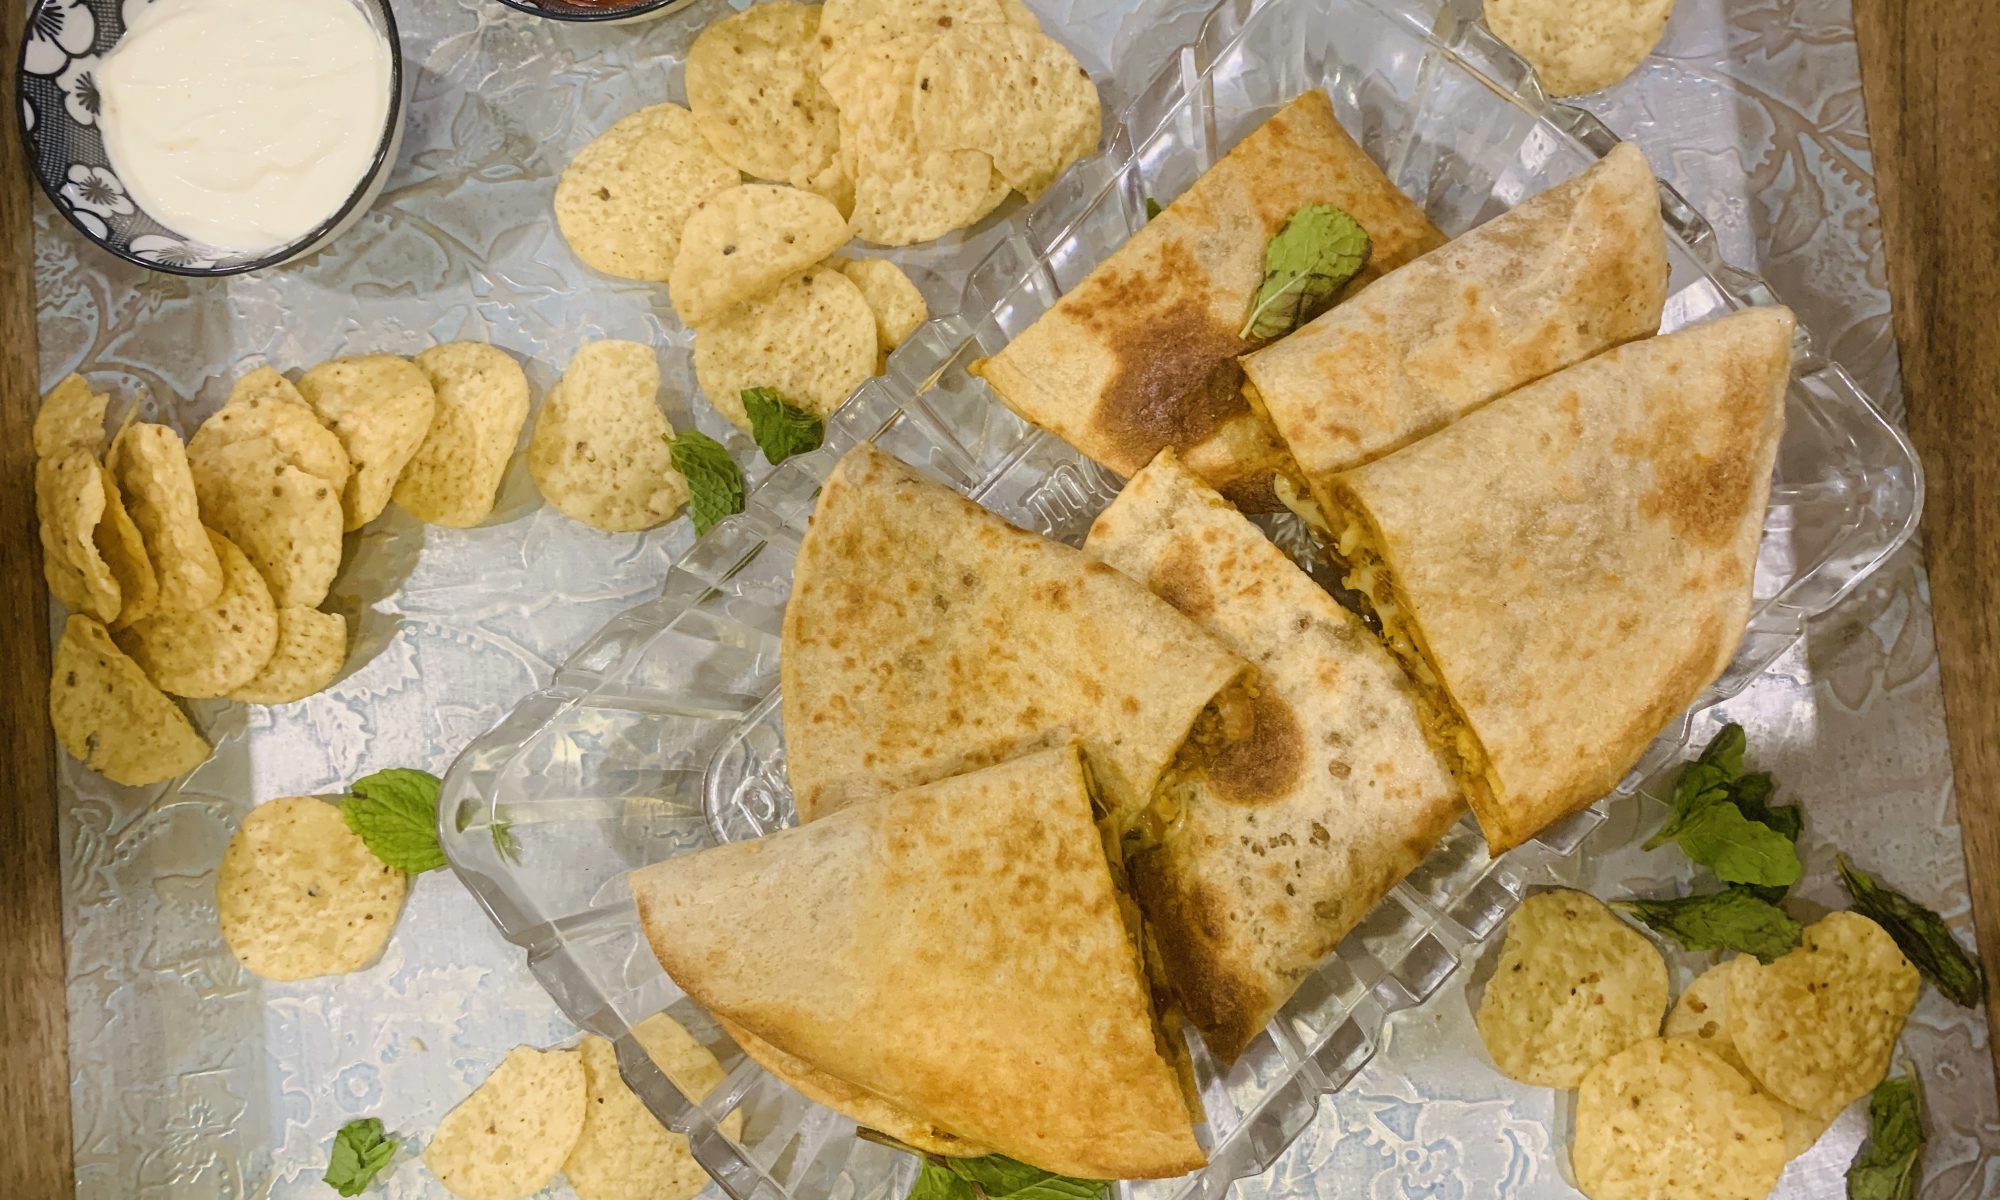
Chicken Quesadilla

These are delicious wraps with spicy pan fried chicken and cheese that come together in under 30-40 minutes. This is something that will make your children ask for more. They are easy to make and can also be made partly ahead of time. These little scrumptious bites are something you will fall in love with.

For Chicken, you can use Rotisserie chicken or any chicken that’s left over, or any grilled chicken or even chicken kebabs. I cooked my chicken in a tex mex style. I cooked the chicken with some onions and green chilies and added Paprika, cumin powder, chili flakes, cumin powder, Garlic powder, Onion powder and Dry parsley. I also added little Apple cider vinegar and hot sauce to spike it up a little. Just cook everything till the chicken dries up and the sauce coats the chicken completely.

The quesadilla can always be made from store bought Tortilla. I made mine at home with All purpose flour and Corn flour. They are pretty easy to make as long as you have a Tortilla maker. Once you make the Tortilla, add some cooked chicken and cheese, fold them up and place them in the oven for 10 minutes.

The quesadillas can be cut into two to make them look nicer while serving. These quesadillas are scrumptious, filling, easy to make and scrumptious.

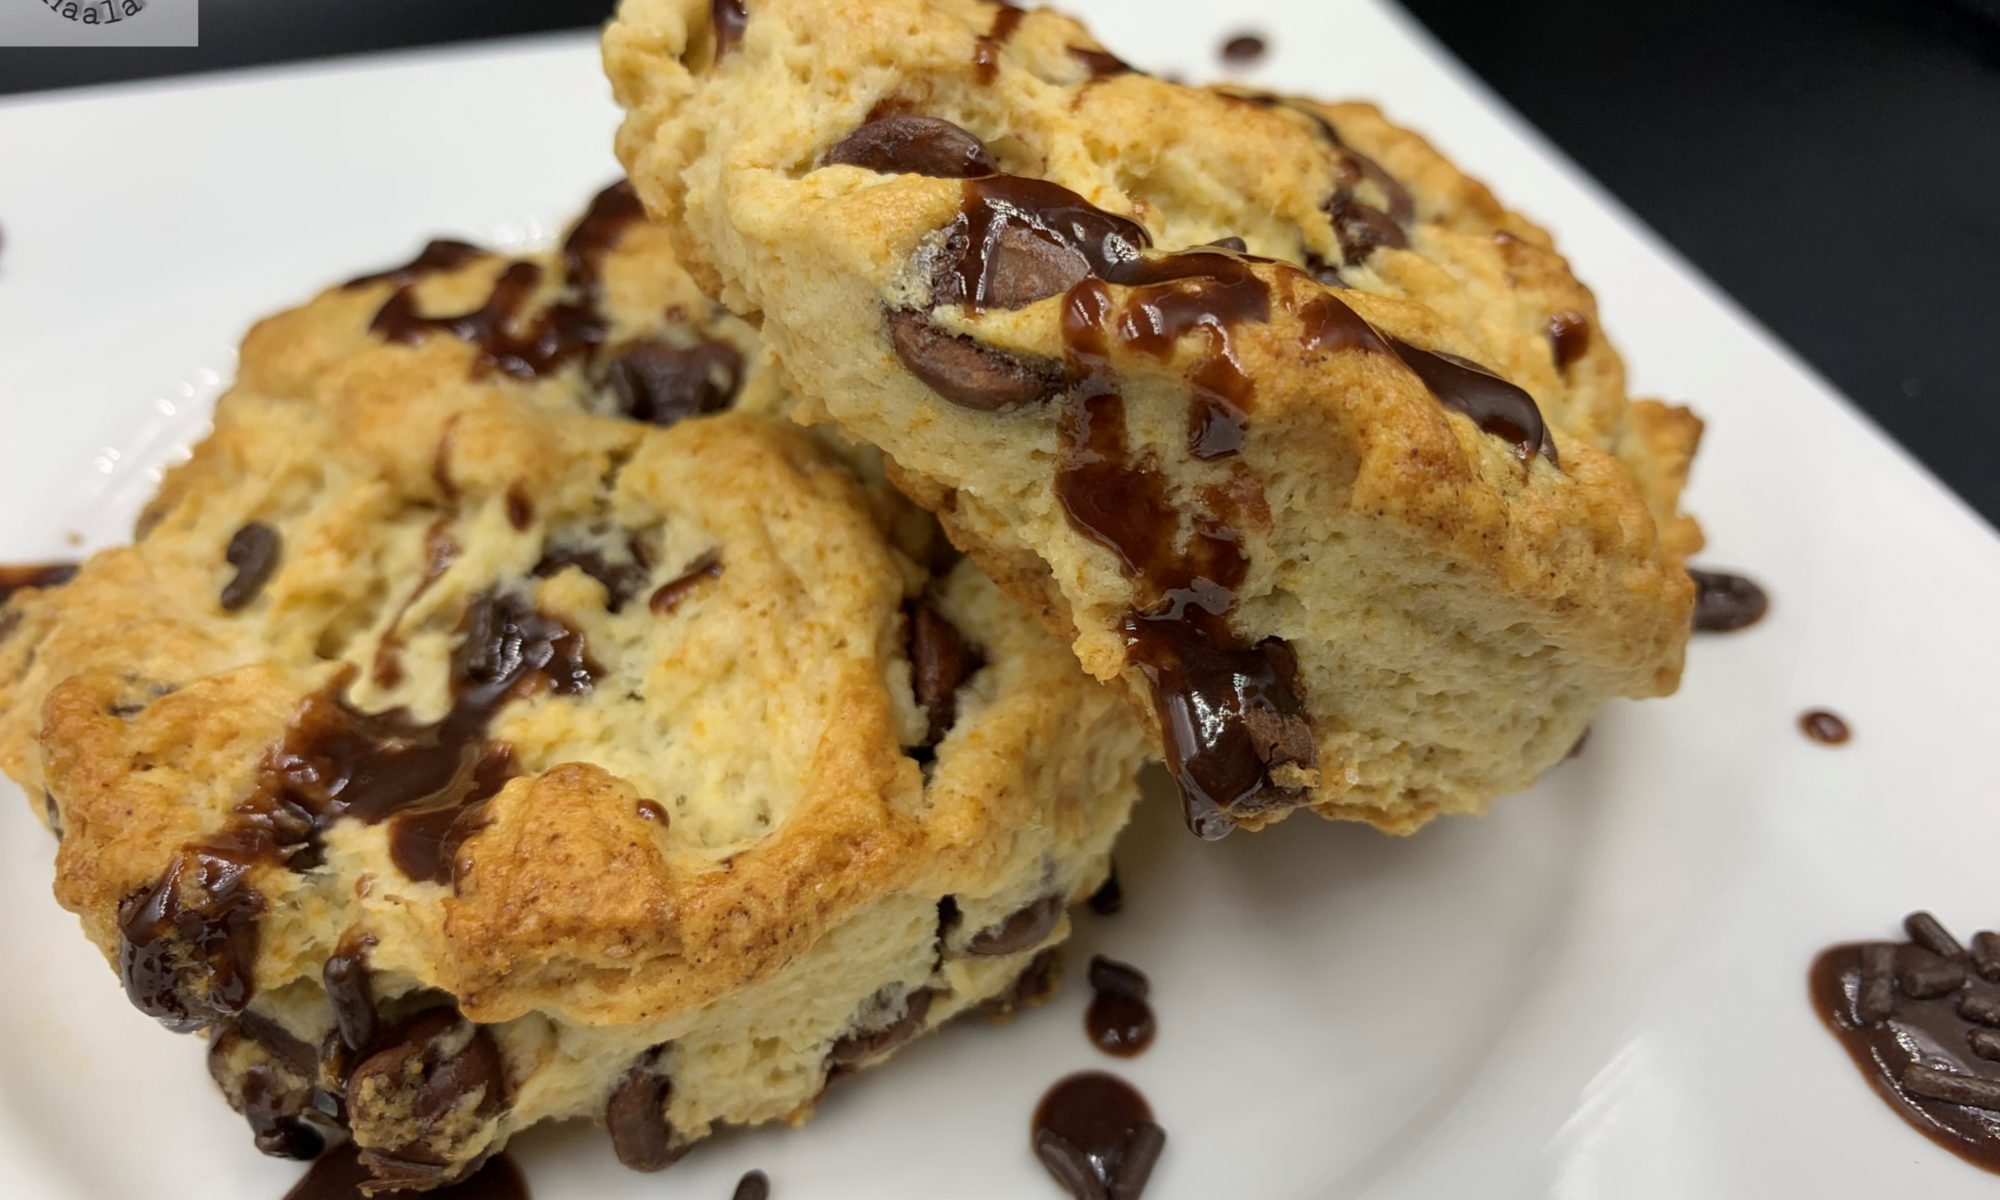
Chocolate chip scones

After trying my hands on the delicious, airy and scrumptious British scones, my kids had always been after making them. I have already made them numerous times, I felt it was time to experiment with something new. One of the main reason behind trying out the Chocolate chip scones was Mr. Parveez. When I made the plain scones, he mentioned that he loved the chocolate chip scones at a Book store cafe which he visited on some weekends before we got married and he loved them.

Therefore, I felt my second trials have to Chocolate chip scones. these scones are pretty rich, chocolaty , slightly sweet and just melt in the mouth. They are pretty easy, simple and fast to make, crunchy exterior and soft interior make them extremely satisfying. I make scones in a traditional scone way where I patted the dough around an inch thick and then cut them with the help of a biscuit cutter. But you can also roll the dough into a circle, around 8 inches and cut them in triangle shape, like a pizza. You can cut them into as many as you like, as long as the width is around an inch.

The butter you use should be cold because if it melts too soon, your dough wouldn’t be crumbly. If the dough gets super soft for any reason, because the butter you used was on room temperature or melted, then place the dough in the refrigerator for 30 minutes to an hour, till the dough is good enough for you to handle. The heavy cream used in the recipe is an approximate measure. It honestly depends on the flour that you are using. If the dough doesn’t come together easily and if you feel its still dry, add a little more cream, little at a time. Similarly, if the dough is too sticky and gets hard to handle, you can always add a little more flour, one tablespoon at a time. Avoid overworking the dough, because scones do not need too much mixing. Less mixing makes softer scones. The dough should be soft, not sticky.

Scones are best when you serve them fresh out of the oven. If you have extra, its always better to freeze the dough and bale it when you are ready to eat. You can freeze them up to 2 months in an airtight container. When you want to use it, just thaw the dough and use it.

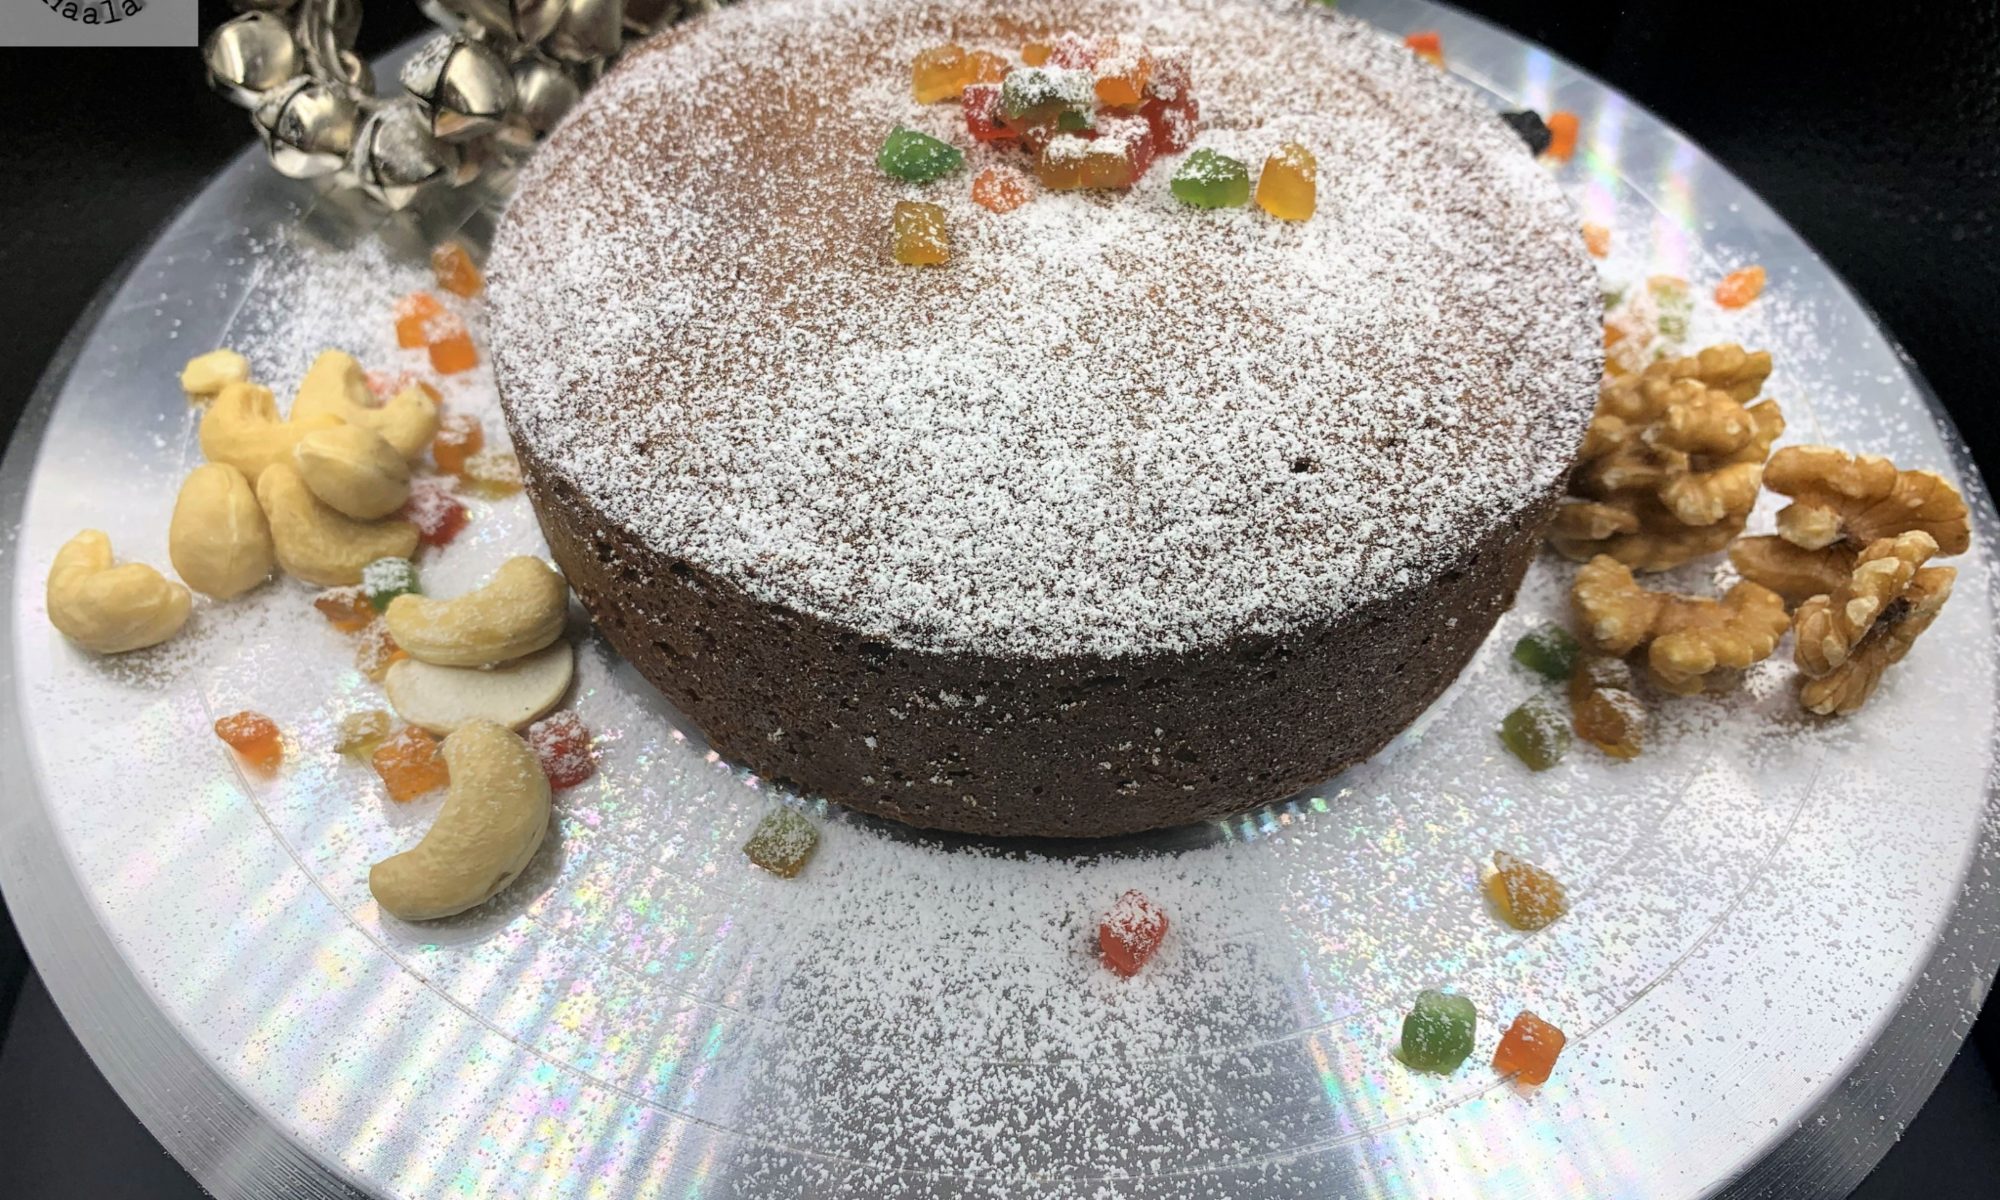
Plum Cake

Plum cakes are just so special. Christmas all around the world is always so festive and beautiful. I love the old city charms, snow and the gorgeous decorations everywhere. Though, things were pretty festive while I was growing up but in a little different way. I went to catholic convent school and Christmas was always celebrated in an awesome way. The teachers, nuns and students would always put up a grand show on the last day before the Christmas break. One of the teachers would dress up as Santa Claus and distribute gifts to everyone.

What also made me look forward to Christmas in India was Plum cake. For some reason, Plum cake was always made only during the Christmas season. A local and very popular bakery in my hometown made delicious Plum cake and my father made sure he gets ample supply for the family because we all loved it and it was only available for a short period of time. Not just that, I would always look forward to visiting my Christian friends on Christmas and would love their awesome cake preparations on Christmas. Being a Muslim, we couldn’t eat Plum cake everywhere, since most people soak their dry fruits in Rum for a month or more and we could never try those. Thank God! the bakery was owned by a Muslim family.

I could never figure out what exactly they soak their dry fruits in and how exactly they make it so delicious, yet not adding any alcohol and making it exactly the same way as its traditionally made was simply amazing. But, of course, no baker would ever share the recipe, Right? and so, we would just enjoy the yummy Plum cake while the season lasted. After getting married, I discovered that Bangalore’s Iyengar bakeries have a non stop flow of Plum cakes all year round and since, we were travelling to India only during summer. Not just that, we also searched almost all bakeries in Indian areas in New Jersey only to find out that Plum cakes are not in demand so they don’t make it.

Most recipes you search will always ask you to soak the dry fruits in Rum or some other kind of alcoholic beverage and there is no alternative to it. Finally, I got this recipe from a friend’s aunt who happens to bake a traditional Plum cake for the family every Christmas and does not use alcohol. Initially I wasn’t so sure how the cake would turn out, because a few things in the recipe are not hard but slightly tricky but, once you get the hang of it, its a walk in the park. Just make sure you red and follow all the directions mentioned. I promise the cake will make you relive those beautiful childhood memories.

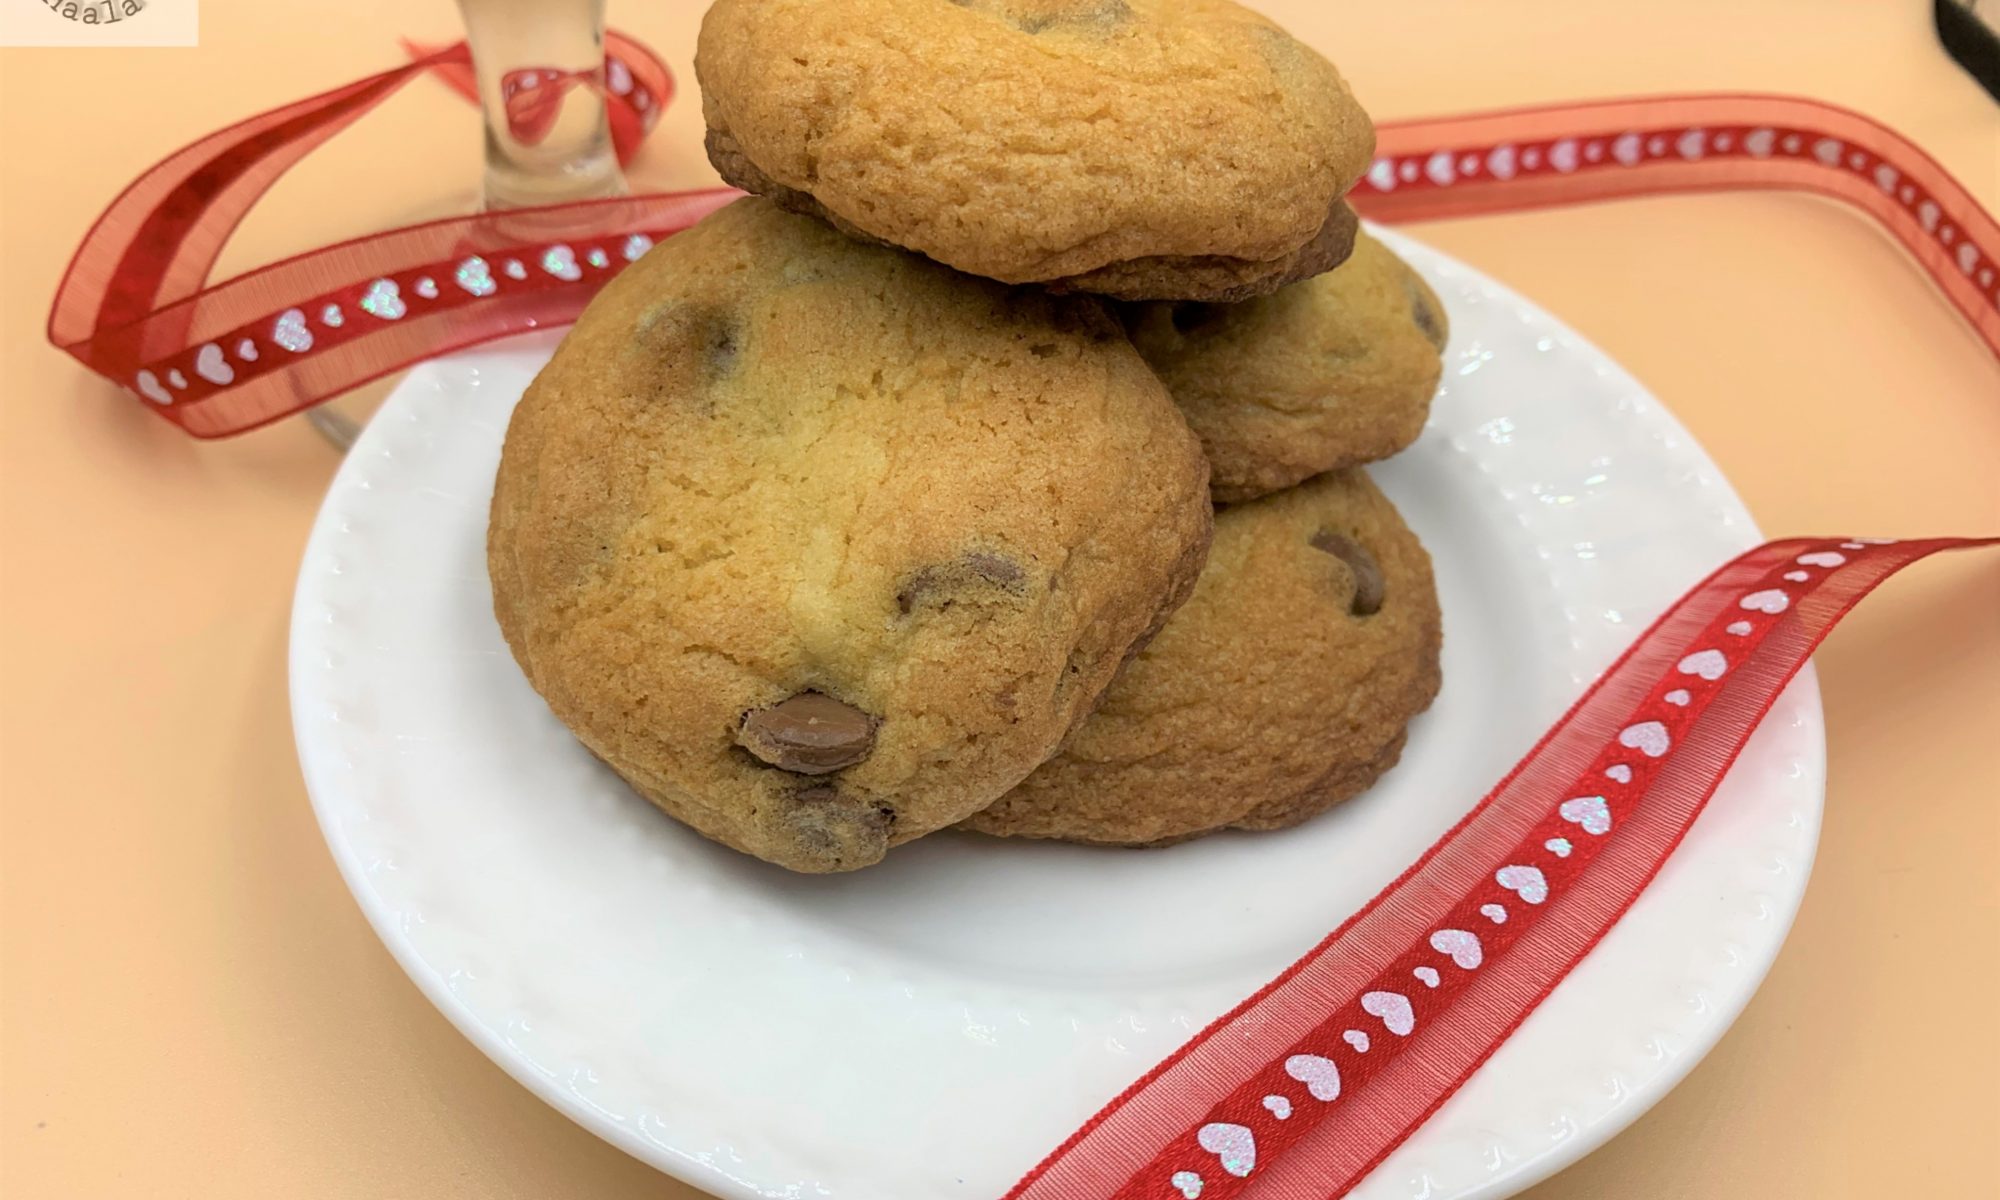
Chocolate Chip Cookies

Chocolate Chip Cookies, the name makes my mouth water. My undying love for chocolate chip cookies never goes away and there is no time when I don’t crave them. Warm cookies straight out of the oven and a hot cup of coffee is enough to rejuvenate anyone from their super tired day. Have you ever noticed all the cookies in the cookie aisle at your favorite supermarket. Its a huge variety. Sometimes, when you think of trying something new, a picture on a pack or the beautiful explanation of the scrumptious cookies or a popular brand name or company introducing something new, by modifying a little something in their older version is enough to lure you into trying something. I never paid attention to the details of the ingredients until my older one started developing a taste for them. That’s when I realized that I was feeding my son things that I not only did not know, but found them had to pronounce. Ingredients that sounded better in a chemistry lab than on food. This is when I decided that I should try and bake my own cookies, I mean how hard can it be…LOLzzz. But, let me tell you, its tough. Baking, not so much, but baking in the right temperature, making sure the heat is just right, is difficult. Plus, the proportion of ingredients has to be proper. A little more butter than required won’t make the cookies softer, but break them apart. A little more sugar won’t make them sweeter, but too sweet for your taste buds. Therefore, the first rule, measure everything. This recipe is plain chocolate chip cookies, craved by all, loved by all and eaten by all.  The website has a recipe for Chocolate chip cinnamon cookies too, but please do try these ones as well. Once you try these you will never buy your cookies from the store or any bakery ever, that’s a promise. Each bite is chunky and heavenly. Enjoy!!!

Hyderbadi Lukhmi Dough

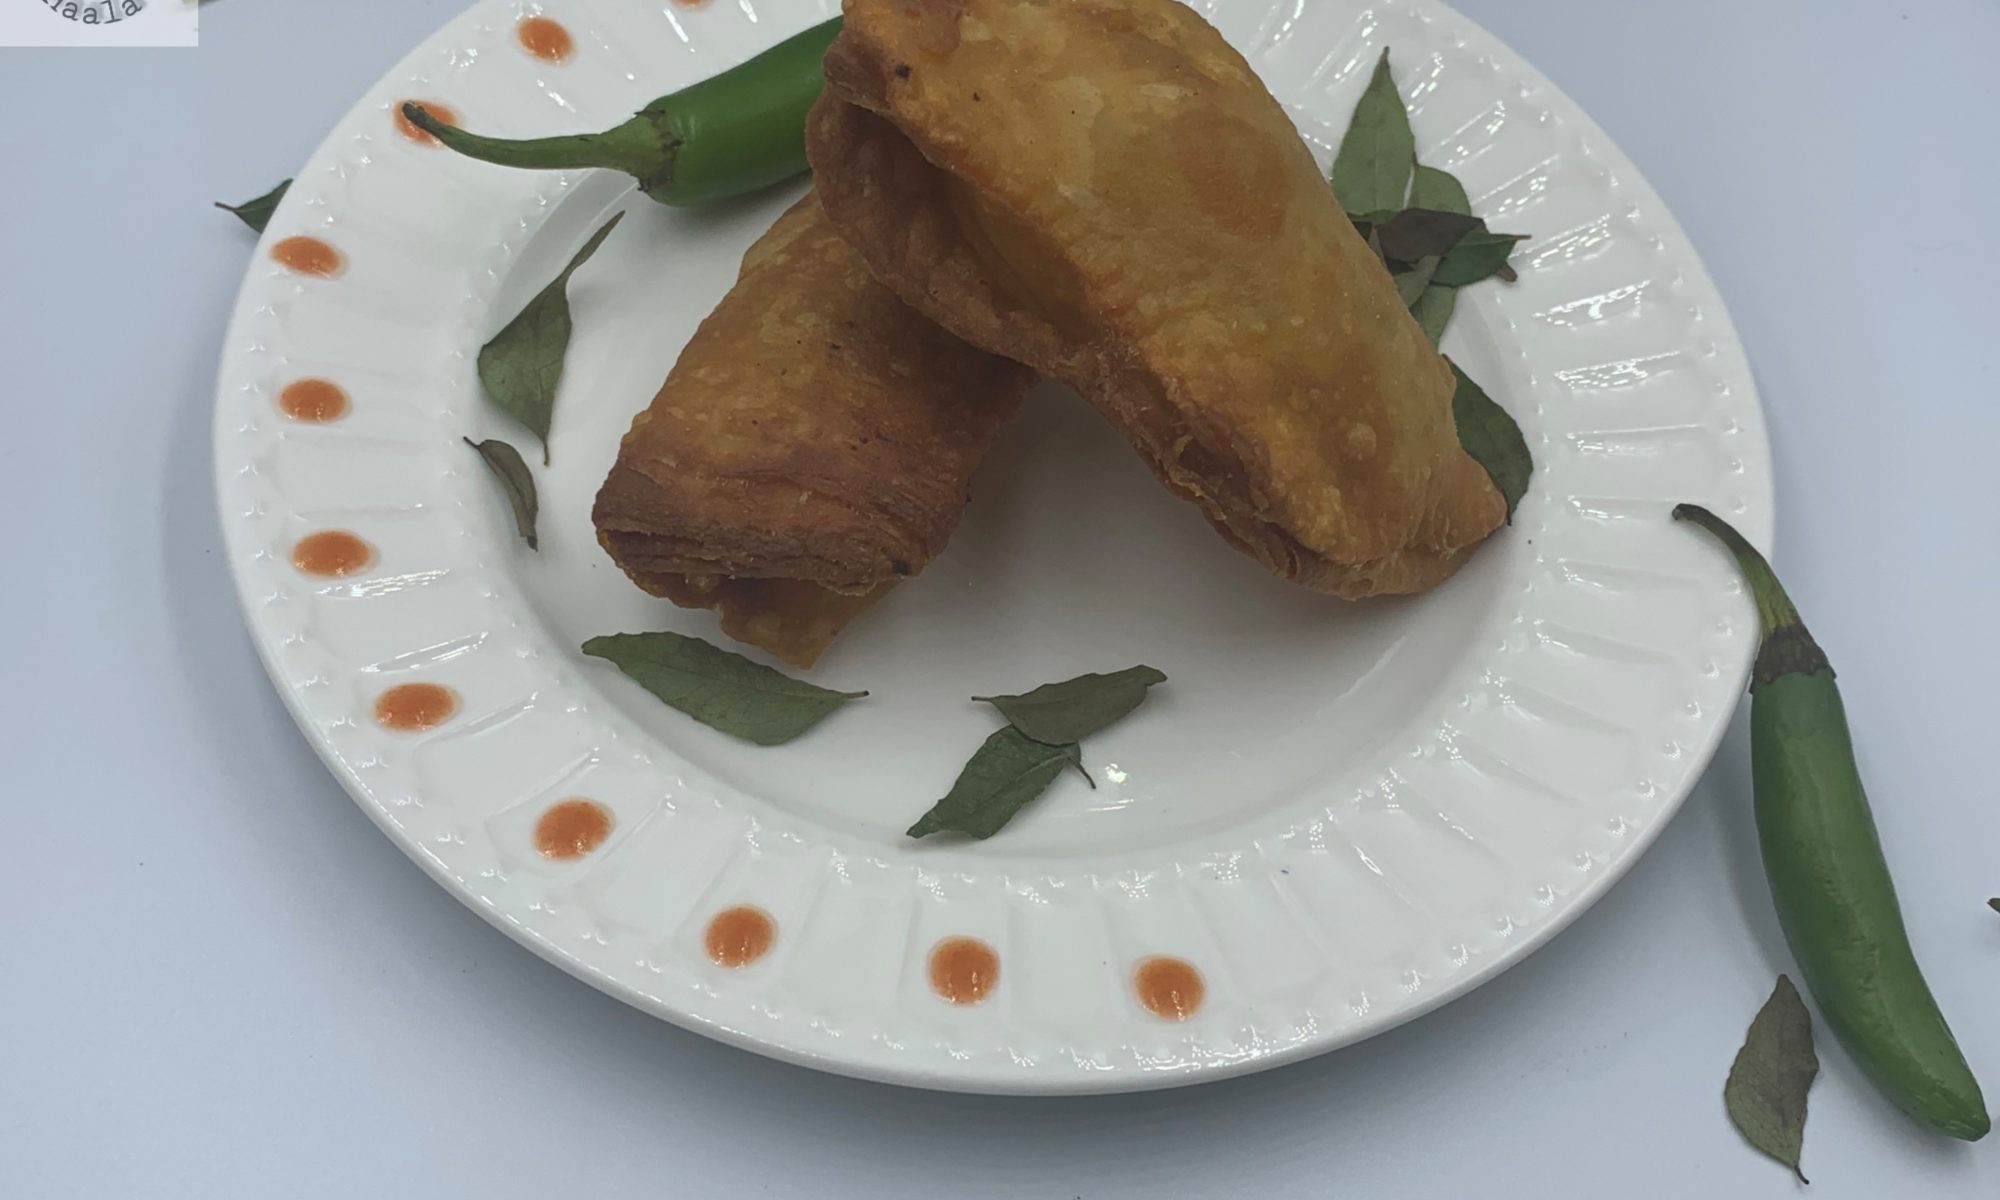
Hyderabad is also popular for its Biryani and Khubani ka Meetha. Along with that, there are loads of other popular Muslim dishes that are very popular in Hyderabad but probably not that popular outside Hyderabad. One of those dishes is Lukhmi. It is a typical rectangle/square samosa kind, which has a filling of mince meat or Chicken. Its regarded as savory or starter of the cuisine of Hyderabad. It is a local variation of samosa. Though have never visited Hyderabad, but I do want to visit it one day. 2 simple reason to it, one of course is Hyderabadi cuisine and second is the Falaknuma Palace that simply became more popular after my favorite Bollywood actor’s sister got married there…LOLzzz. I know sounds crazy, but speaking my heart out is what I do on my blog and it is what it is. So, going through popular Hyderabadi cuisine is when I came across Lukhmi and that’s when I decided to make it. My boys who are big fans of Samosas, I was kind of unsure if they’d enjoy Lukhmi. Honestly, since none of us had ever tried it before, I wasn’t even sure how it will turn out to be. But, to my amazement, not only did they love it, they went a step further by asking me to make this more than samosas, which honestly is a shock to me because my kids can kill for my chicken samosas…Okay!! May be not kill, but definitely injure someone enough if anyone dares to even look at their samosa, forget eating…LOLzzz.

 Hyderabadi cuisine has a variety of scrumptious snacks, and Lukhmi, the flaky savory stuffed with spicy minced meat/chicken is definitely one of them. A popular starter at Hyderabadi marriages, this dish also works well for a quick pair for teatime with family or friends. The name lukhmi originates from the word luqma, which means a small bite in Urdu. Unlike the samosa, lukhmi is usually a flat square/Rectangle shaped flour parcel with a flaky and crisp upper crust and stuffed with beef, chicken or mutton-based filling. You have the snack in other shapes like triangles in some cafes and a vegetarian version mostly  with potato filling is also available.

It is usually served with chopped onions and green chilies or chutney. To prepare lukhmi, all purpose flour/ Maida is kneaded with milk, butter and a little water. The mince or vegetarian filling is cooked separately, with turmeric, onions, ginger, garlic and spices. After resting, the dough is rolled out into a huge rectangular roti. More butter is added in between rolling the Roti and refrigerating it for 20 minutes or a little more. This process is repeated 3-4 times in order to create more flakes or layers to the Lukhmi. After the final process, the Roti is cut to multiple squares. Finally, these multiple small squares each housing a filling pocket forming a Lukhmi.

The edges are closed by pressing them often with a fork, and the stuffed parcel is deep fried in oil. As the color of the patty changes to golden while frying, the lukhmi is ready for consumption. The snack had lost some of its popularity over several decades, as many places in the old city stopped serving it. However, it has made a comeback of sorts in the last few years with an increased interest in lost Hyderabadi recipes.

I really enjoyed making these beautiful and scrumptious pockets of goodness and these are now a family favorite for me. I hope you like them too. If you need help with variations, please feel free to ask. Enjoy!!!