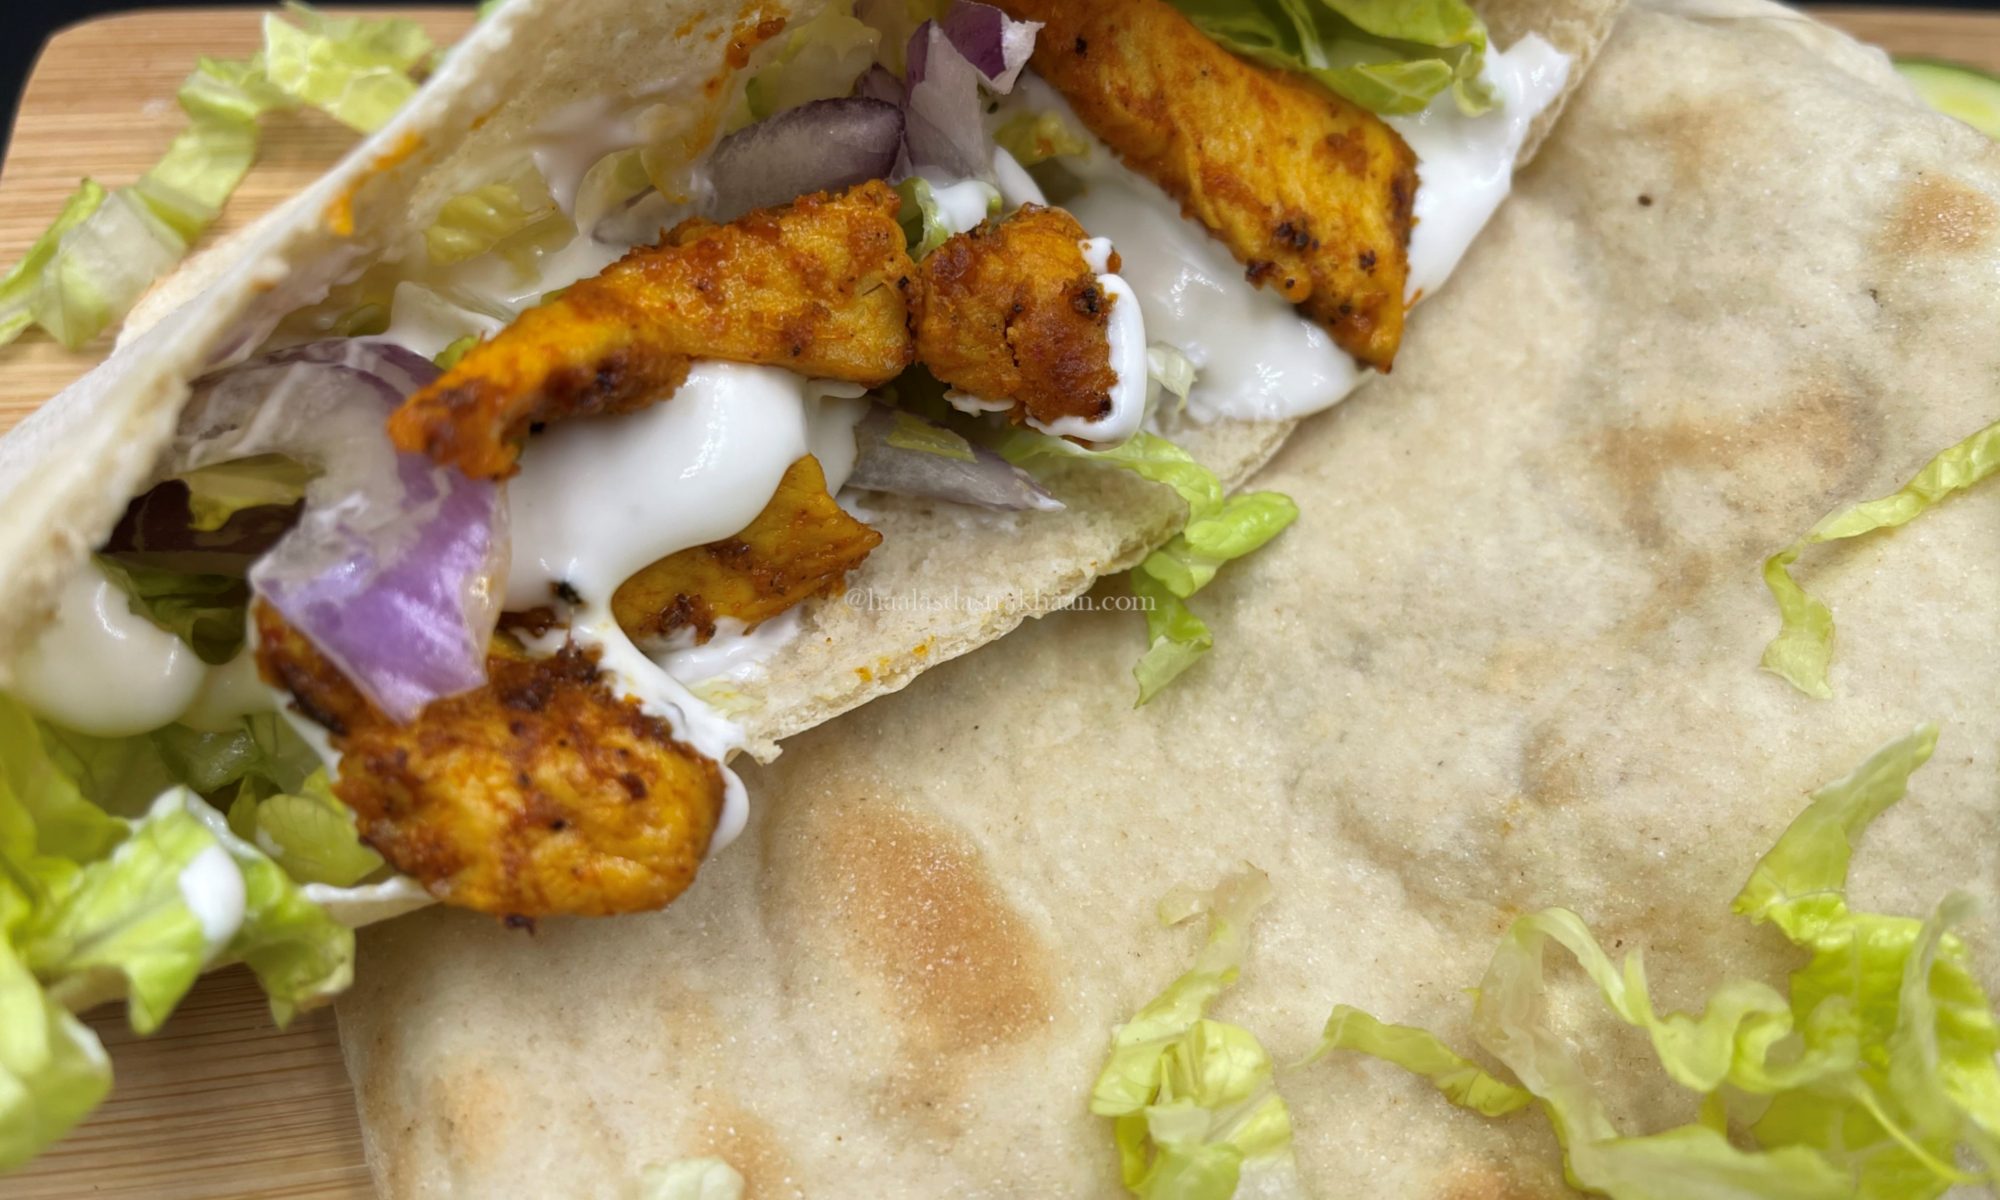
Chicken Pita Pockets

Every culture has its own treasures in the kitchen, and every country offers flavors that tell a story. Exploring different cuisines is more than just tasting food—it’s a way of experiencing another culture.

This recipe, with its Middle Eastern and Greek touch, was inspired by that idea. But on a simpler level, it came from a parent’s instinct: I wanted to find a fun way to serve my kids more veggies. These pita pockets turned out to be the perfect answer—wholesome, colorful, and bursting with flavor.

Honestly, these days it feels like every parent struggles to get their kids to finish the veggies on their plate—or even eat the basic recommended portion. Vegetable curries are usually a safe bet, but with kids like mine, even curries don’t always do the trick.

That’s when this dish becomes a real savior. The chicken is cooked with very little oil, and the filling is packed with fresh veggies, all tucked neatly into soft pita pockets. It’s colorful, tasty, and most importantly—kid approved.

Eating your way around the world doesn’t always require travel—you can do it right from your kitchen. Trying foods from different countries is one of the easiest (and tastiest) ways to experience another culture.

These chicken pita pockets are a perfect place to start. They’re loaded with flavor, packed with veggies, and healthy enough to serve guilt-free. With their bright Greek-inspired taste, they work beautifully as lunch or dinner—and honestly, they’re hearty enough to count as a complete meal on their own.

A pita pocket is, hands down, one of the best sandwich breads you can use. It’s simple to cut open, and I usually slice it in half to create that perfect little pocket. Chicken pita pockets are the best example of how chicken and veggies can come together in a dish that’s both healthy and satisfying.

Don’t let the recipe or photos intimidate you. This dish isn’t complicated—it’s not beginner-level easy, but it’s also not time-consuming. If you follow the steps carefully, you’ll end up with a fabulous finished dish that looks and tastes like you put in far more effort than you actually did. And that’s what makes it work so well.

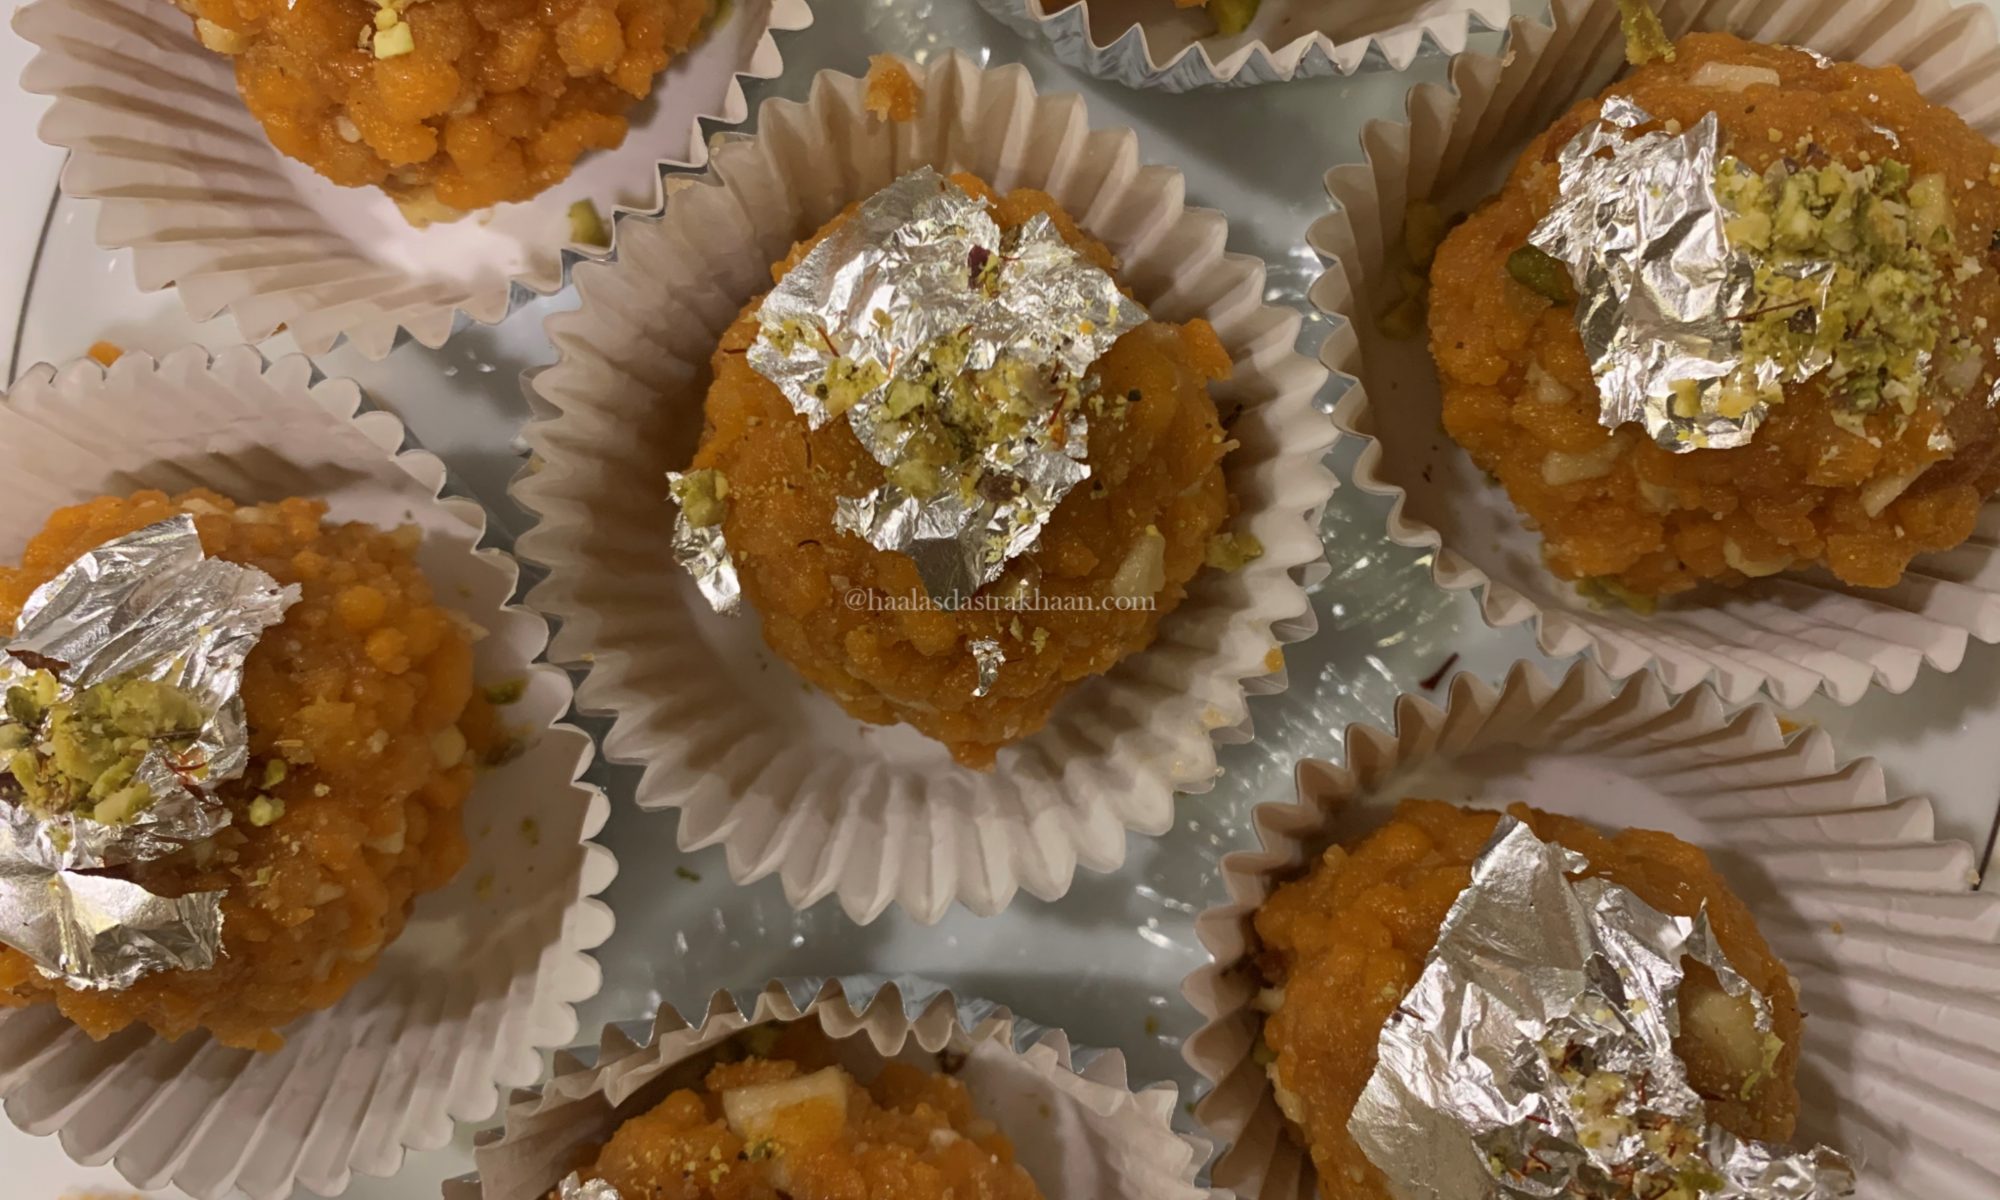
Boondi ke Laddu

Boondi Laddu is one of those classic Indian sweets that everyone recognizes. It’s commonly made and easily found in almost every sweet shop—though no two are ever quite the same. Unlike Motichoor Laddu, which is made with finer, tiny boondi and a slightly different technique, Boondi ke Laddu have a distinct texture and charm of their own.

I’ve always had a special connection with them—one that I think every kid who grew up in India can relate to. Every Independence Day and Republic Day, schools across the country make it mandatory for students to attend the flag hoisting ceremony. Those mornings were filled with patriotic songs, speeches about freedom, and stories of how our freedom fighters united to gift us an independent nation. And at the end of it all, there was always that small token of joy—a Boondi Laddu handed out to every student.

Boondi ke Laddu was the staple sweet handed out to every child at the end of the Independence Day and Republic Day ceremonies. But it wasn’t just about school. Every Ramadan, during the 27th night of Shab-e-Qadar and around the time the Quran recitation concluded at our local mosque, my father would distribute Boondi ke Laddu there too.

Somehow, this sweet became a part of every celebration—religious or national. It was simple, joyful, and universally loved. I don’t think I’ve ever met anyone who could say no to a Boondi Laddu.

I don’t remember ever seeing anyone make Boondi ke Laddu at home back in India—they were always just there, ready to be bought from the sweet shop whenever you needed them. But now that we live in the USA, finding that exact taste isn’t so easy. The Indian sweet stores here don’t make them the same way, so I finally decided to roll up my sleeves and make them myself.

I looked through a few blogs and food websites, but most of them showed pictures and recipes for Motichoor Laddu instead. The thing is, sometimes you’re not looking for something fancy—you just want to recreate a piece of your childhood. You want that familiar taste that instantly takes you back home.

I tried making Boondi ke Laddu a long time ago, but my first attempt didn’t go too well—the boondis turned out long, and they just wouldn’t bind together. Then, during one of my visits to India, my Rakhi brother took me to a shop that sold special ladles made just for making boondi. I brought one back with me, determined to try again after returning to the USA.

Even so, I don’t think anything we make here can quite capture the same happiness as eating it in our motherland. No matter how perfect the recipe, you still miss the people you shared those moments with. But as they say, you can’t fight destiny—you can only make the most of what’s around you. So I continue cooking, creating, and cherishing these little pieces of home, one dish at a time.

These Laddus will definitely remind you of your childhood days. Though they require a little extra effort, and it gets a little messy too, but it’s all worth the effort.

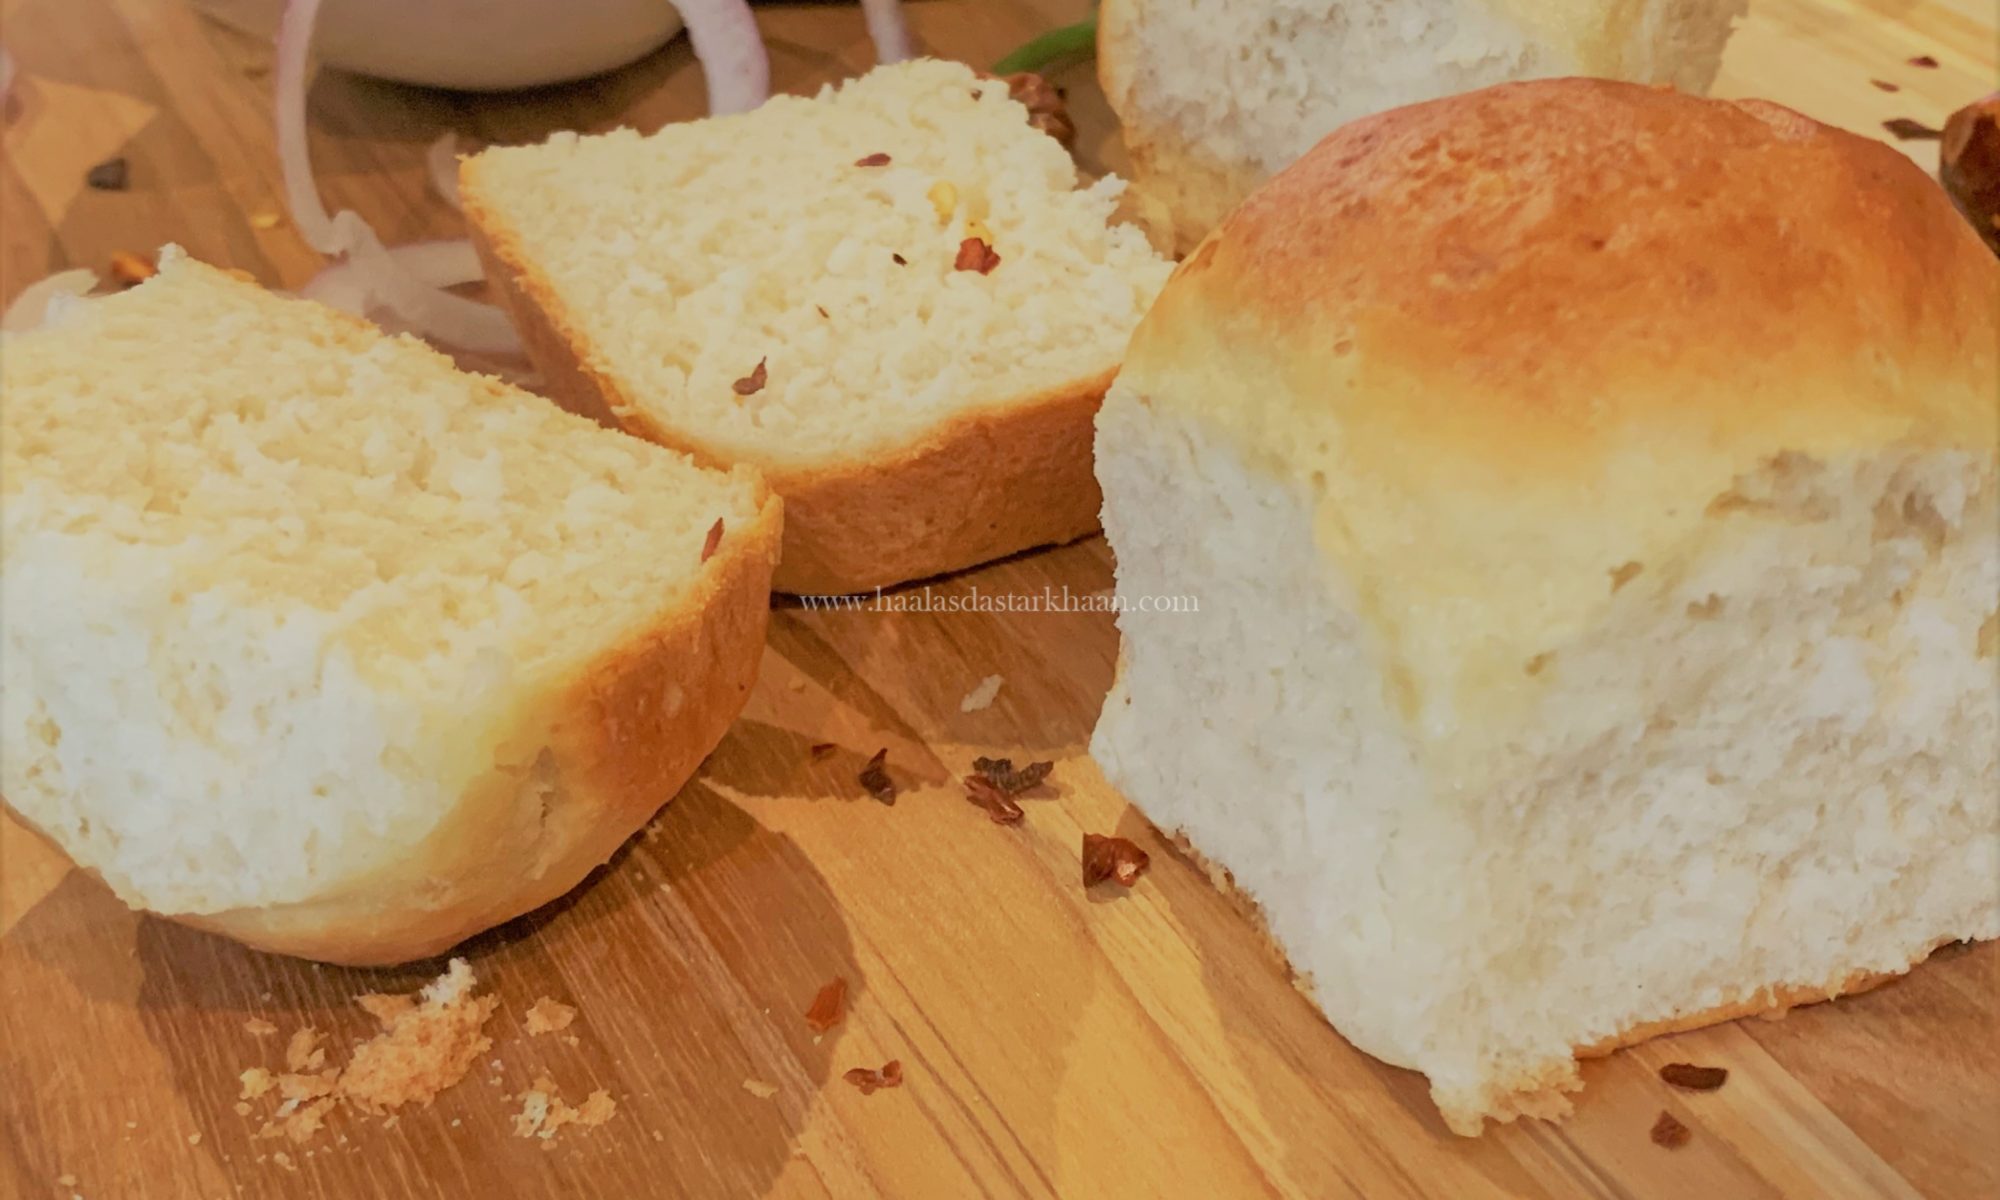
Homemade Buns / Paav

I still remember when the trend of Paav Bhaaji came to my town. I was in Elementary school and I loved the flavors and so did everyone in the family. The funny thing was that all of a sudden Paav Bhaaji became a favorite dish for all. Now I have never been to the roadside stalls to eat Paav Bhaaji, though I somewhere always wanted to, but the small town I belonged wasn’t very apt with women standing on roadside eateries during those days. While writing this, I feel as if it was centuries ago, but honestly it was just a few decades ago and the amazing thing is that my small town has changed so much in the last few years that it’s exciting as well as scary. See, small cities have their own magic. People are friendlier, have more time in hand and almost everyone knows everyone. From that time where I would meet 50 people in a radius of one mile to now meeting almost the same number, but with the warmth missing.

Anyways, coming back to Paav Bhaaji. So, my father would always bring it home as a take away and we would all love it to the core. Slowly, my mom started getting Pav bhaaji masala and we would enjoy home made Paav bhaaji. So, my home made Paav bhaaji masala is my mother’s recipe.

I had tried my hands at Paav Bhaaji multiple times and always loved every bite of it. Though my mother used so many different veggies like cauliflower and carrots for her Paav Bhaaji, I only stick to Potato and Bell pepper, making it closer to the original flavors.

The Paav are also homemade. They are pretty easy as well. If you follow the recipe properly, you will be able to make these pillow soft amazing buns at home. You can serve the buns with anything, but as Paav with Bhaaji, they just seem to taste super amazing. To make them taste more delicious, split the buns, spread some butter and sprinkle some Paav Bhaaji masala on them and toast them on the Tava/ Pan.

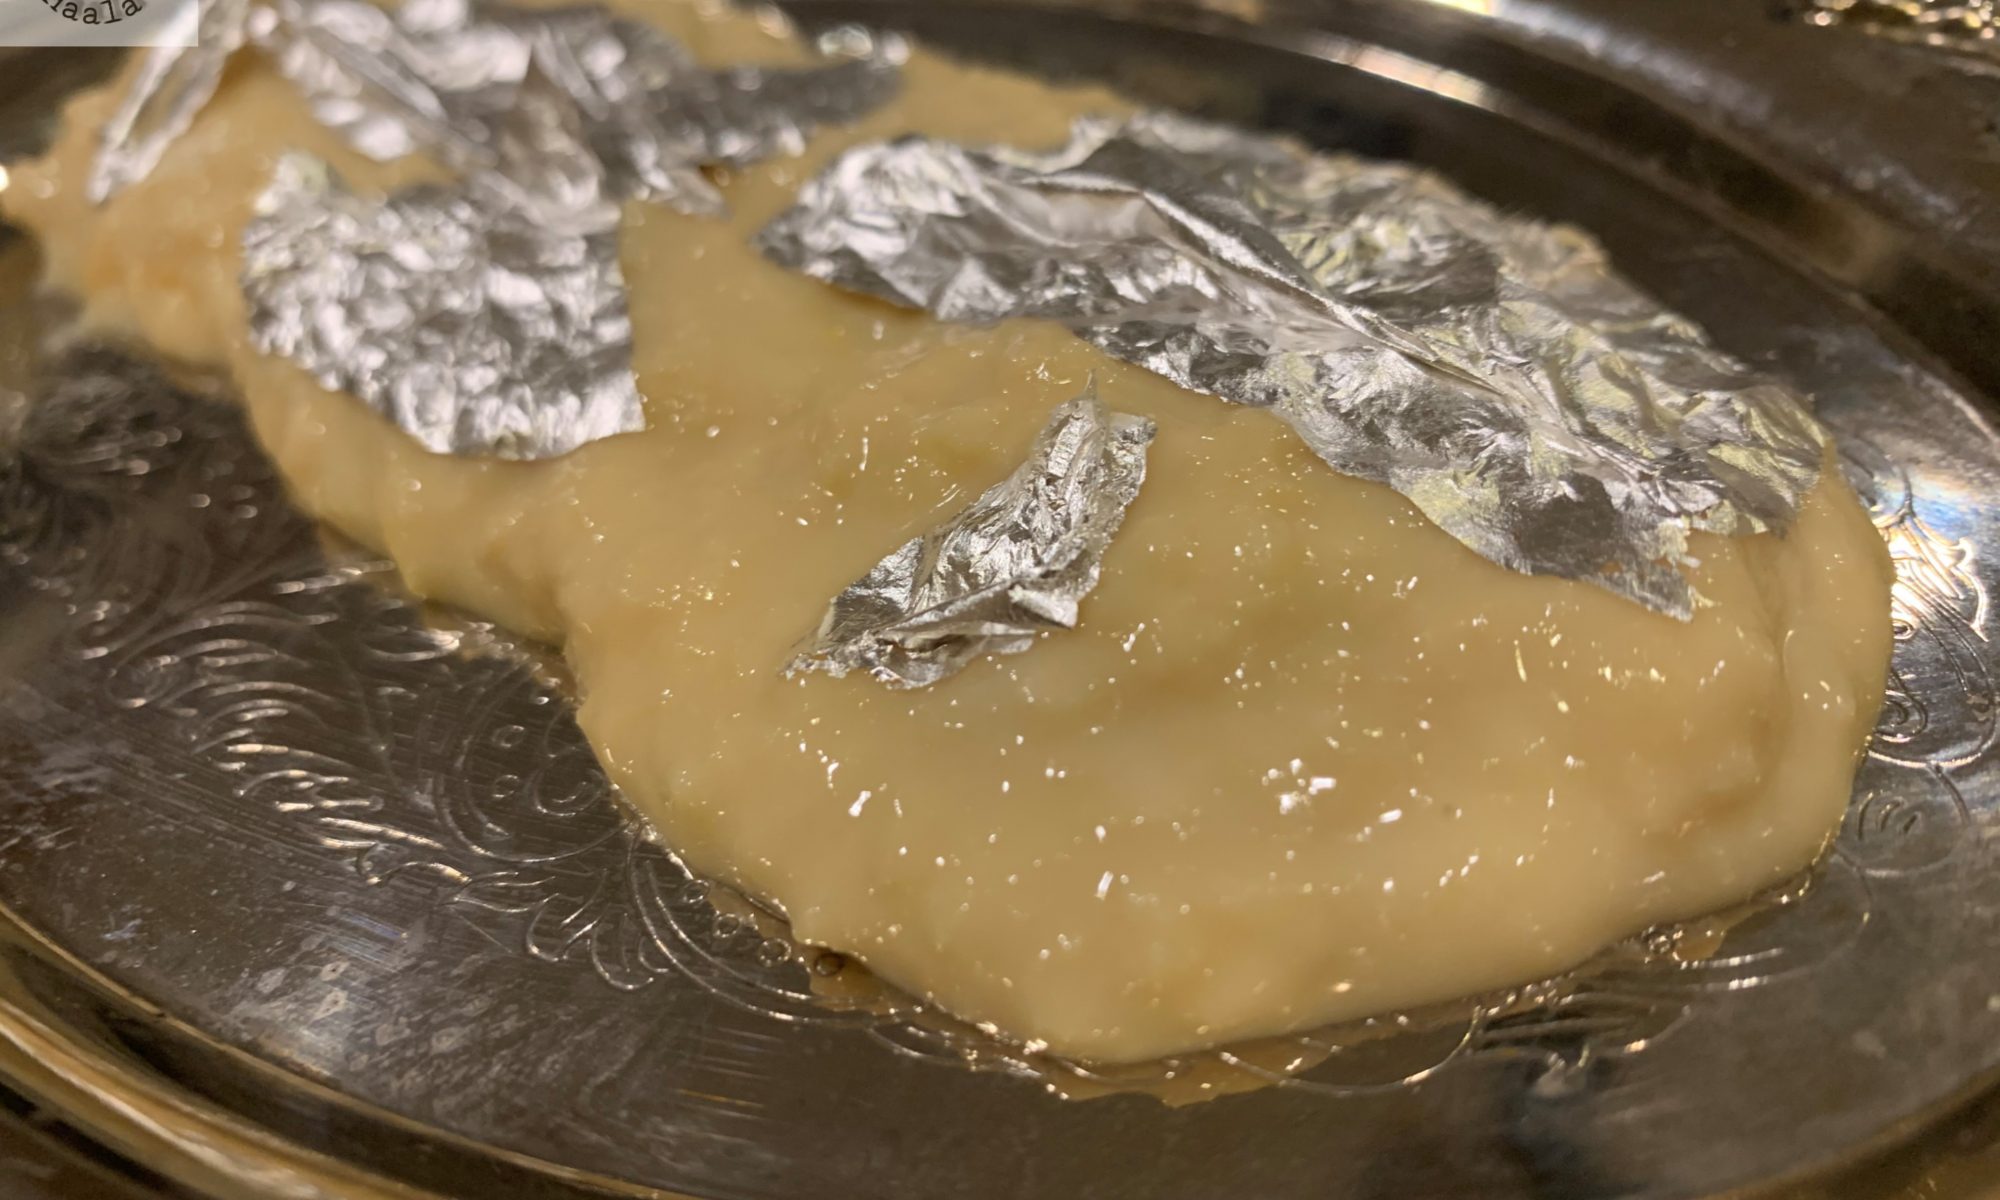
Rabri

Rabri has been one of my most favorite sweet dishes ever. The thick mavaa and just perfect amount of sugar makes this dish delicious enough to die for. There is a very old shop/ small eatery in my hometown Jodhpur that is popular for Rabri, Lassi and Kulfi. They sell amazing Rabri which is something I have to eat on every visit. But, the sad part is that I visit my hometown only during the scorching summer days and as much as I love to try all my favorite foods, it kind of gets impossible to enjoy them the way i should. Rabri happens to be one of them. Summer days do not make you crave for milk based sweets.

Rabri is a gift of Mughals to India. Just like they brought in Gulab Jamuns and jalebis, or any other sweet dish that requires sugar syrup, they also brought in sweets that are made from milk solids and require thickening of the milk. Mughals were very dedicated to cooking good and rich food. The use of dry fruits, nuts, cream, Khoya, Kewra or screwpine water, orange blossoms or even rose water comes in from them. An amazing addition to India food, that foodies like me love reading about.

Anyways, I definitely cannot change the time I travel to Jodhpur and there was no way my cravings could be turned off. So I did what people like me are born to do…. Make my own Rabri. And boy, that was one of the best decisions I ever made. I still remember making it the first time, not being sure of whether the 2 liters of milk would go down the drain and saying my silent prayers that even if this Rabri came out half as good as what I like, I would be immensely happy. To my surprise, my hard work paid off so well that what I made was the best Rabri I have ever tasted. Amazingly delicious, thick, perfectly sweet and a teaspoon in your mouth makes you sweetish romantic.

The key to a perfect Rabri….apart from the ingredients, time, patience and a good cooking saucepan. You will need Milk, sugar, Kewra water and Khoya. You are required to use Whole Milk because you will have to take the cream off every 5-7 minutes and stir that cream into the milk. You need time to make rabri and undivided attention, which I believe we need each time we make any milk based sweet, but slightly more when it comes to Rabri. The milk has to be cooked on very low heat and needs constant stirring. It has to be cooked till it remains only quarter of the original quantity. In between that we add Khoya and sugar and cook it more since Khoya tends to make the milk thick, sugar on the other hand releases water. It needs constant stirring. Adding cardamom powder and Kewra water gives it an appetizing fragrance. You can also add saffron strands like I did, but its completely optional.

Rabri once cooked needs to cool down and refrigerated for at least 6-7 hours before you serve it. Rabri can be perfectly served by itself but also goes well with warm sweets, mostly Jalebi and Malpuas. This dish can be refrigerated for a week. Enjoy!!!

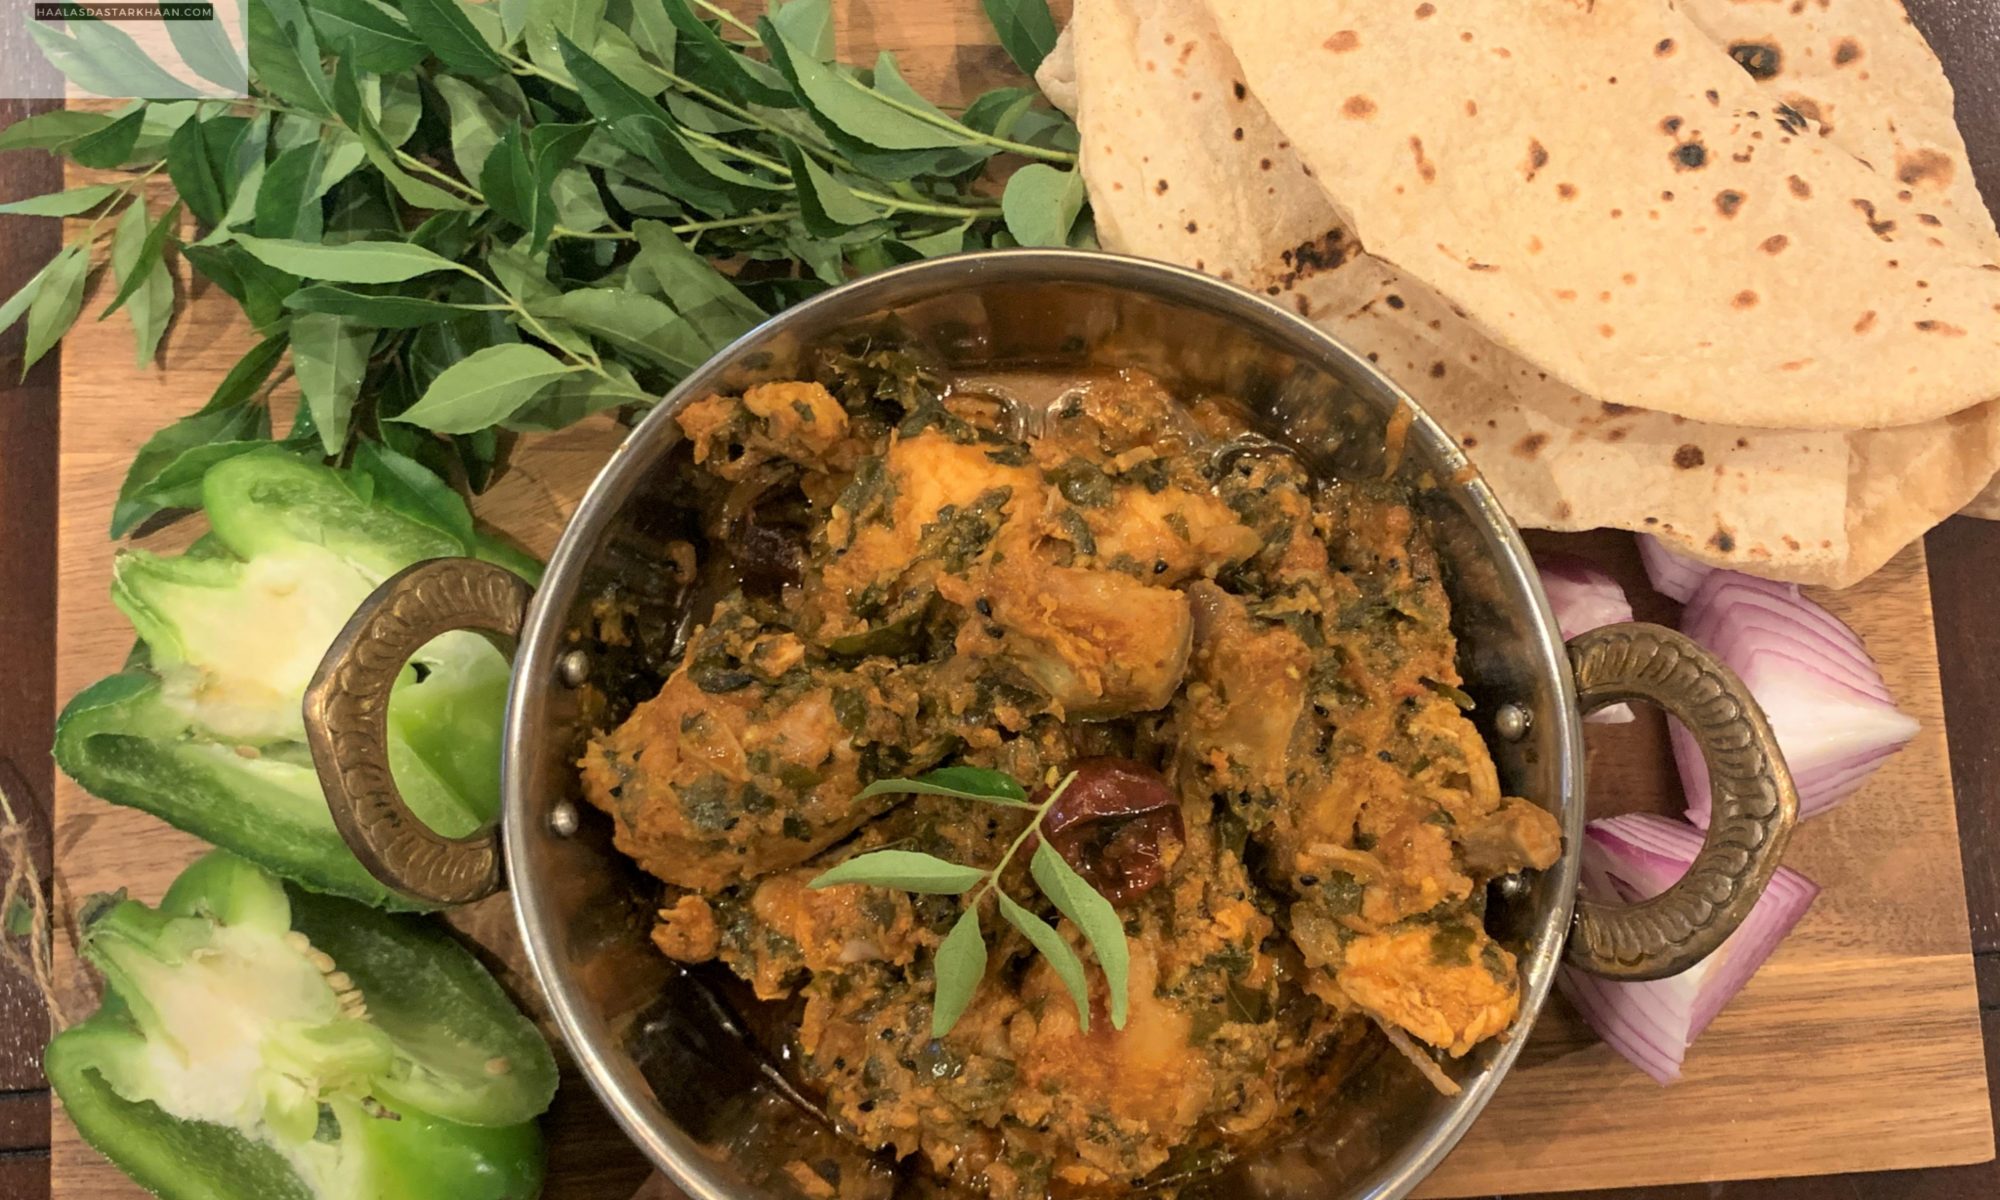
Methi Chicken Curry

This curry is one of my most initial curries. My love for cooking during my earlier cooking days never had curries on the menu. I have always been more of a Biryani and Kebab person. It was much later that I started making curries and Methi chicken happened to be one of the first ones that I tried following a recipe I read in the book.

Now just to be clear, my mom does not make Methi Chicken, so honestly, I had no idea whatsoever if this dish will even come out and be edible. The dish really surpassed all my expectations and it became a must for special and not so special occasions, but with time, as I improved in my cooking skills, I felt few changes here and there would make it more flavorful.

The initial recipe required only tomatoes for Gravy, which I feel if made a few hours before tends to get a little dry. See, it’s simple logic, protein does tend to absorb moisture in the curry over time, therefore if you make a curry always make slightly saucy. Even with curries that are supposed to be thick in gravy, while making the curry should not be kept too thick, specially if you are cooking a few hours in advance. Once the curry is cooked, or for that matter when you cook any dish, it tends to get thicker as it cools down. Therefore, to make the consistency of the gravy a little thinner, I add Yogurt along with the tomatoes. Secondly, most recipes, actually almost all recipes where I see methi leaves as an ingredient for the dish, the recipes use kasoori Methi and as much as I like the way Kasoori Methi works its magic in curries, it can never beat fresh green Methi leaves. From my point of view, for curries where methi leaves are one of the main ingredients, we should use the fresh ones as opposed to the dry kasoori methi. Curries such as Butter Chicken or Malai Kofta require kasoori methi since its only needed for flavor enhancement and balancing the creamy texture of those curries.

I marinate the chicken in this recipe, for around 15-20 minutes, which is enough time for you to finish chopping the onions and start with the initial process of cooking this curry. A wonderful recipe and one of the best Methi Chicken curry that you can ever have. Enjoy!!!

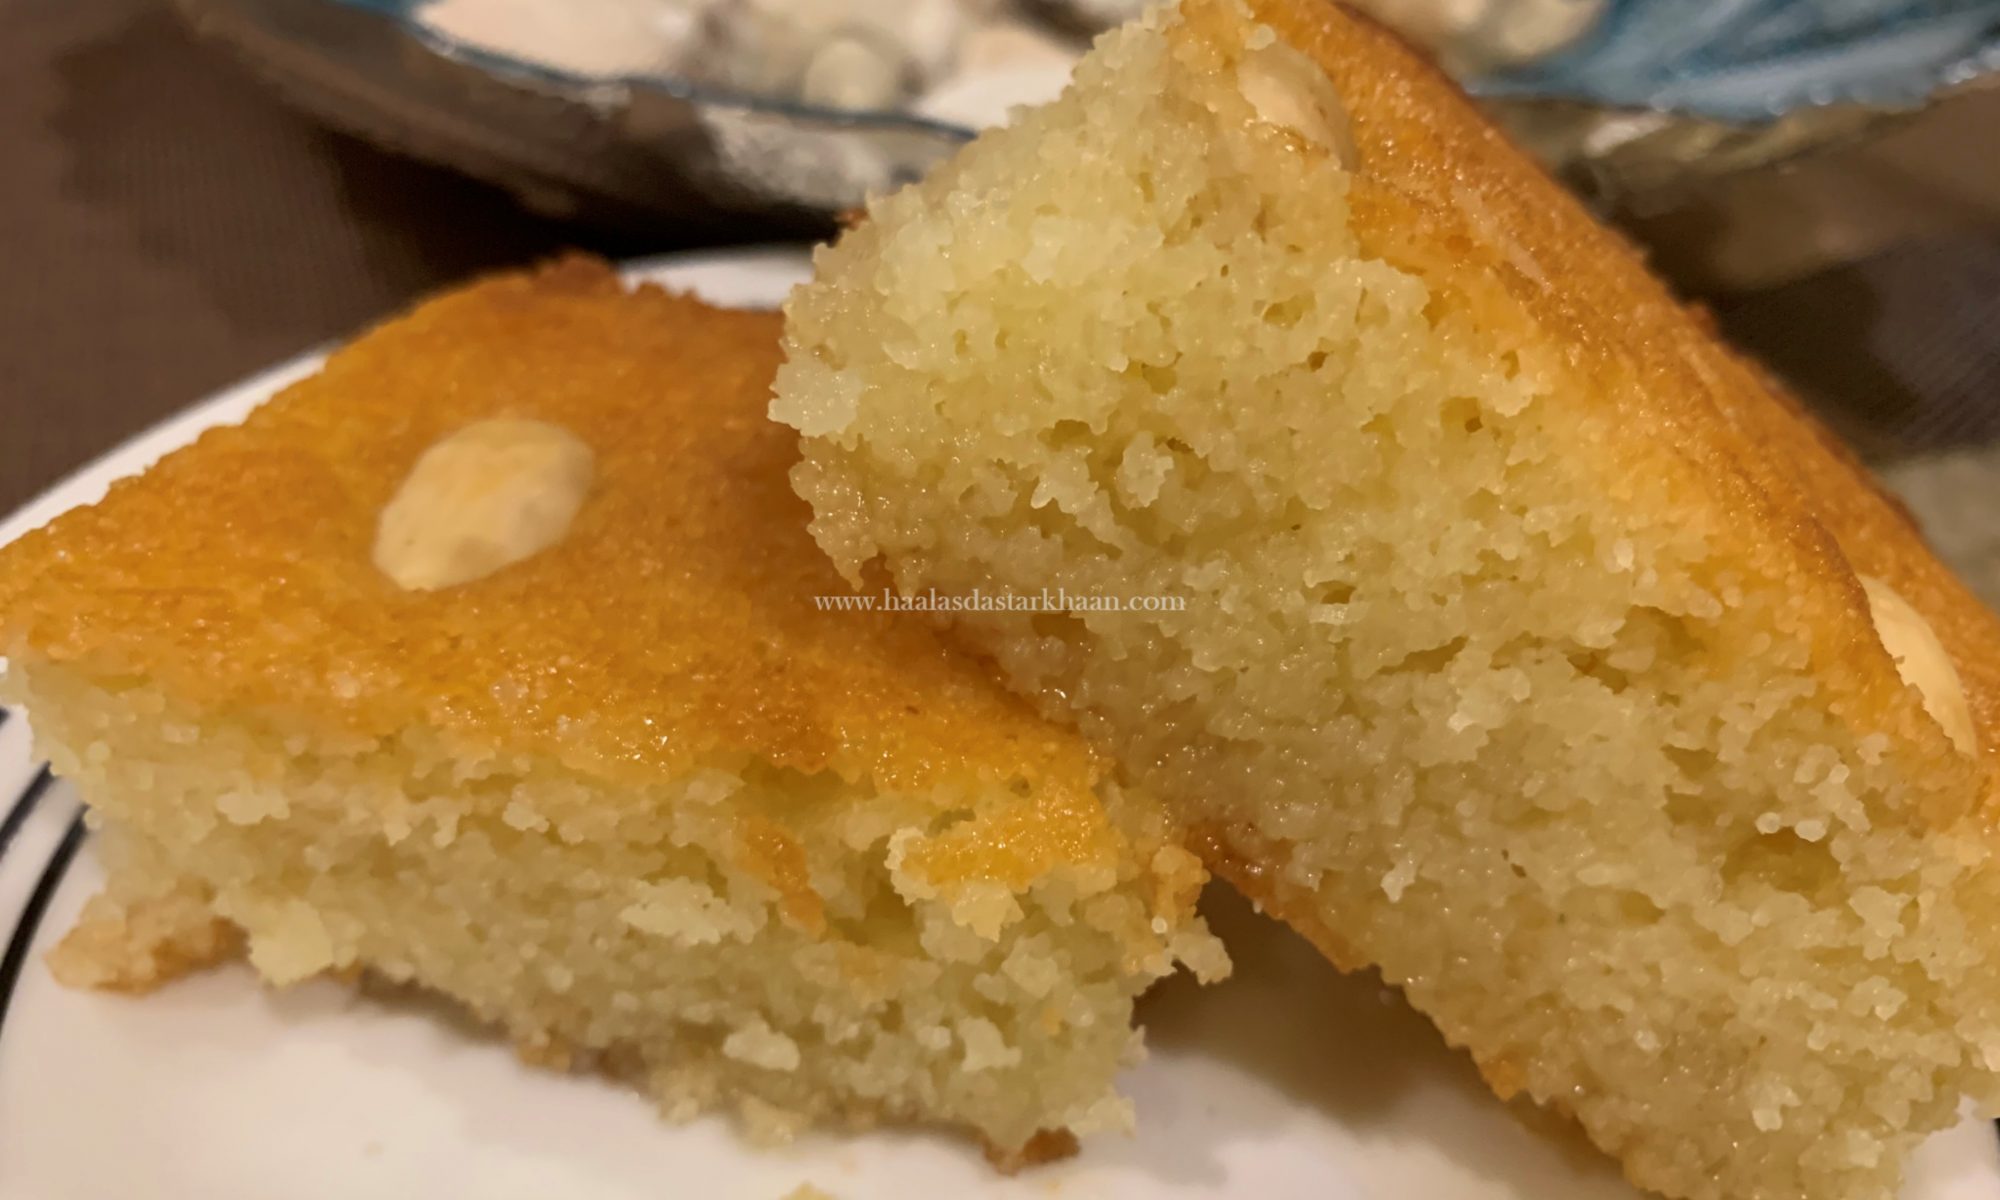
Basbousa Cake

This is a sweet dish made from Semolina, a dish from Egypt. Honestly, its made all around middle east and known by different names. In Egypt, its Basbousa and in Palestine, its known as Harissa or Hareeseh. In Egypt, its called Al-Basbousa. The dish even goes by the name of Nammoura. They all are the same with probably a little variation of picking the kind of essence they use while cooking. This is basically a traditional Middle Eastern sweet cake that is made using Semolina which is blended in with margarine/butter and further with yogurt. In the end the semolina batter is sweetened with orange flower water or rose water simple syrup. It was originally made by Ottomans in the middle east.

Now the funny thing is that in USA, we usually find this sweet in stores that sell a variety of Middle eastern grocery and sweets, but for some it comes under the section where we buy the Greek food. I remember from the time I came to USA that Mr. Parveez loved buying this cake and we always believed it was Greek. Until, a few days back I discovered that the actual name of this sweet dish is Basbousa and its middle eastern.

I have made cakes with all-purpose flour all the time, so this time I decided to try something new. While looking for something new, I came across Basbousa. The dish has Semolina as the main ingredient and unlike the traditional ways of making cake, this takes in its sweetness from sugar syrup after its baked. The addition of sugar syrup with Rose essence induces softness and sweetness to the cake. This recipe also includes almonds which add a little nutty crunch to the cake besides making it look nice. I was excited with the idea of making a cake with semolina, or sooji as it is known in India, as it sounded healthy and different. I have to say this was one of my favorite and satisfying baking escapades.

The concept of using sugar syrup is just like its used in Kanafeh, another middle eastern sweet or Baklava, so I was aware of how to go about it, except I wasn’t too certain if the cake will be able to soak it in or be watery. Well, not only the sugar syrup was soaked in, the addition of rose essence in the syrup gives out a beautiful aroma and definitely enhances the flavor of the cake. The result, a perfectly moist cake with a distinct taste, flavor and texture.

Basbousa or Harissa or Nammoura or Semolina Cake as I’d call it, is a perfect traditional dessert and we really enjoyed its light and spongy texture. I’ll surely be making this again. Enjoy!!!

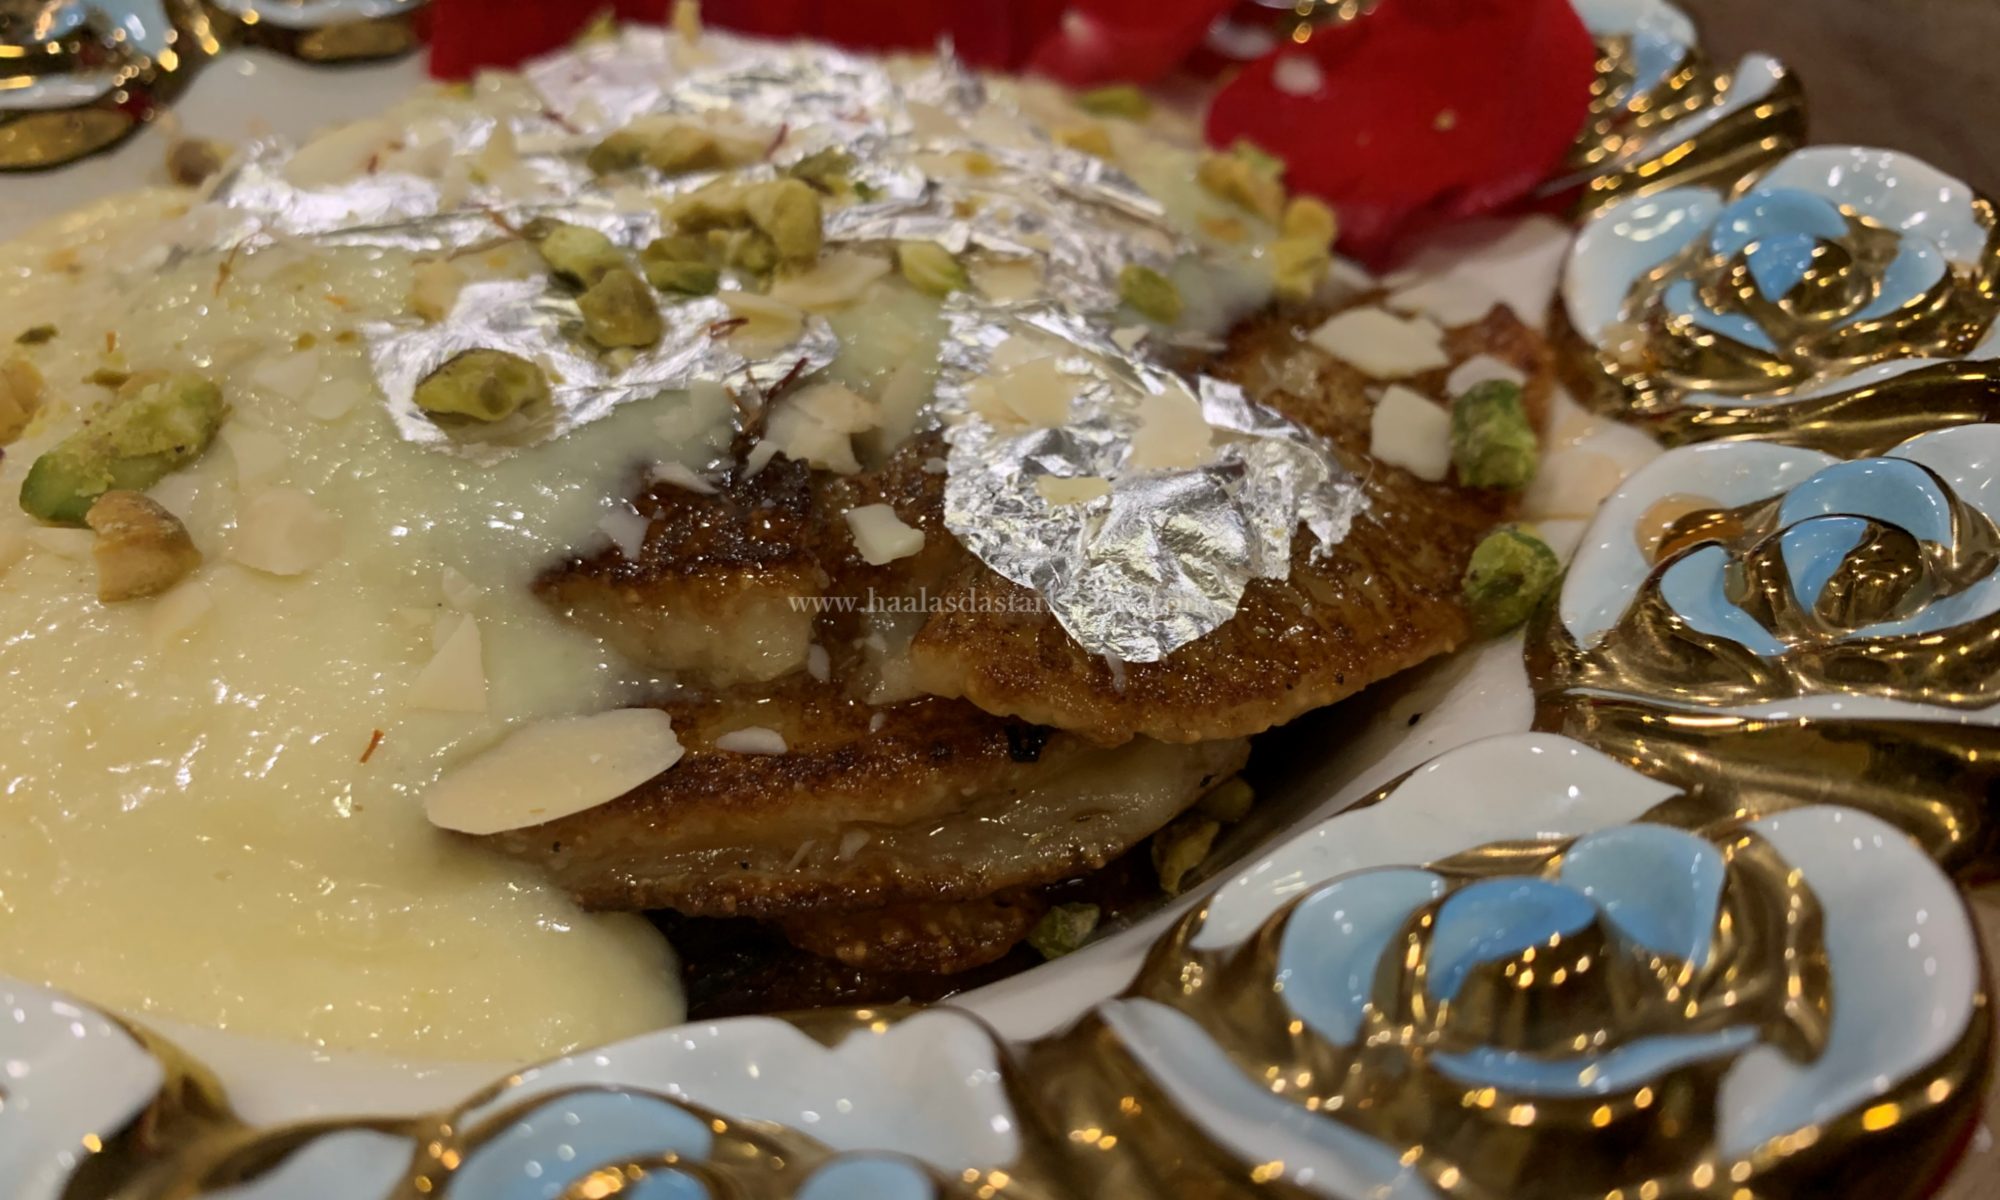
Malpua and Rabri

Rabri and Malpua go hand in hand for marwaris, specially for Jodhpuris. I remember my father and my maternal grandmother being huge fan of Malpuas. Though I have never liked them much, for their bonding relationship with sugar syrup and just like Jalebis, Imartis and Bengali sweets, malpuas also happened to be a sweet dish that I never tried. But, I was always a huge fan of Rabri. In fact, there is a very famous shop in Jodhpur, by the clock tower, an important stop for all tourists, that is popular for its lassi, kulfi and Rabri and every time I traveled to Jodhpur, that would be on my eating out list.

As for the history of Malpua, first reference of this sweet dish was made in the Rigveda, as ‘Apupa’. The recipe of Apupa was something that uses barley flour made in form of flat cakes, deep fried in ghee and then dipped in honey before serving.

Rabri seems to be connected with Bengal because of its flavor resemblance being close to Basundi. Its made by over boiling of milk on low heat, until it becomes dense and pale yellow in color.

I remember when I was 15, a family friend’s daughter, almost 10 years older than me, soon to be married. She loved to cook and would often come to see my mom and would also showcase her cooking skills. She would come to our house very often and she once made Khoye ke malpua and all I saw was 2 people busy making Malpuas and I never gathered the courage to go and peep to even see what was going on. All I saw was my Father and maternal Grandmother, both diabetic, hogging on to those Malpuas before anyone could stop them. They offered it to me and with the look of the dripping sugar syrup, it was a NO from my side. I then saw someone bring in Rabri from my favorite store and I was more than happy eating my plain Rabri. Now since, I have never been a big fan of Malpuas and Mr. Parveez never mentioned it either, it never occurred to me that I should try making them at home. In addition to that, I don’t know why but I always felt that making Malpuas must be too much work and I kind of never felt the need to even try it.

One day, we happened to be watching a Food channel where a food blogger went to Mumbai and showed this guy making big size Malpuas being thrown in the Kadai with boiling ghee and further dipped in the sugar syrup and being served straight away with cold Rabri and Mr. Parveez looked so impressed. So, I just asked him, “Do you like it?’ and he said, “yes”. With me that was more than enough to try making this out.

I checked with a family friend who got me a recipe from one of Jodhpur’s authentic Malpua maker. Sometimes people share secrets, they one have to be sure that no one is taking their business away, second, you need to contact through the right source and third and most important, you just have to be sweet when you ask, and mostly people fail to do the third thing. He never gave me the exact measurements though, but when you cook, ingredients are usually enough for you to crack a recipe because even if you use the exact same measurements, the dish would be completely different when made by 2 different people. I always tell everyone I teach, Don’t learn, get inspired. Learning while copying to do the same, makes you good, But Learning while getting inspired makes you outstanding. Never give up on being unique.

Now my first goal was to work on the Rabri, of course personal reasons. So, I started working on it, it was a slow process and the first time I made it, I was restless because I thought I was doing something wrong and its taking too long, but after that I was a pro and I can now cook 4 dishes the same time as I make Rabri. and, when I tasted it, I was so happy with myself, it tasted much nicer than the Rabri from my favorite sweet store in Jodhpur.

Now the Malpuas, they were much easier than I thought. Few ingredients, paying attention, and your Malpuas are ready to be served. They are very much like pancakes. My first attempt made them a little thick, the second time, I mixed in more milk trying to make them more thin. Try taking a good non stick pan to reduce the quantity of ghee you take.

Rabri can be refrigerated for up to a week. Malpua batter can also be refrigerated for up to 3-4 days. It tends to thicken a little while being refrigerated, you can always add a little milk tablespoon by tablespoon to make the consistency thinner.

I have out up ways and pics of both the thick Malpua and the thin Malpua. You can see both ways and pick your favorite. Though I have given the recipe of Rabri after the Malpua, but its always recommended that you make the Rabri few hours, if not a day before and refrigerate it. The Malpua needs to be hot and the Rabri needs to be chilled when served.

Decorate with silver leaf, crushed nuts and roses or anyway you like or just plain…the taste is so good that it will be loved and appreciated any which way. Enjoy!!!
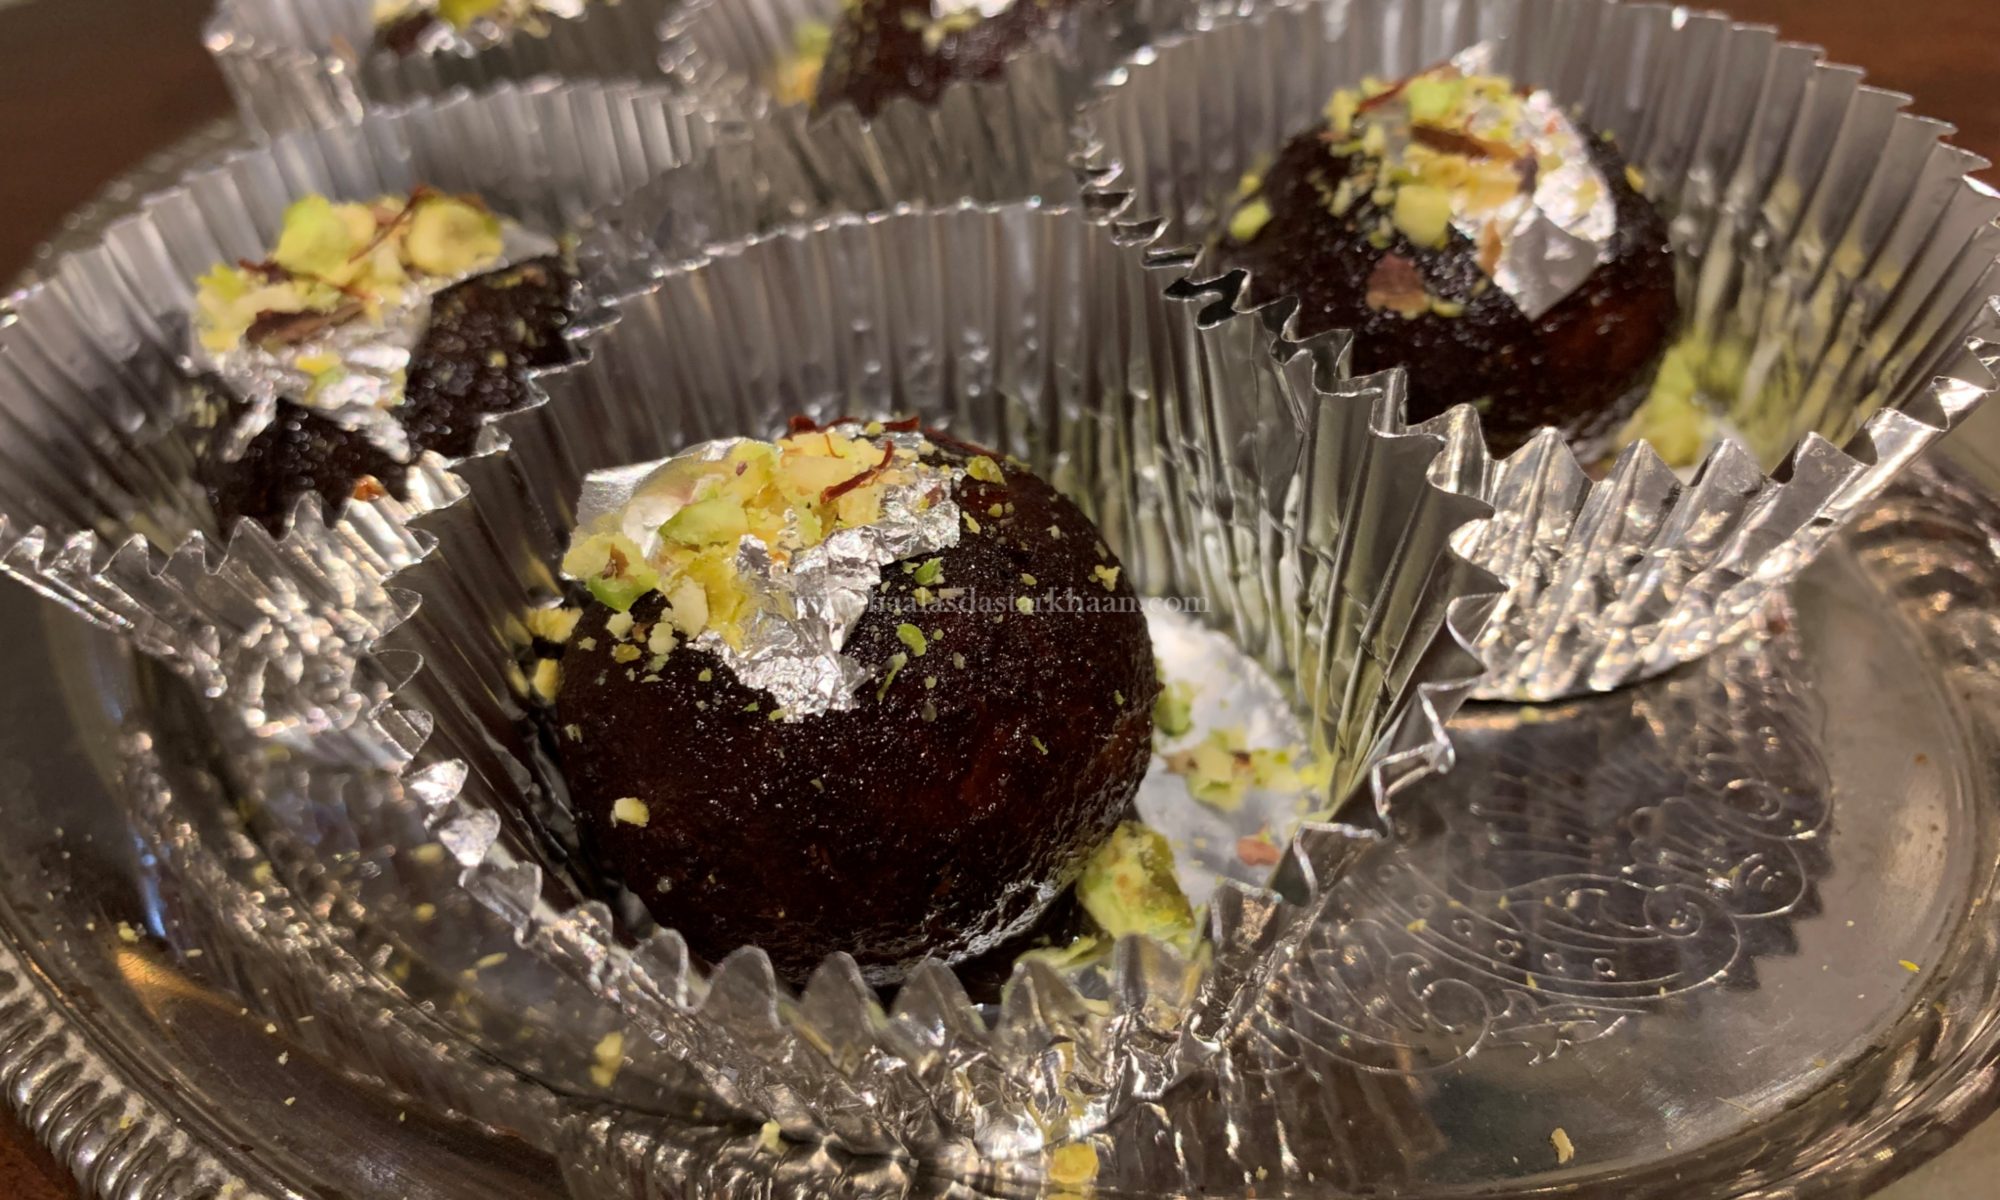
Kala Jamun

Kala Jamun is a distant cousin of Gulab jamun. It was first prepared in Mughal Era in India, introduced by Mughal Emperor Shah Jahan by his personal chef. The difference between Gulab jamun and Kala Jamun is the color and texture. While Gulab Jamuns are golden, Kala Jamun have a dark color with a shade slightly away from Black.

Its always advisable to use good quality Khoya and Paneer. Always use best quality khoya available at dairy. Mr. Parveez and my boys love home-made desserts. In fact the most awesome part that I don’t even eat any sweets that are dipped in sugar syrup, but Mr. Parveez stopped eating the sweets from sweet stores which is a huge compliment for me. Our guests always wonder if the mithai we serve, is from a store. Actually, I never thougth that making certain sweet dishes at home could be so easy, enjoyable and emotionally rewarding. And now, I just love making Indian Mithai, Cakes, Pastries and Pies, and making them is always my “happy time”. In fact, I can always hop into the kitchen happily to make mithai if asked.

Though I have never been a fan of either but, When I was a kid, I often used to get confused of what exactly is the difference between Kala Jmaun and Gulab Jamun and for the longest time, I believed that Kala Jamun was Gulab Jamun with black color. i only found the difference when I got down to making them.

Like I said above, dry kala jamun is a distant cousin of gulab jamun  and it uses paneer, suji, sugar and sometimes also uses a  dash of dry fruit stuffed inside balls. Though I never stuffed any in mine, because that would make them close to mewa baati and probably a little heavy too. Gulab Jamun dough does not have any paneer or sugar, where as the dough of Kala Jamun requires a little sugar. Gulab Jamuns are usually served with a little syrup, but these tend to be dry, so they require a little sugar boost from within. Kla Jamun also needs to be fried for longer on low to medium flame, without burning them to give the beautiful dark color.

Gulab jamun dough does not need much kneading but this dough has to be kneaded really well. The texture can be obtained only with a good dough, that has been kneaded well. You can also use a mixer if you find it difficult to do it by hand.

Keep the kala jamun soaked in a sugar syrup for at least 3-4 hours before serving, refrigerating them id preferred too.

If you want to make it as dry kala jamun, then once the jamuns are soaked well in syrup, you can take them out of the syrup and store it in a container or serve. They keep good easily for a week the refrigerator. I feel they are one of the best recipes to take to a friend’s house or as a goody bag after a party.

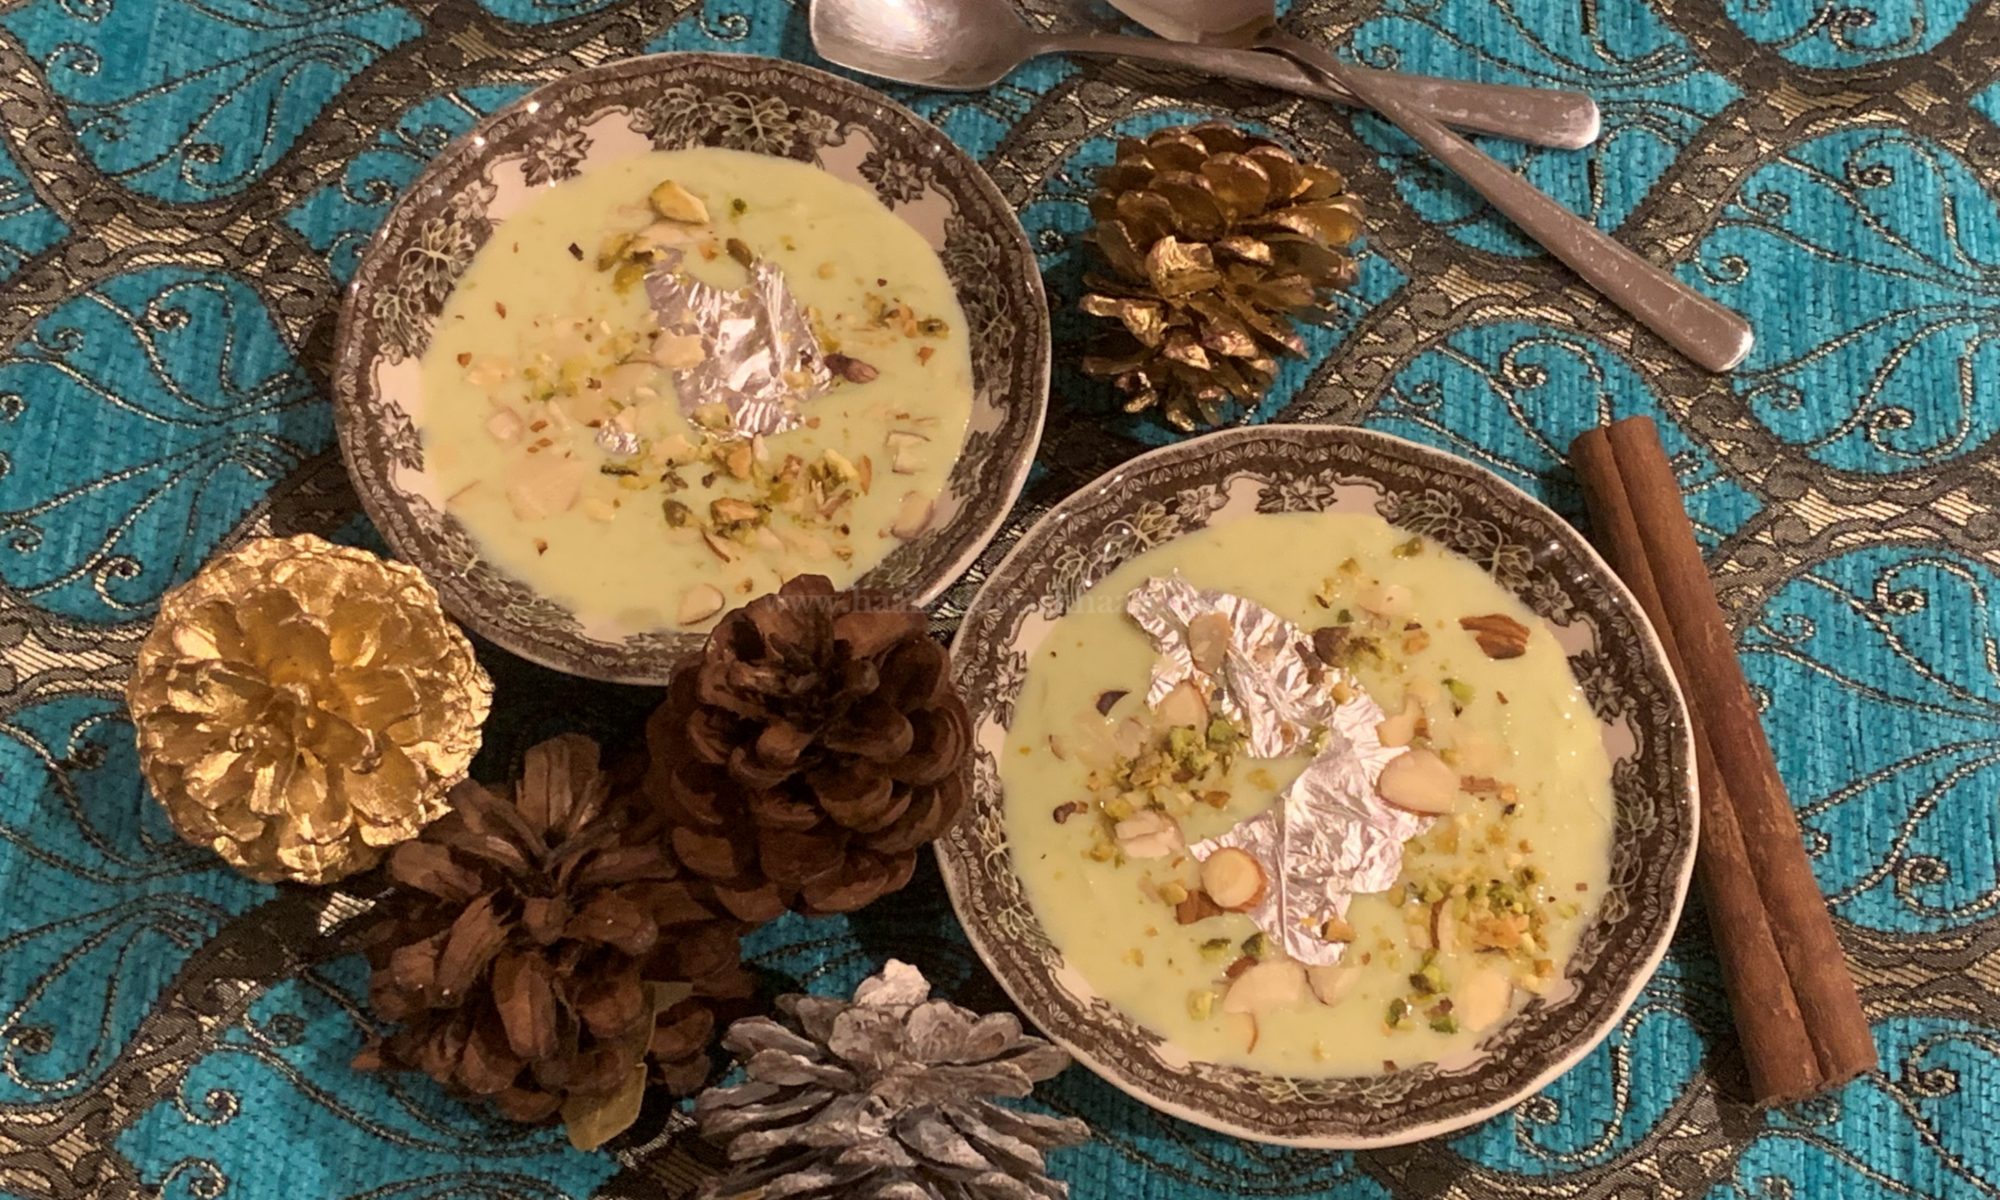
Lauki Ki Kheer

Kheer originated from Mughlai kitchens of India and is an important sweet delicacy for Muslims of India, Pakistan and Bangladesh especially during Eid or any other special celebrations. Other similar dishes like Payasam or Kheer originated in the kitchens of imperial Muslim rulers of India and is an important sweet delicacy for Muslims of India, especially during Eid or any other celebrations. … Other terms like Payasam or Payesh ( are inspired from Kheer and the names have been derived from the Sanskrit word Payasa or Payasam, which also means “milk”.

Kheer has been one of my most favorite desserts ever. Every Eid my Mom would make Rice Kheer which I always believed was the best Kheer I have ever had. Muslims know that its a real chaos when you find out around 11 PM that its Eid the next and women in the family have to start preparing. Almost the whole night passes in prepping for the next day and out of all the work, preparing Kheer has always been the most tedious and tiring of all. Probably making a small batch wouldn’t have been painful, but when you have a small close family of close relatives that reaches 100+ plus add up all distant relatives and friends who come over to meet and greet. So, Kheer is something that’s not just popular but also served to everyone, vegetarians and non vegetarians on Eid, so you can’t really afford to run short.

So, learning how to make my basic Kheer came from my mom. Cooking the milk on low to medium heat, stirring it constantly for almost 3 hours, reducing it to half the original quantity is always the basic to any delicious Kheer. But to my despair, Mr. Parveez doesn’t like Rice Kheer much. In fact, he never liked any Kheer when we got together, but with time I got him into loving Sheer Khurma/seviyaan Kheer, but not the rice one.

Anyways, I always hear people talking about Apple Kheer or Potato Kheer but I couldn’t ever get down to trying. Carrot Kheer or Gajrela was my mom’s go to dishes during Ramadan. I never tried finding out the reason why but may be she fely that this was the easiest way to incorporate some veggie and milk into her kids system while we fasted, I guess. So, after me successfully making Lauki ka Halwa, I wanted to try making the Kheer. It came out fabulous and I think for everyone who even doesn’t like Lauki would love it.

Gulab Jamun Sandwich

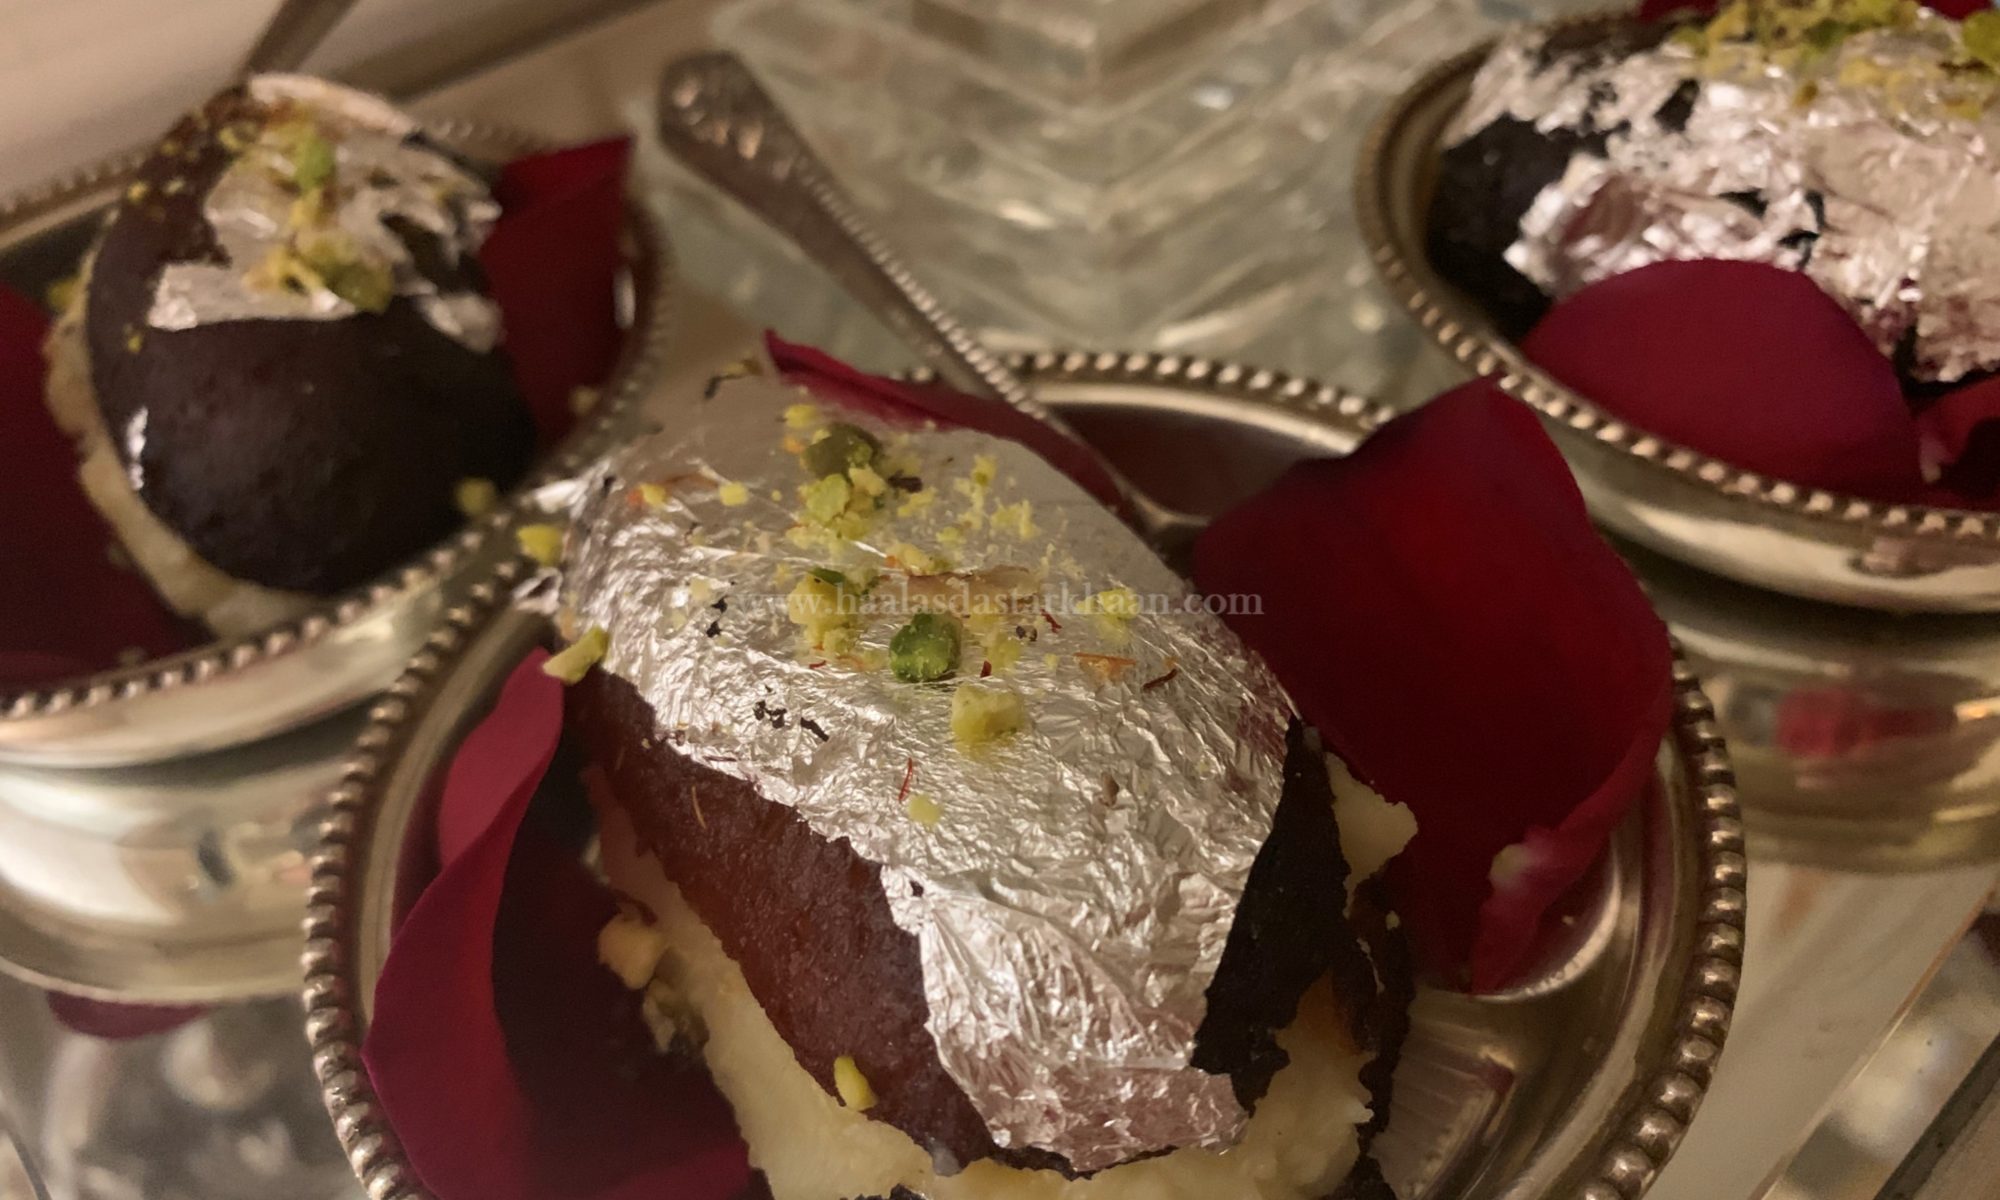
Gulab Jamun are the “go to” sweet dish for every home in India. Popular, Likeable, or should I say lovable by every soul. And, if you love Gulab Jamuns, then a Gulab Jamun Sandwich just comes in as something fancier and nicer.

Though Gulab Jamuns aren’t referred to as Bengali sweets, but I think the variation has nothing to do with Bengal. Gulab Jamun sandwich is a milk solid based rich sweet from the Indian subcontinent, very popular in India, Nepal, Pakistan. In Maldives they call it Gulab Jaanu Sandwich, and in Bangladesh, its called Gulaab Jaam Sandwich.

It is made mainly from milk solids, traditionally from Khoya, which is milk reduced to the consistency of a soft dough. Mixing in butter, flour, and milk/yogurt with the soft Khoya and form cylindrical balls, deep fry and add them to the sugar syrup. The sugar syrup is made of sugar, water, saffron, cardamom powder and rose water. Modern recipes call for dried/powdered milk instead of Khoya, which is fine as well. The middle part is made of Khoya and granulated sugar. You can always add a few saffron stands and screw pine water for enhancing flavors. It is often garnished with dried nuts such as crushed pistachios and almonds to enhance flavor.

For preparing this it is necessary to give cylindrical shape to  the classic or traditional Gulab Jamun and fill it with extra khoya in between. You don’t really need that little mix pack or run to the store to have these perfect, rich delights at home. Making Gulab Jamun Sandwich at home, with ingredients you will find at home, is pretty easy and not at all time consuming. The only thing you need is a perfect recipe.

Now, if you ever thought Gulab Jamun Sandwich is a gift of India to the world, you are wrong. Gulab Jamuns are actually a gift from the Mughals. All these sweet dishes that used Orange Blossom water or Rose water or screw pine water with saffron are all delicacies that came in from the Middle East and were introduced to Indian cuisine during the Mughal Era.

As the history says, the Gulab Jamuns were first prepared in the era of medieval times in India, derived from a sweet fritter recipe that a Central Asian Turkish invader brought to India. One theory also claims that it was accidentally prepared by the Mughal emperor Shah Jahan’s personal chef. All in all, it is a sweet dish inspired by the Middle east.

The word “Gulab” is derived from the Persian words gul, which means flower and āb, means water, referring to the rose water-scented syrup. Jamun is also defined as a fried delicacy in dipped in sugar syrup. A middle eastern dessert Luqmat al-qadi is very similar to gulab jamun, though it uses a different batter. Gulaab jamun Sandwich must be a variation tried by the Mughal Emperors as well, since the era has its own tales of rich food, made from Milk, saffron and dry fruits. And, I believe if a community can make use of milk solids to cook their non vegetarian dishes, they can definitely do a lot with their vegetarian sweet dish.

These outstanding Gulab Jamun Sandwich have a remarkable depth of taste and texture, achieved very carefully combining few ingredients to form cylindrical balls. Fry them slowly in ghee or oil, further soak them in syrup, Cut them from the middle and fill the middle part with Khoya filling. Decorate with a silver leaf and crushed nuts. Serve and amaze. With such detailed recipe, its hard to go wrong.