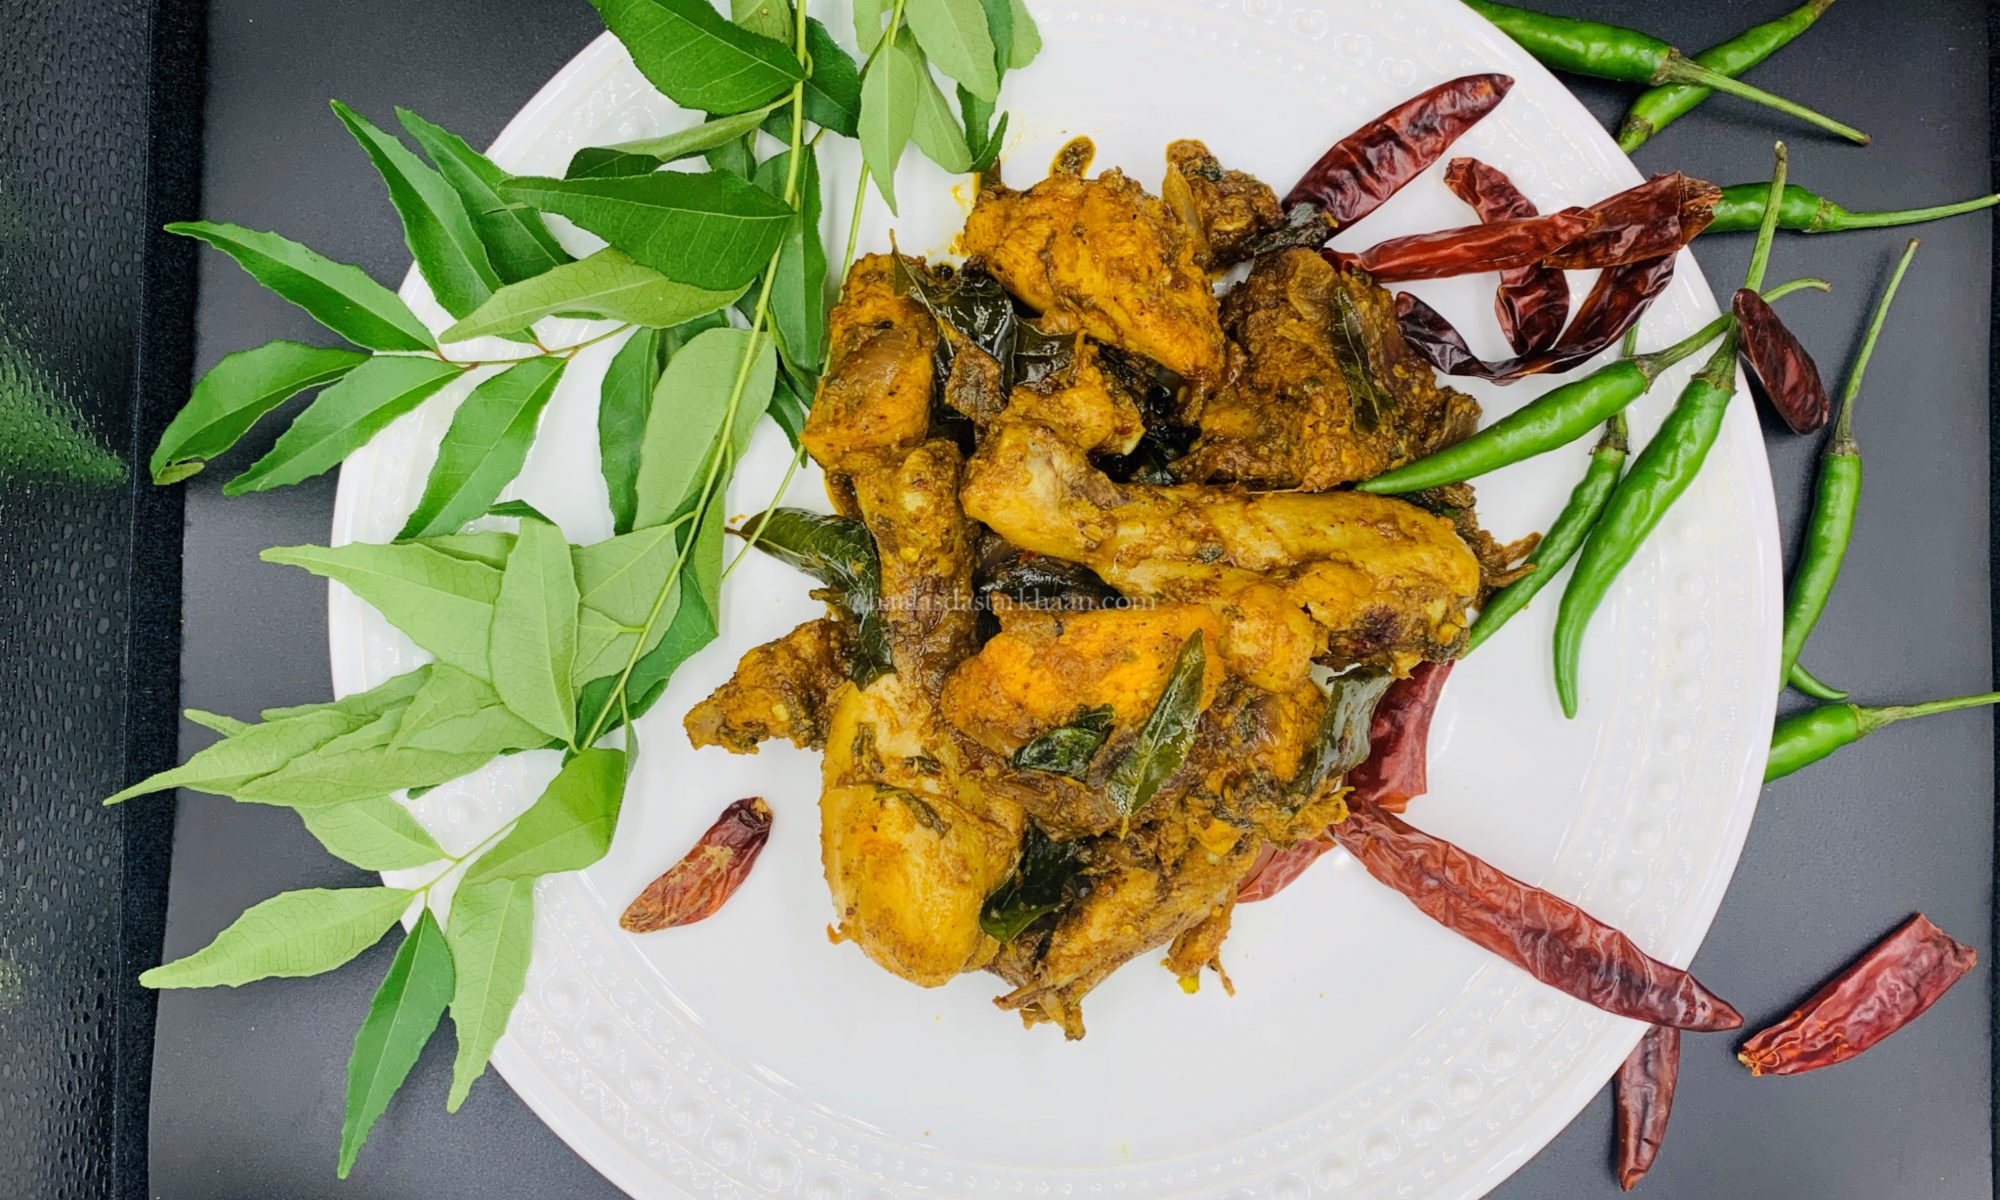
Kolhapuri Chicken Dry

🔥 Spice with Grace: Tips for a Balanced Kolhapuri Dish

  • Use Byadgi chilies: They bring vibrant color and mild heat—perfect for layering flavor without overwhelming.
  • Toast your spices: Dry roasting coriander, cumin, and fennel seeds before grinding enhances aroma and complexity.
  • Incorporate coconut: Grated or desiccated coconut adds body and mellows the spice, especially in gravies.
  • Ginger-garlic paste: A must for depth—sauté it well to avoid rawness.
  • Finish with fresh coriander and a squeeze of lime: It brightens the dish and balances the richness.

🌶️ The Heart of Heat: Crafting Kolhapuri Chicken

Kolhapuri cuisine doesn’t whisper—it roars. And this chicken dish is no exception. With the crimson hue of Byadagi chilies and the fiery punch of Lavangi mirchi, it’s a celebration of bold flavors and vibrant color. But the magic lies in the masala—freshly roasted, ground, and layered with care.

Pro Tip: Dry roasting your spices isn’t just a step—it’s a ritual. The moment they hit the pan, your kitchen transforms. That smoky, nutty aroma? It’s the soul of Kolhapur calling.

Masala Prep Essentials:

  • Coriander seeds
  • Cumin seeds
  • Fennel seeds
  • Black peppercorns
  • Cloves, cinnamon, cardamom
  • Byadagi & Lavangi chilies
  • Optional: poppy seeds, sesame seeds, star anise for added complexity

Grind them fresh, and you’ll never look back.

🛠️ Spice Prep Tip: Fresh vs. Fast

Freshly ground masala is the heartbeat of Kolhapuri chicken—but life doesn’t always allow for slow cooking rituals. If you’re short on time, make your spice blend ahead and store it in an airtight container. It’ll stay fragrant for up to 7 days.

Important: Skip the coconut powder during prep. Add it fresh when cooking to preserve flavor and prevent spoilage. It’s the final flourish that keeps your dish vibrant, aromatic, and safe to savor.

🍗 Kolhapuri Chicken: Where Depth Meets Fire

This isn’t just chicken—it’s a journey through spice. Marinated to the bone, then simmered with onions, chilies, curry leaves, and a freshly ground masala that sings of Kolhapur’s bold culinary heritage. Roasting the spices in olive oil lends a gentle touch, but finishing in ghee brings that unmistakable earthy richness.

Serving Suggestion: Pair it with classic Daal Chawal for a comforting meal that’s anything but ordinary. The creamy lentils mellow the heat, while the chicken adds a punch of flavor that lingers beautifully.

Maa’s Tikka Boti

As the name suggests, this recipe comes from my Mother.

🥘 Maa’s Tikka Boti: A Taste of Home and Bombay’s Irani Cafés

At my mom’s place, it’s simply called Tikka Boti. But for me, it’s Maa’s Tikka Boti—a dish that carries the warmth of her kitchen and the flavors of a memory she brought back from Bombay. Years ago, she visited an Iranian café tucked into the bustling streets of Mumbai. That experience stayed with her, and somehow, it found its way into our family’s food.

This recipe is a tribute to that moment. It’s bold, smoky, and deeply satisfying—perfect for non-vegetarians who love their meat tender and their spices unapologetic. And while kheema paav from those cafés holds a special place in my heart, it’s this tikka boti that feels like home.

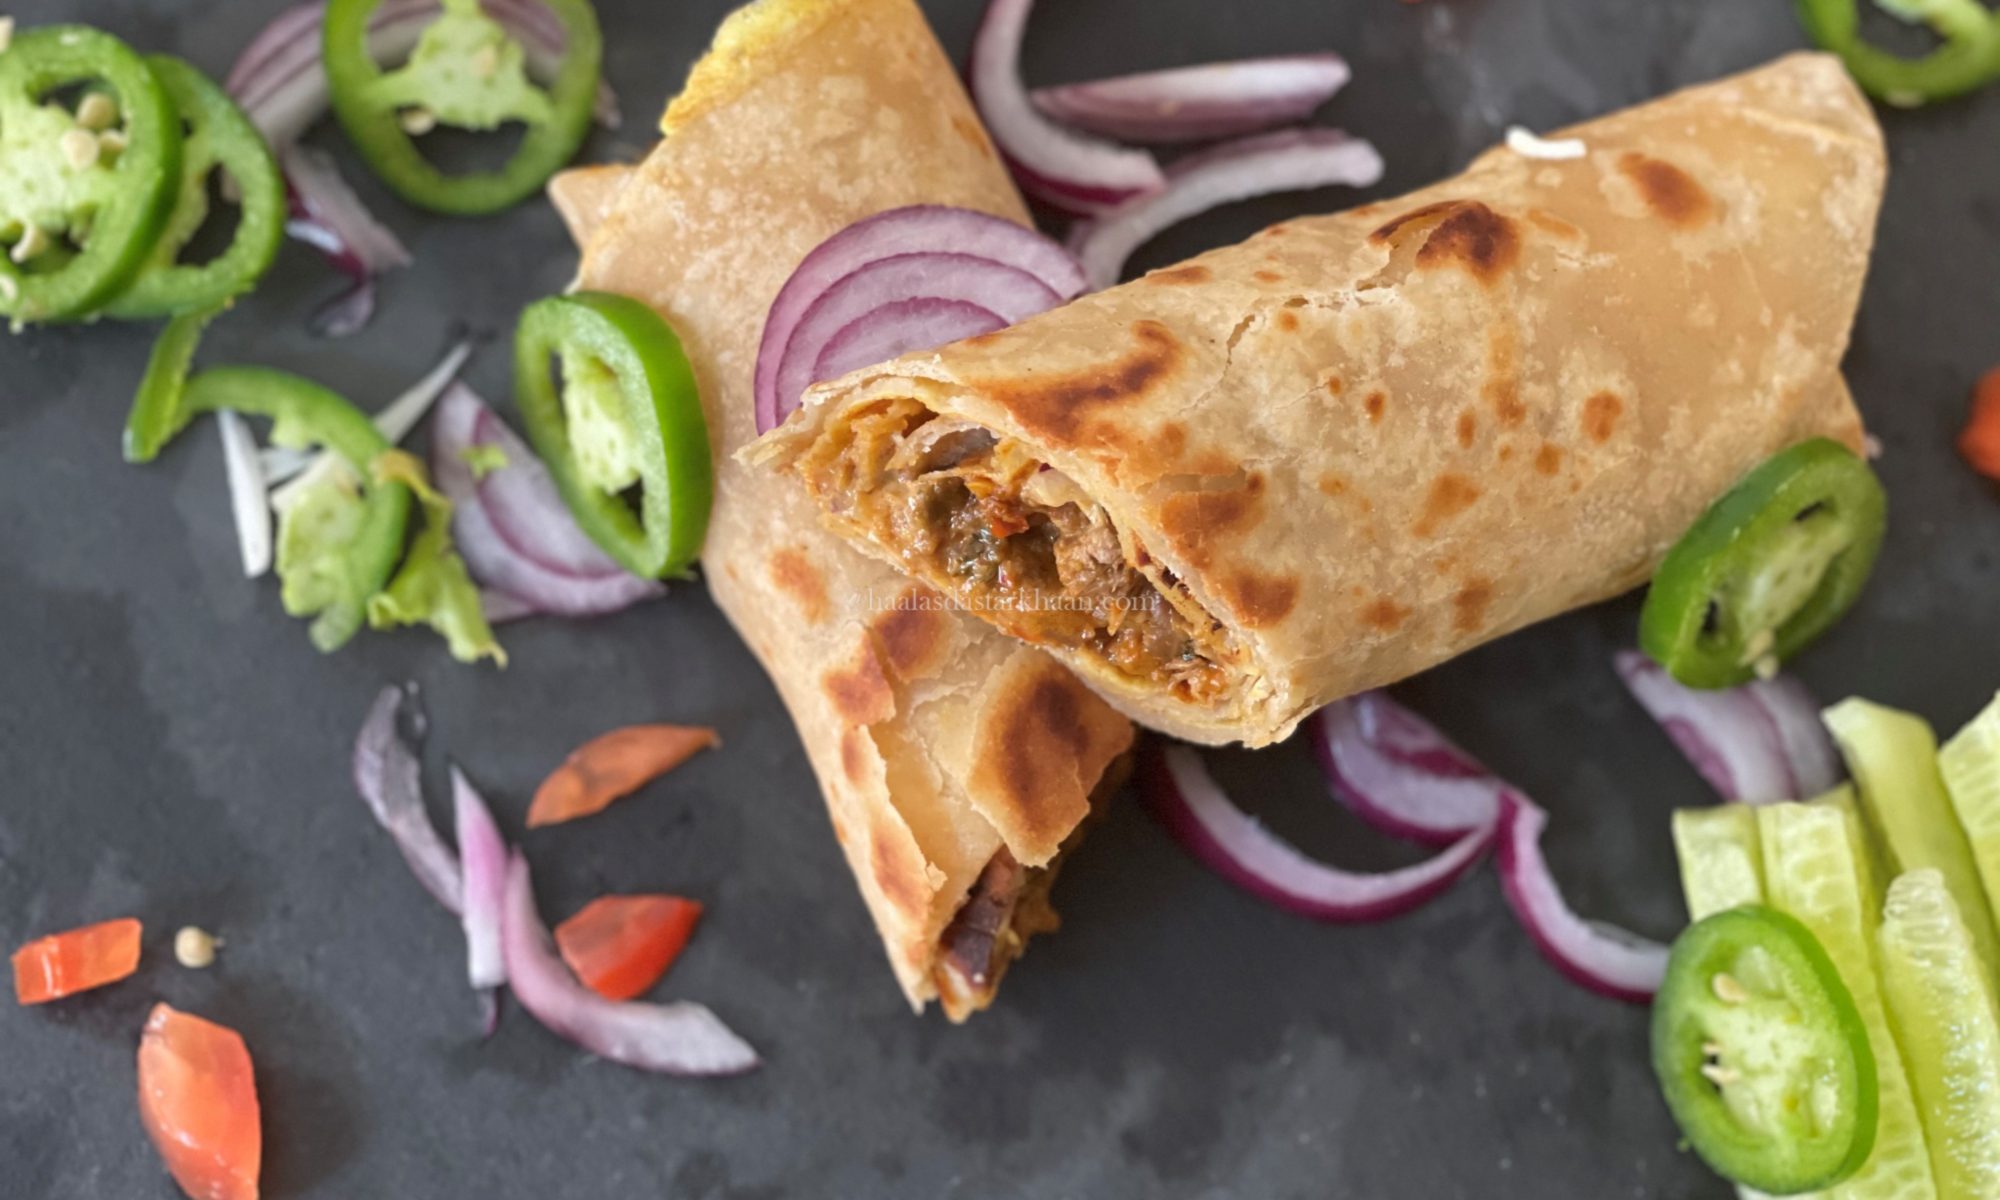
A Roll, A Memory: Maa’s Chicken Creation

It started with a bite in Bombay—my mom, on vacation, tried a chicken roll at an Iranian café. She couldn’t ask for the recipe, but she carried the flavor home in her memory. What followed was years of trial, intuition, and love. Her version became a dish I adored, but it was never made casually. It was reserved for get-togethers, for moments when her effort would be acknowledged, when the kitchen’s heat—literal and emotional—felt worth it.

Growing up in Rajasthan, cooking wasn’t just about ingredients. It was about navigating 45°C summers in kitchens without air conditioning, stretching resources, and still managing to create something unforgettable. That chicken roll wasn’t just food—it was her triumph.

Maa’s Chicken Roll – A Taste of Home, Made Simple

From my mother’s kitchen to yours, this roll is a tribute to flavor, memory, and love. Inspired by an Iranian café in Bombay and perfected over years of intuition, this dish is rich, satisfying, and surprisingly easy to make.

🧄 Ingredients:

  • Boneless chicken (250g), marinated in ginger-garlic paste, red chili powder, turmeric, and salt
  • Onions, thinly sliced
  • Green chilies, chopped
  • Freshly ground spice mix (dry roasted and blended)
  • Ghee or oil for cooking
  • Rotis (store-bought or homemade)
  • Eggs, whisked with a pinch of salt

🔥 Method:

  1. Marinate the chicken for at least 30 minutes.
  2. Cook the chicken with onions, chilies, curry leaves, and your spice mix until semi-dry and aromatic.
  3. Prepare the rotis: If using store-bought, spread whisked egg on one side and fry on both sides until golden.
  4. Assemble the roll: Place the chicken filling inside the egg-fried roti, roll it up, and serve hot.

🍽️ Serving Suggestion:

Perfect for get-togethers or cozy dinners. Pair with mint chutney or a simple salad for a complete meal.

Is this dish different from Kathi Roll?

Exactly—and that’s the beauty of regional food traditions. Even dishes that seem similar on the surface, like rolls or wraps, carry distinct identities shaped by technique, texture, and taste 🌯✨.

Kathi rolls, especially the Kolkata-style ones, often use a flaky, layered paratha that’s pan-fried with egg poured directly onto it while cooking—creating a rich, crisp exterior. The filling is typically spicy chicken or paneer, accompanied by onions and sauces that add tang and heat.

My mother’s version, inspired by an Iranian café, sounds more delicate and home-style—less about street food flash and more about depth and comfort. The egg-brushed roti is a clever adaptation, and it gives the roll a softer, more tender bite compared to the crispiness of a Kath roll.

I appreciate both for what they are. Would I ever consider writing a piece that compares these two styles—my Maa’s roll and the Kathi roll—as a way to explore how food reflects place, memory, and innovation? I’d love to do that someday, maybe.

This isn’t just me sharing the love of this dish, but the memories with my mother and the love she poured into everything she cooked, and the flavor I always feel, no matter how hard I try, is never like hers. I guess that’s how we all are with food cooked by our mothers.

This dish is great for school/office lunches, and an easy road trip lunch/dinner.
Chicken Ghee Roast

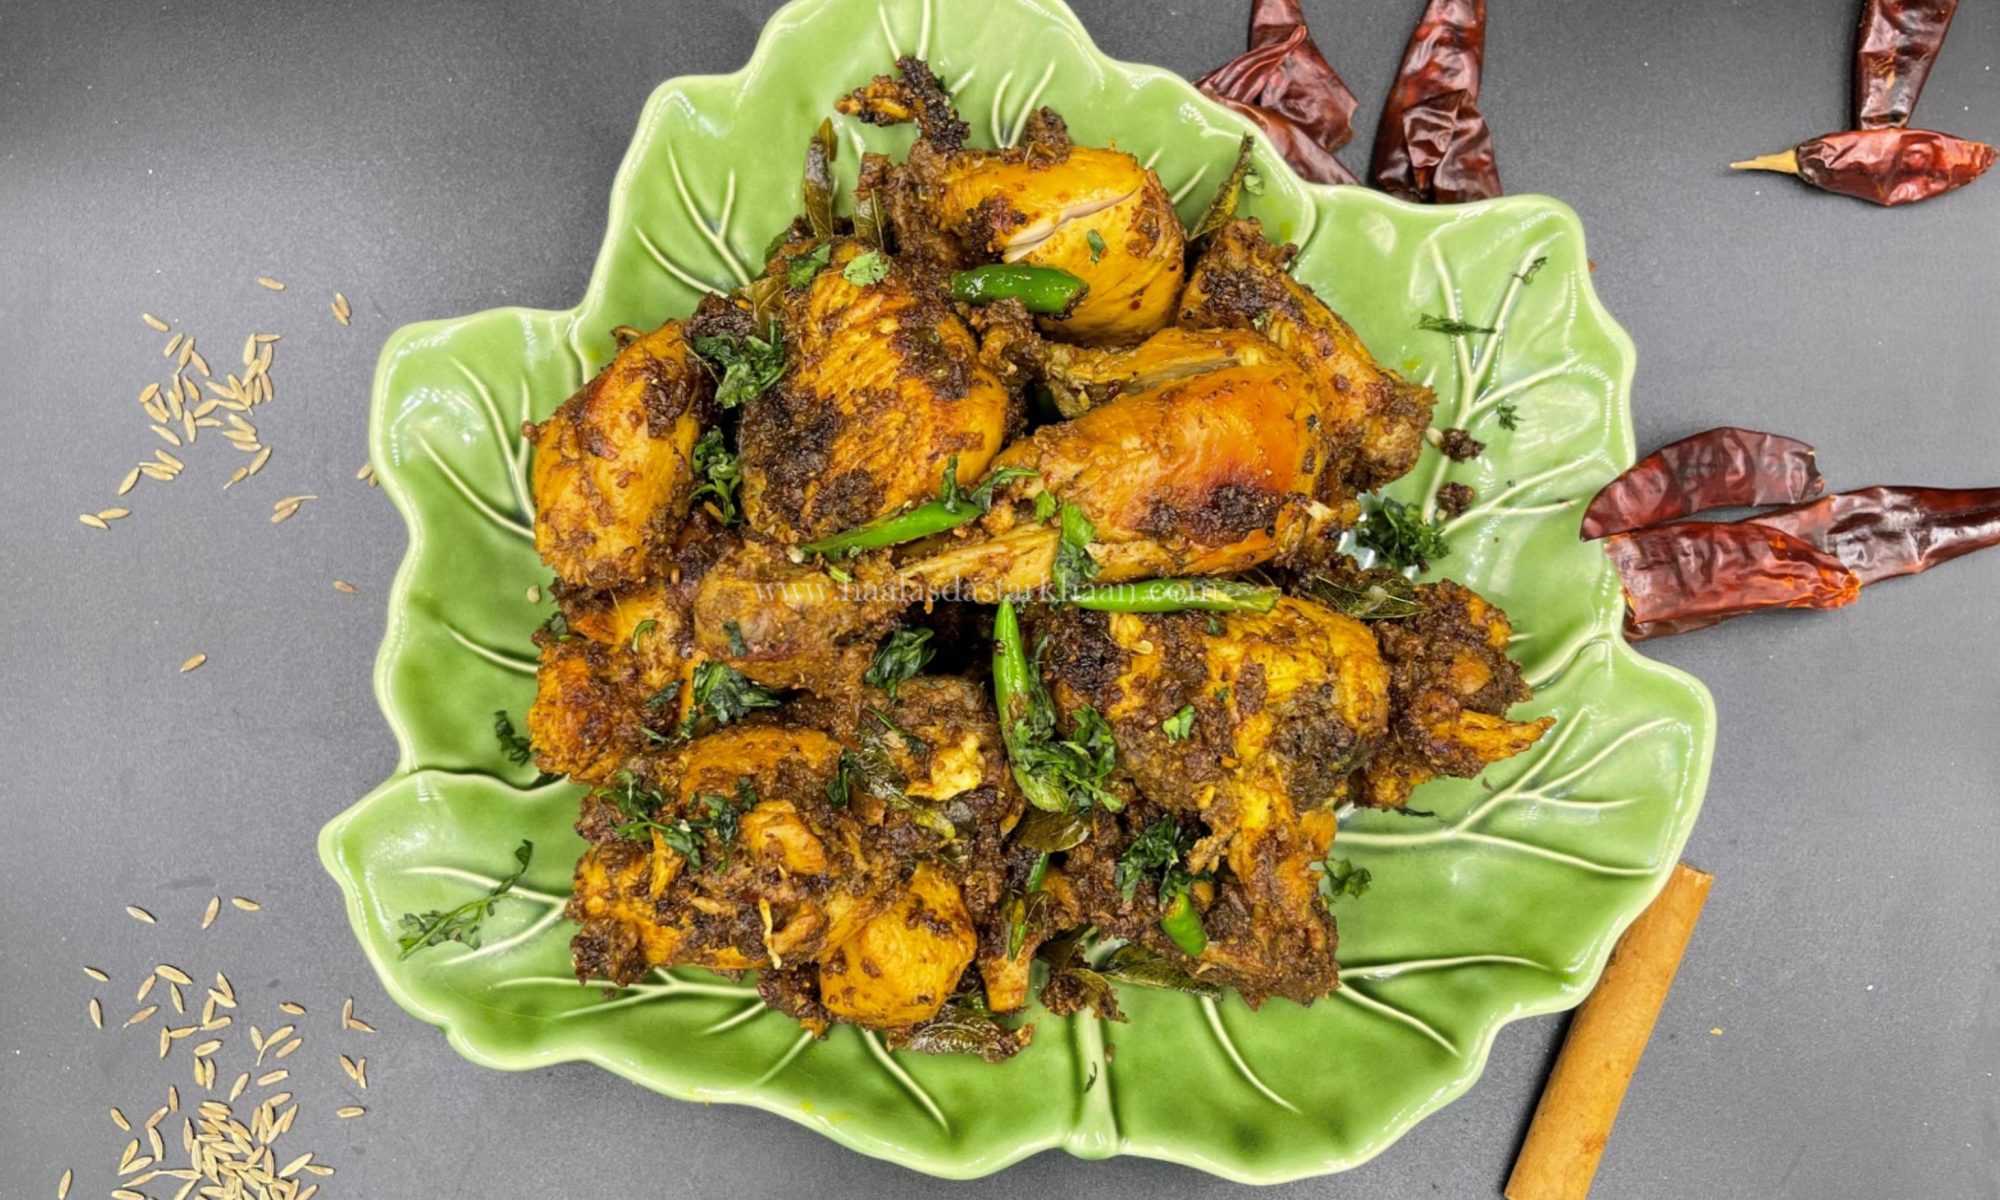
Among all the kebabs we cook and enjoy, Mutton Ghee Roast has always held a special place in my heart. Recently, I tried a chicken version of it—and to my surprise, it turned out absolutely delicious. The best part? It’s quick and easy to put together. If you’re ever looking for a dish that’s bursting with flavor but doesn’t take hours in the kitchen, this recipe is a lifesaver.

The spice mix for Ghee Roast is a real lifesaver—it stays fresh for up to two months in an airtight container. I usually make extra whenever I prepare the dish, and it always comes in handy for those impromptu cravings. The beauty of Ghee Roast is its versatility: whether with mutton or chicken, the flavors come together beautifully.

Traditionally, it shines as a side dish or appetizer, but for me, nothing beats enjoying it alongside simple daal chawal. And if you leave it a little saucy instead of drying it out completely, it pairs wonderfully with soft phulkas too.

Chicken Nihari

Nihari is a traditional Muslim dish that traces its roots back to the Mughal kitchens. Over time, every region has developed its own version, adding local twists and flavors to the original recipe. The word Nihari comes from the Persian word “Nahar,” meaning “early morning.” True to its name, Nihari was traditionally eaten for breakfast.

It’s a rich, hearty dish — and honestly, it makes sense that it was served in the morning. With its deep spices and slow-cooked meat, it can feel a bit too heavy for any other meal. Nihari reaches its best flavor when cooked slowly on low heat. In the old days, chefs would let it simmer overnight. While that’s not quite practical now, I still believe that patience makes all the difference. Cooking it gently in a heavy-bottomed pan brings out that signature depth and aroma that make Nihari so special.

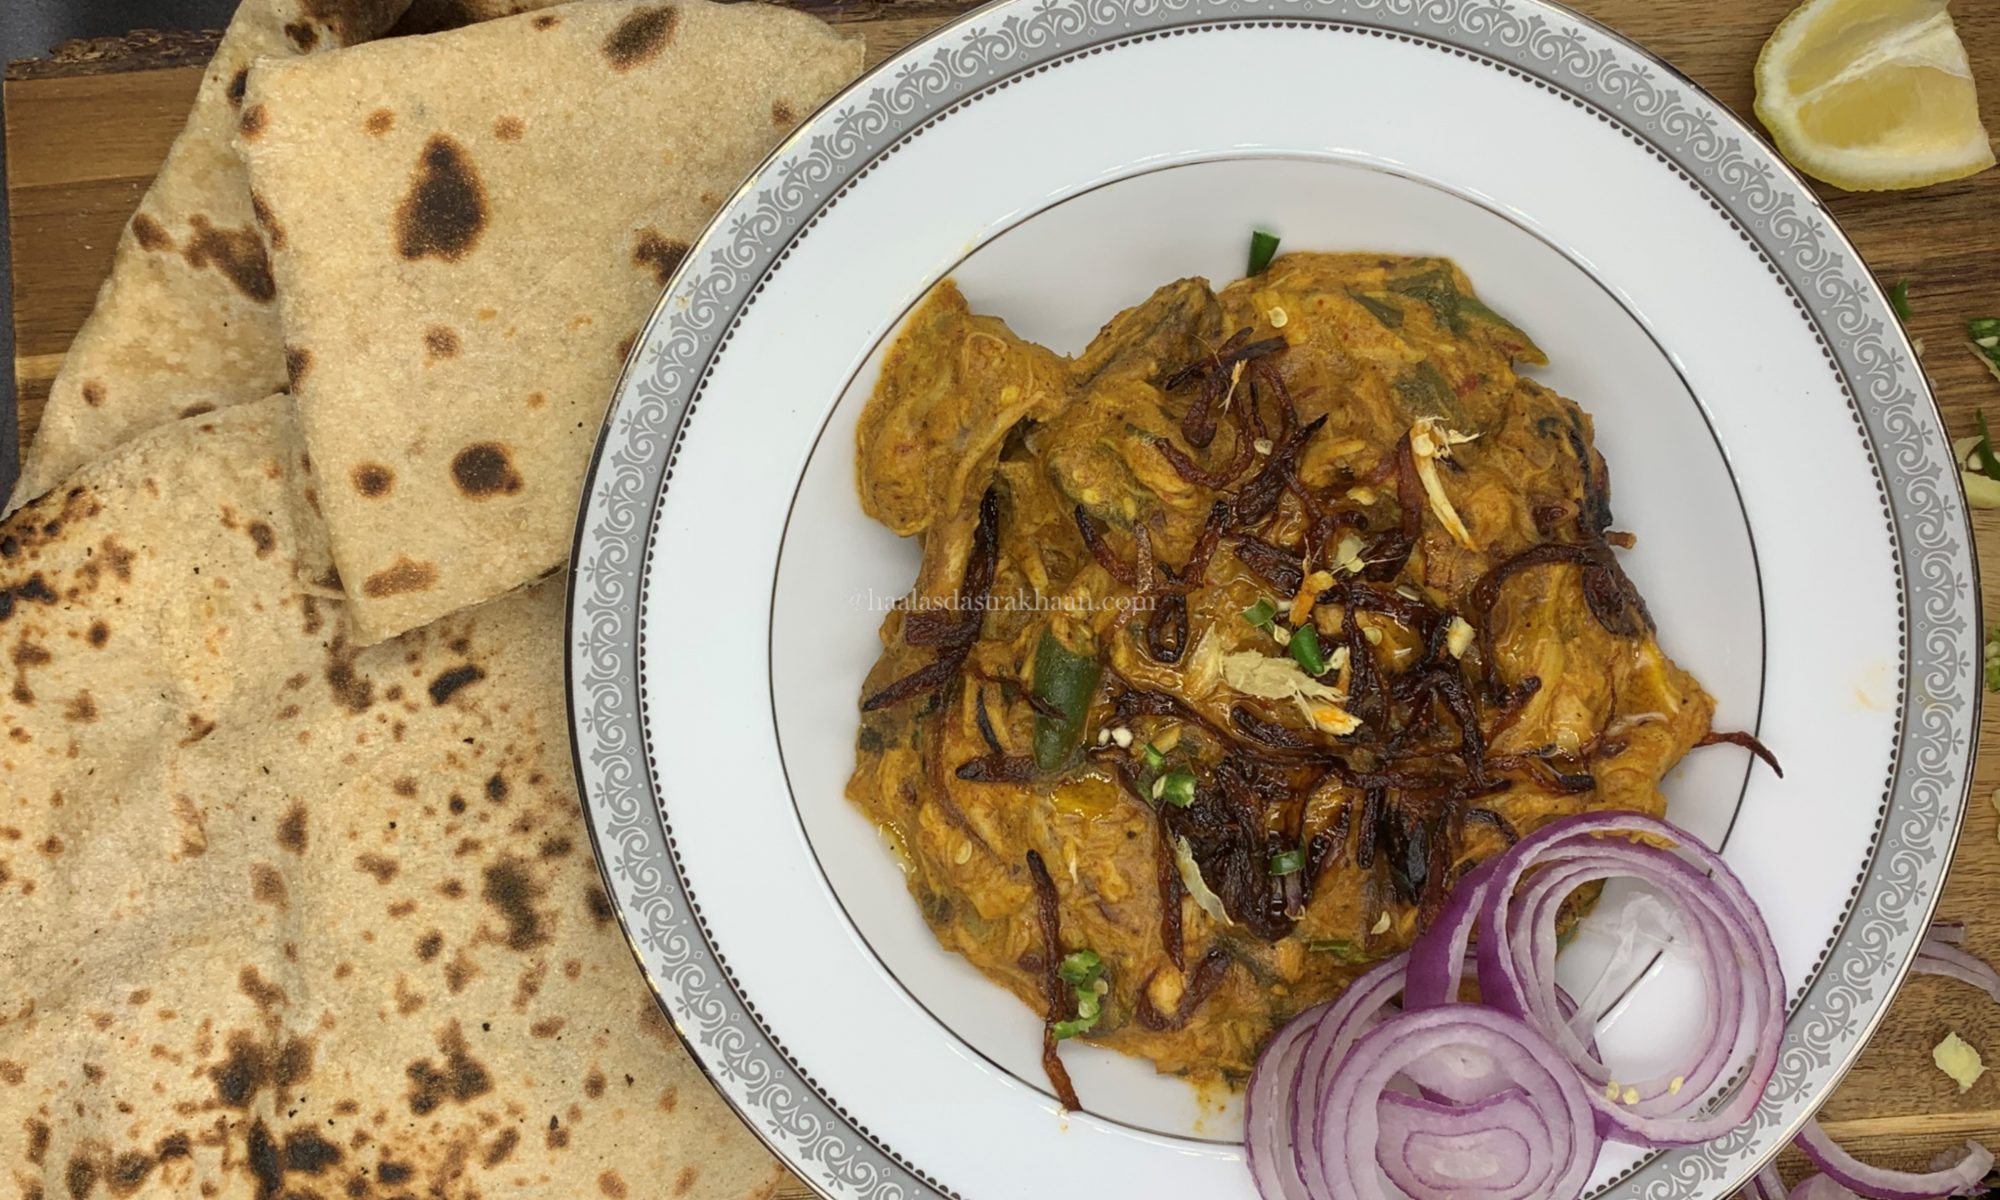
Nihari is always finished with barista (fried onions), julienned ginger, green chilies, fresh coriander, and a squeeze of lemon. When I was a teenager, my mom began making Nihari at home—sometimes with mutton, sometimes with chicken. I’d eaten it countless times, yet never once felt the urge to cook it myself.

In the beginning, my mom relied on store-bought masala packets from Delhi. But with time, she started experimenting. The packets listed the ingredients, and through a few rounds of trial and error, she figured out the perfect balance for each spice. Before long, she was making her own Nihari masala—richer, more fragrant, and far more authentic than anything that came out of a packet.

I’ve had Nihari more times than I can count, and it’s easily one of my all-time favorite dishes. Yet somehow, I never felt the urge to make it myself. It was only after experimenting with different chicken curries that I finally decided to give Chicken Nihari a try. I called my mother, asked her for the spice proportions and her recipe, and finally took the plunge.

My mother always cooked Nihari in ghee. But during a trip to Jama Masjid, New Delhi, with Mr. Parveez, we learned something interesting. While chatting with the chefs and staff at one of the local restaurants, we discovered that traditional Delhi-style Nihari is actually cooked in mustard oil. It may sound unusual, but that’s the authentic method.

When I tried making it myself, I couldn’t bring myself to use only mustard oil—it’s quite strong. So I balanced it by mixing in a little olive oil, and still used ghee for tempering. The result was a version that stayed true to tradition but suited my taste perfectly.

Nihari is a traditional Muslim dish that originated in the Mughal kitchens. Over time, every region has developed its own version, blending local flavors with the original recipe. The word Nihari comes from the Persian word “Nahar,” which means “early morning.” True to its name, Nihari was traditionally eaten for breakfast.

It’s a rich and hearty dish—perfect for mornings, but a little too heavy for later in the day. The magic of Nihari lies in its slow cooking. The longer it simmers, the deeper and more complex the flavors become. In the old days, chefs would cook it overnight to achieve that perfect balance. While that’s not so practical today, I still believe that taking it slow, keeping the flame low, and using a heavy-bottomed pan makes all the difference.

The spice mix is what gives Nihari its earthy aroma and rich depth. It’s spicy, but not the kind of heat that brings tears to your eyes—it’s balanced, layered, and deeply comforting. What truly elevates the dish, though, are the toppings: the barista, thin slices of ginger, chopped onions, and green chilies. Don’t skip them if you want the full experience.

You can skip the fried onions and julienned ginger at the end, but I’d strongly recommend adding them. The mild sweetness of the barista beautifully balances the spice, tying everything together. Nihari carries a long history, and while the dish itself is simple, it demands patience and care. It takes time and a bit of effort—but when you taste that first spoonful, you know it’s absolutely worth it.

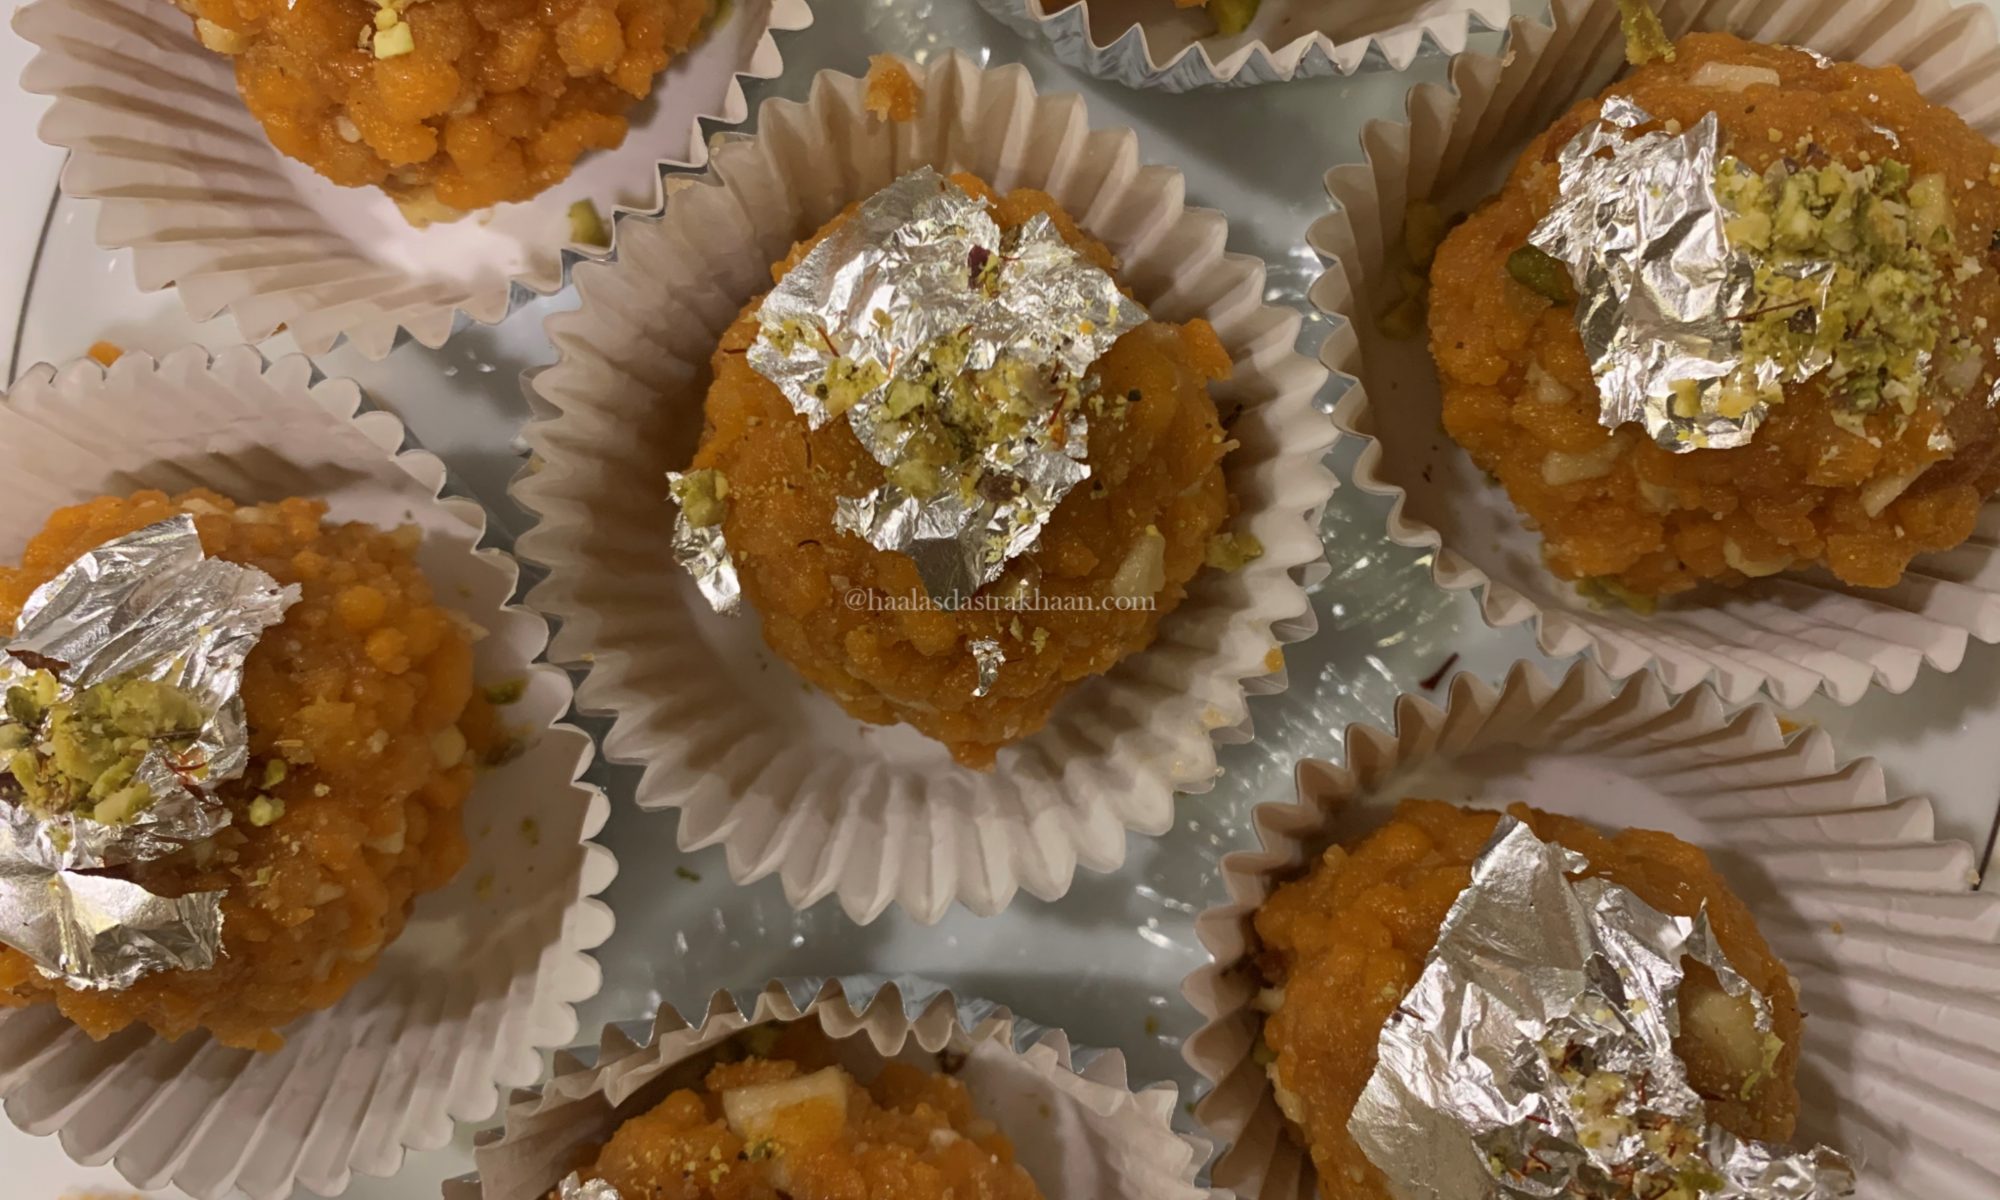
Boondi ke Laddu

Boondi Laddu is one of those classic Indian sweets that everyone recognizes. It’s commonly made and easily found in almost every sweet shop—though no two are ever quite the same. Unlike Motichoor Laddu, which is made with finer, tiny boondi and a slightly different technique, Boondi ke Laddu have a distinct texture and charm of their own.

I’ve always had a special connection with them—one that I think every kid who grew up in India can relate to. Every Independence Day and Republic Day, schools across the country make it mandatory for students to attend the flag hoisting ceremony. Those mornings were filled with patriotic songs, speeches about freedom, and stories of how our freedom fighters united to gift us an independent nation. And at the end of it all, there was always that small token of joy—a Boondi Laddu handed out to every student.

Boondi ke Laddu was the staple sweet handed out to every child at the end of the Independence Day and Republic Day ceremonies. But it wasn’t just about school. Every Ramadan, during the 27th night of Shab-e-Qadar and around the time the Quran recitation concluded at our local mosque, my father would distribute Boondi ke Laddu there too.

Somehow, this sweet became a part of every celebration—religious or national. It was simple, joyful, and universally loved. I don’t think I’ve ever met anyone who could say no to a Boondi Laddu.

I don’t remember ever seeing anyone make Boondi ke Laddu at home back in India—they were always just there, ready to be bought from the sweet shop whenever you needed them. But now that we live in the USA, finding that exact taste isn’t so easy. The Indian sweet stores here don’t make them the same way, so I finally decided to roll up my sleeves and make them myself.

I looked through a few blogs and food websites, but most of them showed pictures and recipes for Motichoor Laddu instead. The thing is, sometimes you’re not looking for something fancy—you just want to recreate a piece of your childhood. You want that familiar taste that instantly takes you back home.

I tried making Boondi ke Laddu a long time ago, but my first attempt didn’t go too well—the boondis turned out long, and they just wouldn’t bind together. Then, during one of my visits to India, my Rakhi brother took me to a shop that sold special ladles made just for making boondi. I brought one back with me, determined to try again after returning to the USA.

Even so, I don’t think anything we make here can quite capture the same happiness as eating it in our motherland. No matter how perfect the recipe, you still miss the people you shared those moments with. But as they say, you can’t fight destiny—you can only make the most of what’s around you. So I continue cooking, creating, and cherishing these little pieces of home, one dish at a time.

These Laddus will definitely remind you of your childhood days. Though they require a little extra effort, and it gets a little messy too, but it’s all worth the effort.

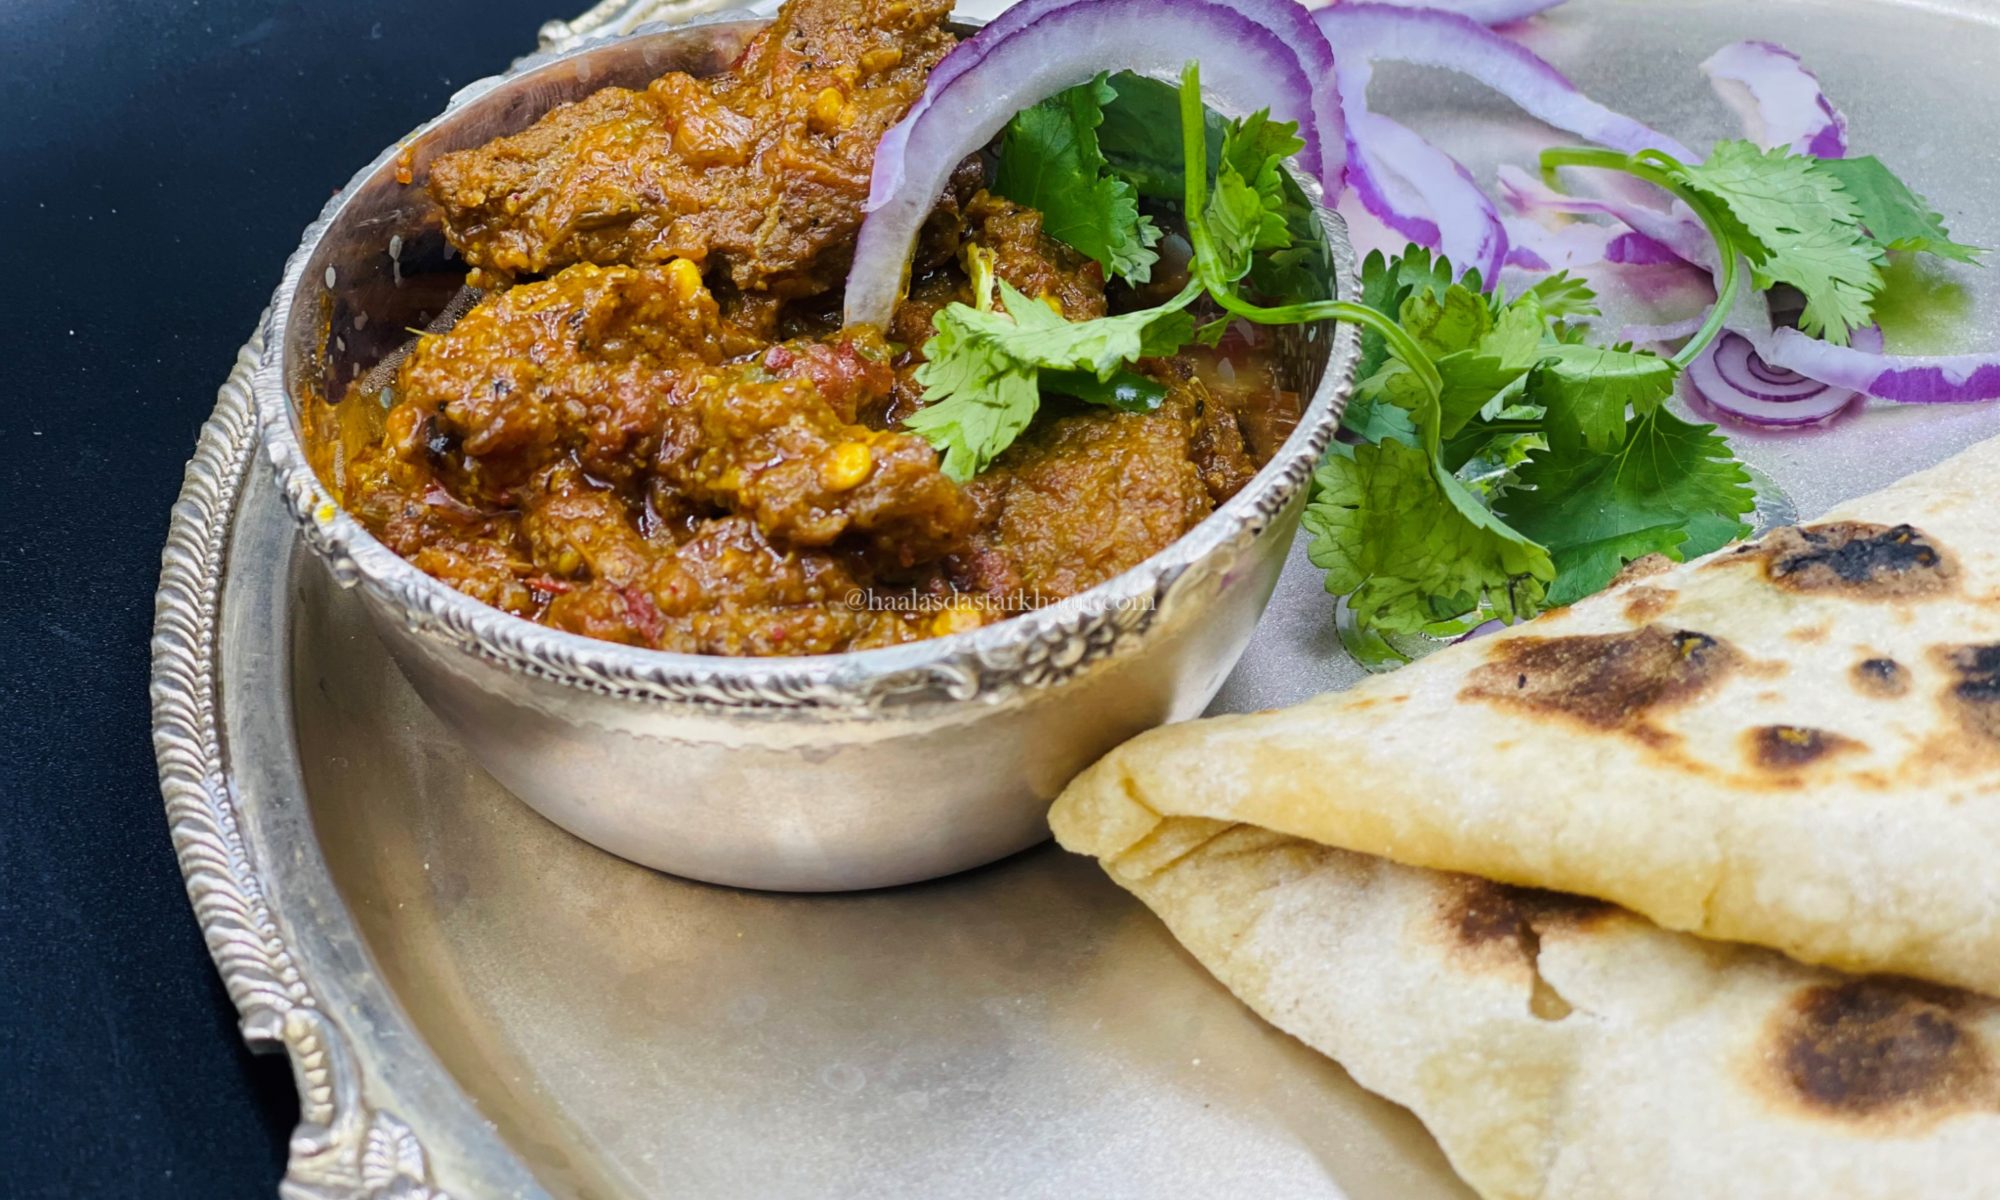
Laal Maas

Laal Maas is a traditional dish from my hometown, Jodhpur. It traces its roots back to the royal kitchens of the Rajput families, where it was considered a specialty. The dish was often prepared with the meat from animals hunted by the royals themselves—a bold, fiery curry that reflected both their adventurous spirit and love for rich flavors.

Laal Maas is still incredibly popular today. From the royal kitchens, it has made its way into restaurants across Jodhpur, where chefs continue to prepare it in their own styles—adding subtle twists while keeping the recipe close to its original roots.

This is my version, inspired by the many places where I’ve tasted Laal Maas and the flavors that stayed with me.

Many people from outside Rajasthan assume that Laal Maas is a common local dish, cooked regularly in every non-vegetarian household, especially among the Muslim community. But that’s not the case. In reality, Laal Maas belongs to the royal cuisine of Jodhpur, a legacy of the Rajput kitchens rather than a part of everyday home cooking.

I usually boil the mutton pieces before starting the curry. It not only cuts down the overall cooking time but also helps the meat absorb the spices better. The result is tender, juicy mutton that’s rich in flavor and perfectly spiced in every bite.

This curry is made with ghee—oodles of it! In Rajasthan, we take great pride in cooking our rich, traditional dishes with generous amounts of ghee. It adds a deep, distinct flavor that defines our cuisine.

That said, I like to mix a little oil with the ghee. These days, it’s not always easy to cook—or digest—food made entirely with pure ghee. But if you’re brave enough (and not counting calories), go ahead and cook it the authentic way, using only ghee. And if you’re more health-conscious, like Mr. Parveez, you can use just oil and add a teaspoon of ghee at the end for that signature aroma.

This recipe is relatively easy to make and can be prepared by beginners, with truly delicious flavors.

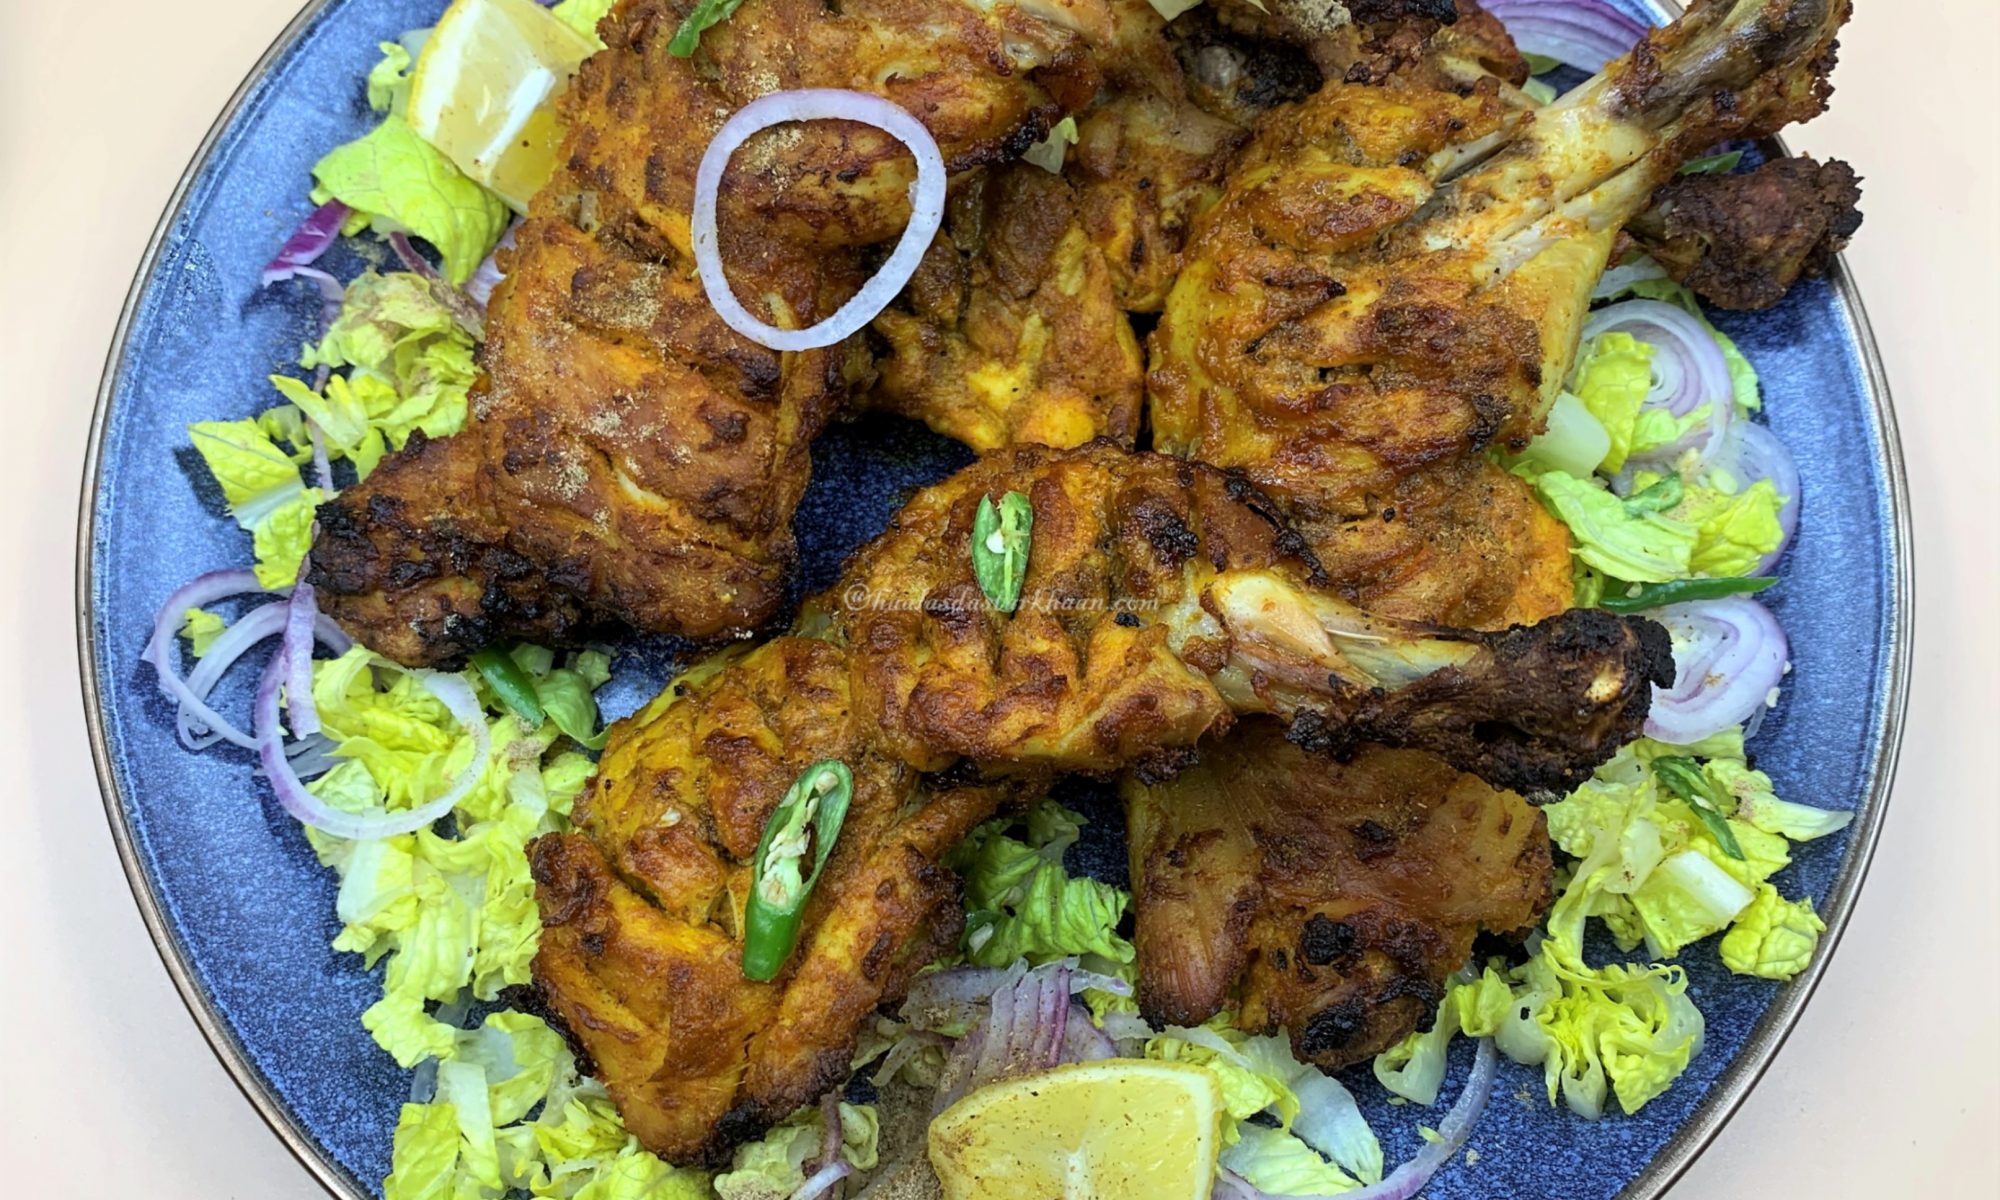
Tava Tangdi Chicken Kebab

My experiments for Kebabs always have to be innovative, different and always have to be super delicious in taste. My boys love different styles of Kebabs and always look forward to trying different varieties and I believe that’s what pushes me to try different styles.

After making so many different styles of Chicken Kebabs, it does get hard for you to come up with something different with the same set of masalas. I mean its the same spices, yet playing around with them, adding them at different times at different cooking stages makes a huge difference in the flavor of a dish.

These kebabs barely need any marinating time which makes it better for people who are trying to serve something easy and fancy and decide at the last minute or for all those times when we have uninvited relatives/guests who come unannounced, but expect a wonderful menu. For all those times, these kebabs come in very handy.

These kebabs can be made without an oven and the ingredients are also not too fancy. Though I have used Chicken Legs and names them Tangdi Kebab, but you can always use other Chicken pieces or even boneless Chicken and follow the recipe. In case you use this recipe for boneless chicken, try using Boneless thigh/Leg meat and not the Breast. The Chicken Breast meat might be too thick and chewy for this recipe and since the Chicken isn’t marinated for too long and the choice of spices isn’t too fancy either, it might be hard for the juices to get inside the Chicken Breast meat.

This recipe is great for Beginners and Bachelors and pretty easy to impress a crowd by new chefs. Try it today and leave me a feedback as well. Enjoy!!!

Murgh Darbari Tangdi Kebab

As the name suggests, this recipe is from the era of Mughals and I believe must have been a favorite of Mughal Emperor, Shehenshah Akbar. Going through history, its amazing to read of how different ingredients were introduced at different times. Like spices or khada Masala, like cinnamon, bay leaves or cardamoms and cloves were never a part of the Indian cuisine and were brought in by the Mughals when they migrated to India. I believe there has been no other clan unlike the Mughals who not only brought in so much with them but also adapted the cultures of India and settled with the people and built families.

Where the spices were brought in by the Mughals, India already had food enhancing flavors like Turmeric, red chilies, coriander etc. Mixed together, the food that came out was super amazing like this kebab or a lot of Biryanis that I share on this website.

The super amazing cuisines that we taste at so many restaurants today have been fusion dishes of the old era which apparently weren’t recorded under the term “fusion”. The acceptance of a culture, embracing the traditions, values and flavors and giving the best of what we have does not only result in super new flavors but also becomes a part of our cuisines for the coming generations . For me reading history about a dish is as fascinating as trying to cook a dish.

This recipe of chicken kebabs comes from the era of Mughals. I know, most all kebabs do. Kebabs are a gift to the food world by the Middle East. The variety, the flavors and the fact that they are grilled in different ways can leave your taste buds joyful and crave for more.

I believe for a fact that when the Mongolians and the Persians rulers came to India, it wasn’t an invasion. I know during that era it does look like an invasion because all the wars were for power and land and the greed to appear mightier and stronger than other rulers always seemed to drive warriors crazy where they seemed to be baffled by the prosperity of the neighboring kingdoms and invasion seemed to be the only way to satisfy your hunger for more.  But, leaving all that aside, the Mughals brought in a lot of architectural science, spices and methods of cooking. They came to settle and make India more diverse and that’s what I fail to see in Indian news today.

I am proud to be an Indian, a country where friendship and mutual respect comes much before religion. Where Eid is celebrated with as much love as Diwali. Where Hindus are always at your house on Eid to taste awesome Biryani and your mom makes sure she cooks vegetarian food separately for your 2 vegetarian friends. Where stories of Jodha Akbar is less of Akbar, the Emperor who invaded India and more of the love between a Mughal Emperor and a Rajput Queen. India a country, that proves its a place accepting all religions and stands tall with its cultural heritage. With all that, food plays a very important role. The spices like cinnamon, cloves, cardamom and saffron changed the complete look of flavors and when mixed with Indian chilies, the result was food from Paradise.

This recipe goes back to the era of Akbar and Jodha. The story suggests that Emperor Akbar had a great taste in food and his Kitchens had the most exclusive dishes made, vegetarian and Non vegetarian. Queen Jodha also seemed to have a great interest in cooking the best dishes and made sure that the chefs prepare dishes according to his taste. This recipe comes in as one of his favorites.

Now, with the history books I read, I do get an idea of the ingredients but they aren’t a 100% of what were used in the original recipe. Therefore, these recipes are mine but they should be close to what the original food must have tasted. Each recipe that I share can have common ingredients, but they are completely different for each other. The only way you can find out is by trying. Hope you enjoy these Kebabs as much as I did.

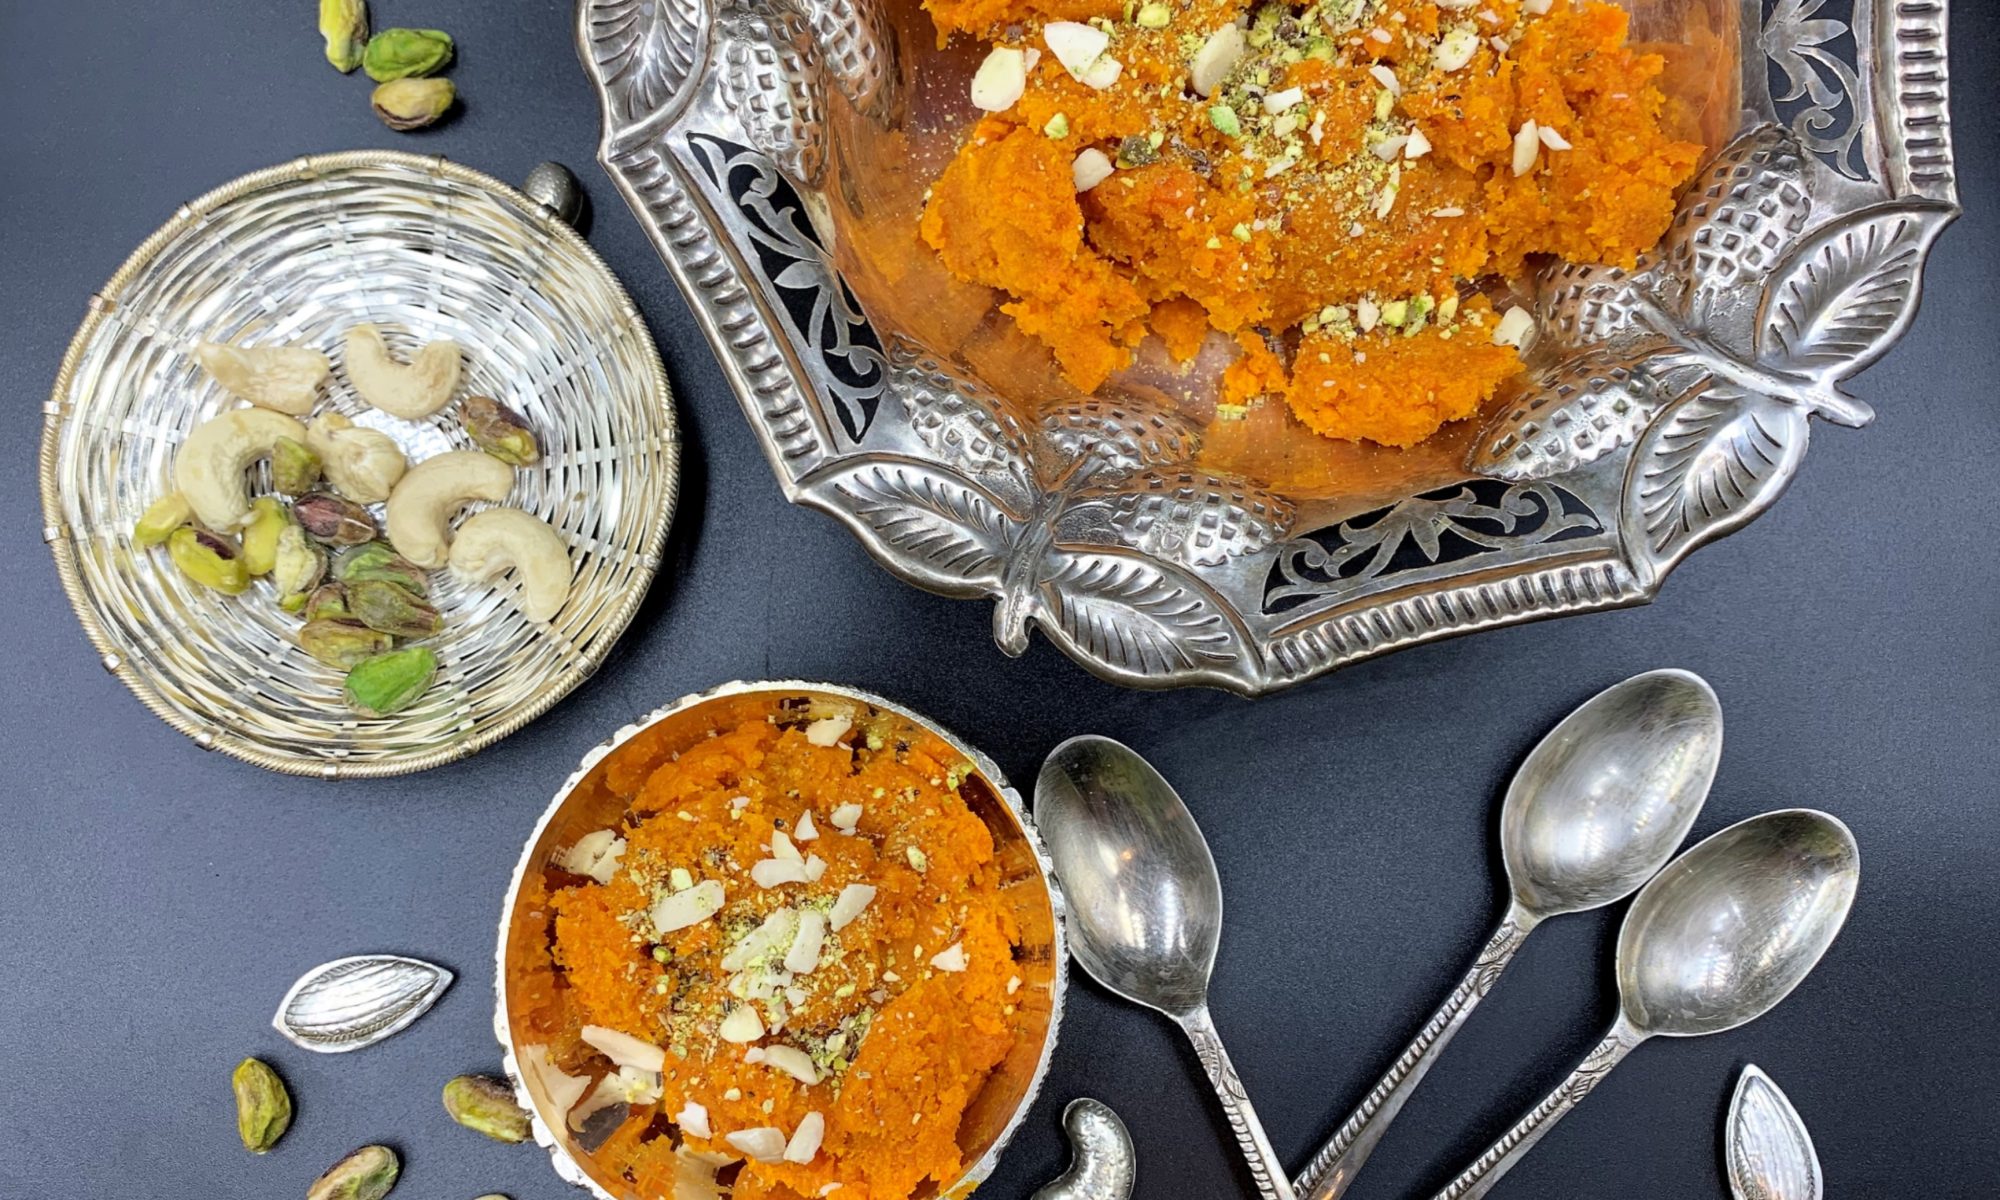
Gajar Ka Halwa

Gajar ka Halwa is our winter favorite. The lovely sweetness of carrots mixed with sugar and milk and a hint of cardamom with desi ghee leaves you taste buds asking for more. Every family has their own version of Gajar ka Halwa and it’s the most common dessert in winters and can be found in most homes, specially during winters. With fresh carrots available in the market and the need to finish every meal with a dessert, this Gajar ka halwa definitely scores high.

I make mine with grated red carrots, milk, Khoya and sugar. It’s a winter delicacy and is made using the juicy red carrots. I also make it another way, which is my Mother’s recipe. Growing up I always felt that my mom makes the best ever carrot halwa. She would in fact even freeze the Halwa so we could enjoy it longer. My mom would cook her Halwa for hours on low heat and I as a kid, I would look forward to the Halwa. This sweet dish is mainly associated with North India. It is a rich, the texture is slightly grainy, with sweetness that makes the warm winter dessert taste delicious. I haven’t heard of any Indian who doesn’t love a good carrot halwa.

Garnished with slivers of dry fruits, it goes well with a dollop of vanilla ice cream on the side. I have a recipe of Gajar Ka halwa with Vanilla Ice cream on this blog too. That Halwa is made using condensed milk. So, it can be made any which way, eaten warm, with/without Vanilla Ice cream.

Most households in North Indian have their own recipe to make Gajar ka Halwa and with minor changes here and there, the taste changes drastically. This recipe of Carrot Halwa is my own and is one of the quickest and best I have had.

I grate the carrots and cook them in Ghee till they start releasing water. Once the water is dried, I add milk and cook the carrots till they are completely soft and the milk thickens while cooking the carrots and is only 1/4 left. I then add Khoya followed by sugar and cardamom powder. Cook till everything blends well and there is no liquid left in the Halwa. I only add Almonds, Pistachios and sometimes, cashews to my Halwa. But some people like adding Raisins which is completely optional and a personal choice.

I make Gajar ka Halwa pretty often and it finishes pretty quickly as well. You can easily double or triple the quantity of the ingredients and make a bigger batch if you want to. Along with the ingredients, the cooking time will also increase.  I try and pick carrots as red as possible and in case if I don’t get my hands on carrots that are red, I sometimes use a pinch of orange food color. It’s completely optional though.

Rava Coconut Laddu

Laddus are everyone’s favorite sweet. We all love them, from Besan to Motichoor to Coconut. Different kinds different occasions and just little edible balls of delicious taste that spread joy and happiness. I always loved Motichoor laddus, kind of my all the time go to and get happy sweets.

After I started on my venture of self discovery of being a home based chef, I started making different kinds of laddus. This is when Mr. Parveez asked me to make these Laddus with rava and coconut. These Laddus were something he ate during his childhood and still craved for. Now before I go ahead with the recipe and more details, let me also tell you that this was my third trial and the one that was closest to his childhood flavor.

Rava was roasted in ghee and then I added Besan to help the laddus bind better. I further roasted the grated coconut as well. I also roasted the cashews and Raisins in ghee. Mixed everything together and added sugar to it. Added the remaining ghee and shaped them. These Laddus can be kept in airtight container for up to 10 days.