Who doesn’t love garlic bread? I’ve honestly never met anyone who could resist a warm, buttery slice loaded with garlic. Growing up, I was convinced that garlic bread and pizza were inseparable — the ultimate duo — thanks to a certain popular food chain. For me, ordering pizza without garlic bread as an appetizer just didn’t make sense, and I’m sure those famous pizza places have seen plenty of customers like me over the years.
As much as my family enjoys the occasional restaurant treat, there are times when ordering out just isn’t practical — or desirable. Beyond the cost, there’s always that lingering question about freshness, preservatives, and how the food was actually prepared. Not that takeout is inherently bad, but relying on it too often doesn’t feel like the healthiest choice. And when you can cook, making a homemade version becomes both reassuring and rewarding.
Traditionally, garlic bread is made using a crusty loaf like a French baguette or sometimes ciabatta. The bread is partially sliced so the garlic butter can seep into every crevice while keeping the loaf intact, then baked until crisp on the outside and soft inside. Some versions use olive oil and fresh garlic, others rely on butter and garlic powder, and sometimes the loaf is split lengthwise and topped before baking.
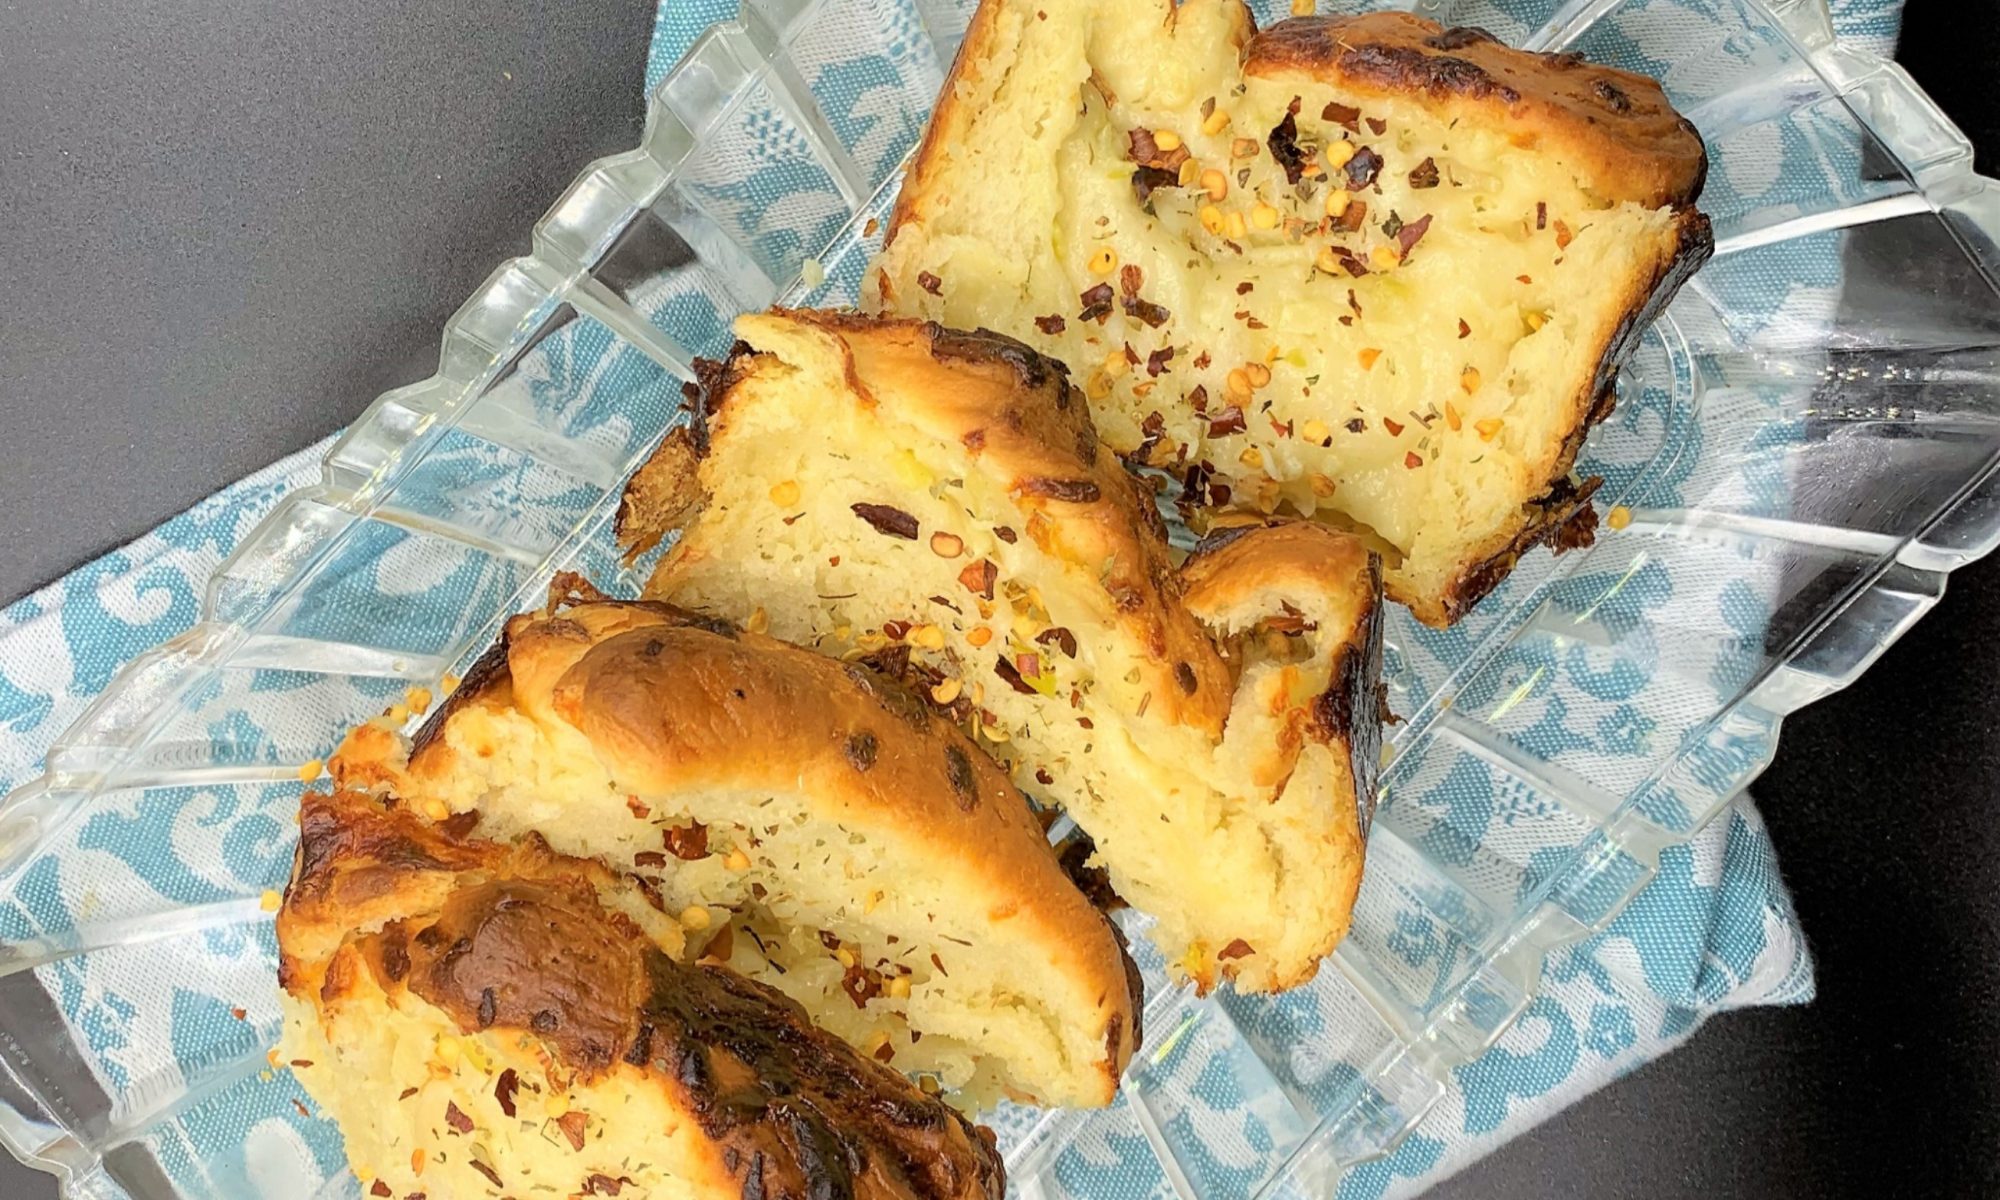
I decided to do something a little different — starting from scratch. Instead of using a ready-made loaf, I made a soft, enriched dough using warm milk, yeast, egg, flour, sugar, salt, and butter. Once the dough had risen beautifully, I kneaded in minced garlic, more butter, and fresh scallions, which added both flavor and a lovely aroma. After shaping, I topped it with a generous sprinkle of cheese before baking.
The result is somewhere between classic garlic bread and a soft pull-apart loaf — fluffy, buttery, garlicky, and incredibly comforting. Served hot from the oven, the cheese melts into the bread while the garlic perfumes the entire kitchen. Every bite is soft, rich, and full of flavor, with just the right balance of indulgence and homemade goodness.
Sometimes the simplest foods bring the most joy — especially when made fresh, shared warm, and eaten straight from the tray.
Serve hot, tear into it while it’s still steaming, and enjoy every oozy, garlicky bite. 🧄🧀✨