Asian cuisine is wonderfully diverse—Chinese, Japanese, Indonesian, Thai, Malaysian, and Korean—each offering its own distinctive flavors while still sharing certain ingredients and cooking techniques. Over the years, we have enjoyed sampling dishes from many of these cuisines, though often limited to seafood. Being Muslim, staying within the boundaries of halal food can sometimes be challenging, particularly when so many tempting dishes traditionally include non-halal meats.
While I do have friends who are comfortable eating non-halal chicken or meat, for us that is simply not an option. I firmly believe that when there are ways and choices available to remain true to our beliefs, it is important to honor them. Fortunately, that has never stopped us from exploring the flavors we love. The beauty of having curious taste buds—and a genuine passion for cooking—is that you can always adapt a dish and make it your own.
This recipe was inspired by a dish I once tried with scallops and instantly fell in love with. Naturally, I made a few adjustments along the way. In its original form, the scallops were neither marinated nor batter-fried, which meant they relied almost entirely on the sauce for flavor. While the sauce itself was pleasant—mild with a gentle kick—I felt the dish could benefit from a little more depth and texture.
When I decided to recreate it using chicken, I introduced a few changes to build those extra layers of flavor. The chicken was first marinated and lightly battered to add both seasoning and a satisfying crunch. Unlike seafood, chicken tends to absorb whatever flavors you give it, so even a simple marinade with spices, seasoning, or just a touch of salt can make a remarkable difference. Whether you are adding chicken to noodles or tossing it in a sauce, that first layer of flavor is something you should never overlook.
For the chicken, begin by marinating it in a mixture of buttermilk, chili flakes, onion powder, garlic powder, black pepper, white pepper, oregano, and salt. Allow it to rest for at least an hour—longer if possible—so the flavors have time to fully penetrate the meat.
Once marinated, coat the chicken pieces in a mixture of flour, cornstarch, and a little salt, then fry them until they turn golden and crisp. This step creates a light, crunchy exterior that pairs beautifully with the sauce.
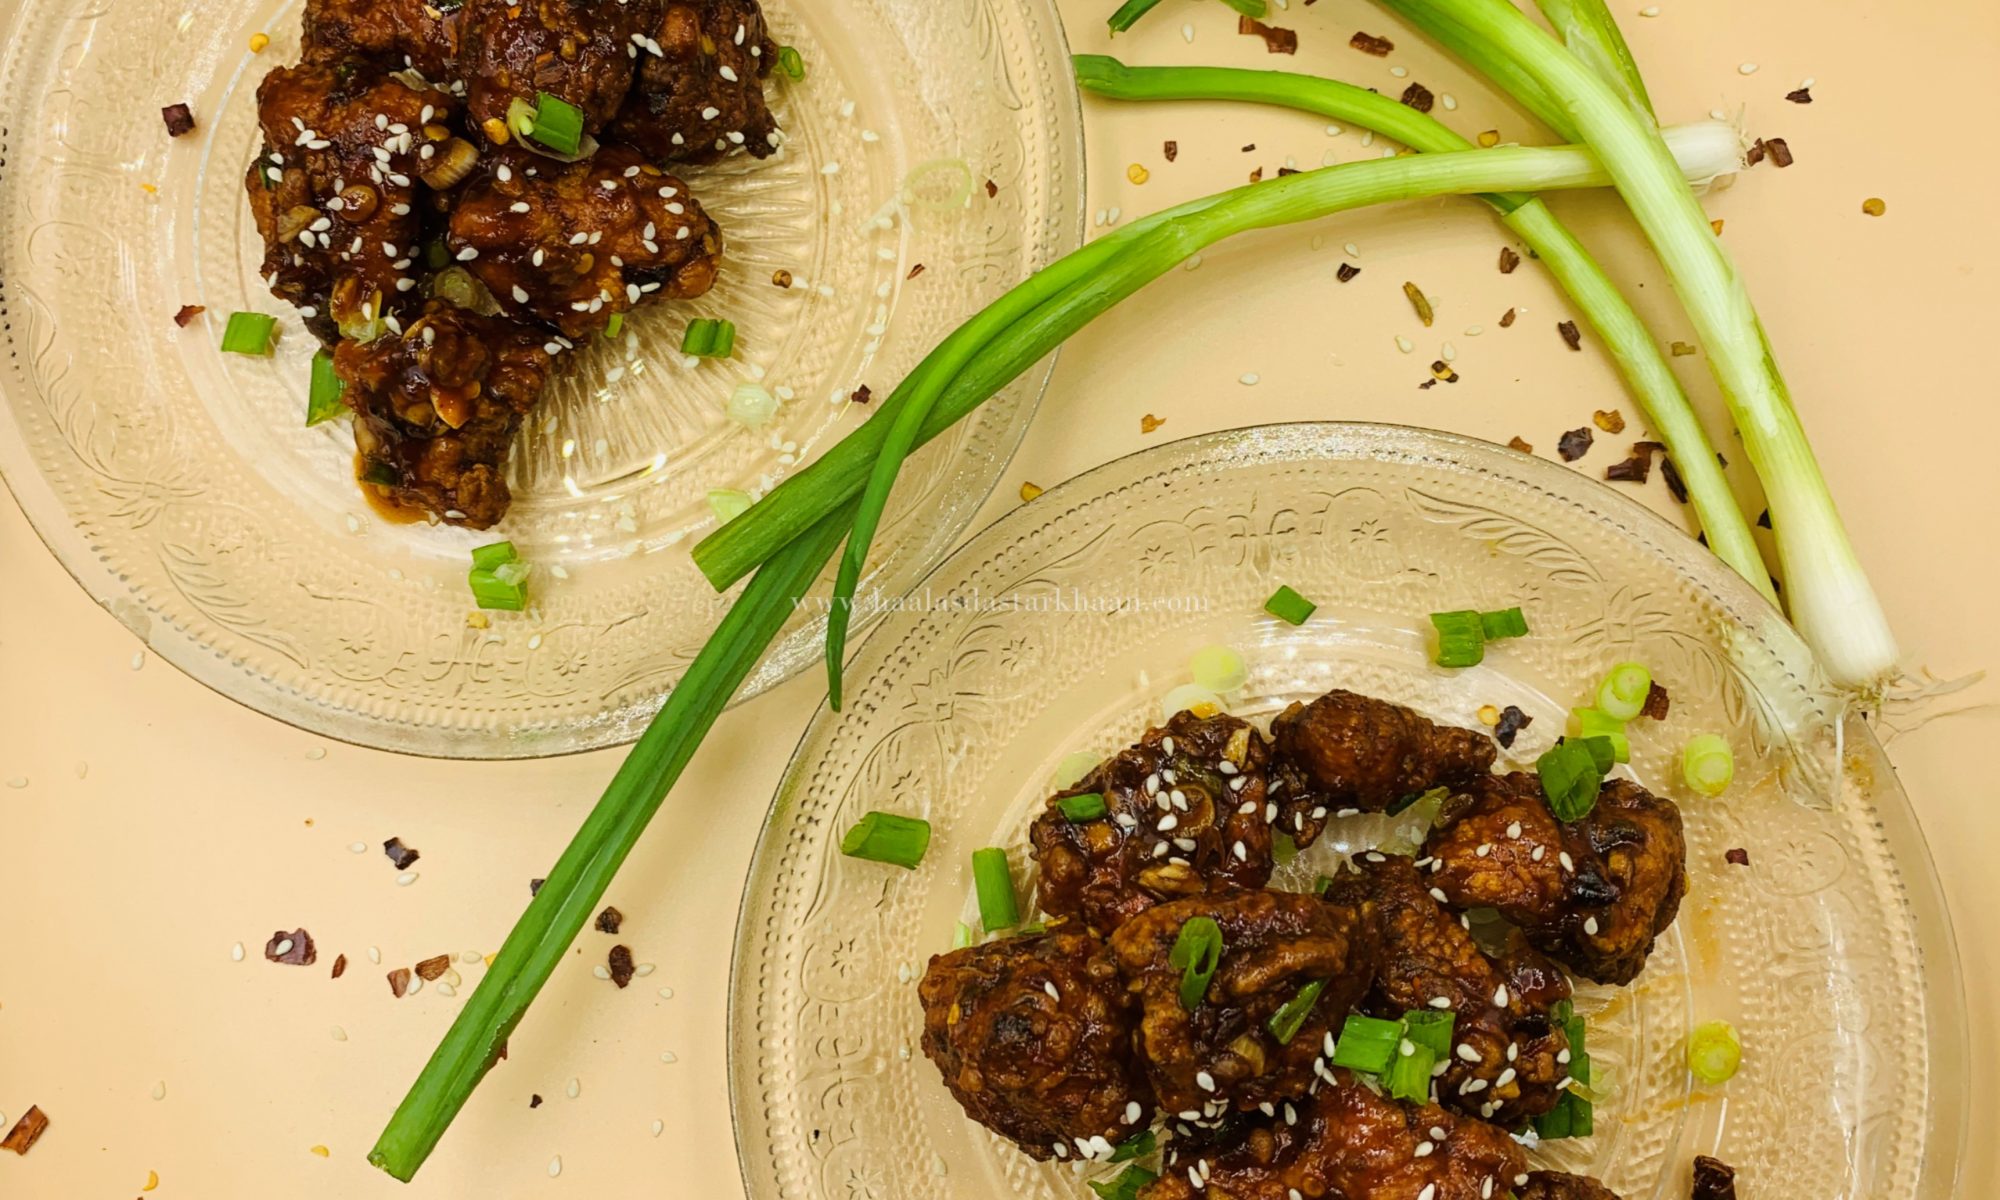
The sauce is what truly brings the dish together. It is prepared with crushed garlic and ginger, soy sauce, sesame oil, gochujang—a sweet and mildly spicy Korean chili paste readily available in most Asian markets—along with honey, brown sugar, vegetable oil, and red chili flakes. Allow the sauce to cook until it thickens slightly, then toss in the fried chicken pieces, coating them thoroughly so every bite is infused with flavor.
For garnish, scallions and sesame seeds work beautifully. While scallions can certainly be added directly to the sauce, I prefer sprinkling them on top just before serving, allowing them to remain crisp and provide a pleasant contrast in texture.
Substitute for Buttermilk?
To make buttermilk at home, take the same quantity of milk as the buttermilk required and add 1 tablespoon of lemon juice to it. Mix well and let it rest for a few minutes before adding the chicken.
The flavor of this chicken is a perfect balance of sweet and spicy, making it an excellent choice for all taste buds—kids and adults alike—unless someone prefers completely mild food. I find this dish a great hit for playdates, family gatherings, or small get-together parties.
Cooking in advance
You can fry the chicken bites and keep them in the oven. The oven needs to be preheated. Keep it on warm or at 200°F. Anything above it would overcook the chicken, making it chewy or burning it.