Kheema curry can be prepared in countless ways, each region and family giving it a personality of its own. Growing up in Rajasthan, the kheema I knew was always my mother’s — simple, comforting, and almost always reserved for picnics and long road trips. She would typically make Kheema with aaloo (potatoes) or Kheema with matar (peas). What I never saw in her kitchen was a version loaded with multiple vegetables together.
I do remember her mentioning that my grandmother liked adding cauliflower to kheema, though I don’t recall ever tasting it myself. And to be honest, I’ve never attempted it either — mostly because Mr. Parveez isn’t a fan of cauliflower. Some culinary traditions quietly skip a generation, especially when family preferences step in.
Then there were the unforgettable versions from our travels. In Old Delhi, near the Jama Masjid area, we would wake up early just to enjoy a hearty breakfast of kheema served with hot tandoori roti. Sometimes it would be accompanied by nahari or paaye — rich, slow-cooked dishes that could turn any ordinary morning into something special. Another favorite that captured my heart was Mumbai’s Kheema Paav, with its slightly tangy tomato base, often made with chicken, and served with buttery toasted buns. Those breakfasts are memories I still cherish, and recipes for both the kheema and the paav will be coming soon.
But the recipe I’m sharing here is completely different from all of those. This one comes from Mr. Parveez’s family — a style of kheema commonly prepared in many Bangalore Muslim homes. Passed down from his mother, we fondly call it “Ammi wala Kheema,” because it carries her unmistakable touch and warmth.
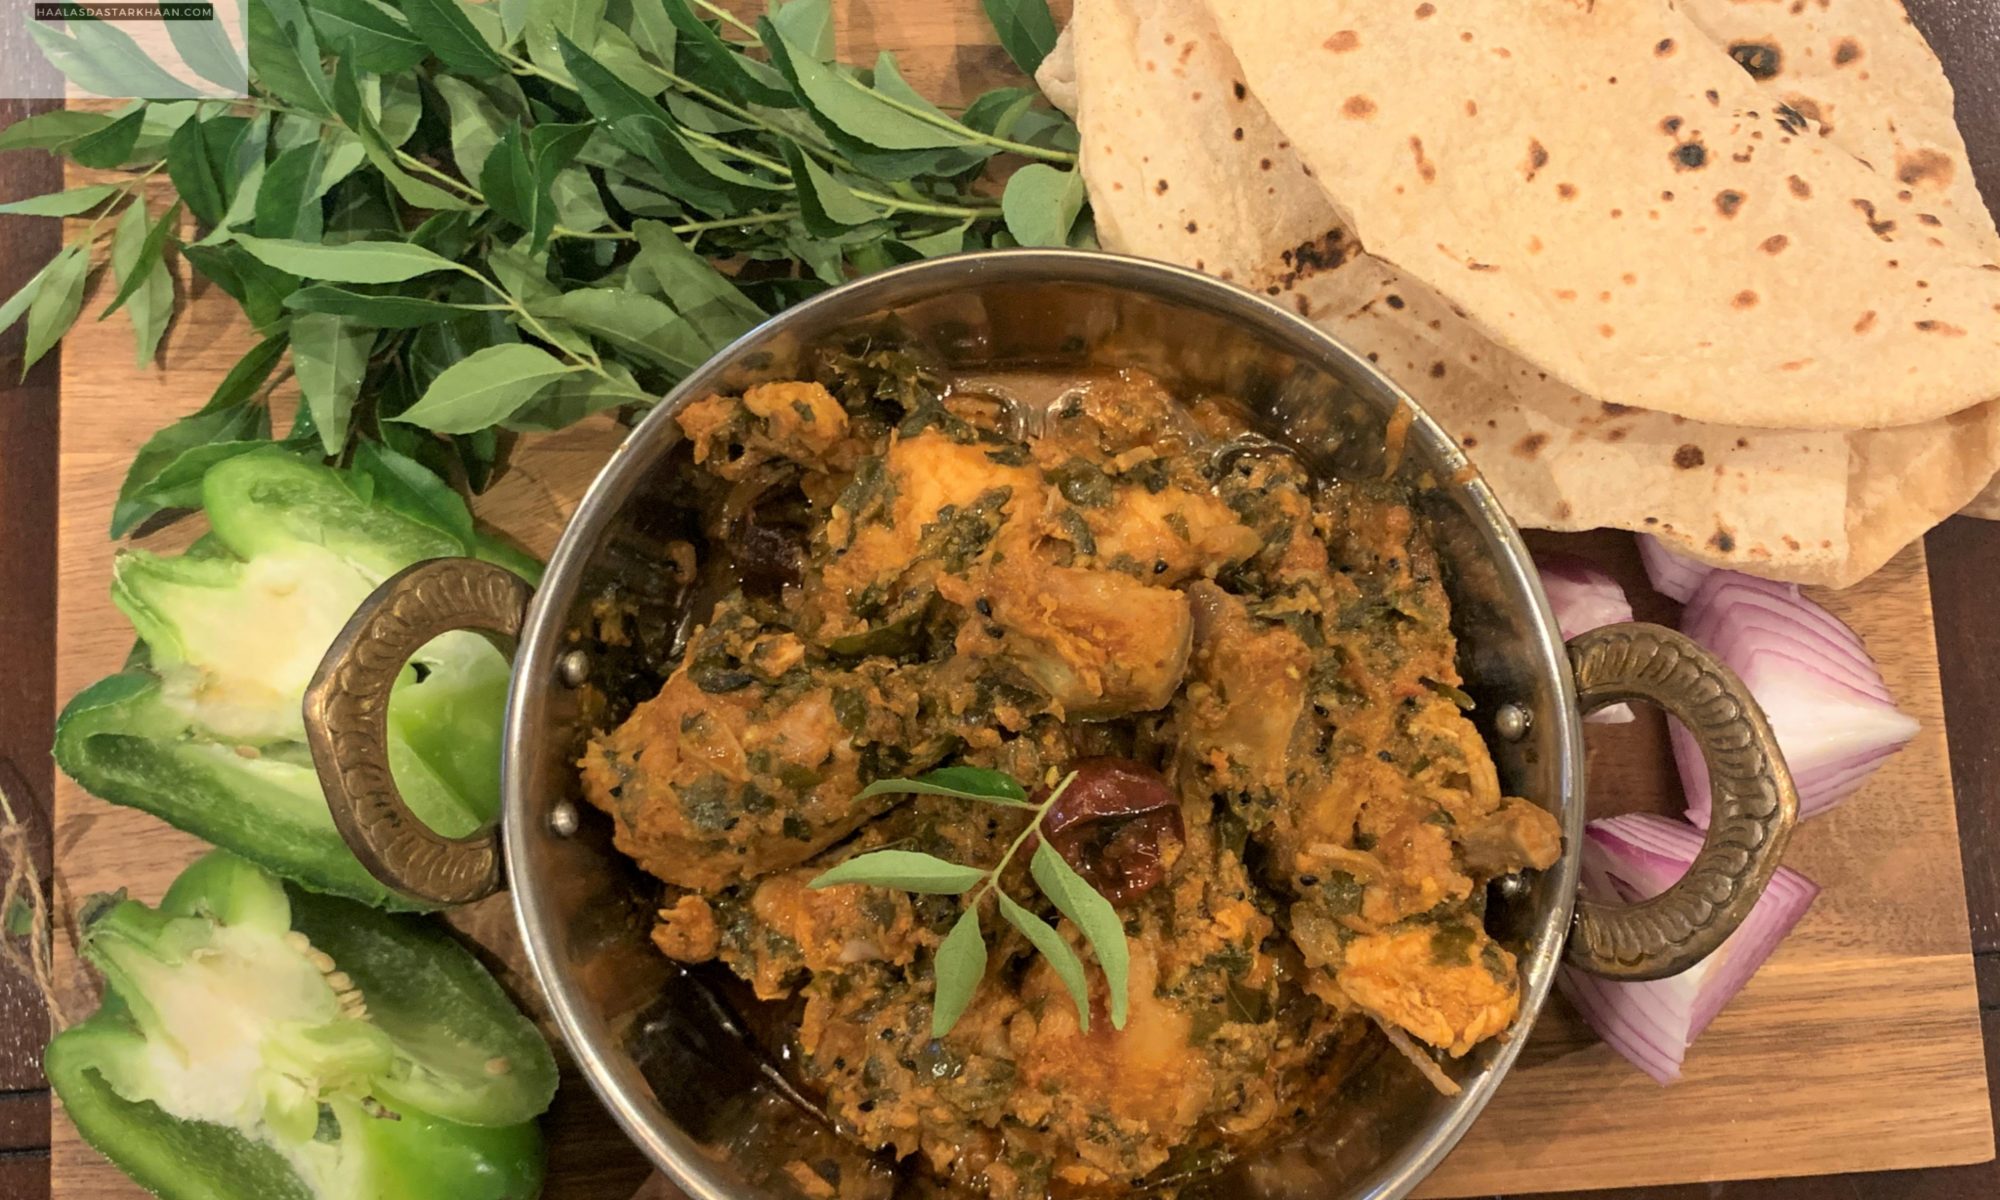
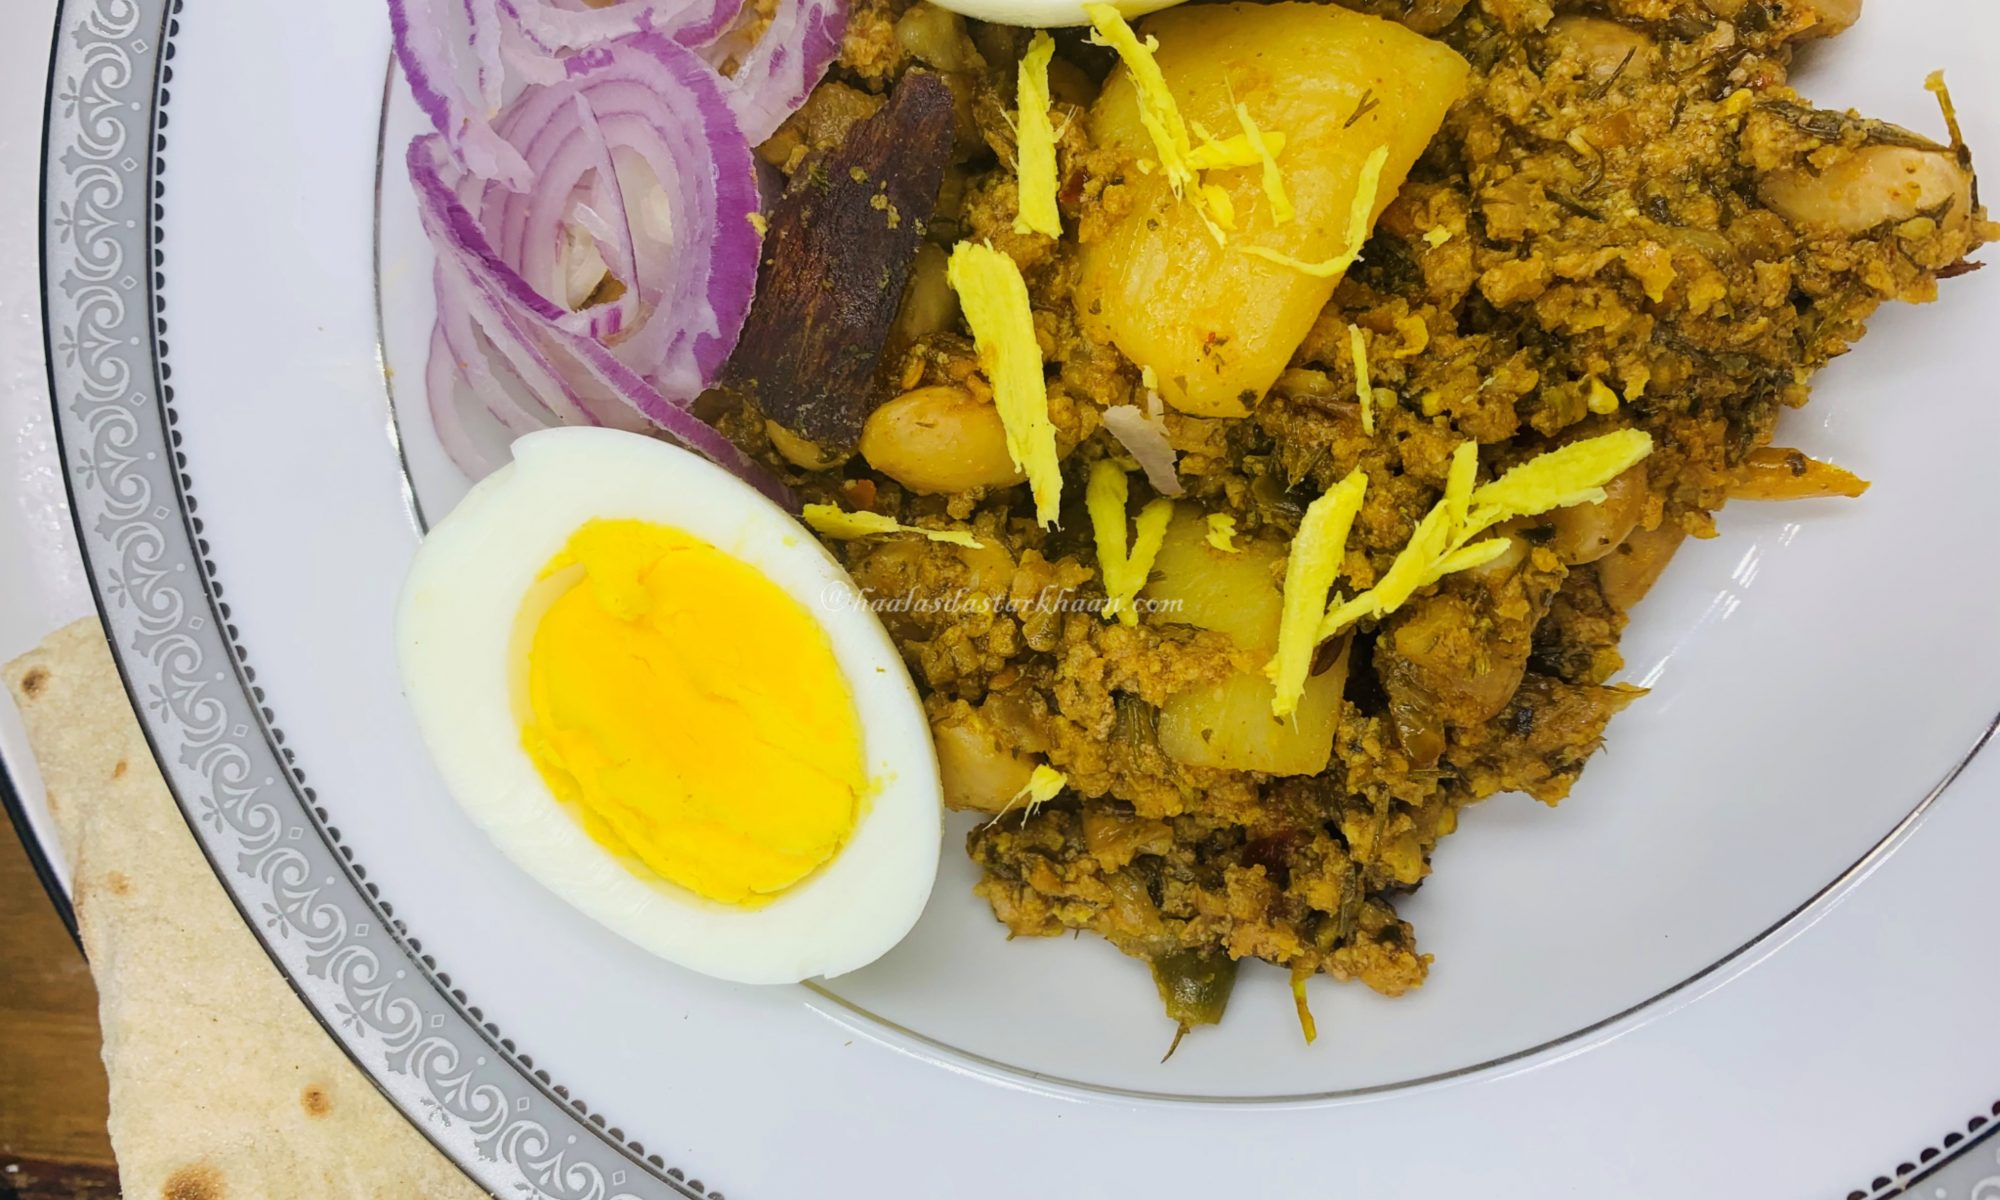
The preparation begins with finely chopped onions slowly sautéed in oil or ghee along with fragrant whole spices. Ginger-garlic paste follows, then the goat kheema, ground spices, and tomatoes. What truly sets this version apart, however, is the generous addition of vegetables — potatoes, beans, fresh fenugreek leaves, and dill leaves — all simmered together until the flavors meld beautifully. The herbs add a depth and freshness that makes this dish both hearty and uniquely aromatic.
Although it’s traditionally enjoyed as a breakfast dish, this kheema is wonderfully versatile. It tastes just as delicious for lunch or dinner, served with roti, bread, or even rice. Comforting, wholesome, and deeply rooted in family tradition, this “Ammi wala Kheema” is more than just a recipe — it’s a piece of home on a plate. 🍲✨