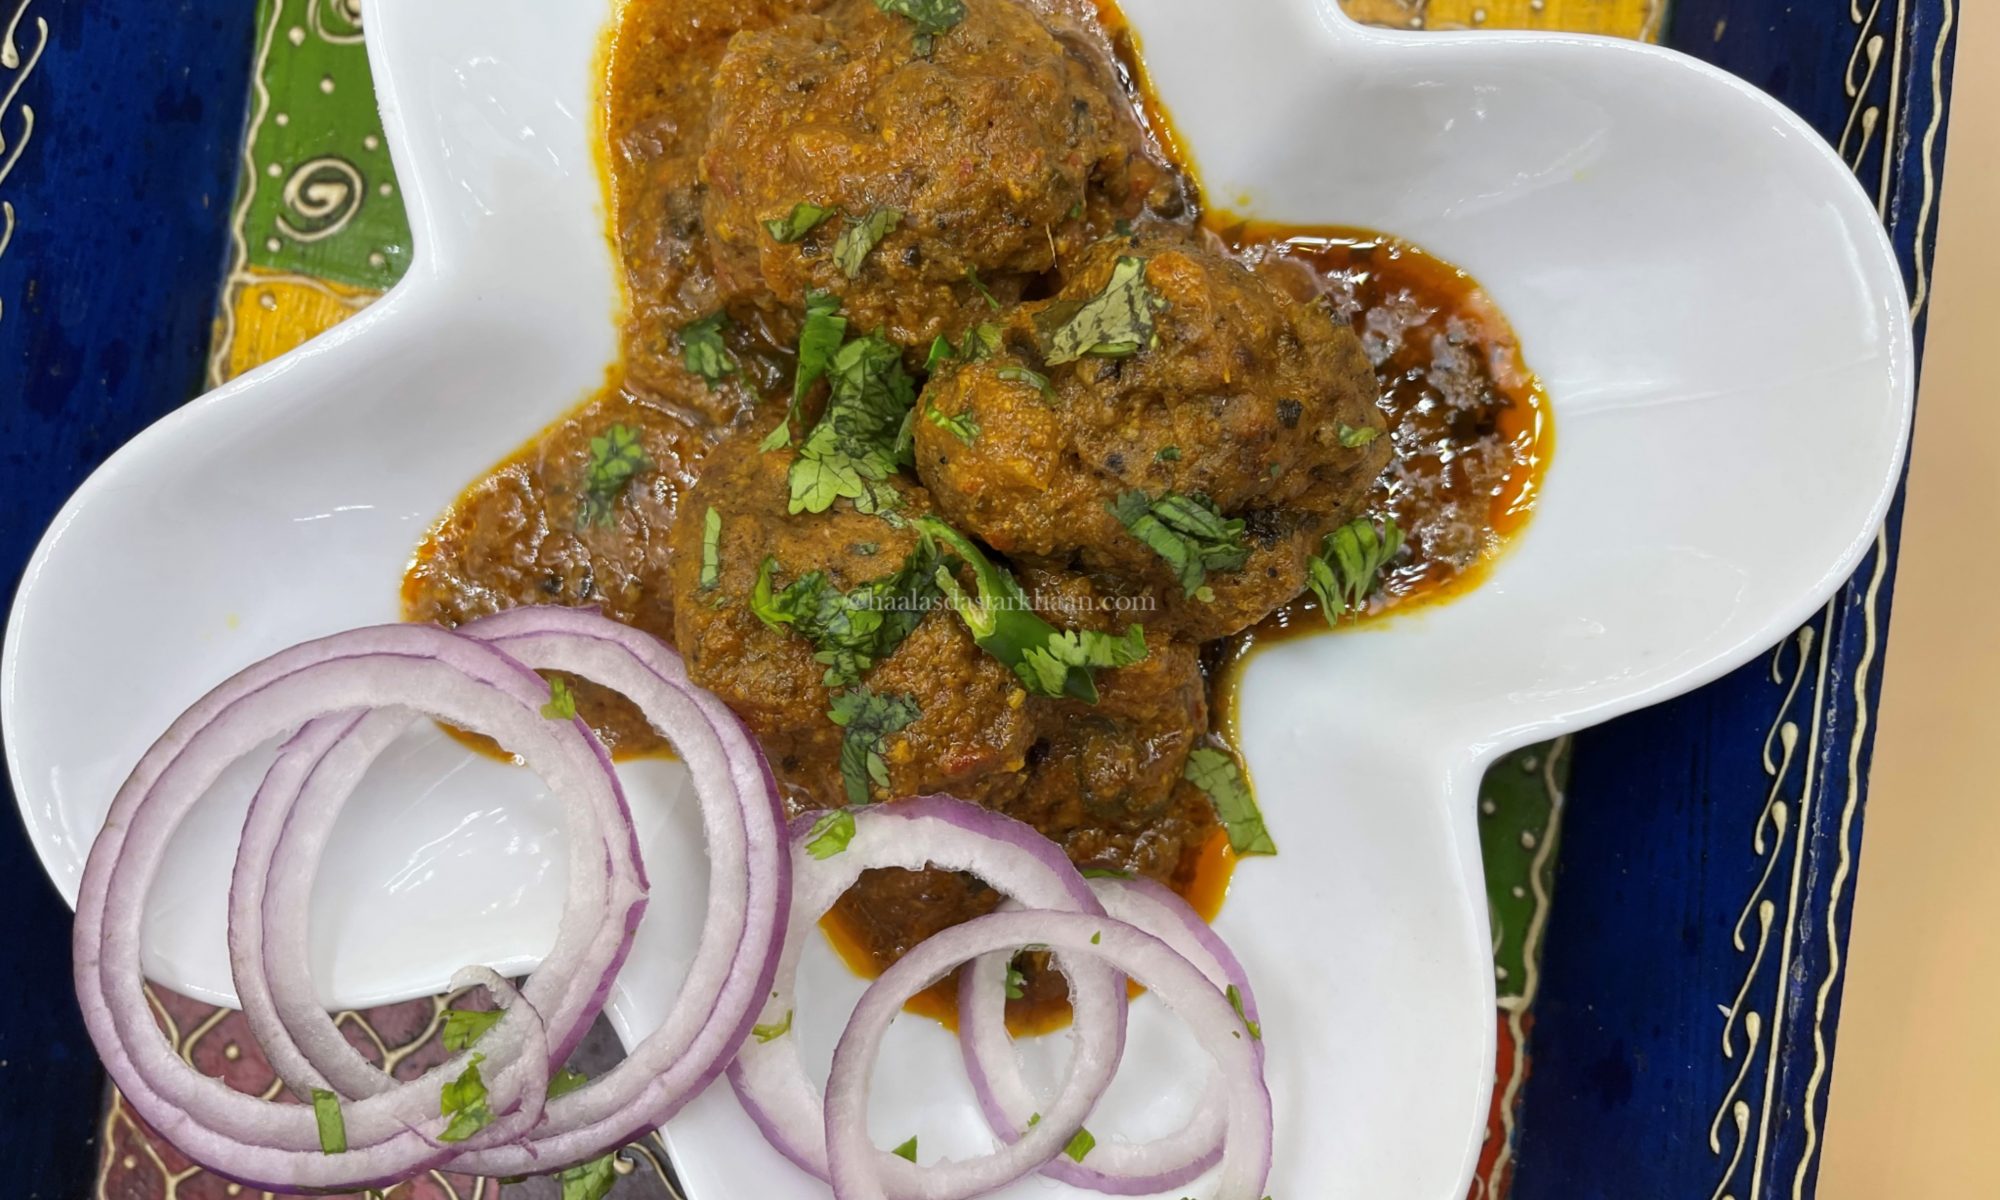
Mutton Kofta Curry

A Dish My Father Loved

Mutton Koftas—minced meatballs simmered in a rich, spicy gravy—were one of the special dishes my mother made when I was growing up. I remember the aroma filling our home, the warmth of the kitchen, and my father savoring every bite with quiet joy.

For me, it was a dish I liked, but never craved. It wasn’t something I’d ask for on my birthday or during celebrations. But for my father, it was comfort food. If you asked him to name a favorite, I’m certain Kofta Curry would be near the top of his list.

Even though it wasn’t my personal favorite, it became special because of him. It’s funny how food does that—how a recipe becomes a memory, a connection, a tribute.

Koftas: A Journey Through Empires and Kitchens

Koftas—minced meatballs seasoned with spices—have traveled far and wide, leaving their mark on countless cuisines. Though their exact origin is hard to pin down, the word kofta comes from the Persian kufta, meaning “to pound” or “to grind”—a nod to the preparation of the meat2.

While early Arab cookbooks featured lamb koftas glazed with saffron and egg yolk, it was the Mughal Empire that brought this dish to the Indian subcontinent, transforming it into a rich, spiced curry. In India and Pakistan, koftas evolved into a variety of gravies—bland, spicy, creamy—each tailored to regional tastes and ingredients.

Today, koftas are beloved across the Middle East, Balkans, Central Asia, and North Africa. From Turkish köfte to Greek keftedes, Moroccan lamb koftas to Indian nargisi kofta, each version tells a story of cultural exchange and culinary creativity.

Whether grilled, baked, or simmered in gravy, koftas remain a dish of comfort and celebration. And in your kitchen, Haala, they carry the added weight of memory—your father’s joy, your mother’s touch, and your own evolving relationship with the dish.

🍖 Bangalore Kofte: A Recipe Rooted in Love and Reinvention

After we got married, Mr. Parveez introduced me to Bangalore Kofte—a dish made with minced mutton, seasoned with spices, gently steamed, and then fried to perfection. These koftas are often served on their own, or paired with a warm parantha or roti. In our family, they’re a cherished part of Eid-ul-Adha celebrations, loved by everyone at the table.

Learning to make them was more than just mastering a recipe—it was a moment of connection, a passing down of flavor and tradition. But as my culinary journey unfolded, and I began exploring new dishes and revisiting familiar ones, I found myself drawn to reinterpret the flavors I grew up with.

So I returned to the kofta, this time through the lens of Kofta Curry—infusing it with the spices, textures, and stories I’ve gathered along the way. It’s a dish that reflects not just where I come from, but how far I’ve come.

And now, I’m sharing it with you. Because every recipe carries a memory, and every bite is a step in the journey.

Preparing the Mutton Koftas

Start with minced mutton and grind it further to achieve a finer texture. This helps the meatballs hold together better and gives them a smoother finish.

To this, add a flavorful paste made by blending fried onions, ginger-garlic, fresh coriander leaves, and a slice of bread. A spoonful of roasted chickpea flour goes in as well—both the bread and the flour help absorb excess moisture, making the mixture easier to shape.

Mix in your spices and ensure everything is well combined. Cover the mixture and refrigerate for about 20 minutes. This resting time allows the flavors to meld and makes shaping the koftas much easier.

The koftas shouldn’t be too spicy, or else the spicy koftas served with the spicy gravy become hard to handle. This dish might look difficult, and you might find the steps a little tedious to follow if you are a beginner, but if you follow the steps correctly, you can make this dish easily.

Cook’s Note

When preparing koftas, balance is key. If the meatballs are too spicy and the gravy is equally bold, the dish can become overwhelming. A gentle hand with the spices allows the flavors to complement each other rather than compete.

This recipe may look a bit intricate at first glance, especially if you’re new to cooking. The steps might seem tedious—but trust the process. If you follow each stage with care, you’ll find that it’s absolutely achievable. The result is a dish that’s rich, comforting, and deeply satisfying.

Good food isn’t about shortcuts—it’s about patience, intention, and love. And this dish is worth every bit of it.
Maa’s Tikka Boti

As the name suggests, this recipe comes from my Mother.

🥘 Maa’s Tikka Boti: A Taste of Home and Bombay’s Irani Cafés

At my mom’s place, it’s simply called Tikka Boti. But for me, it’s Maa’s Tikka Boti—a dish that carries the warmth of her kitchen and the flavors of a memory she brought back from Bombay. Years ago, she visited an Iranian café tucked into the bustling streets of Mumbai. That experience stayed with her, and somehow, it found its way into our family’s food.

This recipe is a tribute to that moment. It’s bold, smoky, and deeply satisfying—perfect for non-vegetarians who love their meat tender and their spices unapologetic. And while kheema paav from those cafés holds a special place in my heart, it’s this tikka boti that feels like home.

A Roll, A Memory: Maa’s Chicken Creation

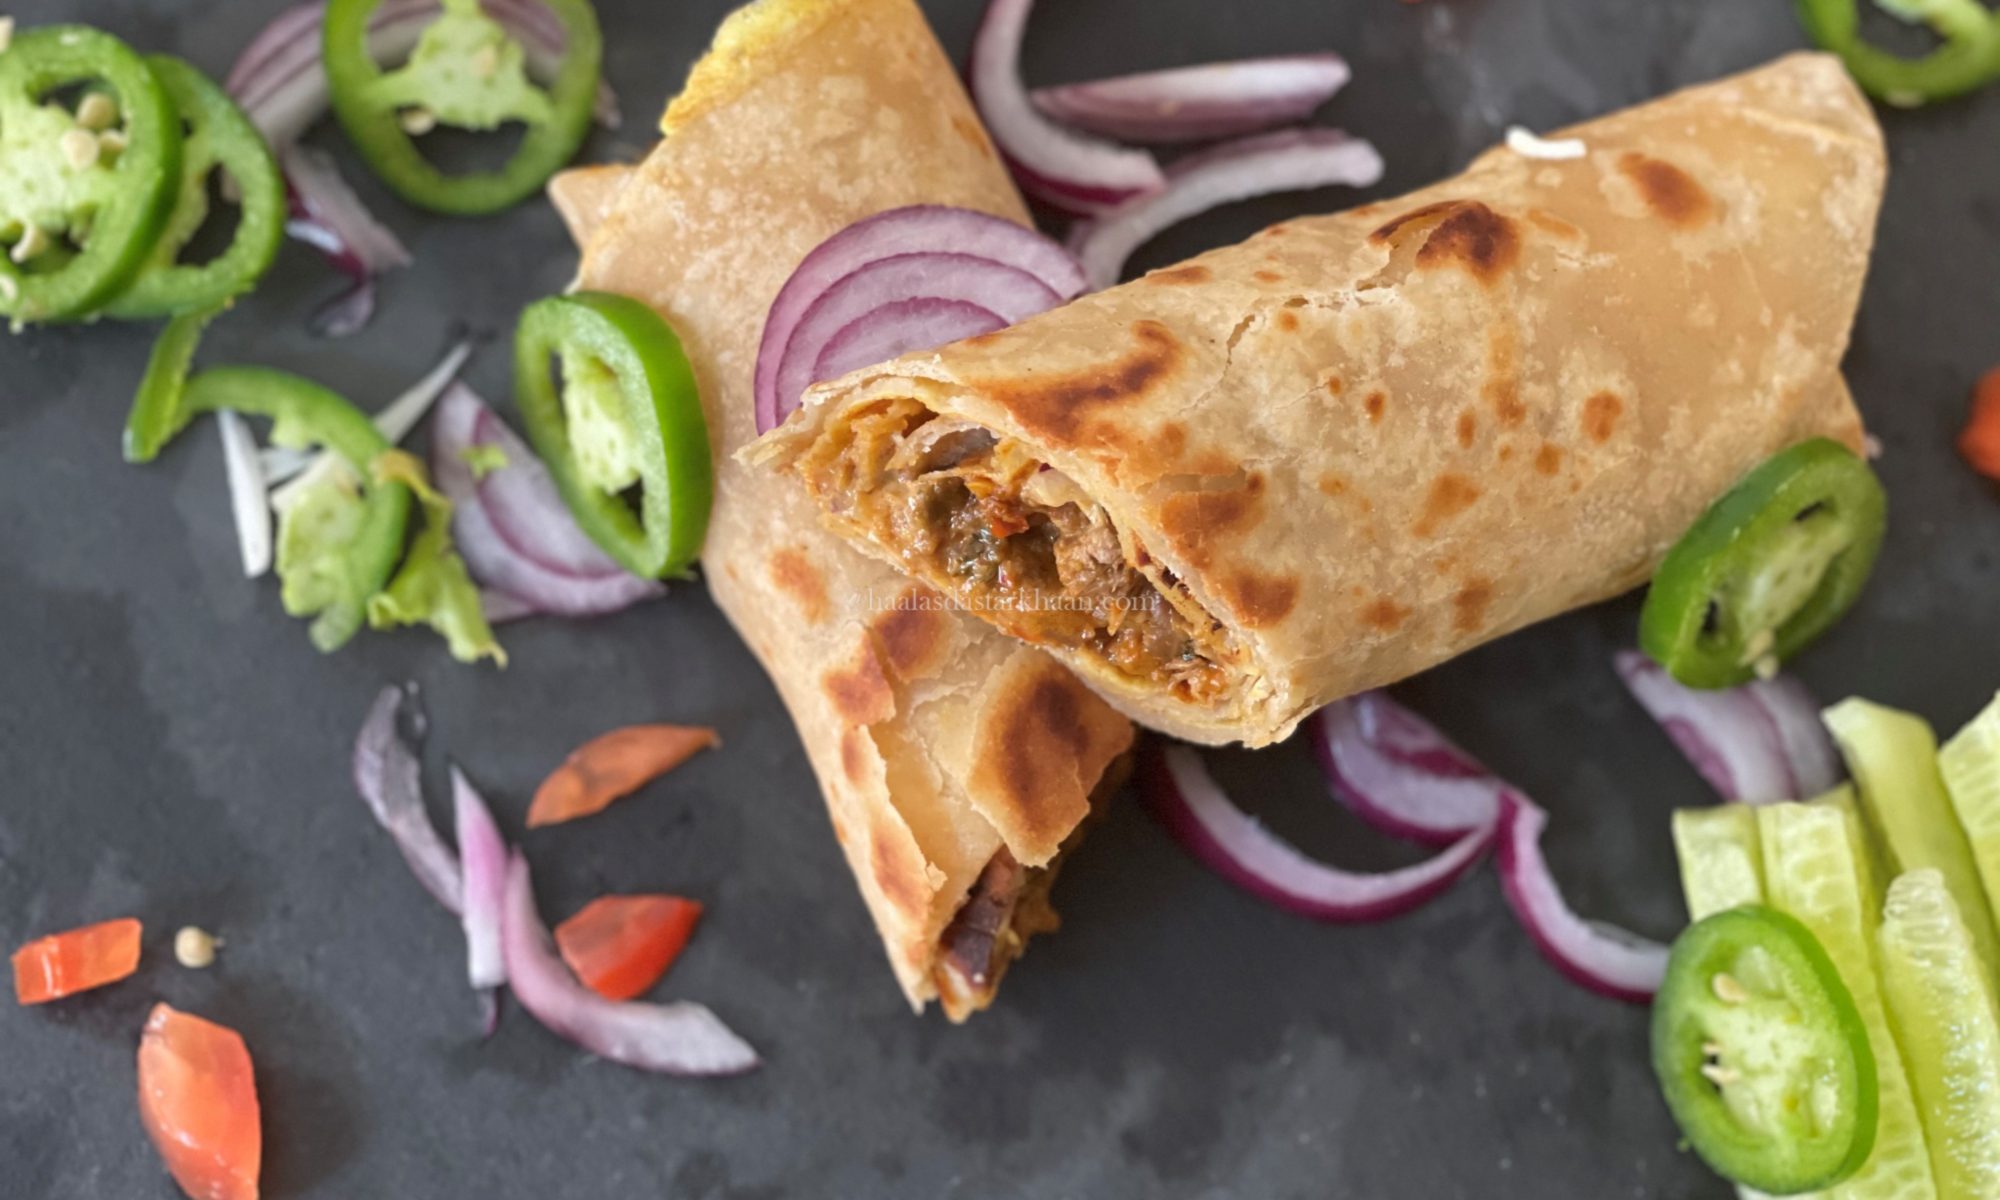
It started with a bite in Bombay—my mom, on vacation, tried a chicken roll at an Iranian café. She couldn’t ask for the recipe, but she carried the flavor home in her memory. What followed was years of trial, intuition, and love. Her version became a dish I adored, but it was never made casually. It was reserved for get-togethers, for moments when her effort would be acknowledged, when the kitchen’s heat—literal and emotional—felt worth it.

Growing up in Rajasthan, cooking wasn’t just about ingredients. It was about navigating 45°C summers in kitchens without air conditioning, stretching resources, and still managing to create something unforgettable. That chicken roll wasn’t just food—it was her triumph.

Maa’s Chicken Roll – A Taste of Home, Made Simple

From my mother’s kitchen to yours, this roll is a tribute to flavor, memory, and love. Inspired by an Iranian café in Bombay and perfected over years of intuition, this dish is rich, satisfying, and surprisingly easy to make.

🧄 Ingredients:

  • Boneless chicken (250g), marinated in ginger-garlic paste, red chili powder, turmeric, and salt
  • Onions, thinly sliced
  • Green chilies, chopped
  • Freshly ground spice mix (dry roasted and blended)
  • Ghee or oil for cooking
  • Rotis (store-bought or homemade)
  • Eggs, whisked with a pinch of salt

🔥 Method:

  1. Marinate the chicken for at least 30 minutes.
  2. Cook the chicken with onions, chilies, curry leaves, and your spice mix until semi-dry and aromatic.
  3. Prepare the rotis: If using store-bought, spread whisked egg on one side and fry on both sides until golden.
  4. Assemble the roll: Place the chicken filling inside the egg-fried roti, roll it up, and serve hot.

🍽️ Serving Suggestion:

Perfect for get-togethers or cozy dinners. Pair with mint chutney or a simple salad for a complete meal.

Is this dish different from Kathi Roll?

Exactly—and that’s the beauty of regional food traditions. Even dishes that seem similar on the surface, like rolls or wraps, carry distinct identities shaped by technique, texture, and taste 🌯✨.

Kathi rolls, especially the Kolkata-style ones, often use a flaky, layered paratha that’s pan-fried with egg poured directly onto it while cooking—creating a rich, crisp exterior. The filling is typically spicy chicken or paneer, accompanied by onions and sauces that add tang and heat.

My mother’s version, inspired by an Iranian café, sounds more delicate and home-style—less about street food flash and more about depth and comfort. The egg-brushed roti is a clever adaptation, and it gives the roll a softer, more tender bite compared to the crispiness of a Kath roll.

I appreciate both for what they are. Would I ever consider writing a piece that compares these two styles—my Maa’s roll and the Kathi roll—as a way to explore how food reflects place, memory, and innovation? I’d love to do that someday, maybe.

This isn’t just me sharing the love of this dish, but the memories with my mother and the love she poured into everything she cooked, and the flavor I always feel, no matter how hard I try, is never like hers. I guess that’s how we all are with food cooked by our mothers.

This dish is great for school/office lunches, and an easy road trip lunch/dinner.

Andhra Shrimp Dry

Shrimp seem to be everyone’s favorite. But my first bite was a disaster. I was eight, visiting family friends in Mumbai—Bombay, back then. They served shrimp curry for dinner. The flavor was mild, almost timid, but I hated it instantly. One bite in, and I was running to spit it out. Right there, I swore I’d never touch shrimp again.

That promise held for years. Growing up in Jodhpur, seafood was never really on the table. Fresh catch was a rarity, and shrimp didn’t exist in my world at all.

It wasn’t until my early twenties, back in Mumbai with my parents, that everything changed. My father took me to a small restaurant in Juhu and ordered tandoori shrimp. Reluctantly, I tried it. Oh my God—what a revelation. Smoky, spicy, charred just right. In a single bite, all those bitter childhood memories were erased. I was in love. To this day, I thank my late father for insisting I give shrimp a second chance.

Years later, after I married and moved to the U.S., shrimp became more than a dish—it became a staple. As Muslims, our meals were halal or seafood, and shrimp quickly took center stage. I started experimenting in my own kitchen: pasta tossed with shrimp, sandwiches, wraps, rolls. Before long, I was simmering shrimp curries and skewering shrimp kebabs. Each new recipe felt like another chapter in a love story that had once begun with such a rocky start.

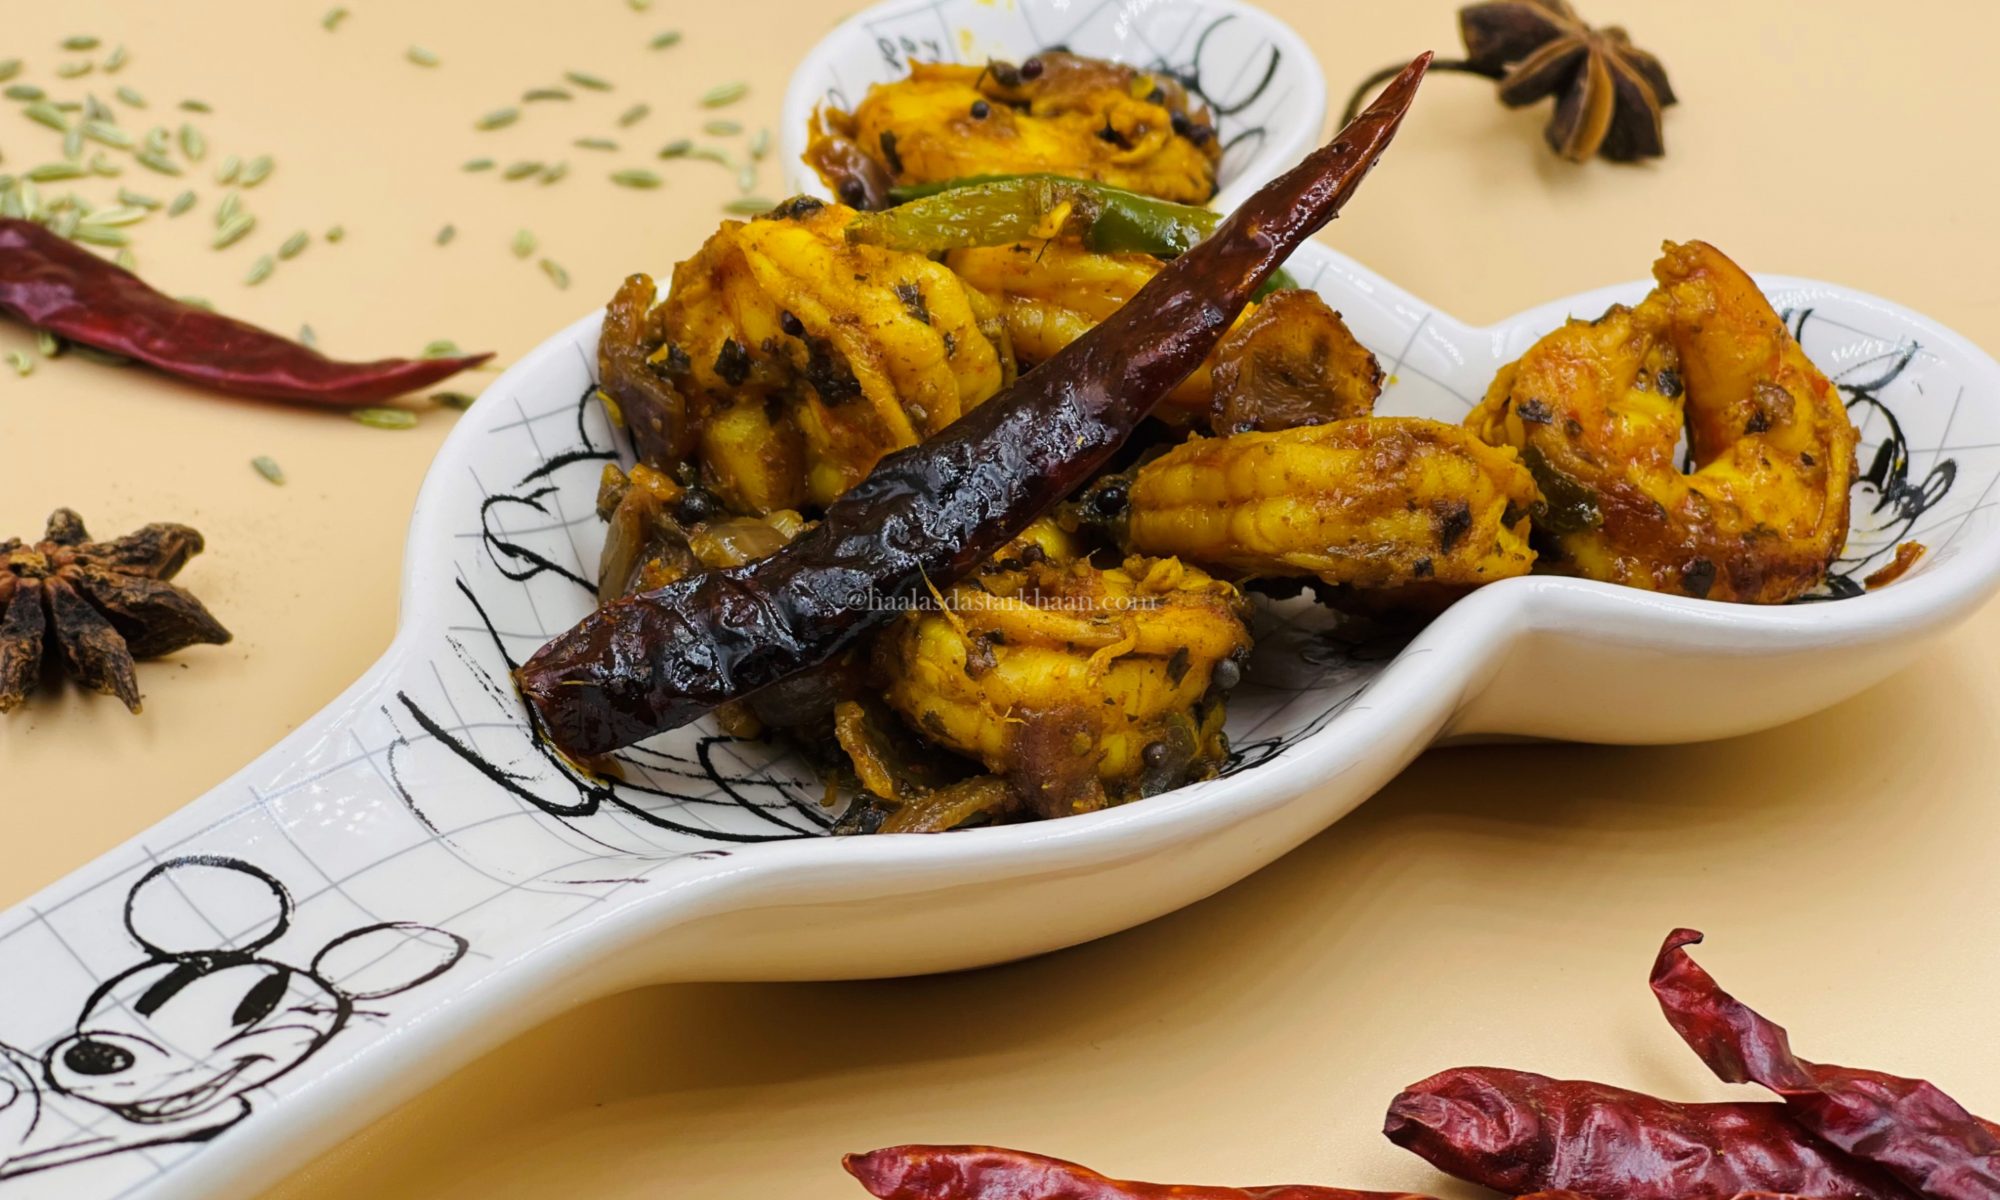
One of my favorite ways to cook shrimp now is Andhra style. It’s spicy, crispy, and absolutely delicious. I go heavy on curry leaves, mustard seeds, and dried red chilies, layering in all those bold flavors. The result is a dish that’s simple to make but bursting with character. It pairs beautifully with daal chawal—comfort food elevated by a punch of heat and crunch.

Laal Maas

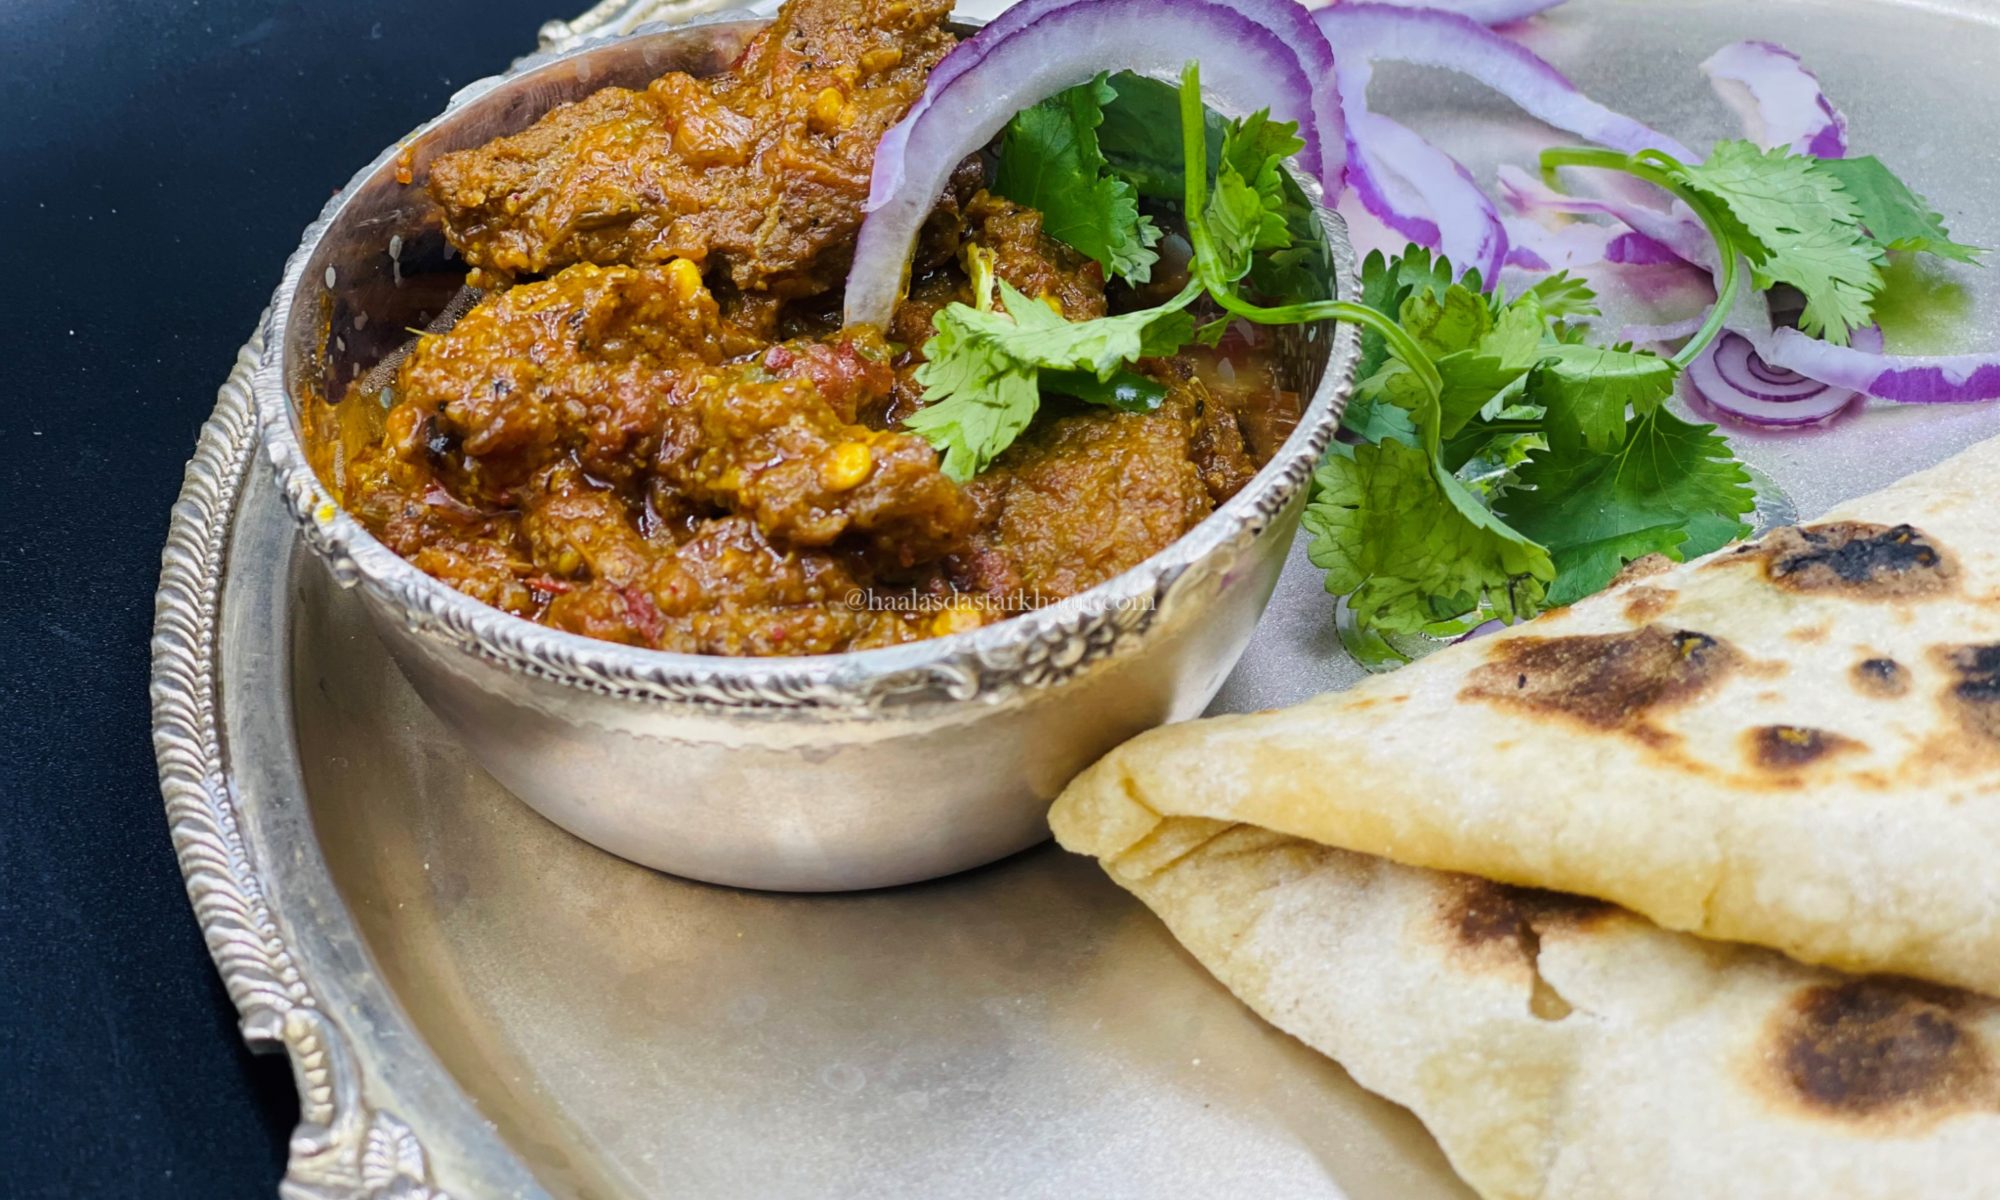
Laal Maas is a traditional dish from my hometown, Jodhpur. It traces its roots back to the royal kitchens of the Rajput families, where it was considered a specialty. The dish was often prepared with the meat from animals hunted by the royals themselves—a bold, fiery curry that reflected both their adventurous spirit and love for rich flavors.

Laal Maas is still incredibly popular today. From the royal kitchens, it has made its way into restaurants across Jodhpur, where chefs continue to prepare it in their own styles—adding subtle twists while keeping the recipe close to its original roots.

This is my version, inspired by the many places where I’ve tasted Laal Maas and the flavors that stayed with me.

Many people from outside Rajasthan assume that Laal Maas is a common local dish, cooked regularly in every non-vegetarian household, especially among the Muslim community. But that’s not the case. In reality, Laal Maas belongs to the royal cuisine of Jodhpur, a legacy of the Rajput kitchens rather than a part of everyday home cooking.

I usually boil the mutton pieces before starting the curry. It not only cuts down the overall cooking time but also helps the meat absorb the spices better. The result is tender, juicy mutton that’s rich in flavor and perfectly spiced in every bite.

This curry is made with ghee—oodles of it! In Rajasthan, we take great pride in cooking our rich, traditional dishes with generous amounts of ghee. It adds a deep, distinct flavor that defines our cuisine.

That said, I like to mix a little oil with the ghee. These days, it’s not always easy to cook—or digest—food made entirely with pure ghee. But if you’re brave enough (and not counting calories), go ahead and cook it the authentic way, using only ghee. And if you’re more health-conscious, like Mr. Parveez, you can use just oil and add a teaspoon of ghee at the end for that signature aroma.

This recipe is relatively easy to make and can be prepared by beginners, with truly delicious flavors.

Paav Bhaaji

I still remember when the trend of Pav Bhaji first came to my town. I was in elementary school, and I absolutely loved the flavors—and so did everyone in my family. It was funny how suddenly Pav Bhaji became everyone’s favorite dish overnight.

I never got the chance to try it at a roadside stall, though I always wanted to. Back then, in the small town I grew up in, it wasn’t considered proper for women to stand and eat at street-side eateries. Writing this now makes it sound like it was ages ago, but really, it’s just been a few decades. What amazes me most is how much my town has changed—it’s exciting, and a little scary too.

Small cities have their own kind of magic. People are friendlier, they have more time, and somehow, everyone knows everyone. Back then, I could walk a mile and meet fifty familiar faces. Today, I might still meet the same number—but that warmth, that sense of closeness, feels a little lost.

Anyway, coming back to Pav Bhaji—my father would always bring it home as a takeaway, and we would all love it to the core. Eventually, my mother started buying Pav Bhaji masala and making it at home, and that’s when homemade Pav Bhaji became a family favorite. The Pav Bhaji masala I use even today is my mother’s recipe—simple, flavorful, and full of memories.

I’ve tried my hands at Pav Bhaji multiple times and have loved every bite of it each time. While my mother always added a mix of vegetables like cauliflower and carrots to her Pav Bhaji, I prefer keeping it simple with just potatoes and bell peppers. It makes the flavors more reminiscent of the original, street-style Pav Bhaji that I first fell in love with.

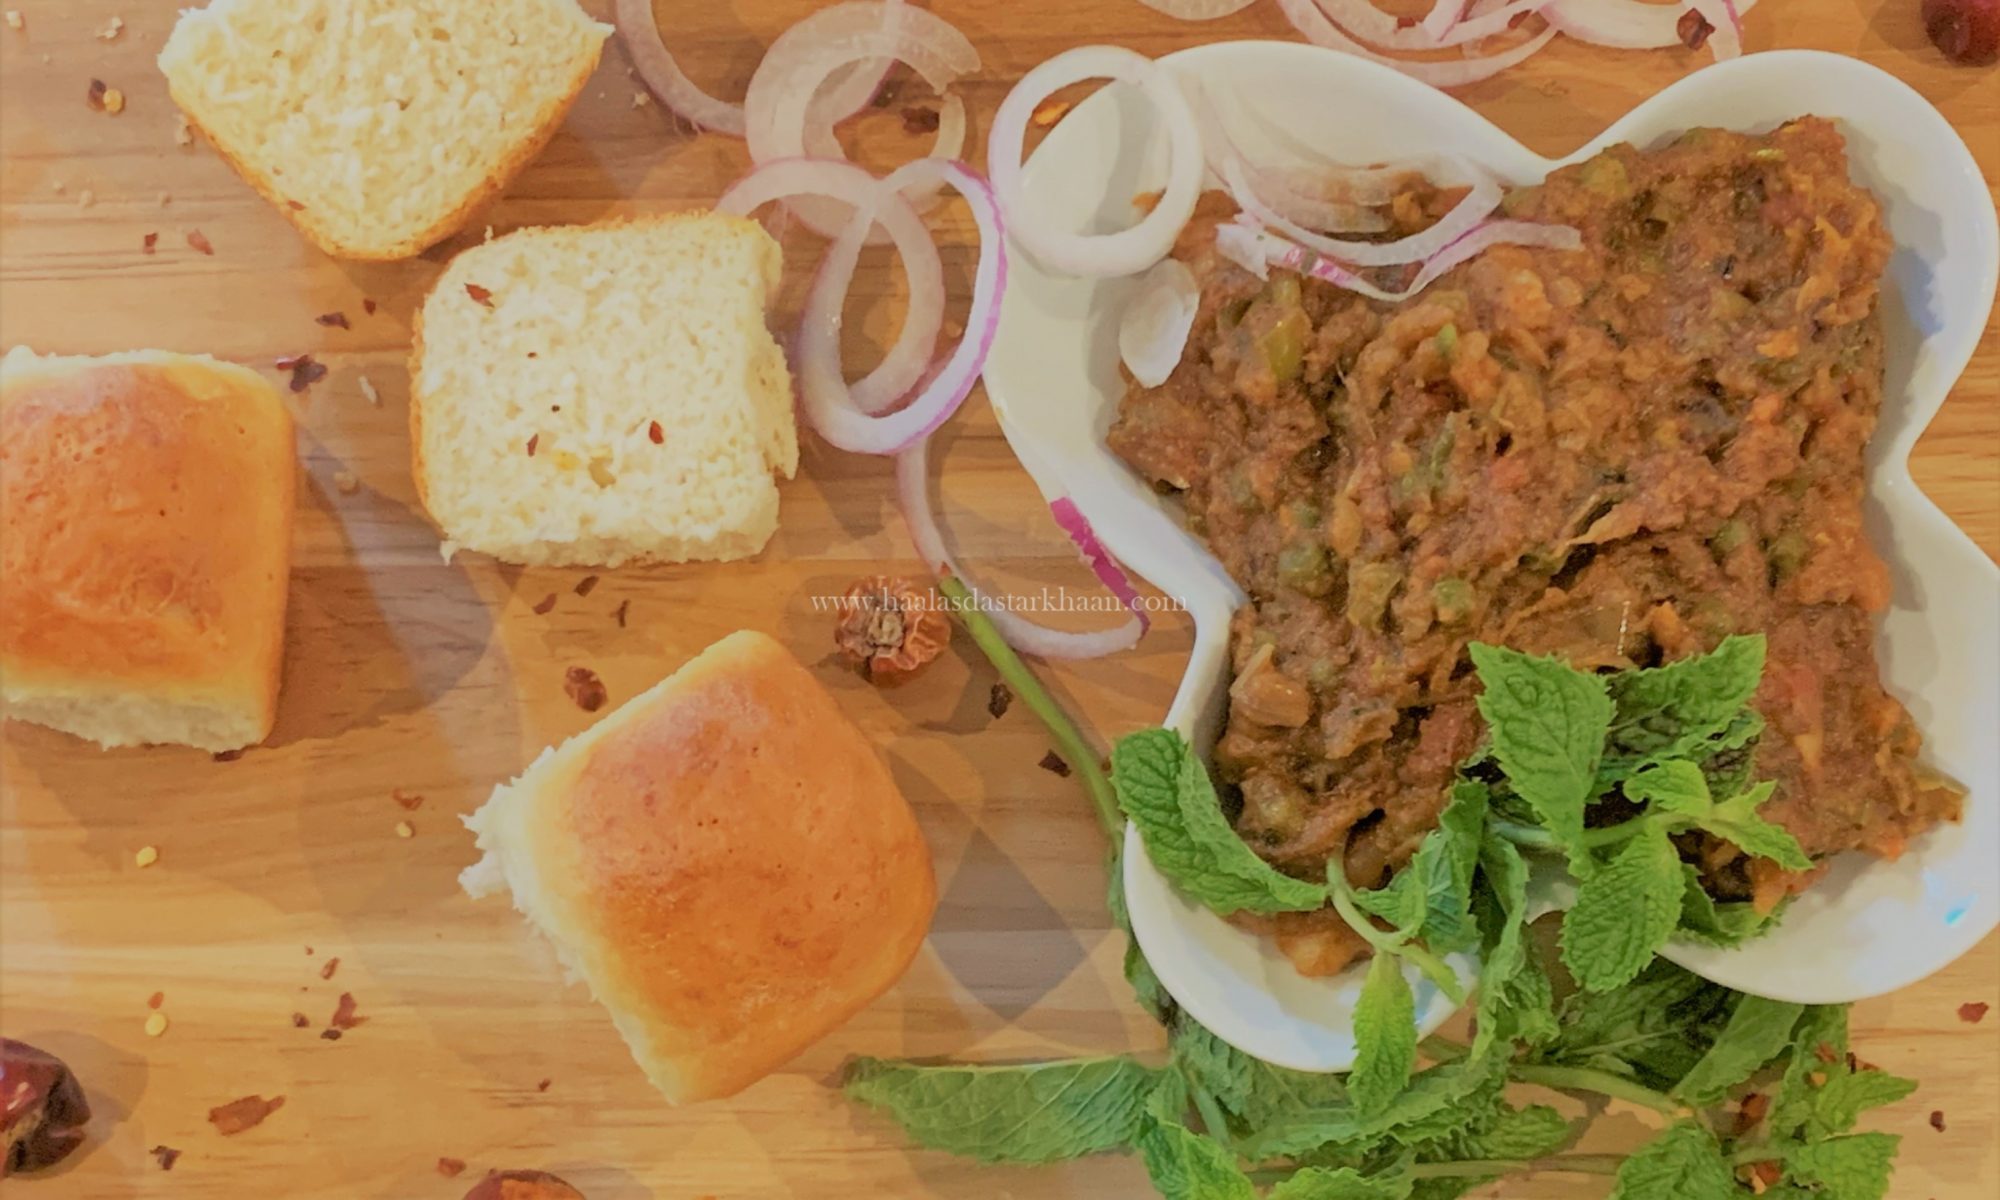
The Paav are also homemade. They are pretty easy as well. If you follow the recipe properly, you will be able to make these pillow soft amazing buns at home. You can serve the buns with anything, but as Paav with Bhaaji, they just seem to taste super amazing. To make them taste more delicious, split the buns, spread some butter and sprinkle some Paav Bhaaji masala on them and toast them on the Tava/ Pan.

Click and make your own Paav at home

Homemade Buns / Paav – Haala’s Dastarkhaan

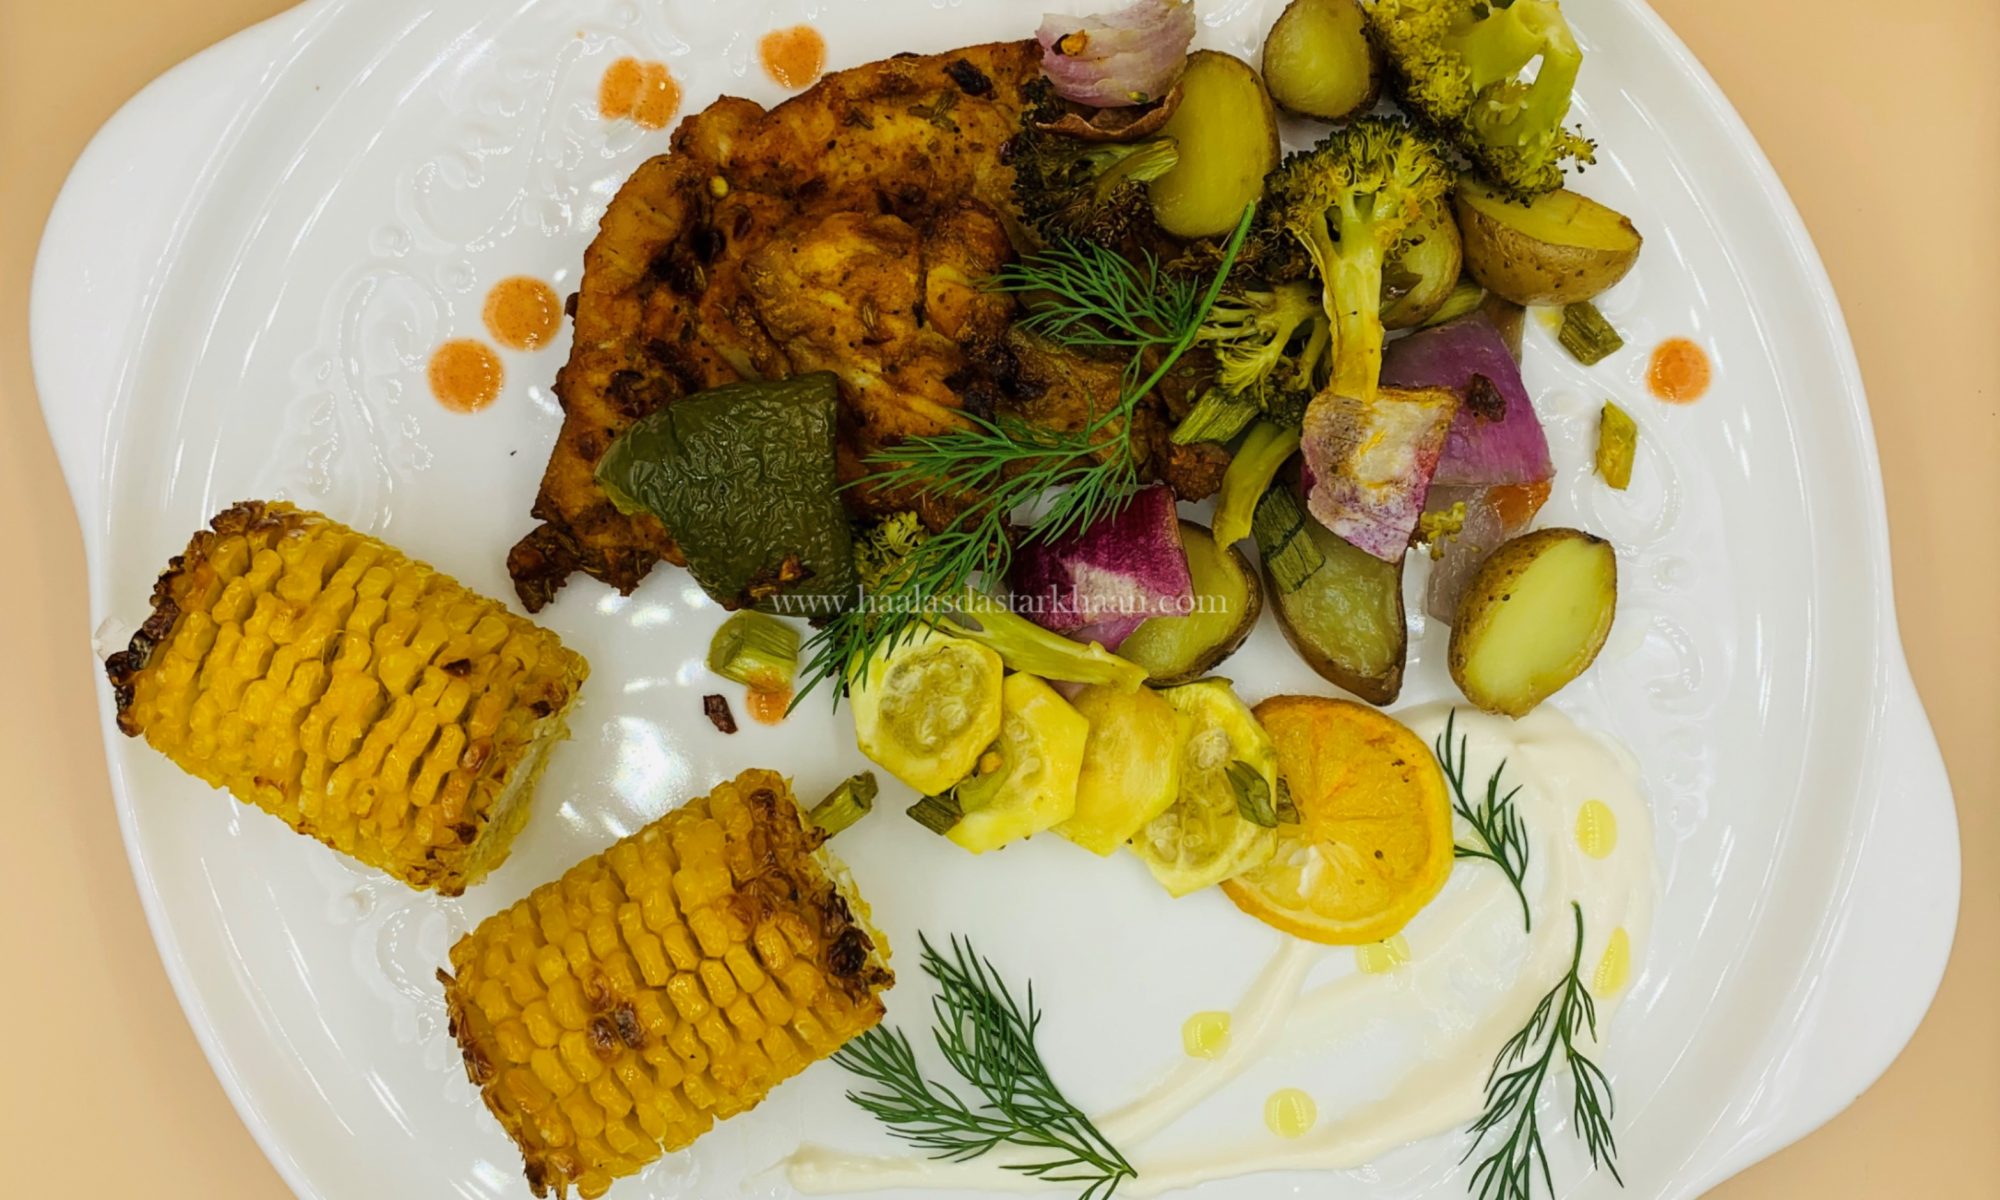
Chicken Veggies oven special

With all the different kinds of foods that we consume, at times you just feel that your tummy needs a break. You feel you need more veggies, less oil, fewer carbs, in all just a healthy meal. But, the problem that people like me face is that we also need something that tastes scrumptious and good along with all the health benefits.

Specially, if you have children as demanding as mine, you basically fight a battle. When the demand is to make veggies look more appealing and to make their protein go leaner without them noticing. That’s when dishes like this are invented.

This Chicken is marinated with spices making it flavorful. The spices can always be switched or played around with. I added Tandoori powder and Red chili powder to make the flavors a little more spicy, but you can always reduce the quantity or omit the spices altogether. I find this a great recipe for easy lunch and dinner.

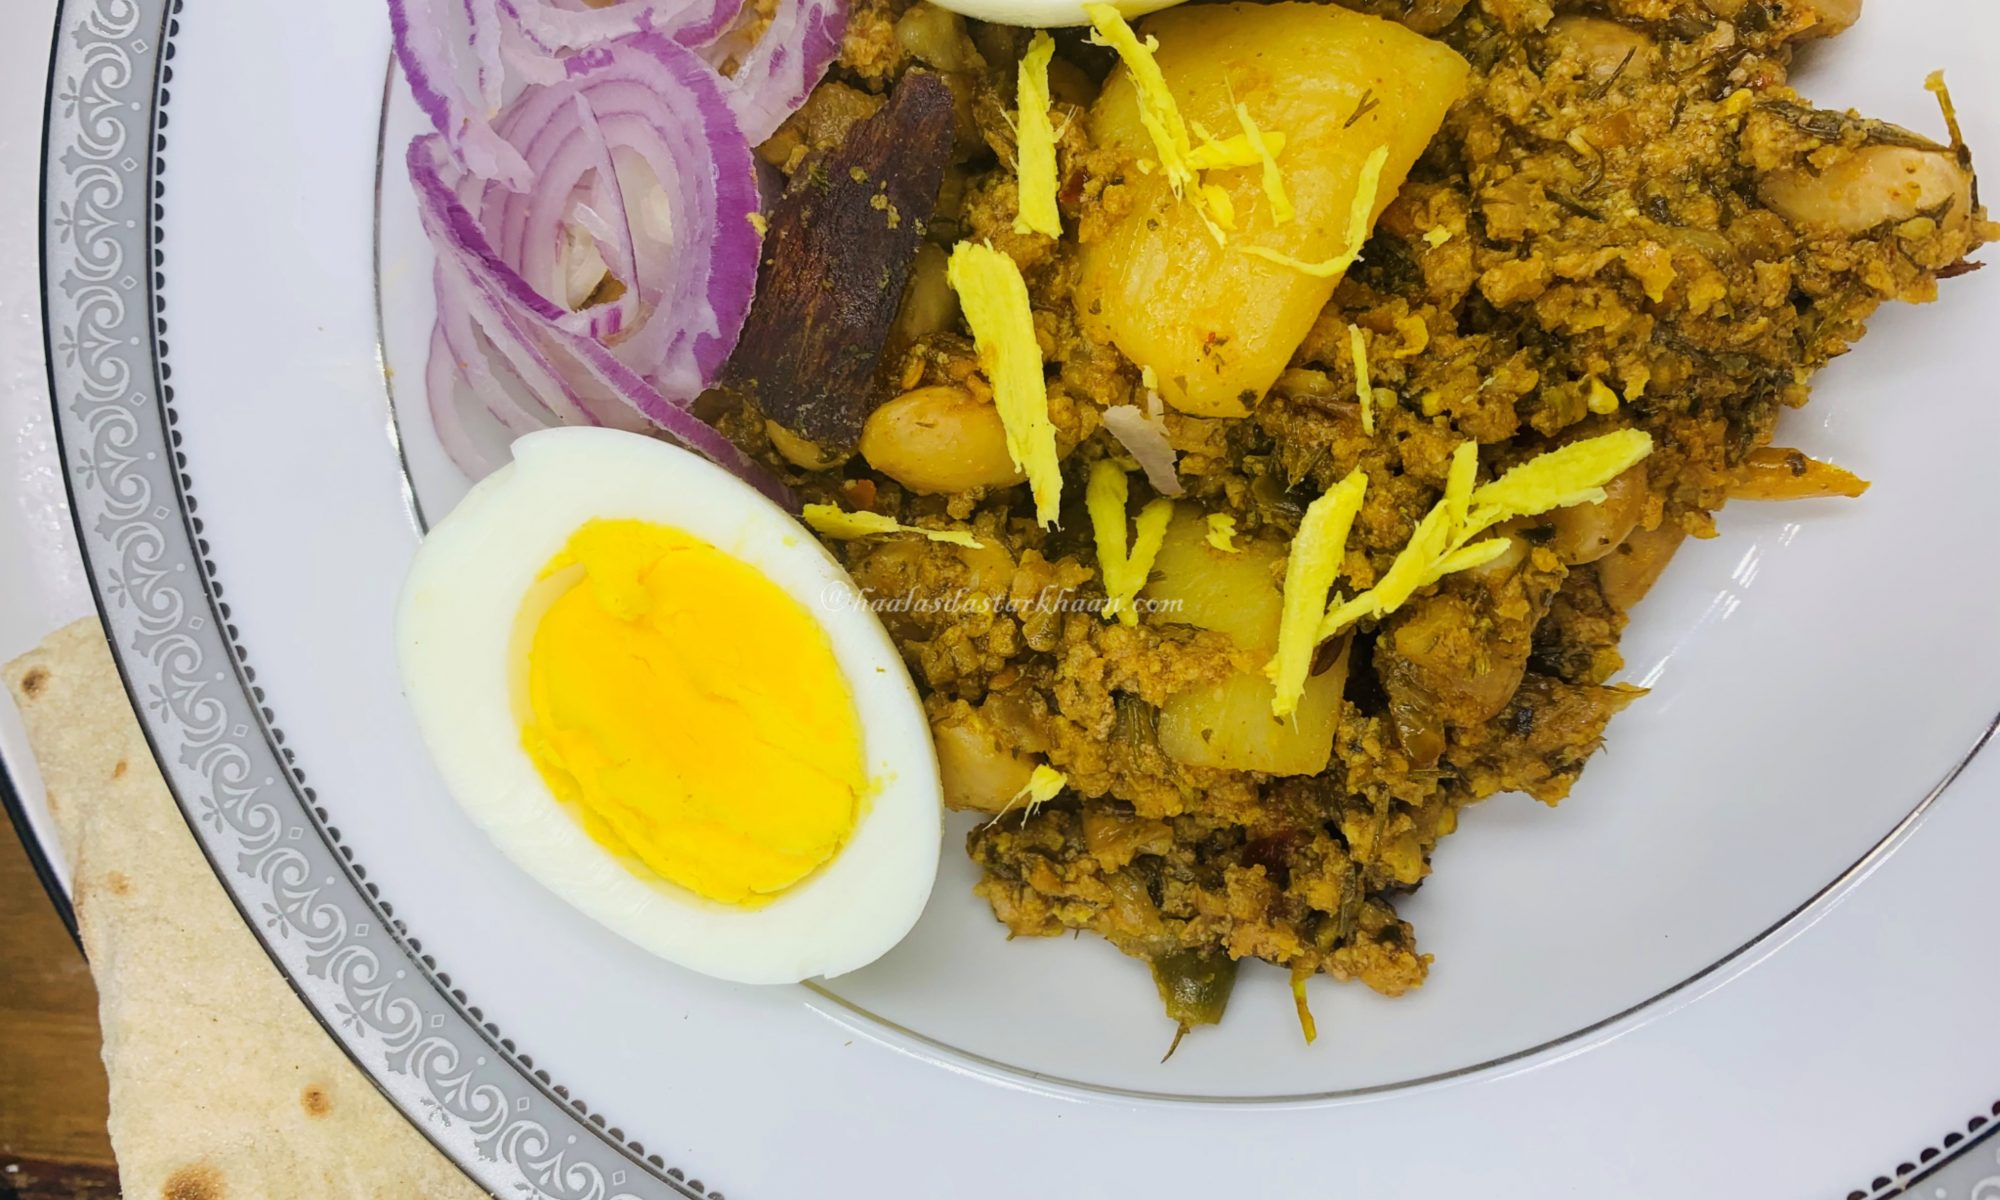
Bangalore Muslim Kheema

Kheema curry can be made in so many different styles. Growing up in Rajasthan, I had either tried the Kheema made at home by my Mom, which was a must for picnics and Road trips. My mom would made Kheema with Aaloo and Kheema with matar. There were never Kheema made with multiple vegetables together. I heard my mother also mention that my grandmother enjoyed adding cauliflower to Kheema, which I don’t remember trying it and honestly could’t get myself to making it since Mr. Parveez isn’t a cauliflower fan.

And then came Kheema curry that we would eat in Puraani Dilli, Jama Masjid area for breakfast when we went to Delhi and one of my other favorite was Mumbai Kheema Paav. I will be posting that recipe soon along with the recipe of the Paav. Both of those were my absolute favorite and I would look forward to them. Hot Tandoori Roti in Delhi as an early morning breakfast with Kheema, Nahari or Paaye makes anyoone’s morning special. Mumbai Kheema Paav on the other hand has Tomato base and mostly made of Chicken.

But this recipe is completely different from all of them. This recipe comes from Mr. Parveez’s family and its a recipe that most Bangalore Muslims make for Kheema. The recipe comes from Mr. Parveez’s Mom to us and we proudly call it “Ammi wala Kheema”. So, basically its chopped onions cooked with some whole spices in oil/ghee, with Ginger garlic paste, Goat Kheema, spices and tomato. Along with all these, there are a ton of veggies that make their way to this Kheema, potatoes, Beans, Fenugreek leaves and Dill leaves. This Kheema recipe is great for Breakfast, but tastes great even for Lunch and Dinner.

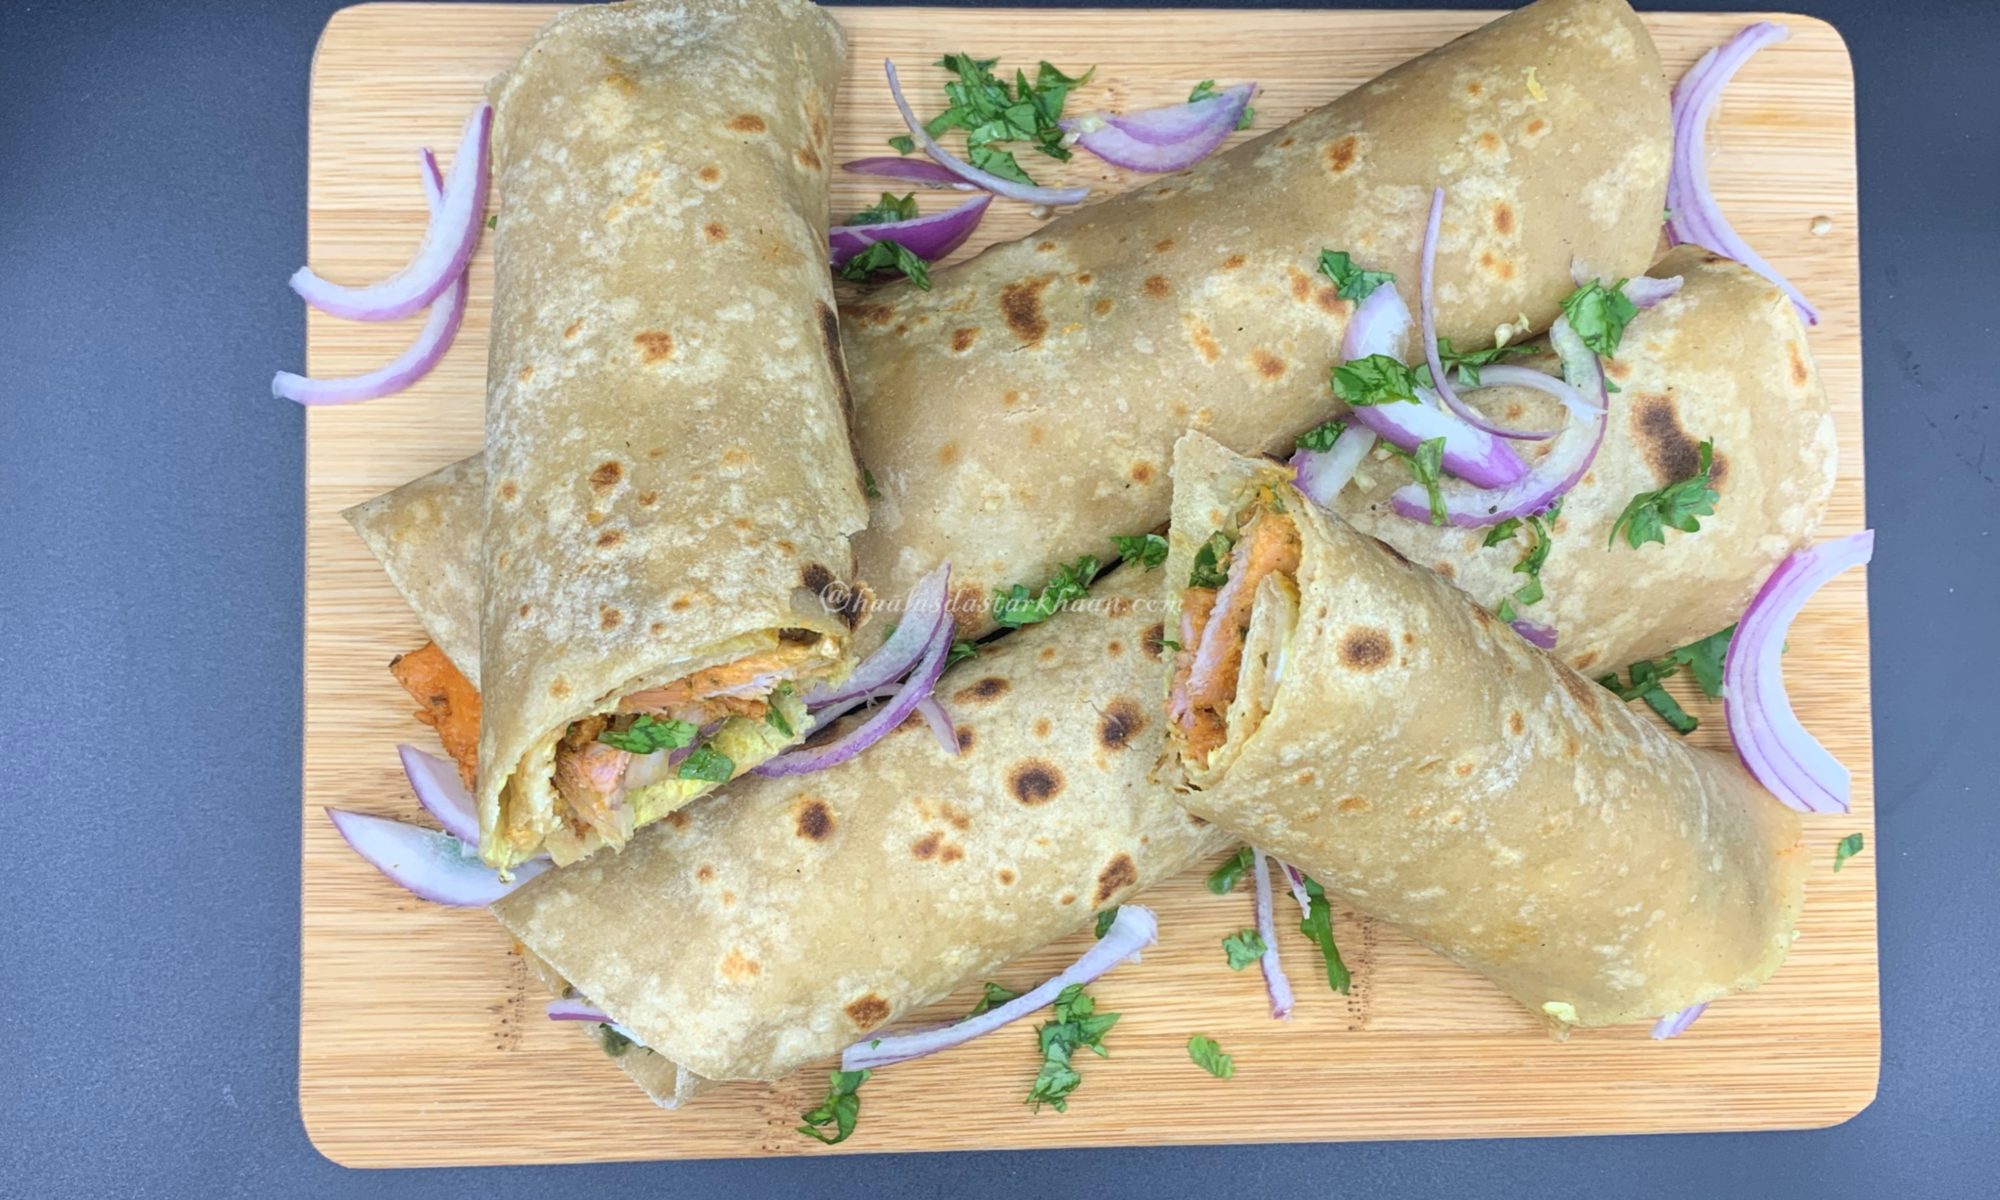
Kolkata Chicken Roll

We love Chicken rolls. Those of you who read my blog and follow my recipes would know that I love different styles of Chicken wraps, be it a Chicken Roll or Burrito or Tacos. I think the love for Chicken rolls came from my Mom. During one of her trips to Mumbai, she had tried some Mutton Tikka boti rolls at a Parsi eatery and tried reinventing them at home which is actually loved by the whole family.

So, when I came across a wonderful pictures of Kolkata Chicken Roll, I had to give it a try. The flavor of Kolkata roll is not just different, it actually bombards your taste buds with a joy ride of different things. From what I have read, its pretty renowned and a popular street food in Kolkata. Though I have never been to Kolkata, there is something about the food and culture that connects me to it and I find it amazingly attractive. Recipes like this are so easy and fuss free that while it connects you to your roots, which is just so important for people like me who live so far off from their home country, but also makes it easy for your kids to eat. Its healthy, nutritious and perfect for on the go too.

I grew up eating and loving my mother Tikka Boti Roll, which she initially only made with meat but then also started making with Chicken and I loved both. I have always been a fan of being able to make something that was good for road trips. See, some trips allow you to stop by at hotels on the way, but not all and for those trips or those after game hunger pangs while you might be stuck in heavy traffic, these are the recipes that just don’t come handy but also are flavorfully satisfying.

I marinated the Boneless Chicken with Salt, Ginger garlic paste, Lemon Juice and Yogurt. Spices I used were Fenugreek leaves, Tandoori powder, Red chili powder, cumin powder and fennel powder. Chicken can be marinated and left in the refrigerator overnight but if you are short on time, it can also be marinated for 30-45 minutes.

This recipe might not be exactly same as what you might have experienced in Kolkata, if you have been lucky enough to try the street food there, but after the numerous trials and efforts made by me and going through uncountable recipes of different kinds, I managed to stick to this one for the Kolkata Chicken rolls. I am not too sure how the Chicken rolls are different from the Kolkata egg rolls, but my mom would always spread some egg was on the Roti and fry it for the Tikka Boti so I did the same thing for my recipe and I feel the taste is deliciously enhanced. This recipe is inspired by numerous flavors that I have tried all my life and I feel with the numerous trials that I have made, I am able to give this dish a flavor different from my regular Chicken rolls. Hope you try it, like it and enjoy it as much as my family and I do.  

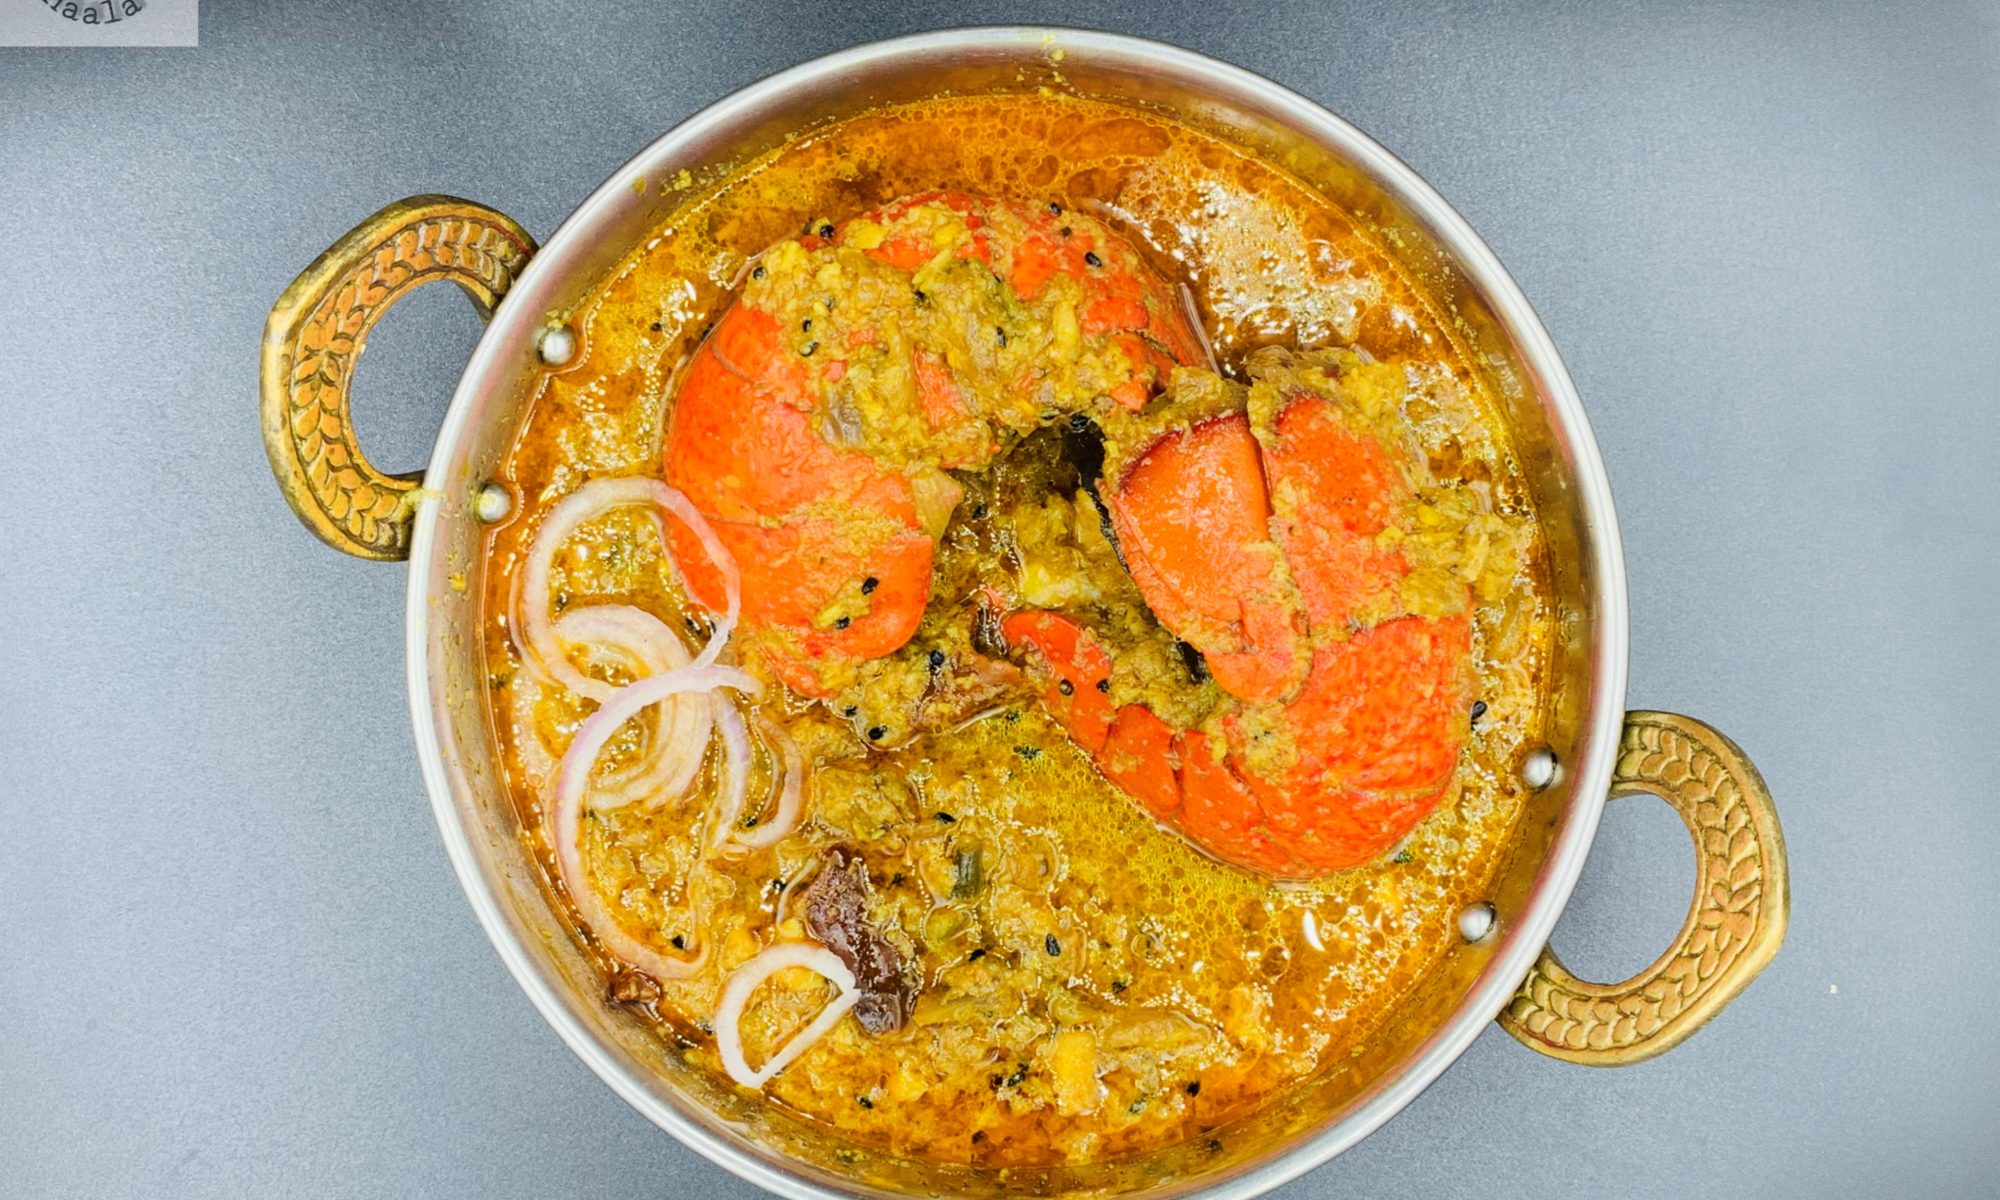
Lobster Curry

My love for Lobster curry began in 2012 on our first visit to Kerala. We stayed in a houseboat in Alleppey. The backwaters with the perfect weather in Kerala. We were their around the Christmas time and I feel that that’s the best weather to visit Kerala. During our visit and stay at the houseboat, the host made amazing Kerala cuisine including loads of varieties of seafood. That’s where I tried Lobster curry for the first time.

I had tried Lobsters before at loads of seafood restaurants but they were all mildly cooked and had no spice except garlic and salt. The Lobster curry was beyond my expectations and outstandingly delicious. The houseboat had 3 guys responsible for cleaning, cooking and maintenance. Being there was one of the best vacations we ever had. The weather, the backwaters, the walks in the greenery and the hospitality all made our stay memorable.

Now after tasting the awesome Lobster curry, I had to request for the recipe and our host gladly gave it away. Thought the recipe given was rough but it was enough for me to understand and make this super delicious recipe.

The original recipe is made using coconut oil. I made mine in Olive oil since I don’t use coconut oil. I don’t think it makes much difference to the recipe, except making it less coconuty. Since I add coconut milk as well, it adds a perfect flavor to compliment the rest of the ingredients, but you can always cook in coconut oil if you prefer. There are few changes as well that I made to the recipe and therefore I cannot really call it a dish from Kerala.

I clean the Lobsters at home if I have to order them for home delivery, which of course is a preferred source these days, but usually if you happen to go to the Fish market and pick your own Lobsters, you can always have them cut the claws and cut it from the middle. I partially boil my lobsters with Turmeric powder and salt so they don’t smell musky. Then to cook the curry, I add Black seeds and curry to the oil followed by onions. Once the onions turn transparent, add Ginger Garlic paste along with spices and fennel powder. I think fennel powder adds a lot of freshness to a dish, specially when its seafood. Add coconut milk or coconut puree along with Tomato Puree and once everything blends and comes together, add the Lobsters and let it cook for another 10-12 minutes and your curry will be ready.

The Lobster curry seems difficult and hard to make but honestly, it takes less time than a chicken curry and looks super fancy on the dining table. This recipe can be used for cooking Crabs as well. You can always substitute Lobster with crab. Hope you enjoy cooking this dish and love it as much as my family and I do.

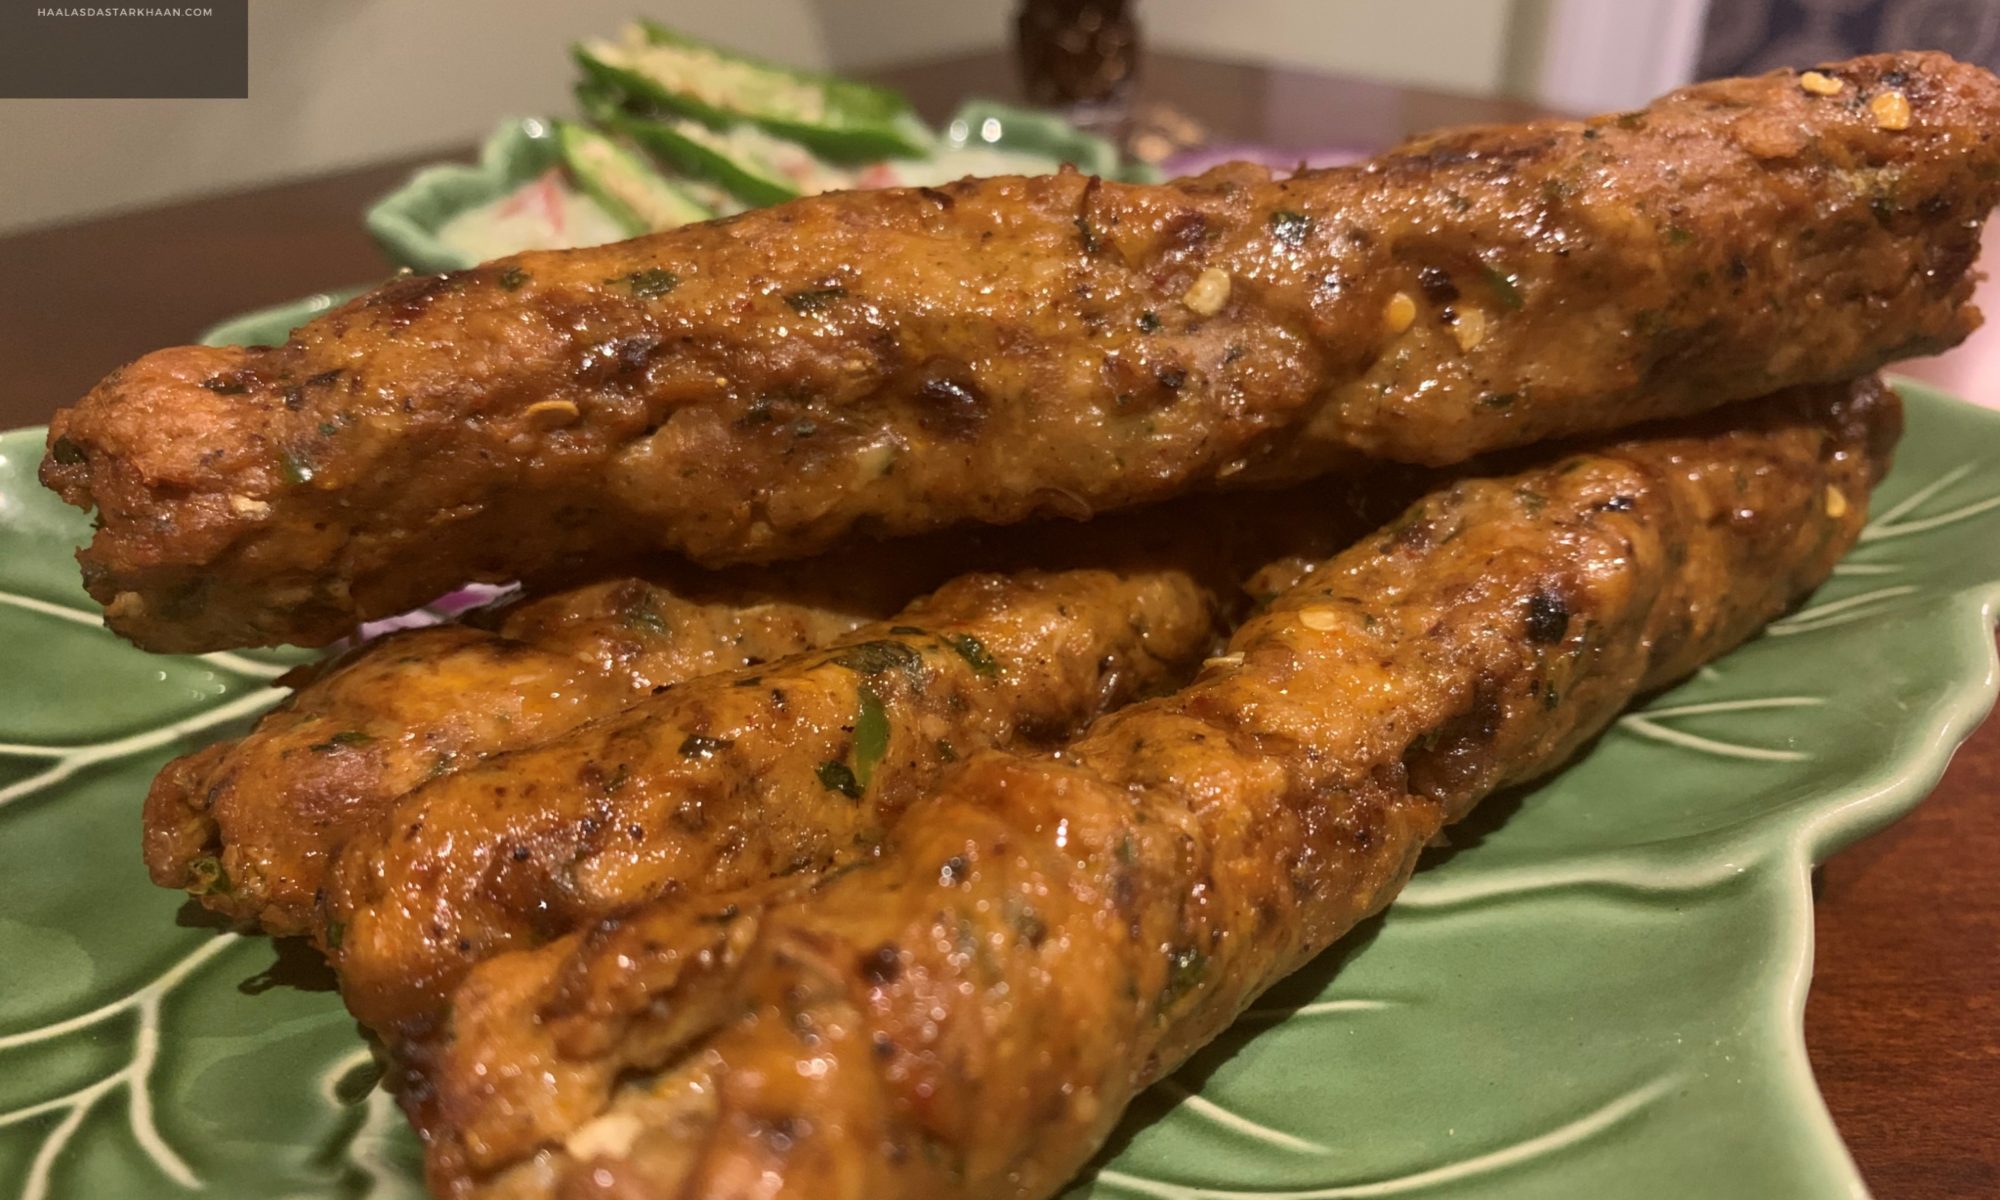
Chicken Reshmi Seekh Kebab

Reshmi is an Indian word used for “silk”. Reshmi Kebab are silk textured, soft, juicy and delicious kebabs made with minced meat or chicken from the Mughal Kitchen. As the name depicts, Reshmi Kebab is juicy succulence of meat added to the skewers. The meat has to have a perfect texture thanks to the marinade in which it is soaked.

The problem with seekh kebab that usually happens is that it goes dry if the marinade isn’t good enough. A good marinade for seekh kebab cannot be too saucy or it will be hard to hold the seekh shape and it cannot be too dry or the seekh would not taste so good. As much as you have to be careful about the ingredients that go into the dish and a lot of times, I see people messing it up with the seekh breaking mid way while being cooked, the process is simple. A few tricks and you are good to go.

In this recipe, I added a paste of fried onions. Onions by itself release water when added to a dish so the best way to add onions to a dish when you want the flavor and fear the dish getting excess moisture is by frying the onions. The process of frying onions dries up the moisture. The fried onions also tend to get a little sweeter so, make sure you adjust the spices accordingly. When you grind the coriander leaves with mint leaves and chilies, make sure that you don’t add too much water. In fact, add water a drop at a time and avoid if not needed. The green paste doesn’t really have to be a paste, it can be roughly chopped paste.

If you follow the recipe properly, you will be able to achieve a perfect seekh kebabs and trust me, these ones are to die for. They are perfect, juicy and absolutely delicious. Enjoy!!!