Kolhapuri Chicken Dry

🔥 Spice with Grace: Tips for a Balanced Kolhapuri Dish

  • Use Byadgi chilies: They bring vibrant color and mild heat—perfect for layering flavor without overwhelming.
  • Toast your spices: Dry roasting coriander, cumin, and fennel seeds before grinding enhances aroma and complexity.
  • Incorporate coconut: Grated or desiccated coconut adds body and mellows the spice, especially in gravies.
  • Ginger-garlic paste: A must for depth—sauté it well to avoid rawness.
  • Finish with fresh coriander and a squeeze of lime: It brightens the dish and balances the richness.

🌶️ The Heart of Heat: Crafting Kolhapuri Chicken

Kolhapuri cuisine doesn’t whisper—it roars. And this chicken dish is no exception. With the crimson hue of Byadagi chilies and the fiery punch of Lavangi mirchi, it’s a celebration of bold flavors and vibrant color. But the magic lies in the masala—freshly roasted, ground, and layered with care.

Pro Tip: Dry roasting your spices isn’t just a step—it’s a ritual. The moment they hit the pan, your kitchen transforms. That smoky, nutty aroma? It’s the soul of Kolhapur calling.

Masala Prep Essentials:

  • Coriander seeds
  • Cumin seeds
  • Fennel seeds
  • Black peppercorns
  • Cloves, cinnamon, cardamom
  • Byadagi & Lavangi chilies
  • Optional: poppy seeds, sesame seeds, star anise for added complexity

Grind them fresh, and you’ll never look back.

🛠️ Spice Prep Tip: Fresh vs. Fast

Freshly ground masala is the heartbeat of Kolhapuri chicken—but life doesn’t always allow for slow cooking rituals. If you’re short on time, make your spice blend ahead and store it in an airtight container. It’ll stay fragrant for up to 7 days.

Important: Skip the coconut powder during prep. Add it fresh when cooking to preserve flavor and prevent spoilage. It’s the final flourish that keeps your dish vibrant, aromatic, and safe to savor.

🍗 Kolhapuri Chicken: Where Depth Meets Fire

This isn’t just chicken—it’s a journey through spice. Marinated to the bone, then simmered with onions, chilies, curry leaves, and a freshly ground masala that sings of Kolhapur’s bold culinary heritage. Roasting the spices in olive oil lends a gentle touch, but finishing in ghee brings that unmistakable earthy richness.

Serving Suggestion: Pair it with classic Daal Chawal for a comforting meal that’s anything but ordinary. The creamy lentils mellow the heat, while the chicken adds a punch of flavor that lingers beautifully.

Chicken Kulthi Curry [Kutt ka Salan]

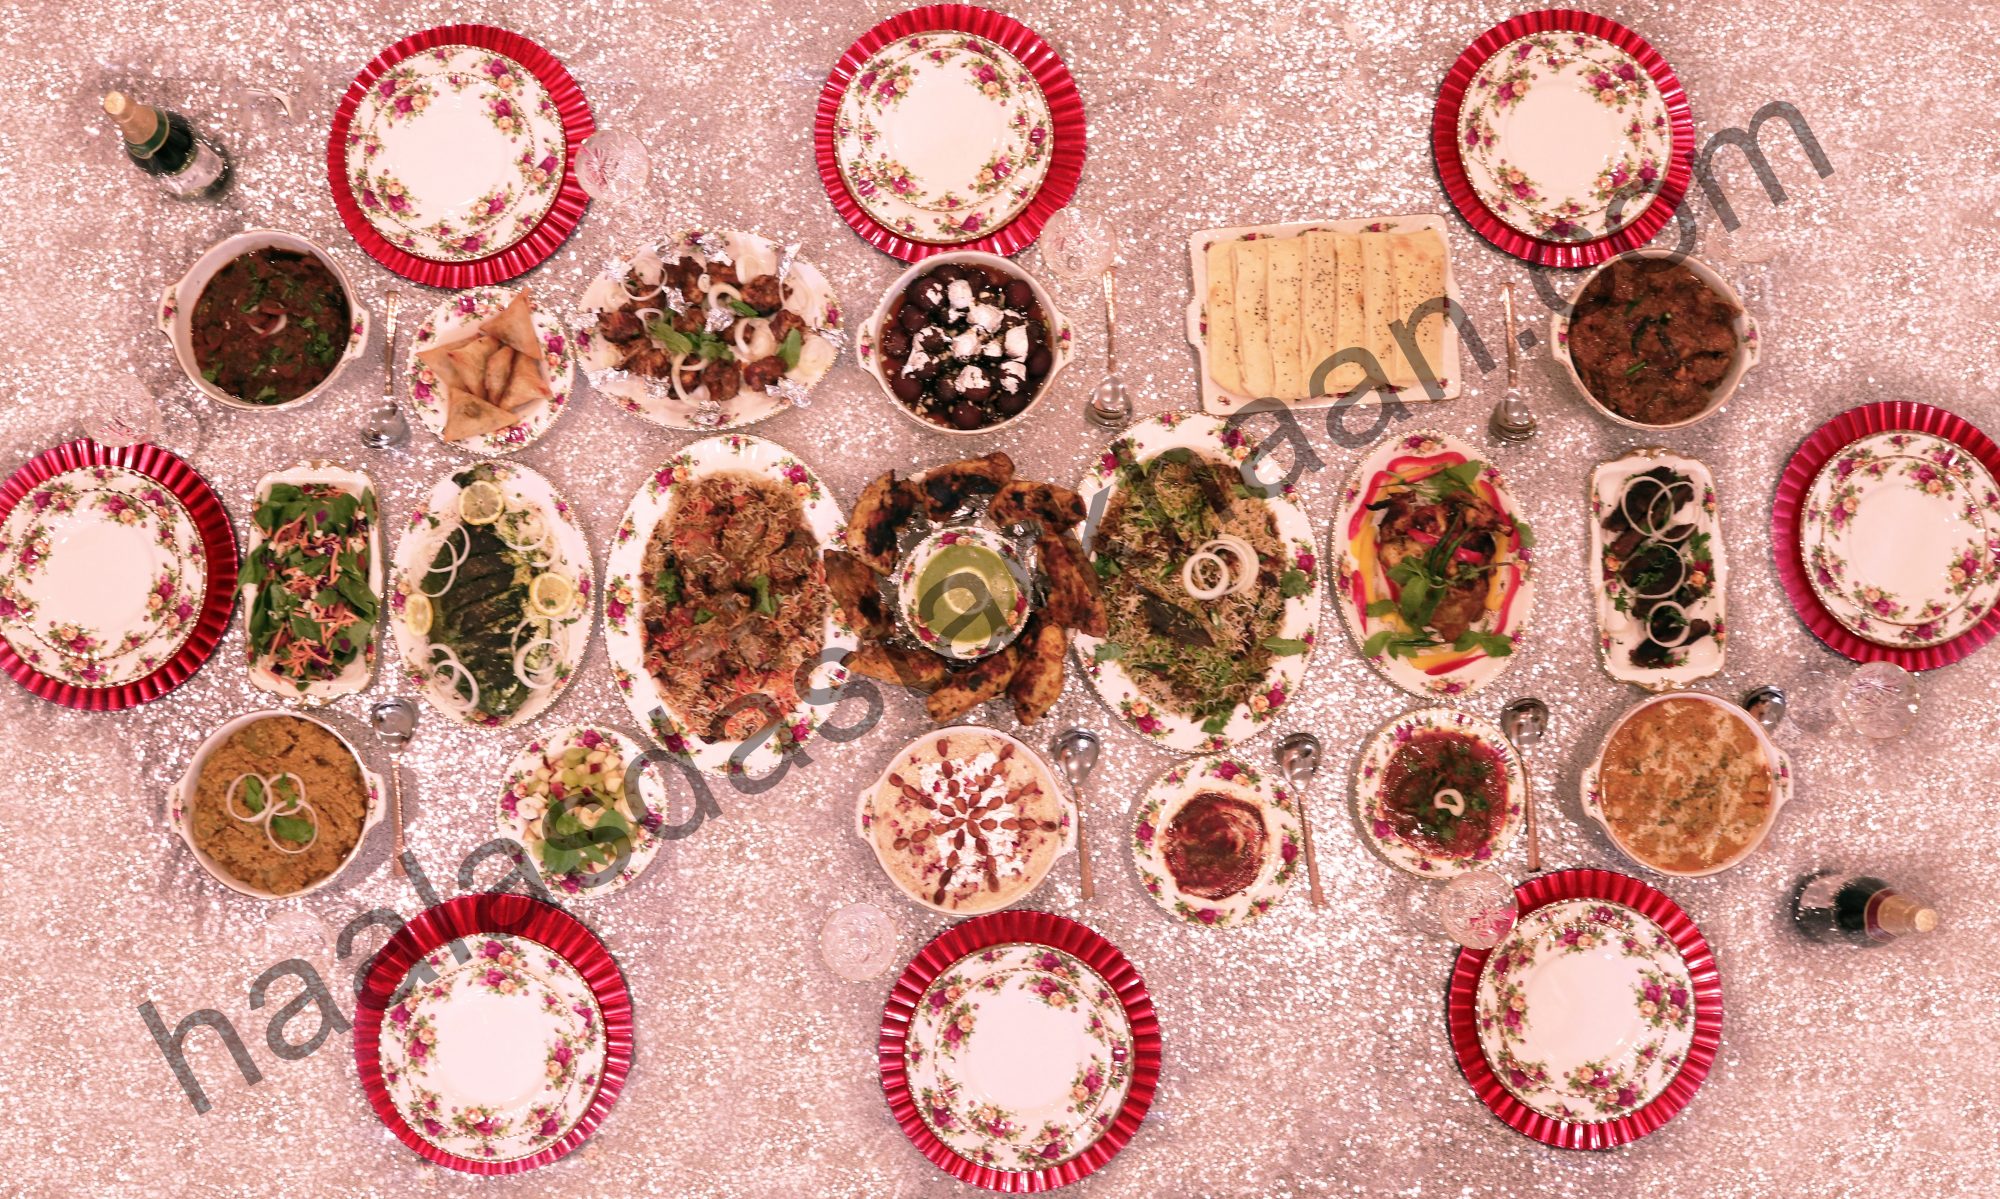
Chicken and Lentils: A Surprising Love Story

Some dishes sound absolutely strange at first—but then you taste them, and they completely win you over. This is one of those dishes.

When my husband, Mr. Parveez, first told me about a curry made with chicken and lentils, I was skeptical. I assumed it was one of those nostalgic favorites—something he loved simply because he grew up eating it. To me, the idea of cooking chicken with lentils felt like a waste of perfectly good chicken.

But curiosity (and love) got the better of me. I gave it a try.

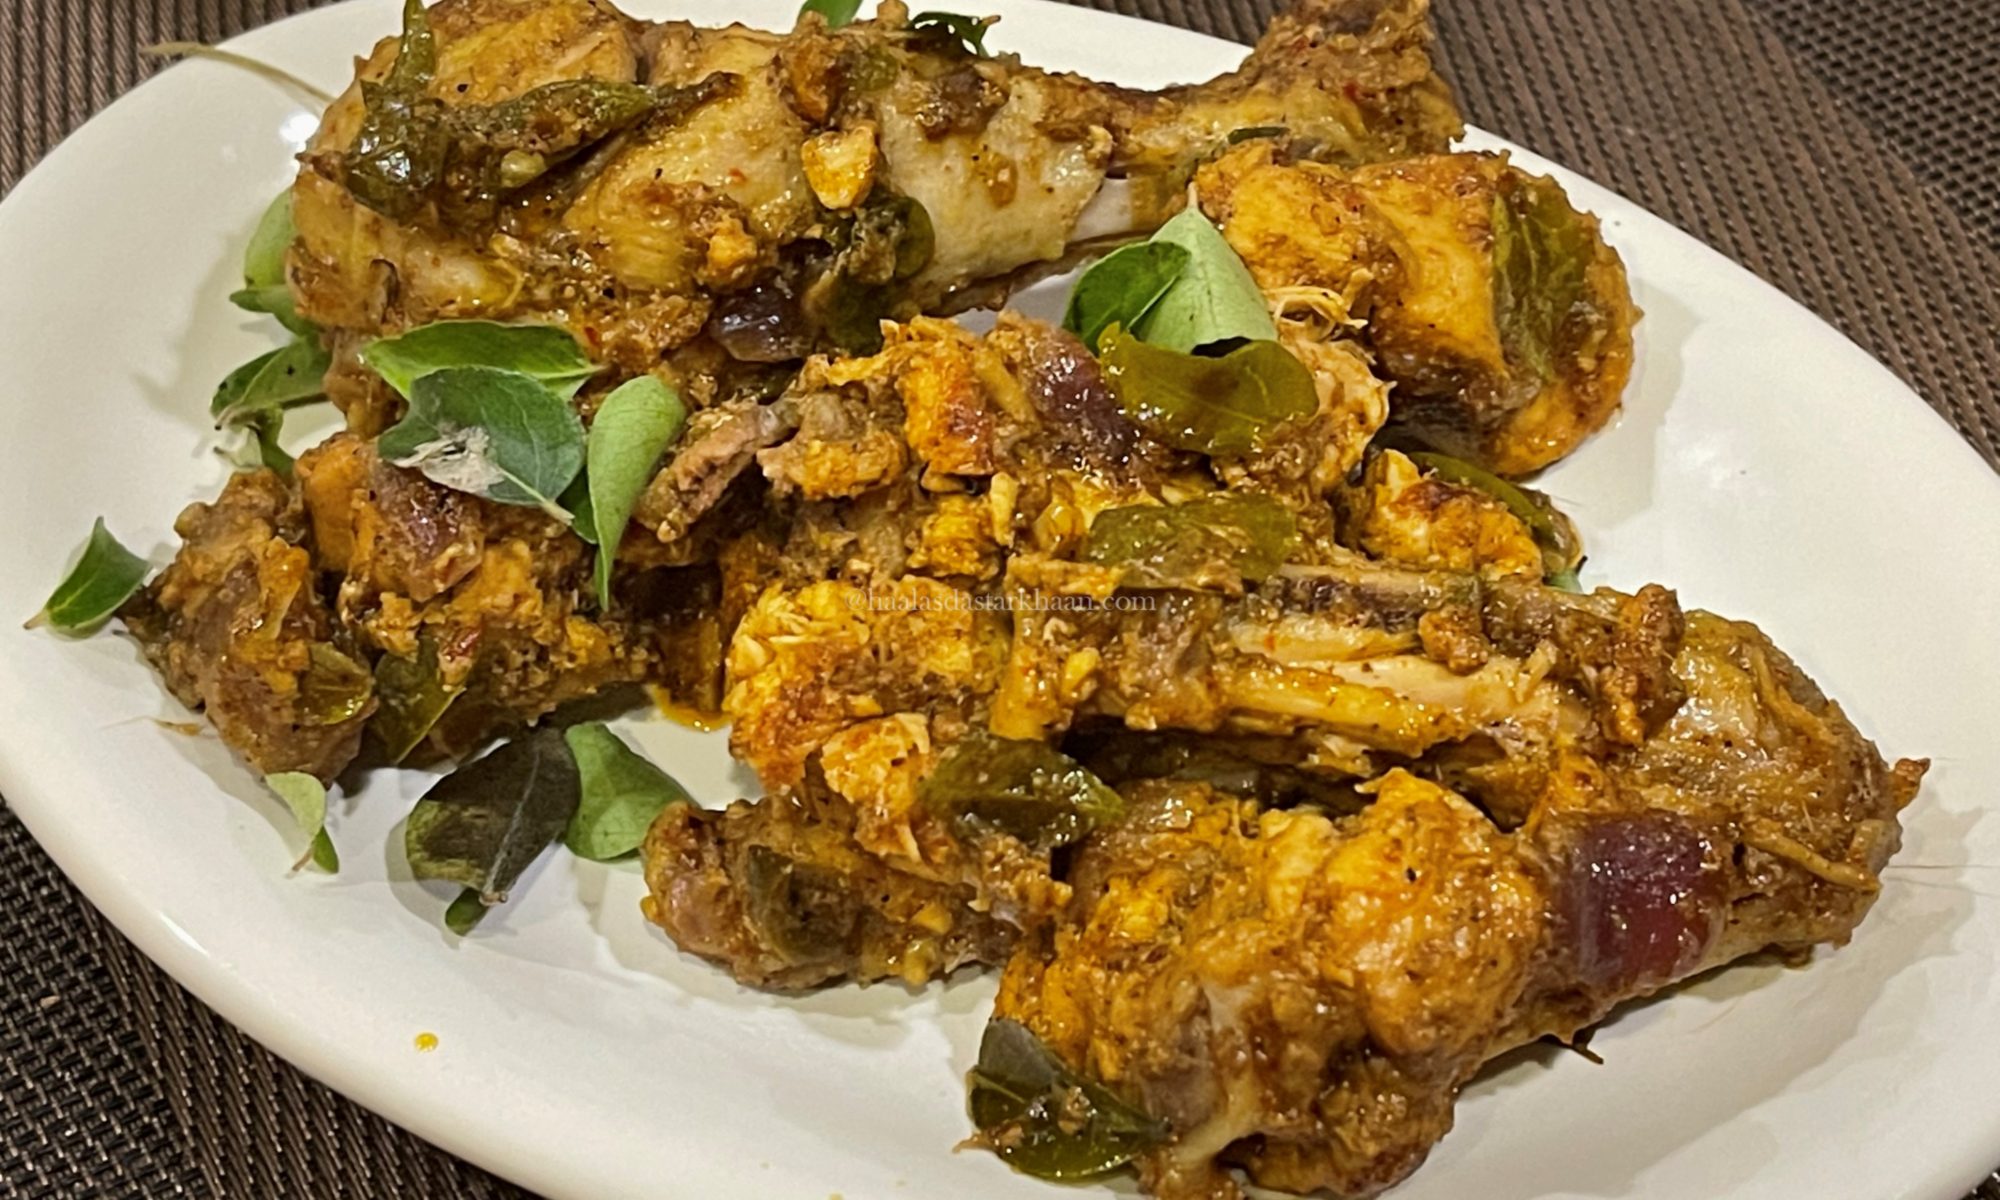
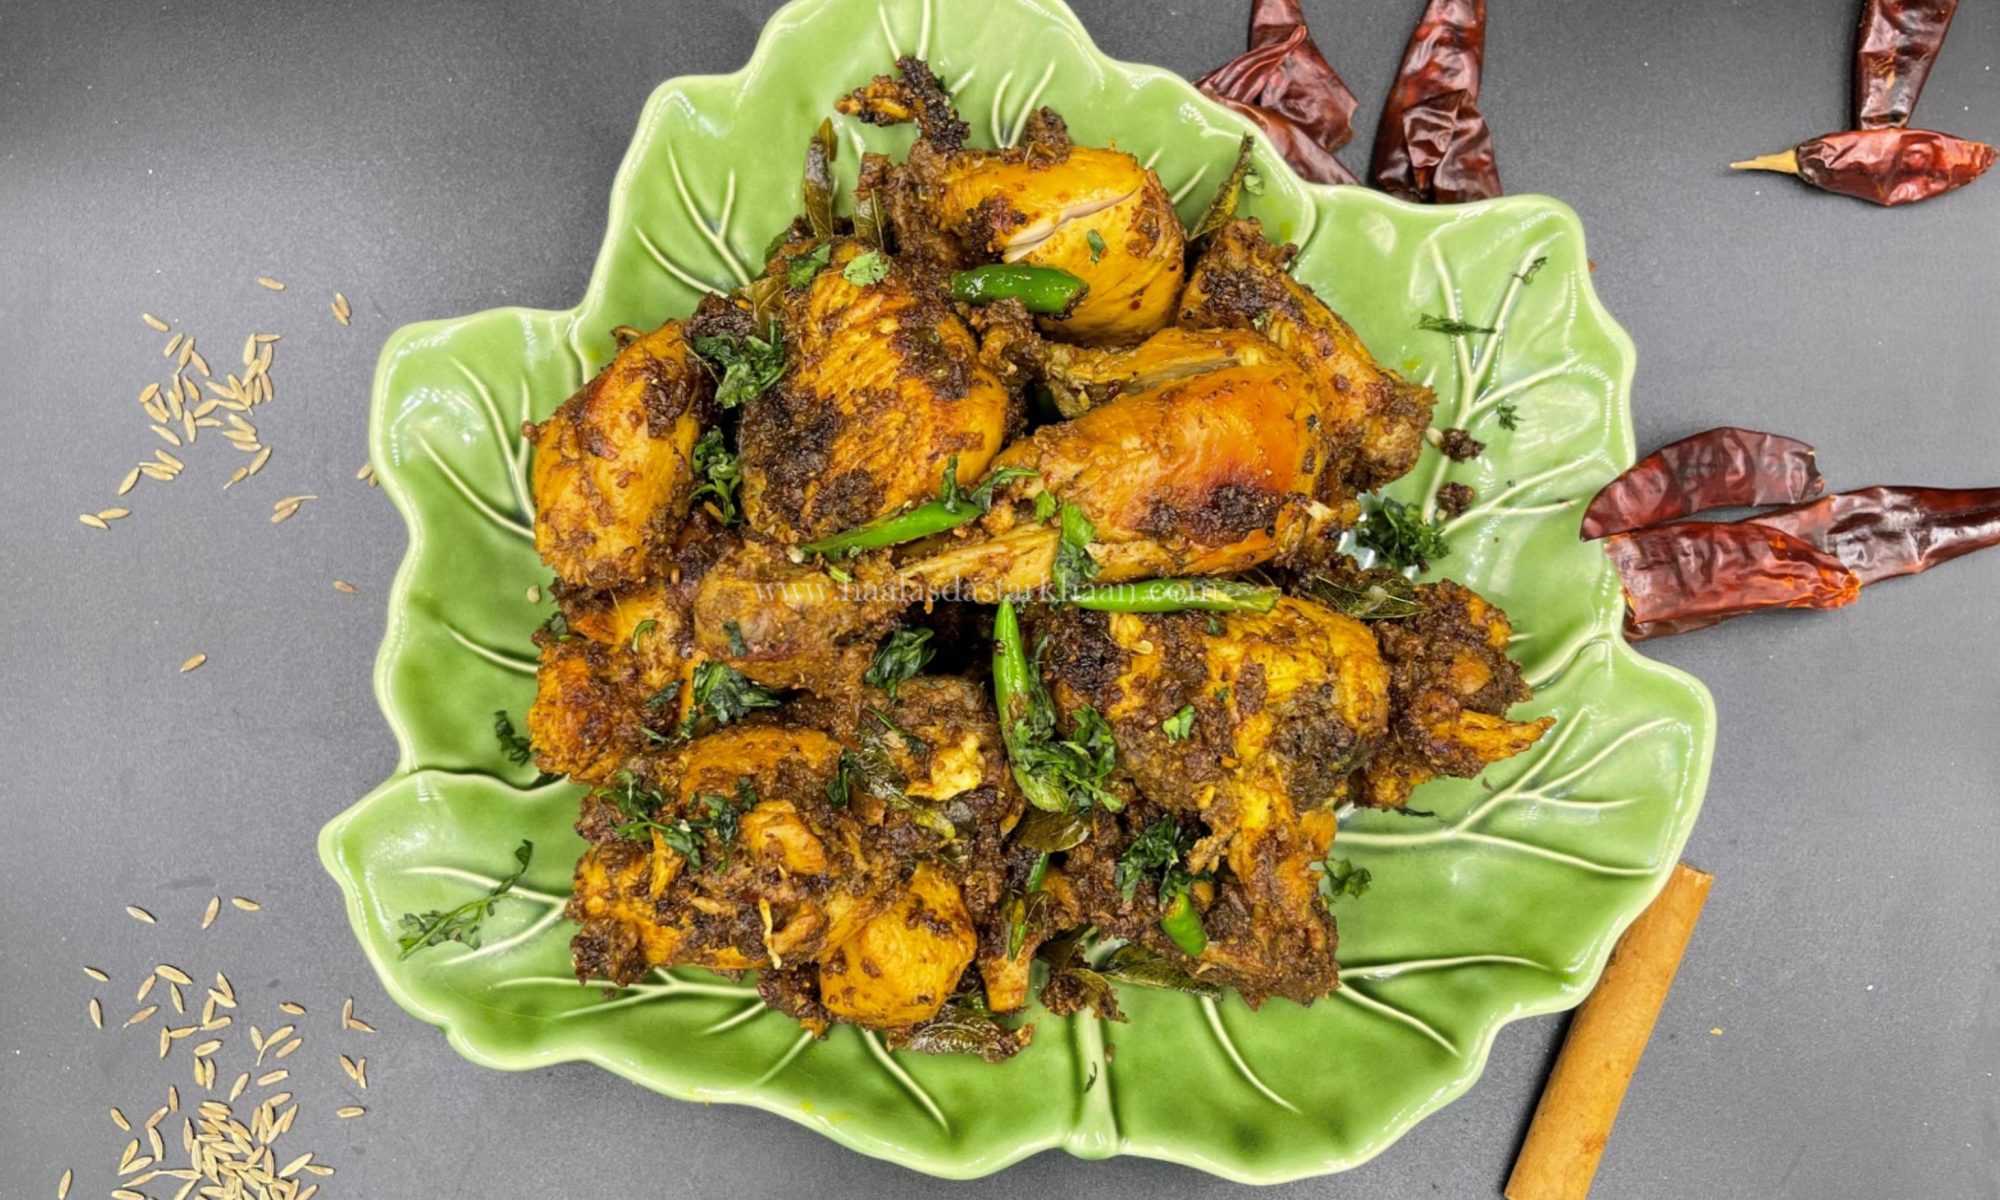
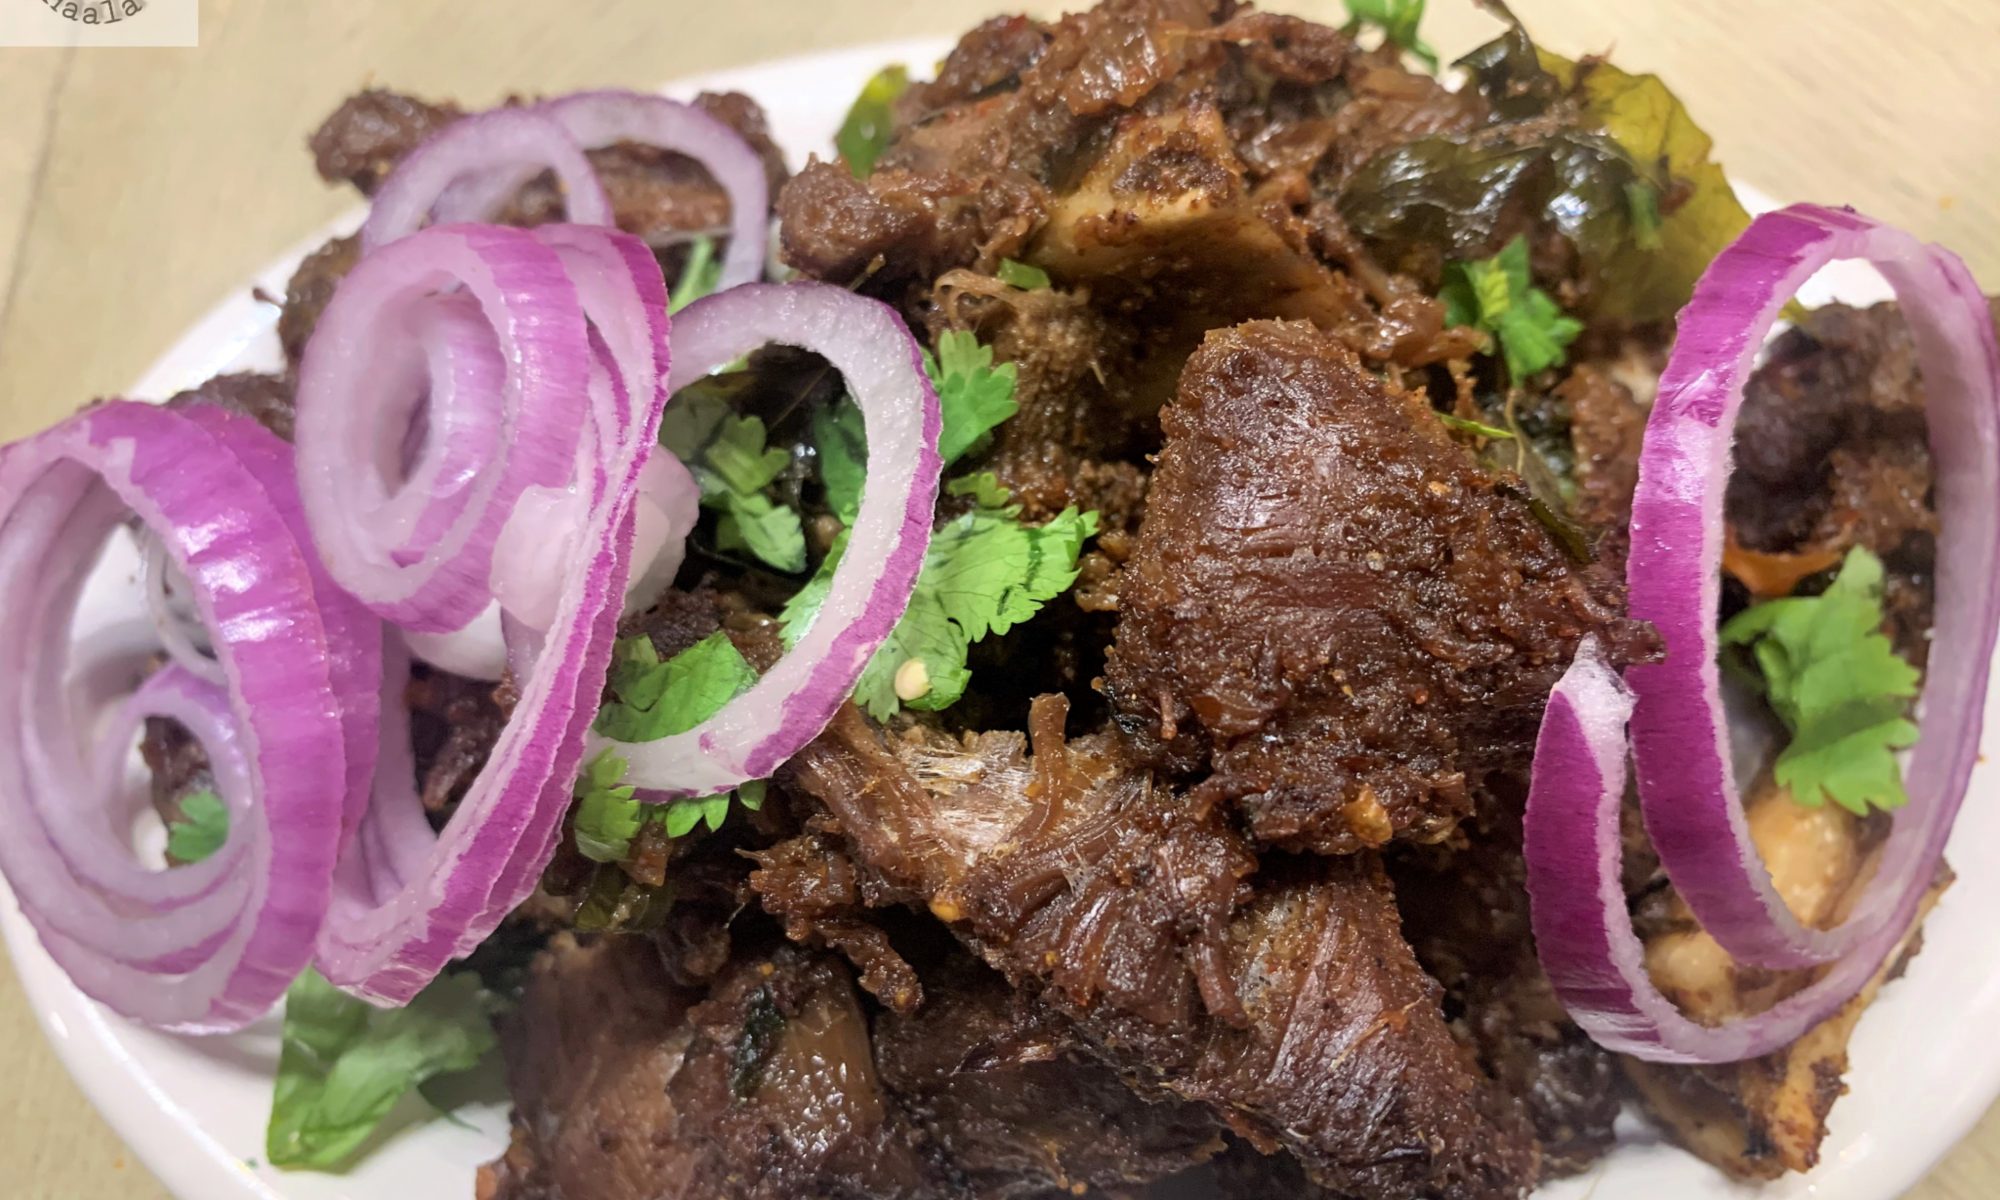
And to my surprise, the flavors were beautifully balanced. The lentils added a gentle earthiness, the chicken brought richness, and together they created a dish that was hearty, comforting, and absolutely delicious.

Sometimes, the most unexpected combinations turn out to be the most memorable.

From Stable to Table: The Story Behind a Humble Chicken Curry

Let’s get to the root of this dish’s story.

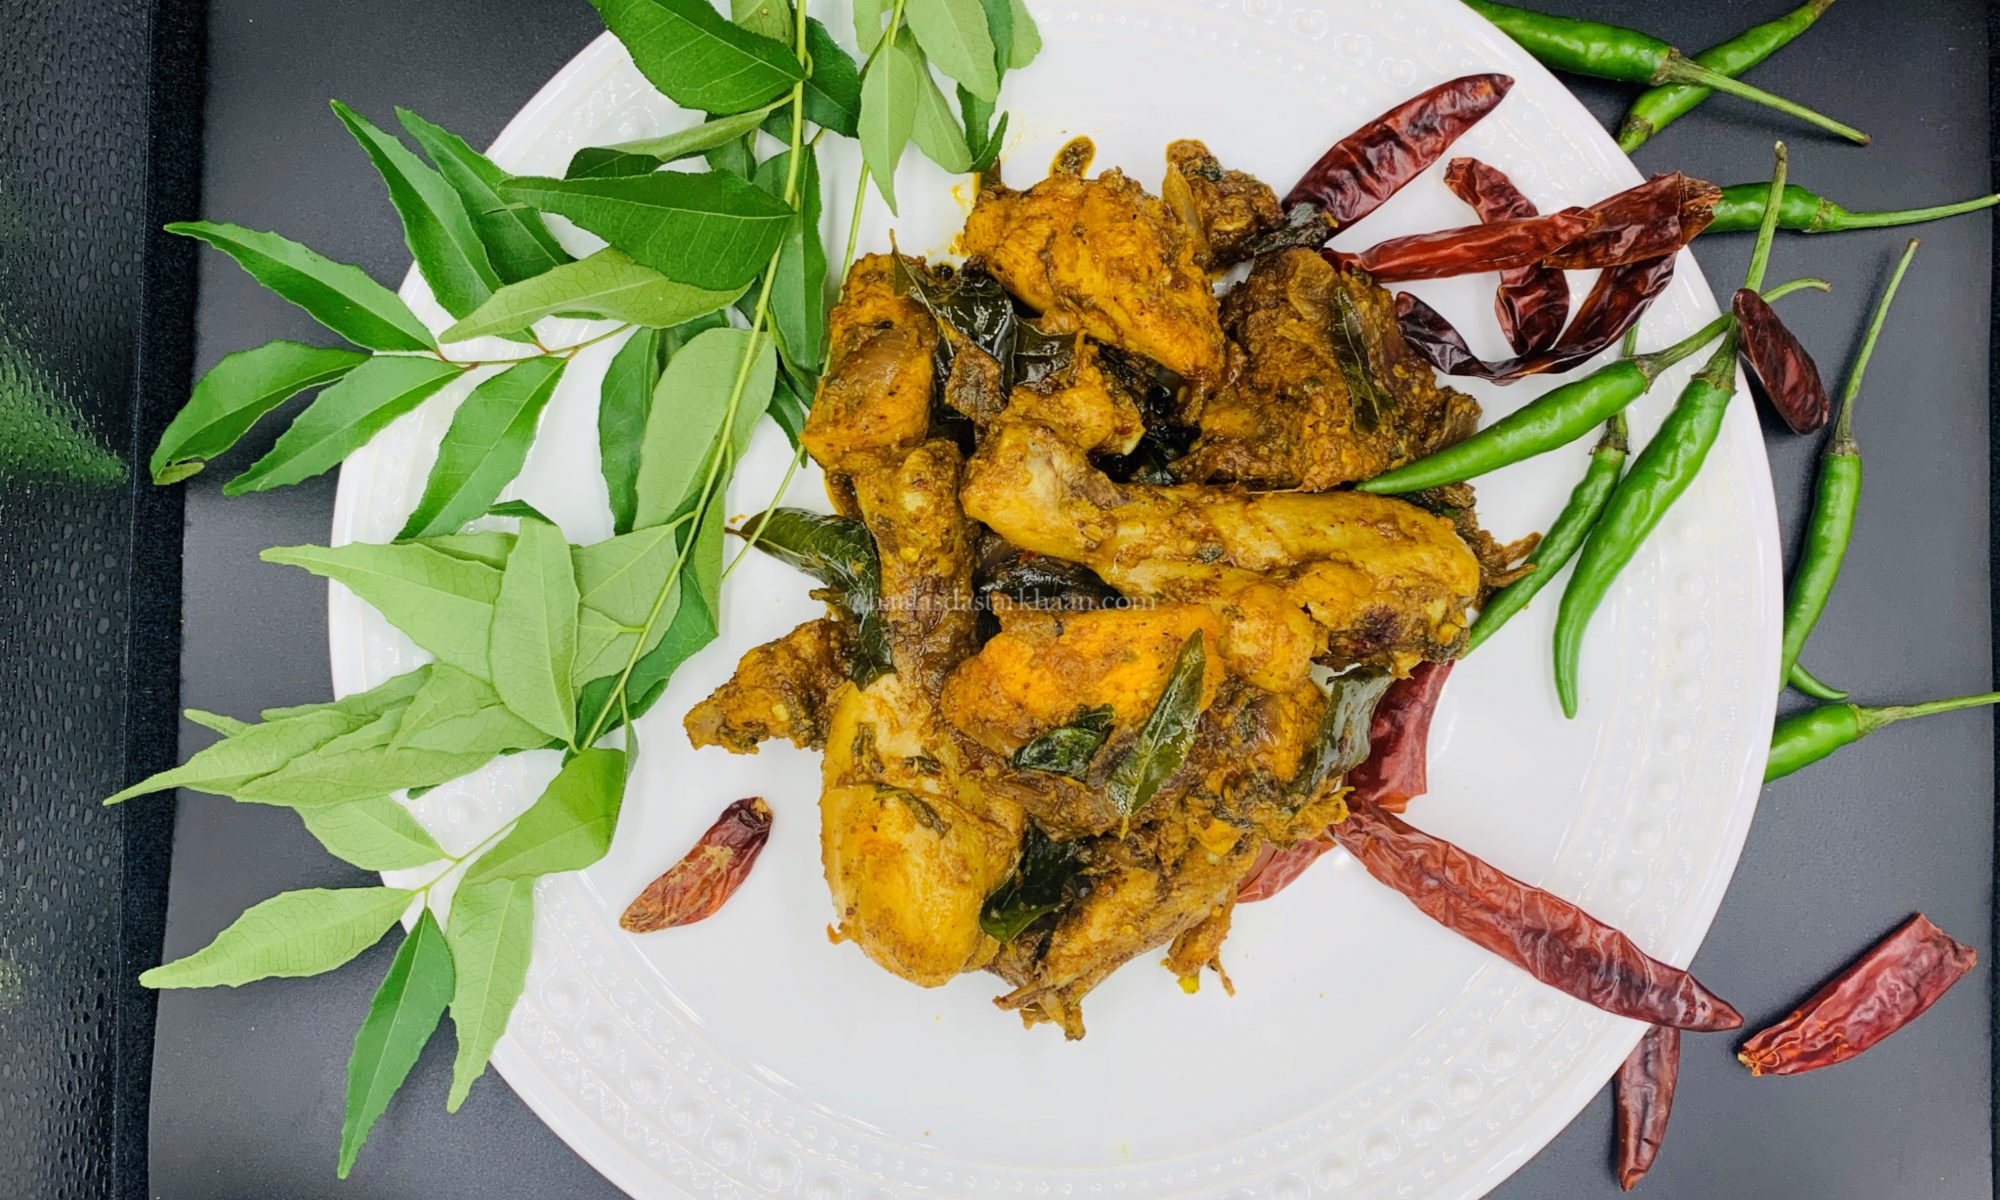
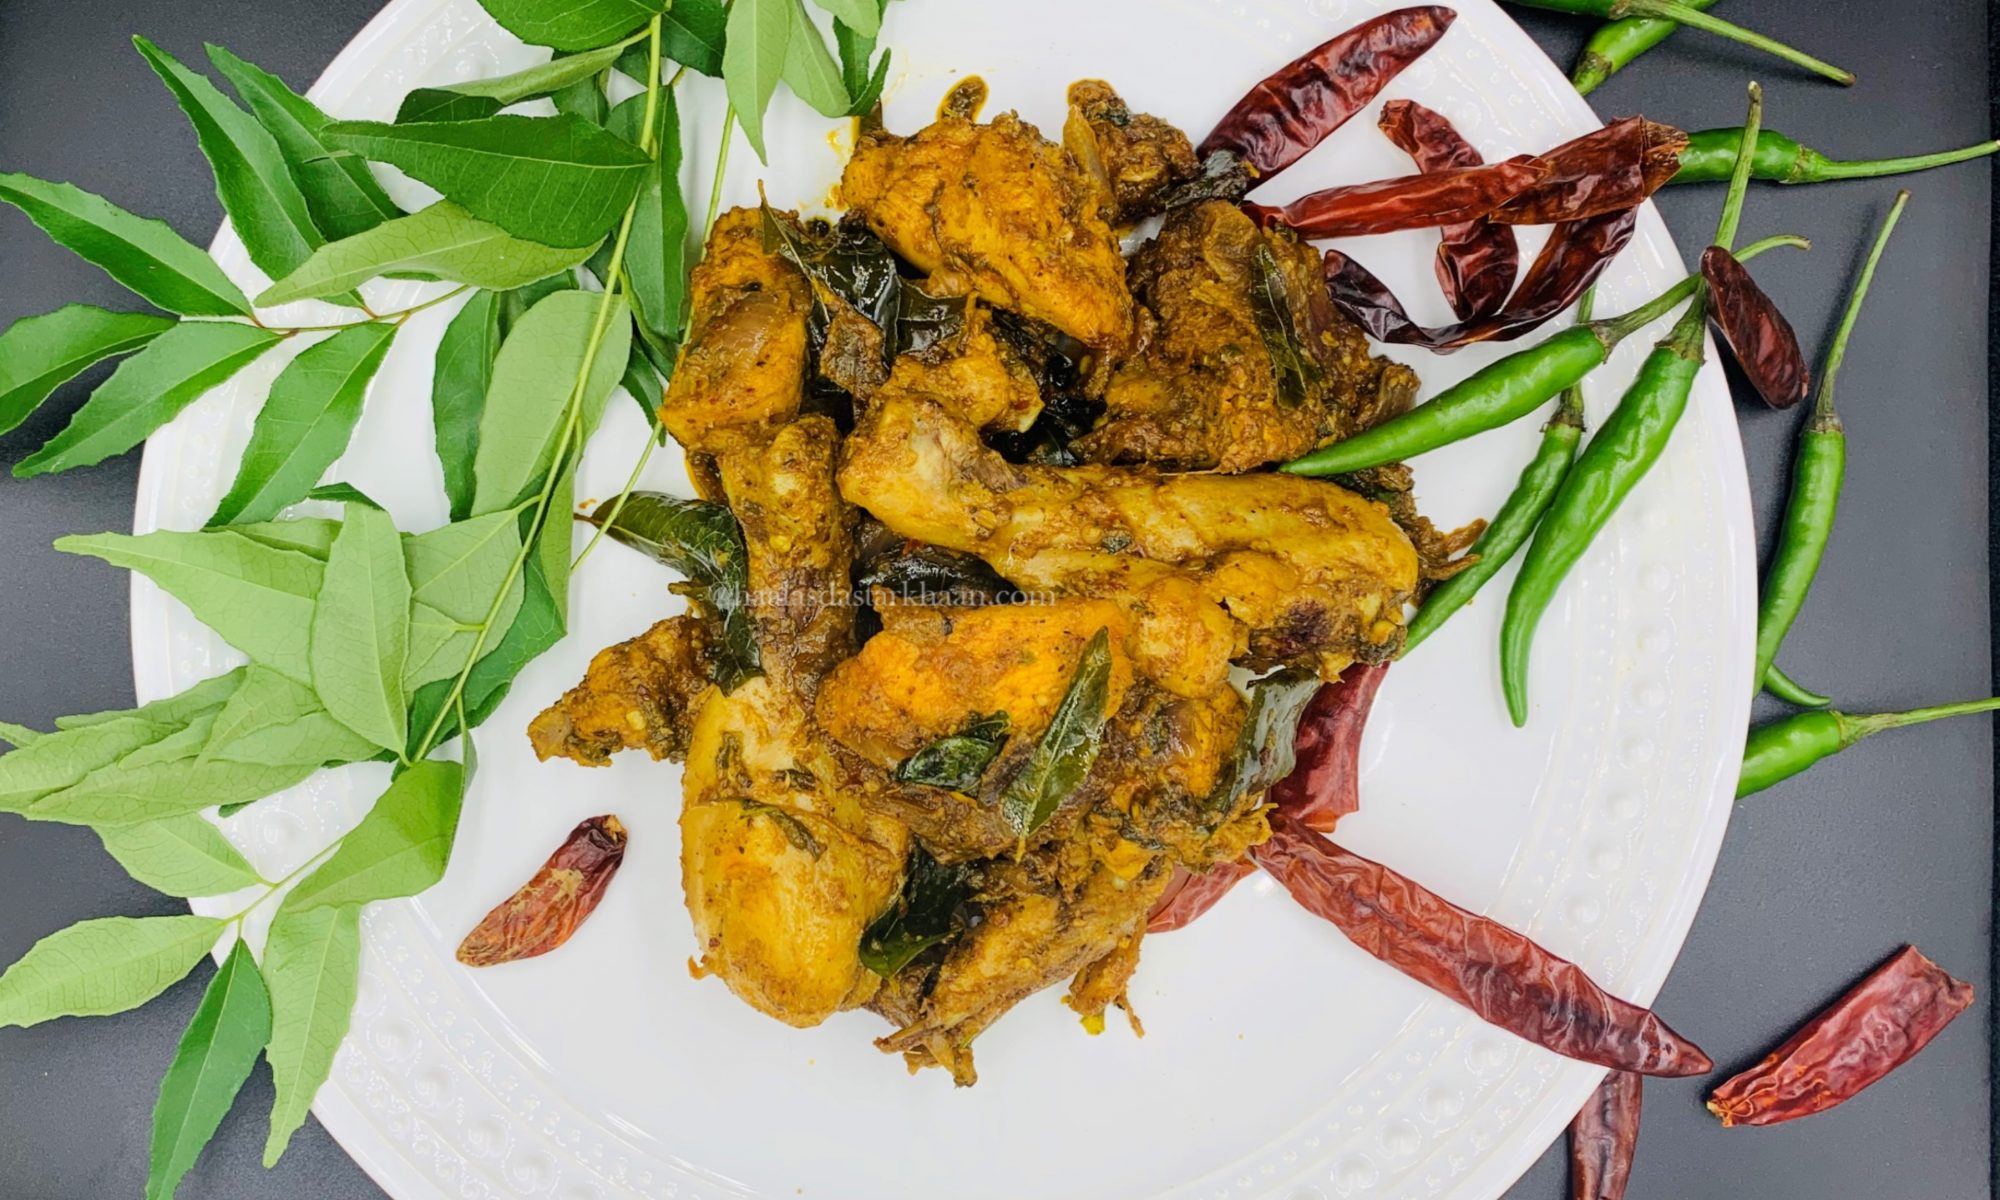
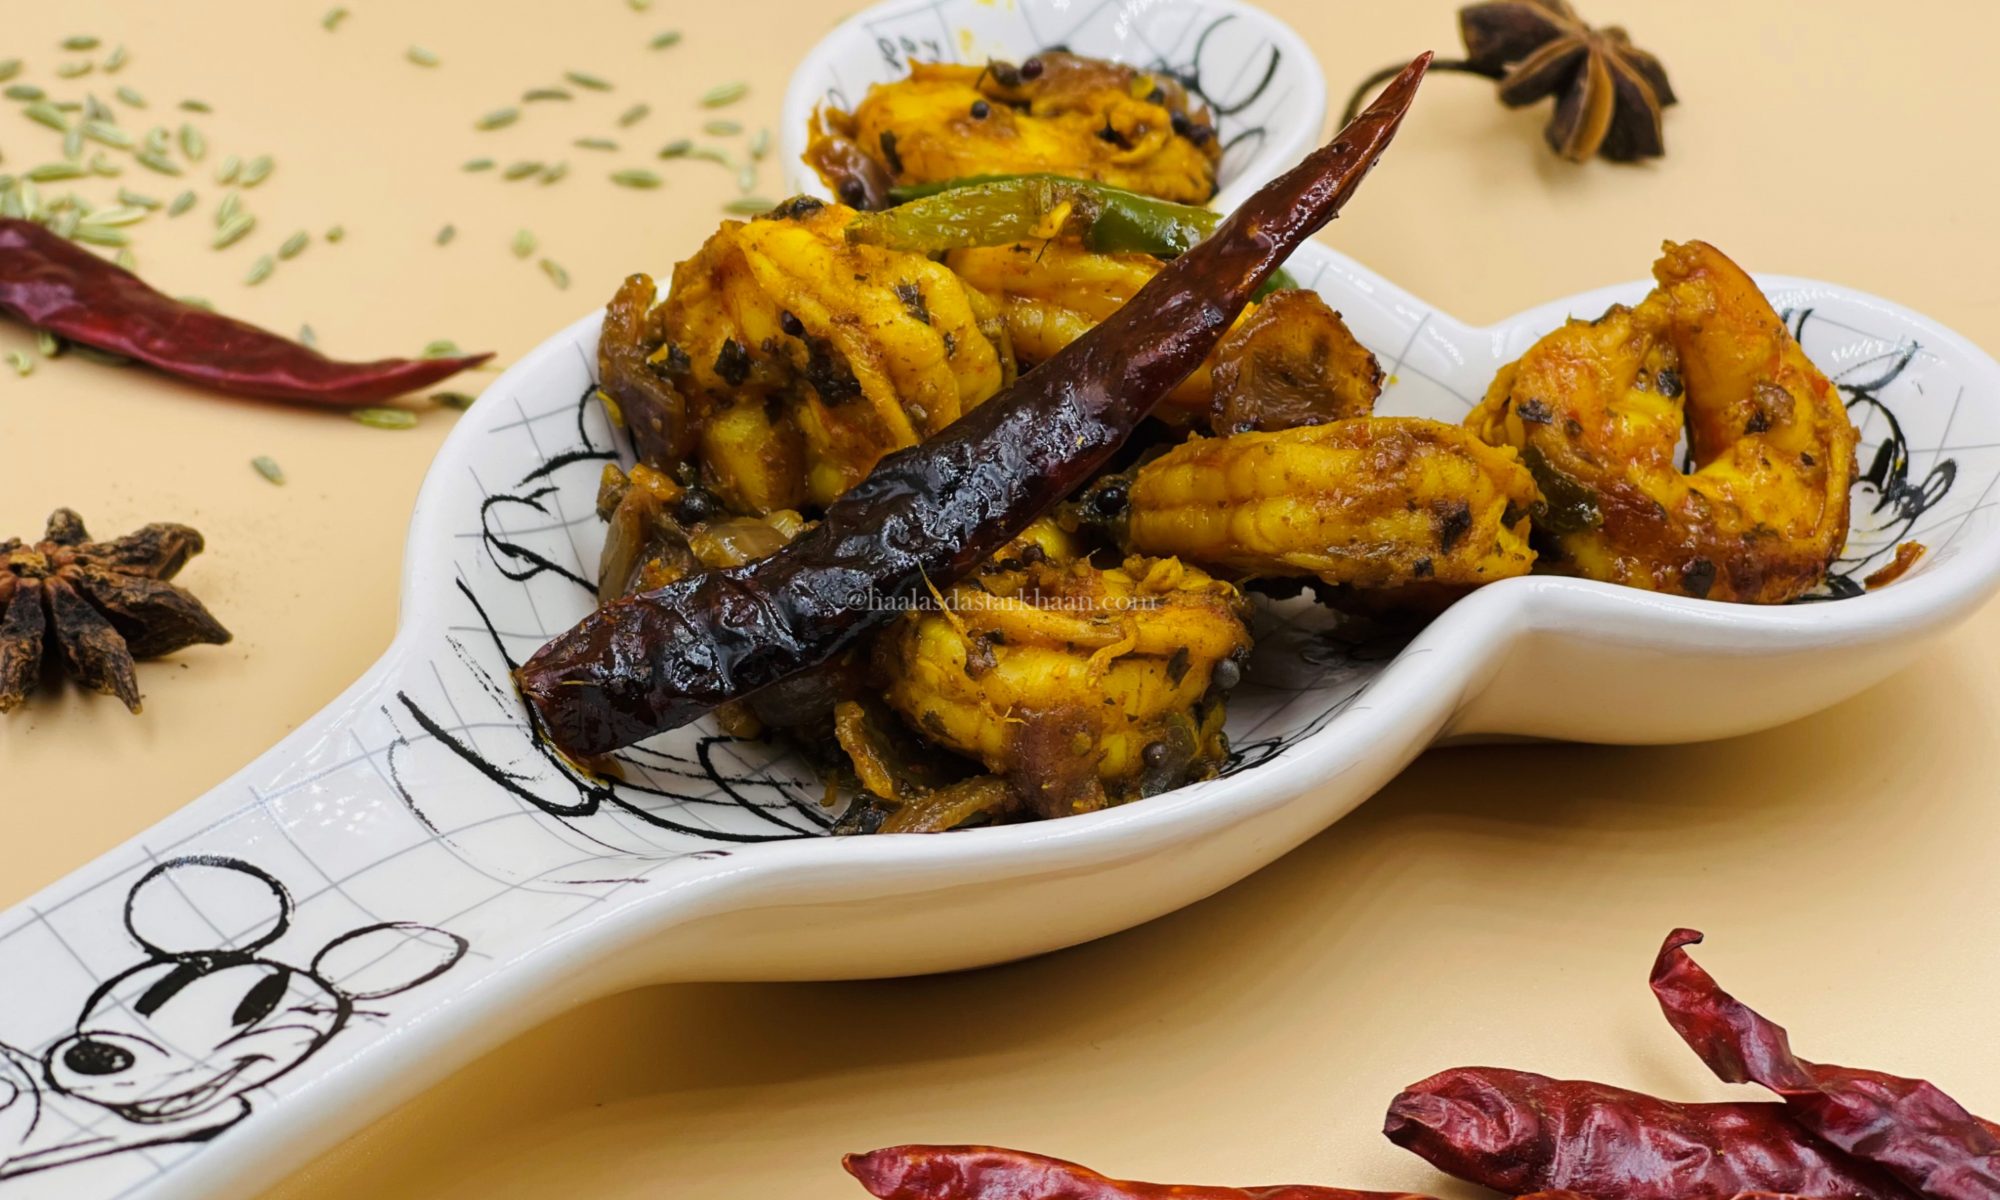
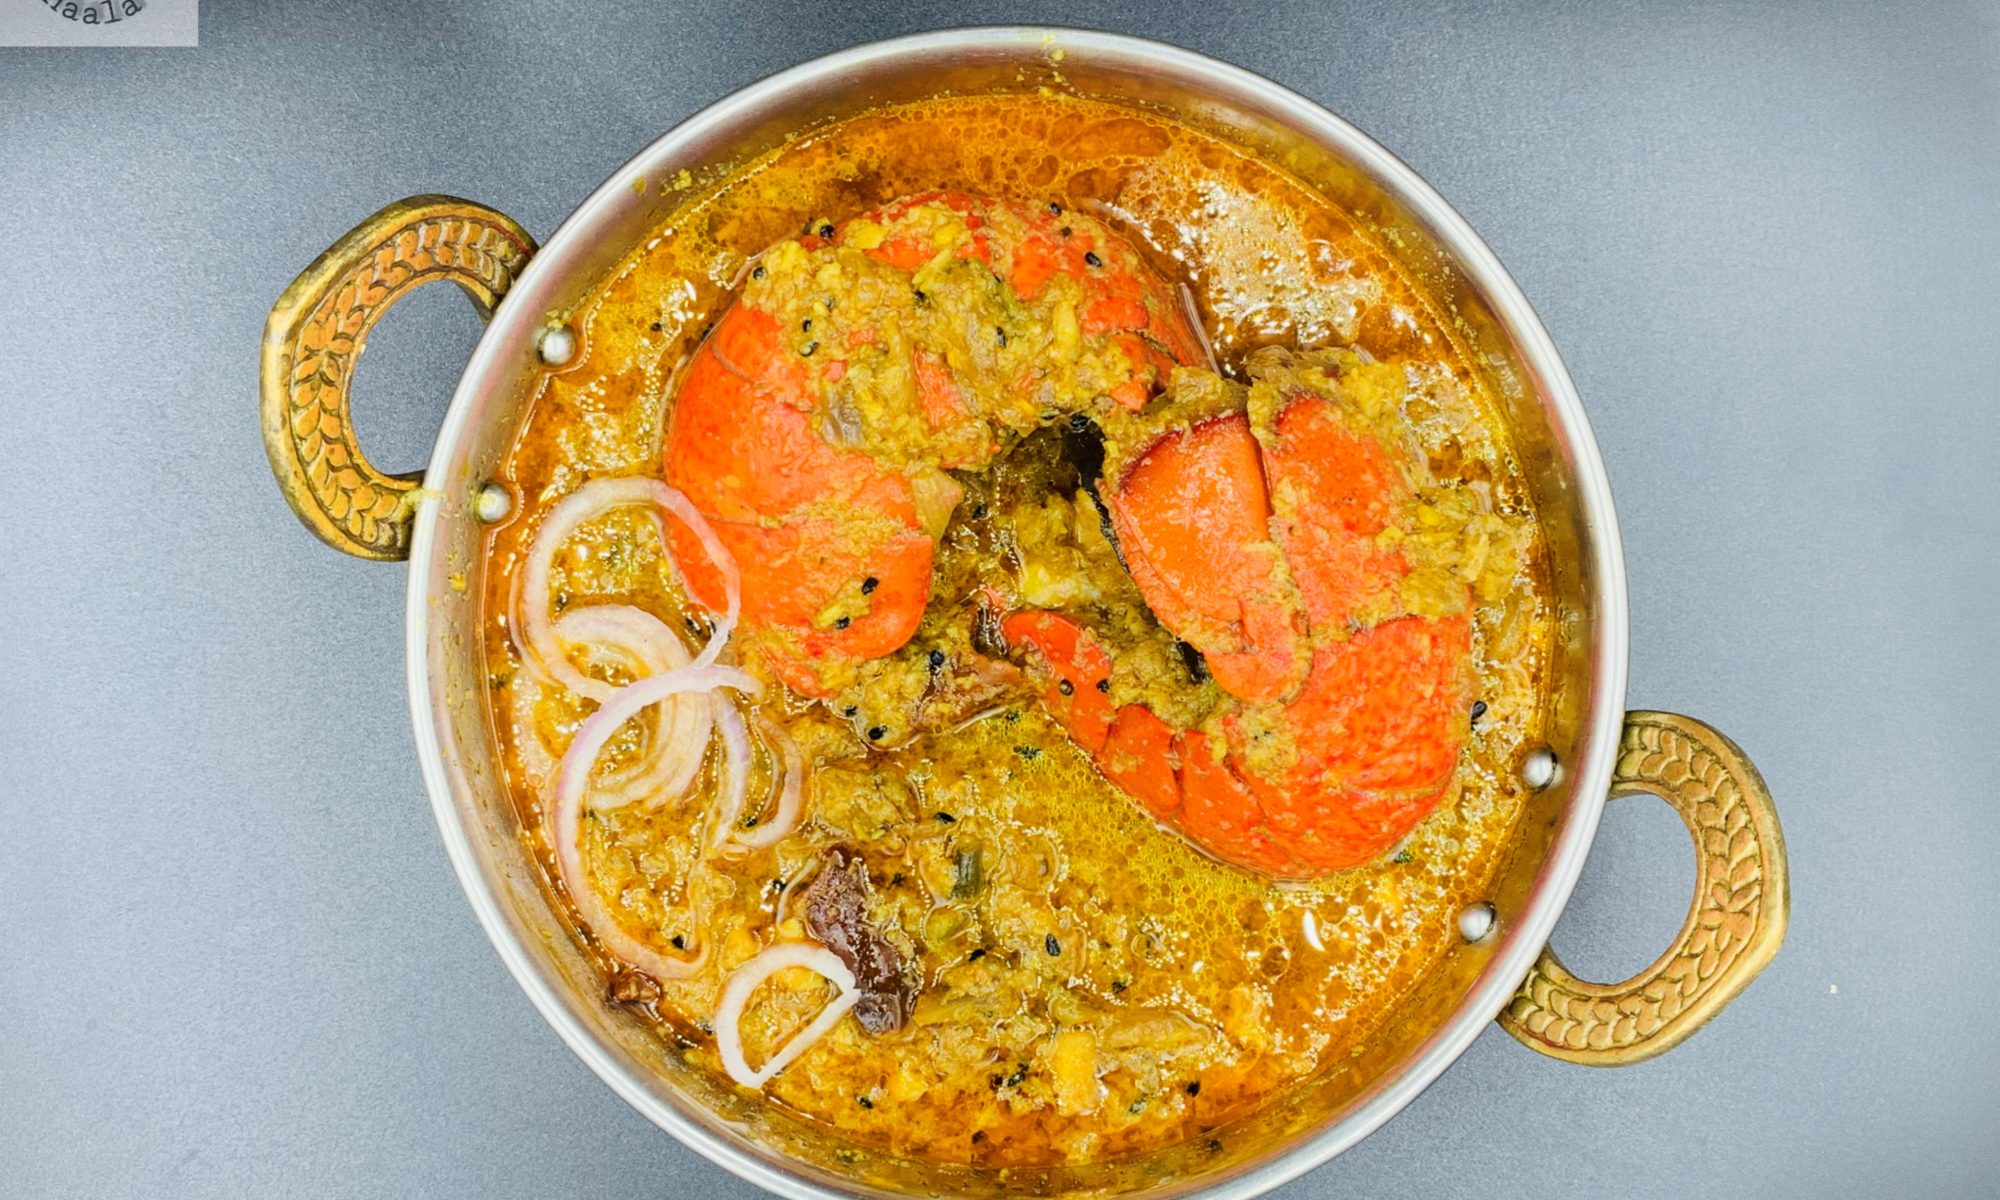
The lentils used here are horse gram—a hardy, protein-rich legume known for its earthy flavor and nutritional value. I make everything from scratch, and trust me, it’s not difficult to do. But back home in Bangalore, the tradition is even more rustic.

Yes, you read that right: the horse gram is soaked and boiled at the stables. The lentils themselves are fed to the horses, while the nutrient-rich water—the liquid left behind after boiling—is brought home. That humble broth, often with a few lentils still floating in it, becomes the base for a chicken curry that’s surprisingly rich, flavorful, and deeply satisfying.

It’s a dish born from resourcefulness, shaped by tradition, and elevated by taste. And once you try it, you’ll understand why something that sounds so unusual can taste so extraordinary.

Horse Gram & Chicken: A Dish I Never Expected to Love

I had never tried this dish back in Bangalore—and to be honest, I never really looked forward to it either. It just didn’t sound tempting. Cooking chicken with lentils? It felt like a mismatch, a waste of good chicken.

But one fine day, while grocery shopping, we stumbled upon horse gram daal. Mr. Parveez lit up instantly—nostalgia in full bloom. That meant we’d be starting from scratch, with no idea how to get the daal to the right cooking stage.

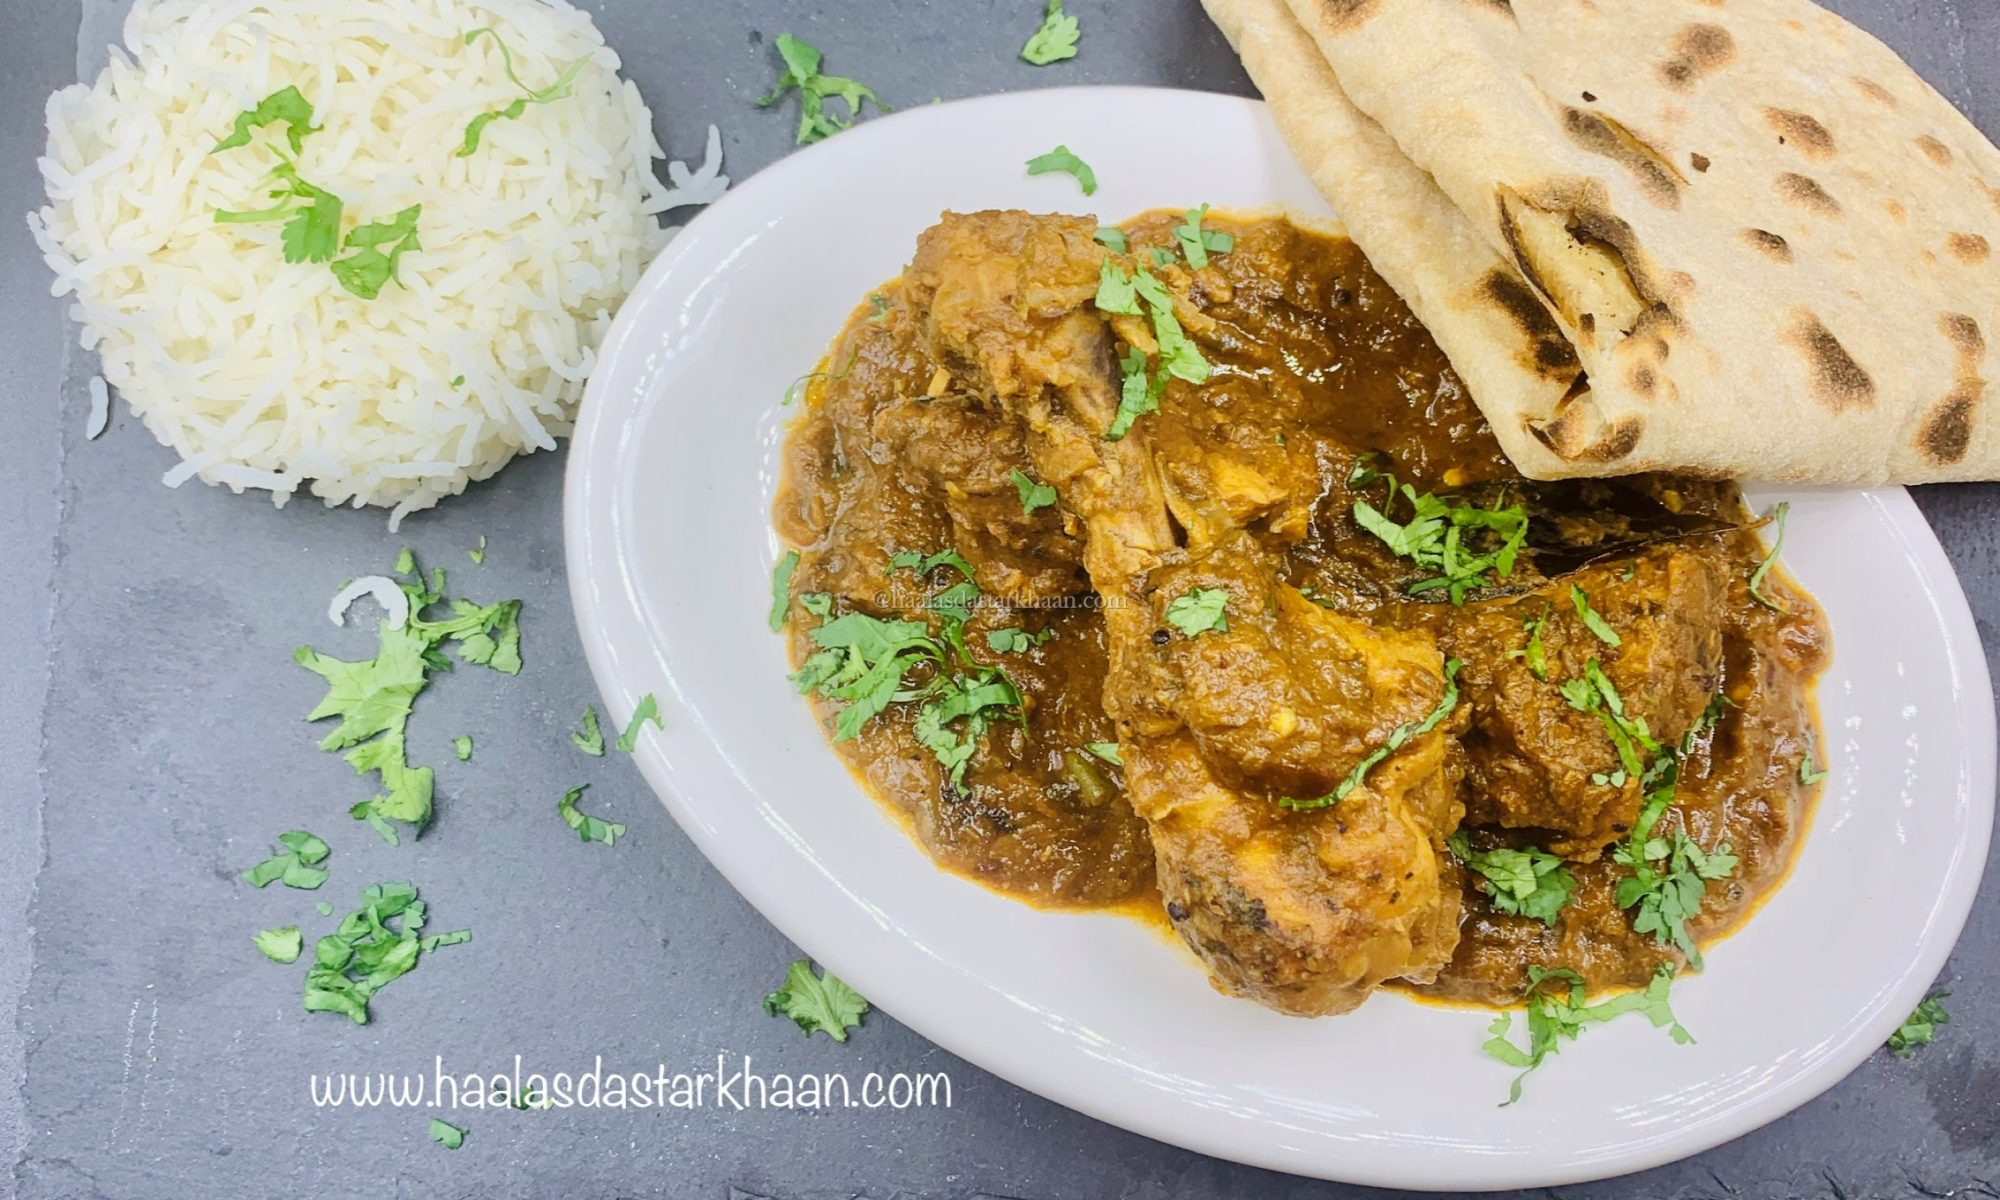
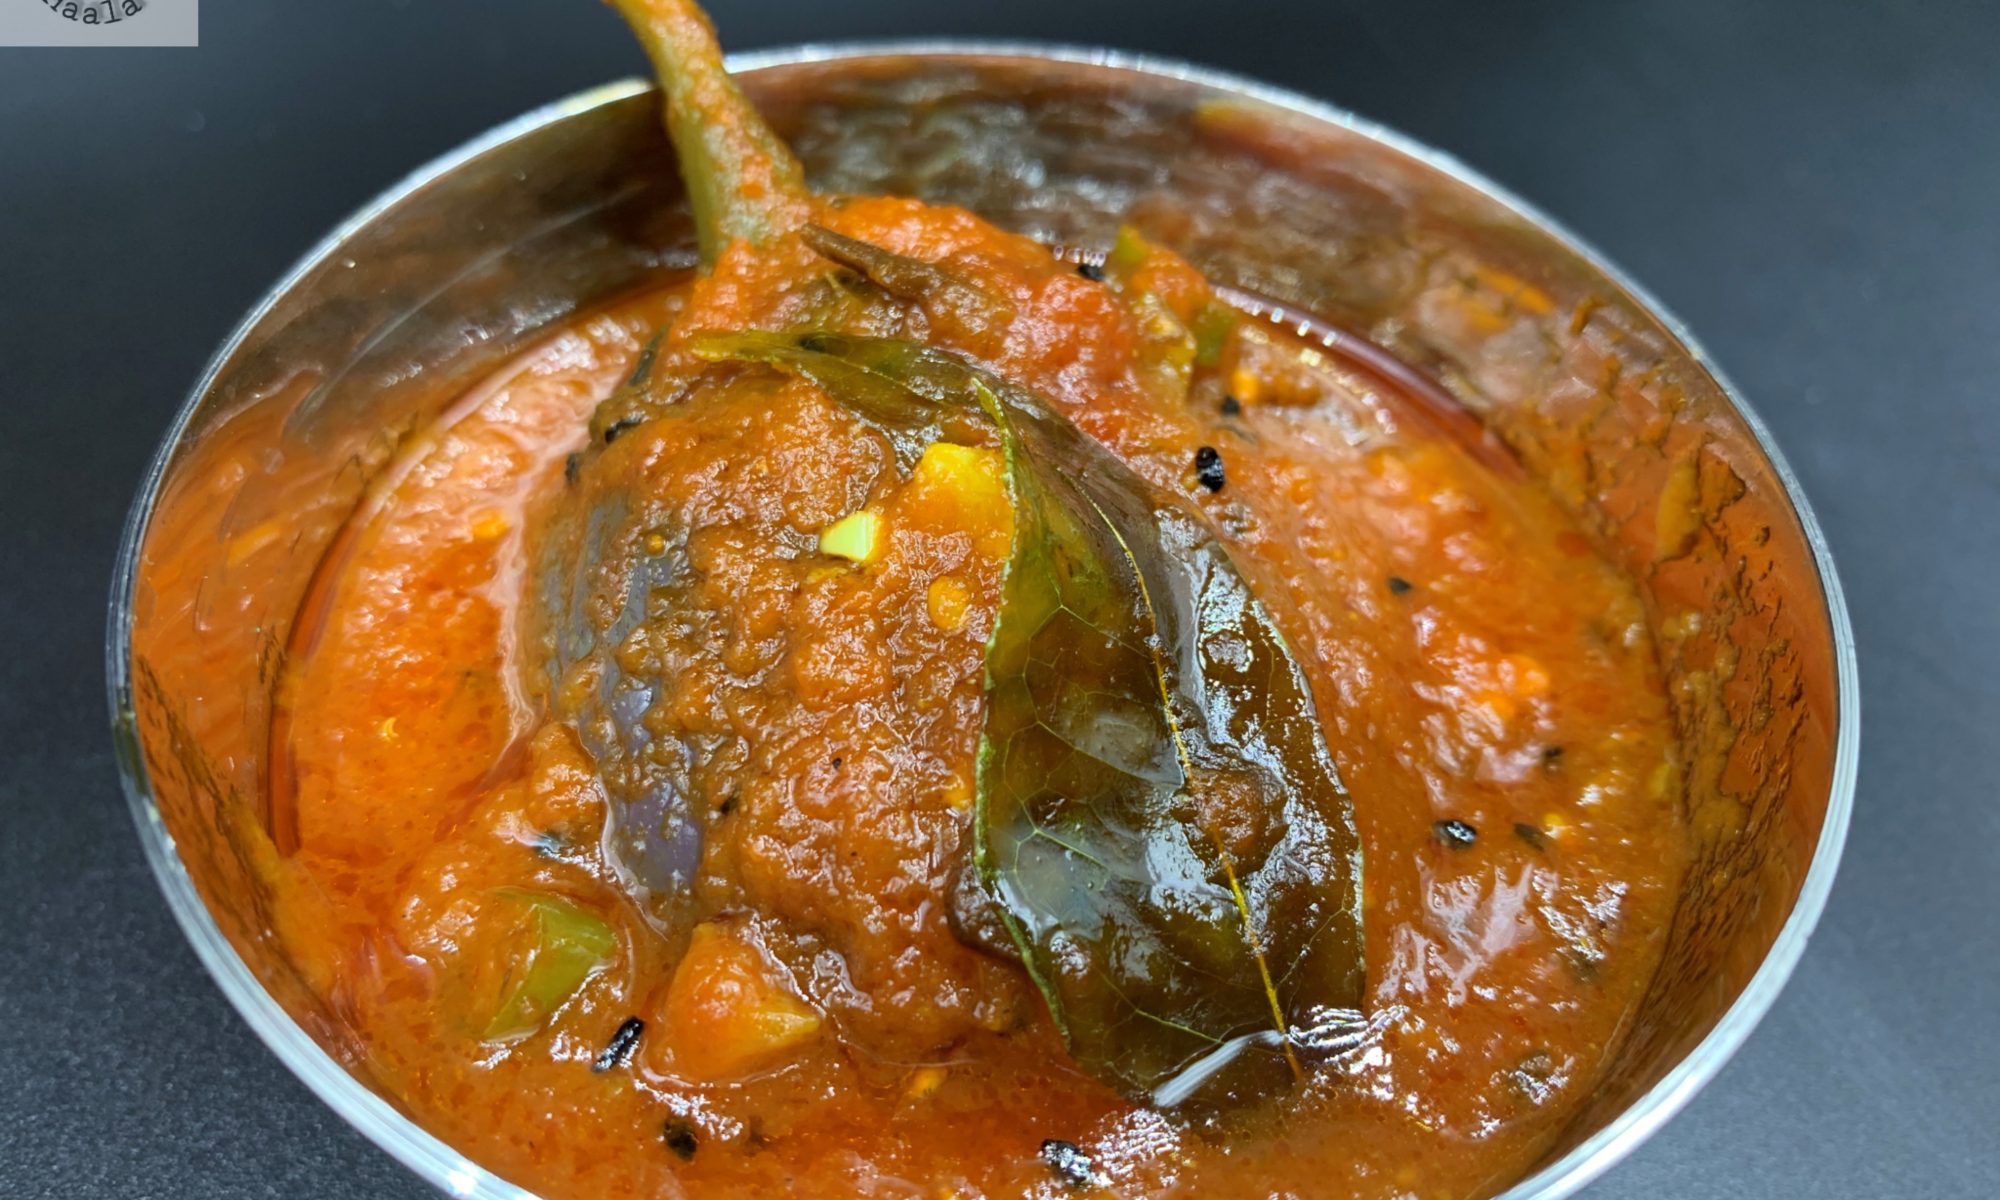
Thankfully, one of my sister-in-laws came to the rescue. She suggested soaking the daal overnight and then boiling it with turmeric powder, cumin powder, salt, and red chili powder until soft. She advised using just the water with about 25% of the daal, discarding the rest.

But I couldn’t bring myself to throw away the lentils. So I kept them—and ground them into a paste.

That small decision changed everything. The paste added body, depth, and a beautiful earthiness to the curry. What started as a hesitant experiment turned into a dish I now cherish. It’s a reminder that sometimes, the best flavors come from trusting your instincts.

Andhra Chicken Dry

My younger son happens to love food and travel shows on TV. He would watch all the shows that showcase Indian restaurants and famous Indian dishes. The good thing that I find in him watching these shows is when he always remembers famous dishes from different regions of India and of course, being an Indian parent living far away from my country, the pride of raising a kid who loves his roots and flavors is just beautiful.

So one of the shows that he was watching showed this old eatery that makes amazing Andhra Chicken and they showed the way they do the preparation and cook it. The good thing about shows like this is that they display a pretty detailed description of the dishes they make. Of course, there is always that secret ingredient and they would never give you a detail of how much of each ingredient to be added to the dish, but honestly trying out a dish with basic knowledge and then figuring out the measurements for each ingredient based on your taste and flavor is actually the real joy of cooking.

Cooking even a simple dish gives me immense pleasure and when it’s something like this where we are partly aware of the flavors since we have tasted the dish in restaurants but not too sure if the ingredients are being mixed in the right quantity. These experiments just make me happy, since they test my sense of flavor.

Chicken Ghee Roast

With a wide variety of Kebabs that we like and cook, Mutton Ghee Roast is somehow very special and close to my heart. Trying out the Chicken version of it came out absolutely delicious too. If you ever need to fix something quick, this recipe is for you.

The spice mix stays good and fresh for 2 months in an airtight container. Usually, when I make Ghee roast, I always end up making extra spice mix which works out great especially when I need to make it impromptu. The best thing about Ghee Roast is that whether you make it with mutton or chicken, the flavors blend up really well and make the dish taste great. Though you can always serve Ghee roast as a side dish or an appetizer. To me, it goes best on the side with Daal Chawal. If you don’t dry it up completely, you can also serve it with Phulka.

Chicken ke Sholay

With wide variety of Chicken Kebabs that we try every now and then, some cooked at home and some eaten at restaurants. This Kebab dish is from one of our favorite restaurants, which has quiet a few branches around New Jersey and a few neighboring states. This Kebab was always a family favorite and a dish we regularly ordered.

And then for some reason the restaurant nearest to our house shut down. Now, for people who live or have been to United states know that nothing is “close”, but when we think 5 miles, we mean its close. So, we basically didn’t have any of the restaurant branch anywhere close which definitely makes us sad, but there is always an option to try and make what we like. I feel this is sometimes a test just to prove ourselves our caliber.

So, I got down to trying out making these awesome bites of goodness. It did take a few trials but I think the perks of being in love with your food and being able to play with your spices makes you enjoy cooking food that satisfies your taste buds. The hard part is to just try and get the correct amount of spices to make a dish taste exactly like how we have eaten. The best part is that these experiments make get some wonderful dishes to your dining table which are always a delight and loved.

Lobster Curry

My love for Lobster curry began in 2012 on our first visit to Kerala. We stayed in a houseboat in Alleppey. The backwaters with the perfect weather in Kerala. We were their around the Christmas time and I feel that that’s the best weather to visit Kerala. During our visit and stay at the houseboat, the host made amazing Kerala cuisine including loads of varieties of seafood. That’s where I tried Lobster curry for the first time.

I had tried Lobsters before at loads of seafood restaurants but they were all mildly cooked and had no spice except garlic and salt. The Lobster curry was beyond my expectations and outstandingly delicious. The houseboat had 3 guys responsible for cleaning, cooking and maintenance. Being there was one of the best vacations we ever had. The weather, the backwaters, the walks in the greenery and the hospitality all made our stay memorable.

Now after tasting the awesome Lobster curry, I had to request for the recipe and our host gladly gave it away. Thought the recipe given was rough but it was enough for me to understand and make this super delicious recipe.

The original recipe is made using coconut oil. I made mine in Olive oil since I don’t use coconut oil. I don’t think it makes much difference to the recipe, except making it less coconuty. Since I add coconut milk as well, it adds a perfect flavor to compliment the rest of the ingredients, but you can always cook in coconut oil if you prefer. There are few changes as well that I made to the recipe and therefore I cannot really call it a dish from Kerala.

I clean the Lobsters at home if I have to order them for home delivery, which of course is a preferred source these days, but usually if you happen to go to the Fish market and pick your own Lobsters, you can always have them cut the claws and cut it from the middle. I partially boil my lobsters with Turmeric powder and salt so they don’t smell musky. Then to cook the curry, I add Black seeds and curry to the oil followed by onions. Once the onions turn transparent, add Ginger Garlic paste along with spices and fennel powder. I think fennel powder adds a lot of freshness to a dish, specially when its seafood. Add coconut milk or coconut puree along with Tomato Puree and once everything blends and comes together, add the Lobsters and let it cook for another 10-12 minutes and your curry will be ready.

The Lobster curry seems difficult and hard to make but honestly, it takes less time than a chicken curry and looks super fancy on the dining table. This recipe can be used for cooking Crabs as well. You can always substitute Lobster with crab. Hope you enjoy cooking this dish and love it as much as my family and I do.

Khatte Baingan

Biryani is a dish loved by everyone. With countries like India, Pakistan and Bangladesh where Biryanis are so popular and makes it to the menu of all special occasions. Biryani has a huge variety of accompaniments, like Baghare Baingan, Dalcha, Raita, Chutney, Mirch ka Salan and Khatte Baingan.

Deciding on an accompaniment with Biryani also requires a few skills. As much as people think that all Biryanis are more or less the same and a basic raita fulfills the purpose of serving on the side with Biryani, its not really true. If your Biryani is not too spicy, you should make Mirch ka Salan or Baghare Baingan. If its super spicy, making Khatte Baingan or Dalcha mellows it down a little. Raita goes along with any Biryani that’s spicy or simple.

The recipe is simple and made with very little oil. A lot of people fry their eggplants to cook them, but I choose to boil them. Boiling them ensures that they are completely cooked and eggplants have a tendency to absorb too much oil so, this way it doesn’t get too oily. Once eggplants are boiled, add oil to a pan, add Black seeds and curry leaves. Further add a little ginger garlic paste with Turmeric Powder and red chili powder. Add tomato puree, ketchup and green chilies. The ketchup adds color along with a sweet and sour taste making the eggplants taste great.

These Khatte baingan are very easy to make and are loved by everyone, even people who usually aren’t a big fan of eggplants. This goes well with Biryanis that aren’t super spicy. Simple Biryanis like Mughlai Biryani or Thalassery biryani go really well with Khatte Baingan.

Mutton Ghee Roast

With the wide variety of Kebabs that we make, we love kebabs made from meat the most. I love the way meat Kebabs are always so juicy and tender and absorb all the flavors so naturally. The texture of meat and the spices blend in so well together. I am sure if you look into details of cooking that when it comes to Kebabs, meat Kebabs definitely make to the top of the list. I have heard a lot of people liking Beef too, but since I have never cooked or consumed beef, I don’t really have an idea. But I do think that since Beef has a lot of fat, cooking with its own fat must be adding more flavor to it.

Coming back to Ghee Roast. I came across some cuisine where they mentioned the dish and showed how the meat is boiled till it’s cooked. after roasting the whole masalas, they are ground to a powder, and then the meat is cooked in ghee with spice powder, onions, curry leaves, and green chilies. This dish is pretty easy to make and makes it to my top ten list of easy and flavorful kebabs.

The best thing about these kebabs is that they can be partly premade a few days in advance as well. You can boil the mutton a few days in advance and refrigerate or freeze it, depending on how many days you want to use it. Similarly, you can always dry roast the whole masala and grind them and store them in a dry and airtight container. These kebabs are juicy, moist, flavorful, and go really well as a side dish or by itself. If you are a fan of meat kebabs, you will love the scrumptious chunks of flavorful meat. Enjoy!!!

Hyderabadi Chicken 65

Chicken Kebabs are an all time wanted and favorite for everyone. Chicken Kebabs go so well with Daal Chawal as a side dish and even by themselves. I love making Chicken Kebabs for my get together with friends as well. People always feel that you cannot experiment much with Chicken Kebabs at home, where as experimenting with different Kebab flavors at home is the best thing to do.

The basic thumb rule is follow the fragrance and the flavor. If there are spices that go well together and there are spices that don’t go too well. Spices like Black pepper is something that you need to add little at a time, since if its too much the dish tends to get bitter. If you need to enhance the flavor of Black pepper in your dish, its always better to add less of Black pepper and more of White Pepper to balance the pepper taste. Adding Tandoori masala gives a lot of kick to Red chili powder and makes kebabs more flavorful. You can always use citric acid in place of Vinegar or Lemon juice. Adding Flour with Rice flour and Corn starch Powder will add a lot of crunch to your kebabs if you are frying them.

With the Hyderabadi Chicken 65, I added Red chili powder and other spices with Ginger garlic paste and mixed it well. Further rolled the spiced Chicken pieces in Flour, Rice flour and cornstarch powder and fried them. Later cooked them in a sauce made with Onions, green chilies, various spices and Yogurt. I also add a little cornstarch powder to the gravy to make it a little thicker.

Chicken 65 is made in different ways in different places of India. Though the original recipe was made in Chennai, but different places modified their ways and made it suitable to their taste buds. Honestly, every pace has their unique flavor and we always tend to have our favorites but making them in different ways is always great to add more variety to your dinner table.

Malabar Shrimp Curry

Shrimps are one of my favorite kind of seafood and I would always try shrimps with new kind of gravies or new styles of marinade and fry them or grill them in different ways. Mr. Parveez always preferred eating an actual fish to eating shrimps. He finds Shrimps to be a little tasteless. So, when I started making Shrimp curries, he was still not a big fan. He would eat, but you know not really enjoy it as much as how I would like him to.

We watch a lot of travel shows and during one such show, the host happened to be travelling around restaurants in Kerala and one such restaurant was cooking Malabar shrimp curry. Now before anything let me tell you this. We were watching this program around an hour or so before dinner time. While the chef in the restaurant was showing how he prepares his special Shrimp curry, we were glued to the TV and wished we could see it live in person and have a bite of that scrumptious looking curry. Anyways, just as I mentioned that it was around an hour or so before dinner. Looking at that curry, I was determined that I have to try making it. Funny enough I remembered that my freezer has a pack of frozen shrimps. I always believe in miracles and this might have been one such lucky day. I got down to making it that very moment. The curry came out amazingly delicious and a family favorite too. Now the chef had only given in a rough idea on how to make the curry and few things that I have added to my curry recipe was not a part of the show that we watched. So, you might not find this different from an authentic Malabar Shrimp Curry, but you will definitely get the hint of Malabar flavors and savor each bite.

I deveined the shrimps but left the tail on. I feel it makes the shrimps look prettier in a curry, but you can always take the tail off if you prefer. After washing and pat drying, I marinated the shrimps in Ginger garlic paste, Red chili powder, Fennel seed powder, Tandoori powder, salt and lemon juice for 15-30 minutes. I also added a bunch of curry leaves. Further added some Rice flour, All purpose flour and corn starch powder and deep fried the shrimps. Frying makes the shrimps crunchy and the texture with the curry sauce is very flavorful.

To make the curry, add mustard seeds and fenugreek seeds along with dry round red chilies. Once they splutter, add curry leaves and further add chopped onions. Add ginger garlic paste followed by black pepper powder, Turmeric powder, Red chili powder, coriander powder, fennel seed powder, salt and cumin powder. Add the Dry red chili paste, tomato puree and green chilies along with fried shrimps and dry fenugreek leaves.

This shrimp curry is pretty easy and would make a special place in your menu. Its goes along great with garlic naan or plain naan and also Kerala Parantha.