Every culture holds its own treasures within the kitchen, and each country offers flavors that tell a story. Exploring diverse cuisines goes far beyond simply tasting food—it is, in many ways, an immersive way to experience the traditions, history, and spirit of another culture.
This recipe, with its subtle Middle Eastern and Greek influences, was inspired by that very idea. At a more personal level, however, it grew out of a simple parental instinct—the desire to find an engaging way to serve my children more vegetables. These pita pockets proved to be the perfect solution: wholesome, vibrant, and generously layered with flavor.
In all honesty, getting children to eat their vegetables has become a familiar challenge for many parents today. Finishing what is on the plate—let alone meeting the recommended daily portion—can often feel like an uphill task. While vegetable curries are typically a reliable option, with children like mine, even those dependable favorites do not always guarantee success.
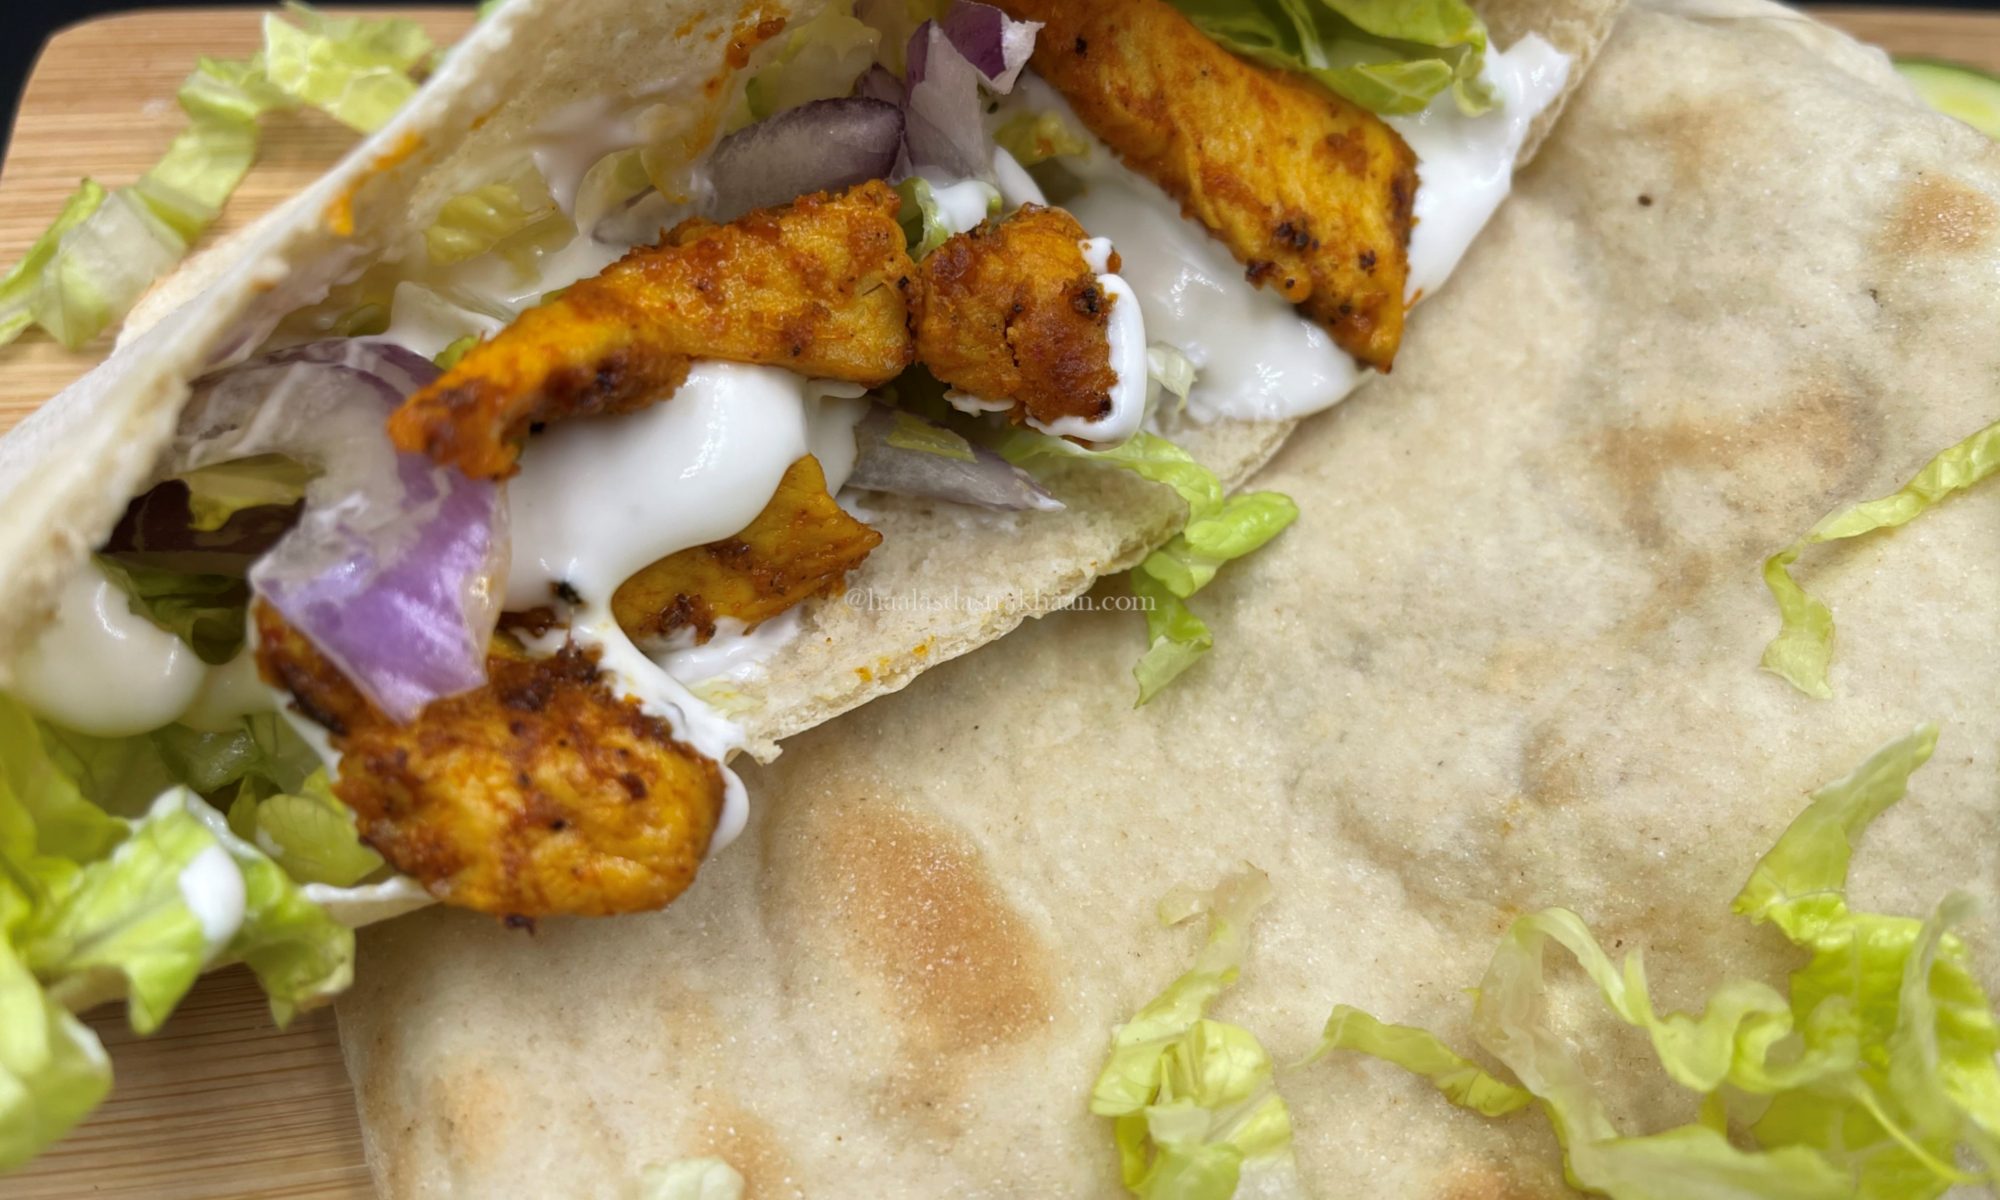
That is precisely when this dish becomes a true savior. The chicken is prepared with minimal oil, while the filling is generously packed with fresh vegetables, all neatly tucked into soft pita pockets. The result is a meal that is vibrant, flavorful, and—most importantly—enthusiastically approved by the kids.
Exploring the world through food does not always require a plane ticket—it can begin right in your own kitchen. Preparing dishes inspired by different countries is one of the simplest, and most delicious, ways to experience the richness of another culture.
These chicken pita pockets are an ideal place to begin. Bursting with flavor, generously filled with vegetables, and wholesome enough to serve without hesitation, they strike a wonderful balance between nutrition and taste. With their bright, Greek-inspired profile, they work beautifully for either lunch or dinner—and are certainly hearty enough to stand alone as a complete meal.
The pita pocket itself is one of the most practical and versatile sandwich breads to work with. Easy to open and neatly portioned, it creates the perfect vessel for a well-balanced filling. I often slice each pita in half to form two tidy pockets, making serving both convenient and appealing.
These chicken pita pockets perfectly demonstrate how chicken and fresh vegetables can come together in a dish that is both nourishing and deeply satisfying.
Pita pockets are, without question, among the most versatile sandwich breads to work with. They are easy to open and portion, and I often slice each pita in half to create perfectly sized pockets.
Chicken pita pockets beautifully illustrate how tender chicken and fresh vegetables can come together in a dish that is both wholesome and deeply satisfying.