Chicken Pita Pockets

Cuisines in every culture and tradition or every country have wonderful recipes to offer. Trying different cuisines around the world just makes you experience how amazing the world of flavor is. In a way, it makes you experience another culture. This recipe has a very middle eastern and Greek flavor. The reason or the inspiration behind trying these amazing Pita pockets was to serve my kids with more veggies.

Honestly, I feel that in today’s time everyone finds it difficult to have their kids finish veggies on their plate or just simply consume the basic portion recommended. Cooking Vegetable curries is a great option but when you have kids like mine, the curries cannot save your day either. Times like these are when this dish is a savior in every good way. The chicken is cooked with very little oil

Eating your way around the world is a fun thing you can do from home. Trying foods from different countries is also a great way to experience another culture. You can start with this chicken in pita pockets. This recipe is filled with loads of flavor plus its healthy too. Lunch or dinner, it’s always filling and nutritious. Greek flavor and will really fill you up. In fact, these serve as a lunch or dinner but could be an entire meal.

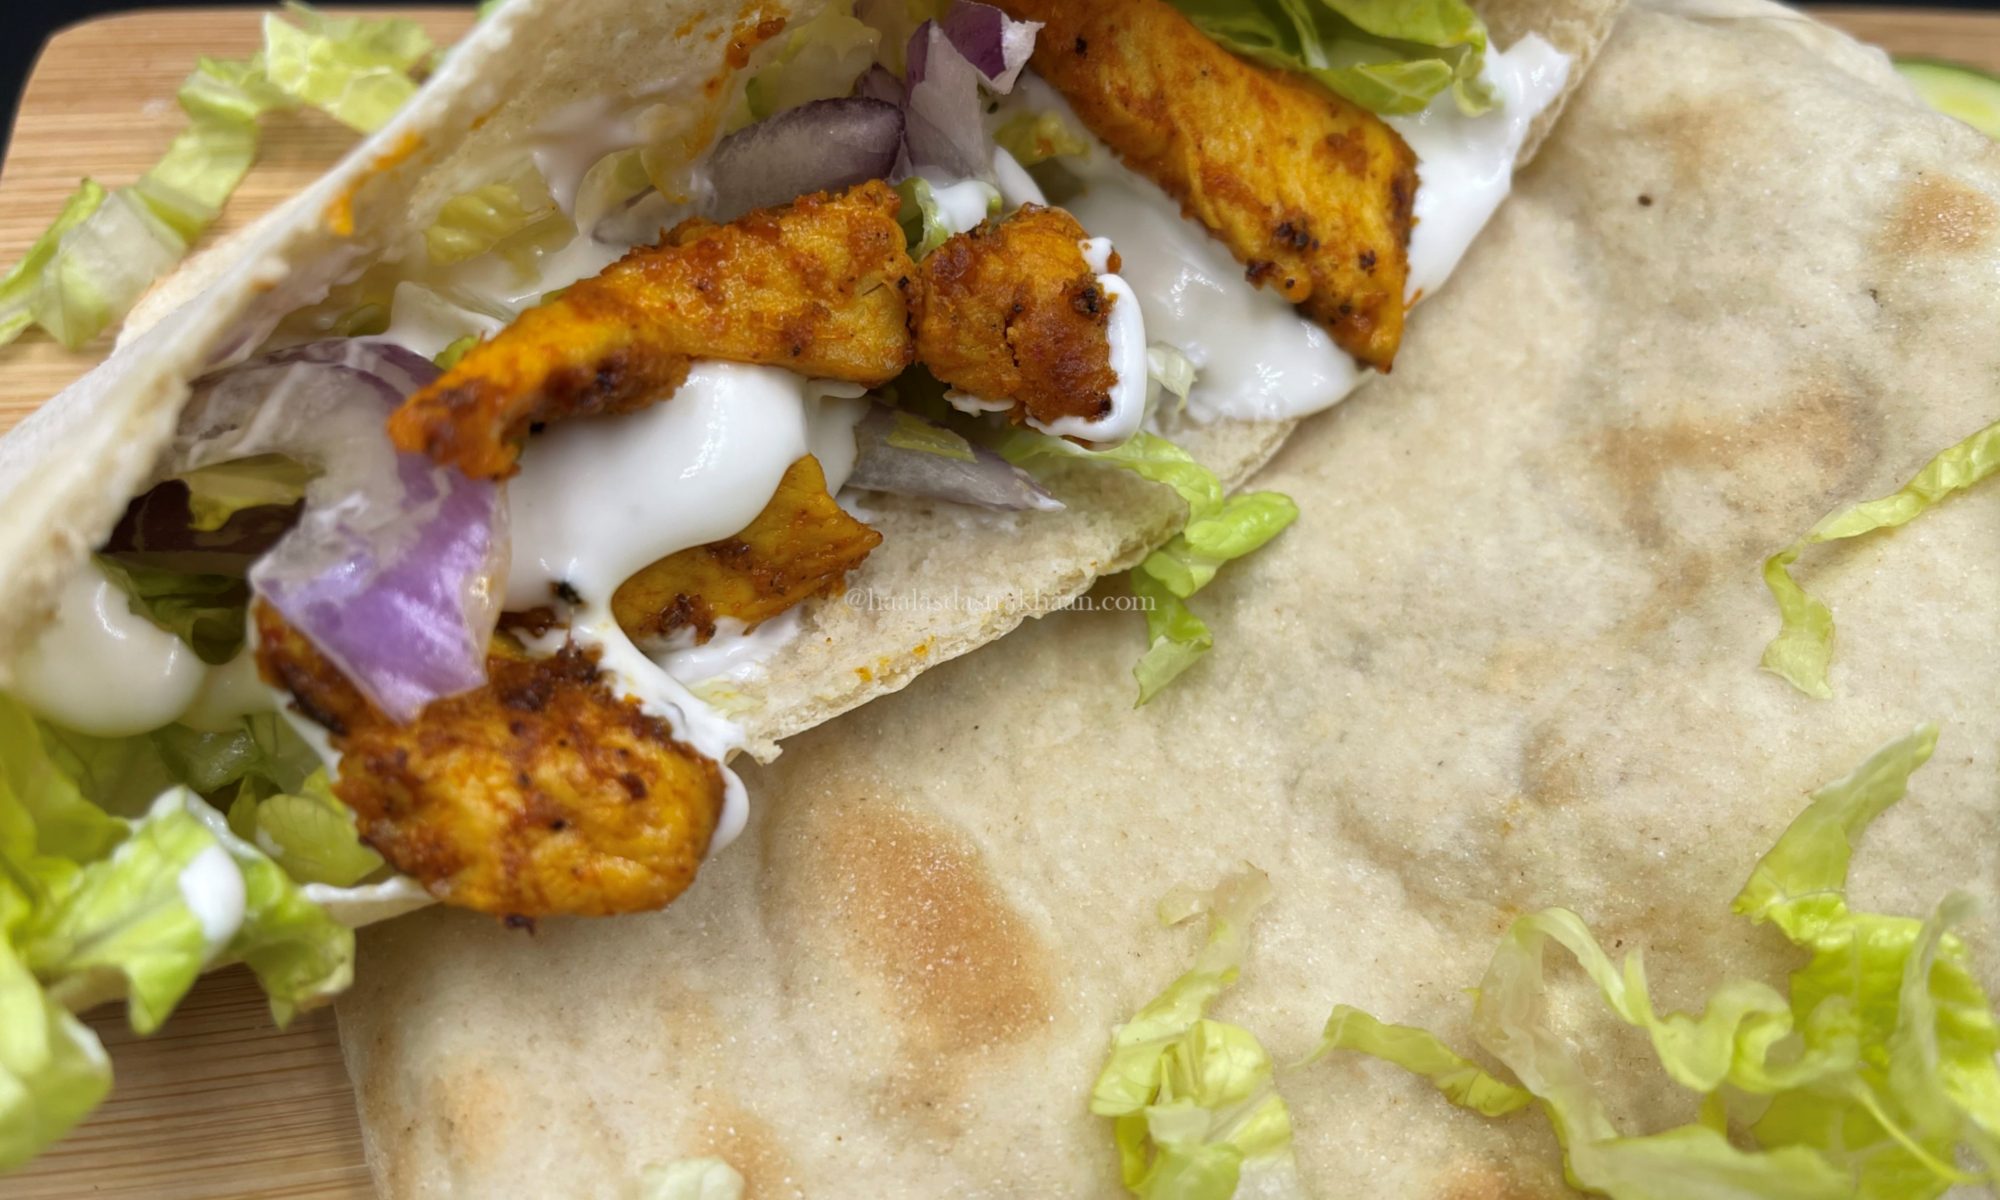
A pita pocket is the best sandwich bread you can use. Pita bread can easily be cut open. I usually prefer cutting it in half creating a pocket. Chicken pita pockets are a perfect example of how delicious veggies and chicken be while being healthy. Don’t get scared looking at the recipe or feel looking at the pics that the end product seems too complicated. This dish is easy, not super easy, and not something I would suggest to a beginner, but it’s still not too time-consuming, and if you follow each step as directed, your finished product would be fabulous. this works.

Homemade Buns / Paav

I still remember when the trend of Paav Bhaaji came to my town. I was in Elementary school and I loved the flavors and so did everyone in the family. The funny thing was that all of a sudden Paav Bhaaji became a favorite dish for all. Now I have never been to the roadside stalls to eat Paav Bhaaji, though I somewhere always wanted to, but the small town I belonged wasn’t very apt with women standing on roadside eateries during those days. While writing this, I feel as if it was centuries ago, but honestly it was just a few decades ago and the amazing thing is that my small town has changed so much in the last few years that it’s exciting as well as scary. See, small cities have their own magic. People are friendlier, have more time in hand and almost everyone knows everyone. From that time where I would meet 50 people in a radius of one mile to now meeting almost the same number, but with the warmth missing.

Anyways, coming back to Paav Bhaaji. So, my father would always bring it home as a take away and we would all love it to the core. Slowly, my mom started getting Pav bhaaji masala and we would enjoy home made Paav bhaaji. So, my home made Paav bhaaji masala is my mother’s recipe.

I had tried my hands at Paav Bhaaji multiple times and always loved every bite of it. Though my mother used so many different veggies like cauliflower and carrots for her Paav Bhaaji, I only stick to Potato and Bell pepper, making it closer to the original flavors.

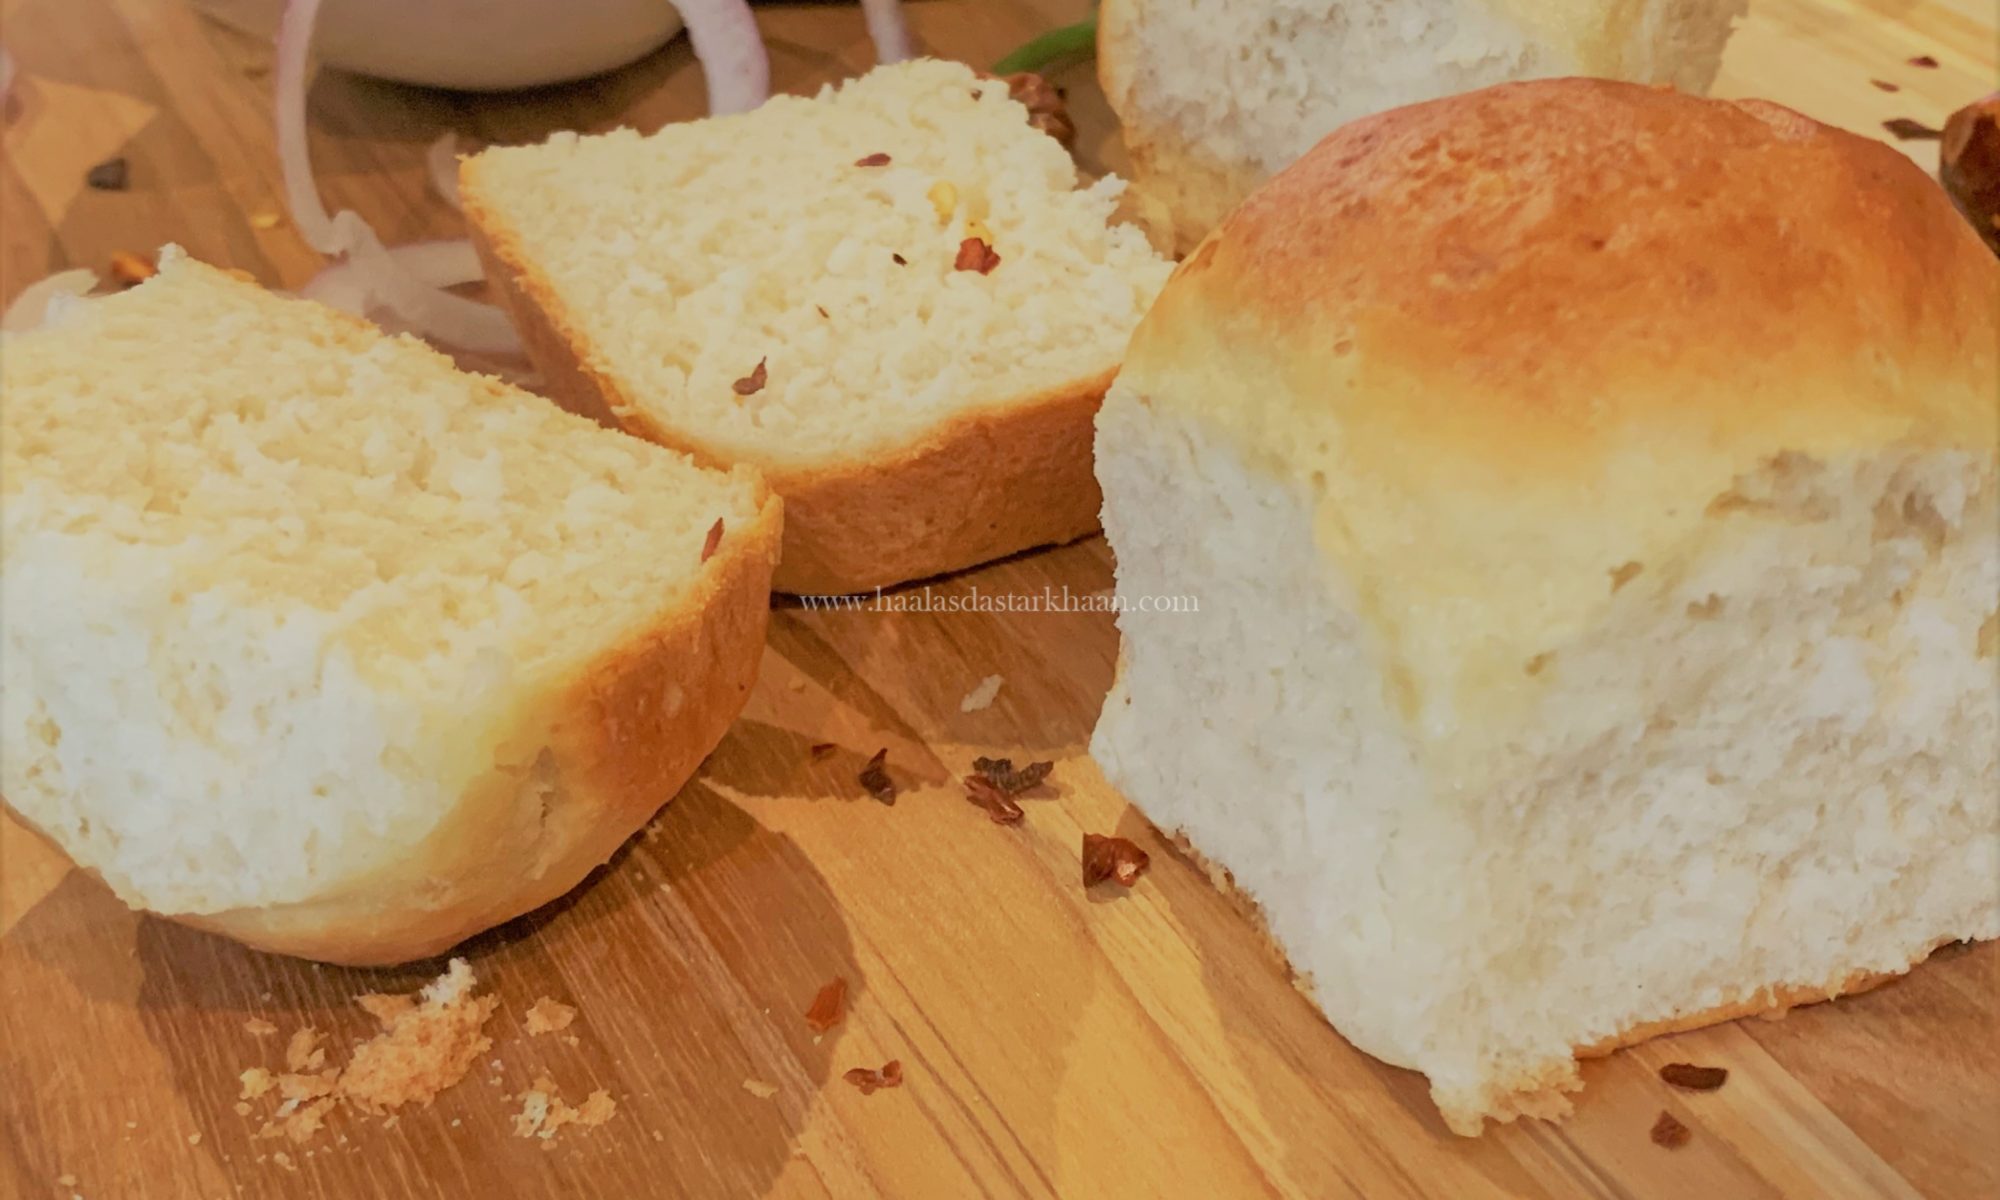
The Paav are also homemade. They are pretty easy as well. If you follow the recipe properly, you will be able to make these pillow soft amazing buns at home. You can serve the buns with anything, but as Paav with Bhaaji, they just seem to taste super amazing. To make them taste more delicious, split the buns, spread some butter and sprinkle some Paav Bhaaji masala on them and toast them on the Tava/ Pan.

Cheesy Garlic Pull Apart Bread

Who doesn’t like Garlic bread? No one I ever met said they didn’t love a good Garlic bread. Growing up I always thought that Garlic bread and Pizza go hand in hand thanks to a food joint. I could just not take the fact of people not ordering garlic bread as an appetizer before eating Pizza. And, I am sure that famous “Pizza” joint and it equally good famous competitors must have seen so many like me.

As much as my family and I love getting the Garlic bread and Pizza, at times its just not possible to order restaurant food. I mean, there are Big names and Big companies, but at times the thought of you not knowing how fresh is the food that you are consuming or is it a mix of preservatives. With all that confusion and realizing that you are blessed that you can cook, we decided we make our own. Now, it isn’t that I feel people who order take outs are doing something wrong, but I do feel that eating that kind of food every day or every other day isn’t very healthy. And then when making it at home is pretty easy.

Typically, Garlic bread is made using a French baguette, or sometimes a sourdough like ciabatta which is partially sliced downwards, allowing the condiments to soak into the loaf while keeping it in one piece. The bread is then stuffed through the cuts with oil and minced garlic before baking. Alternatively, butter and garlic powder are used, or the bread is cut lengthwise into separate slices which are individually garnished.

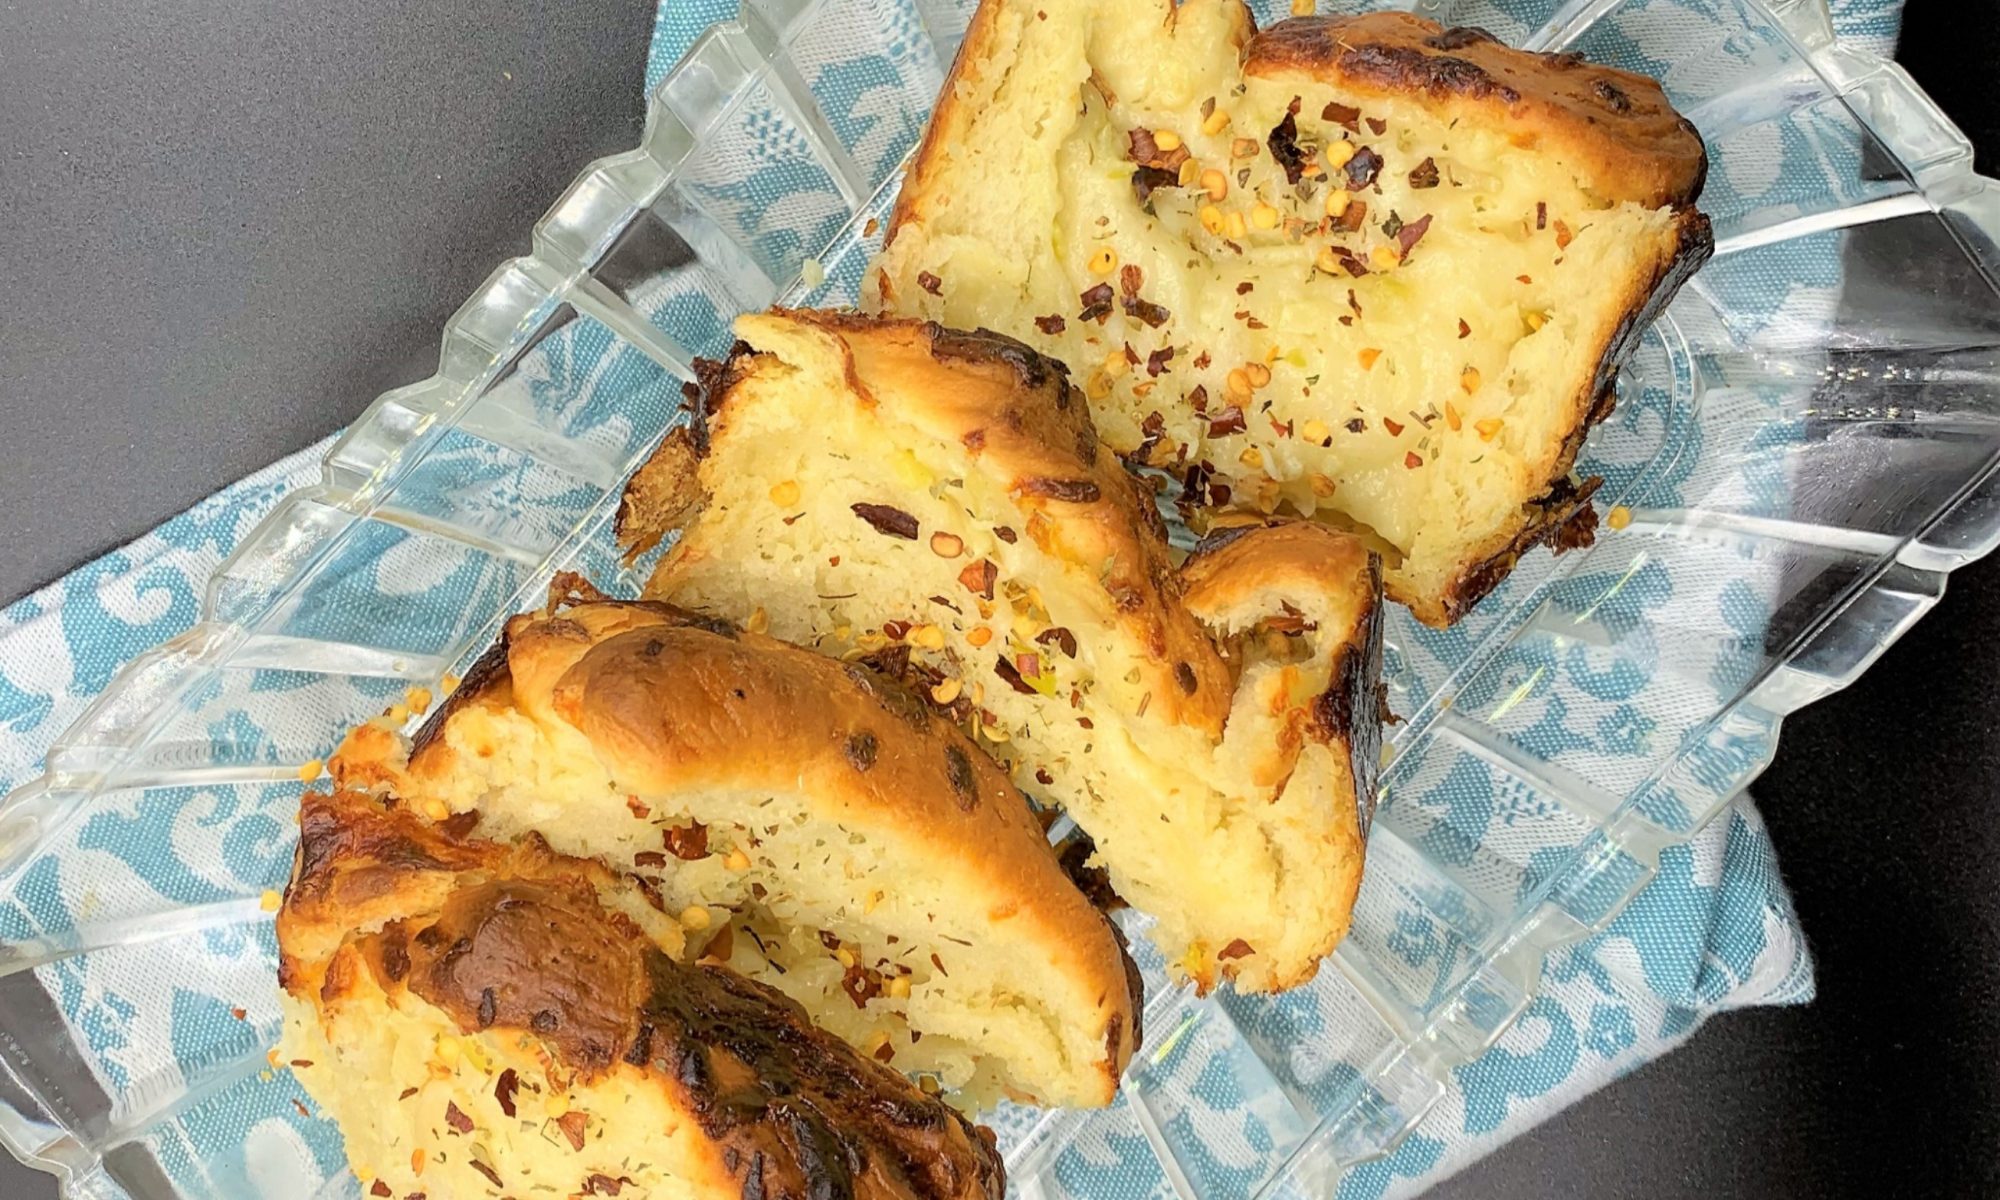
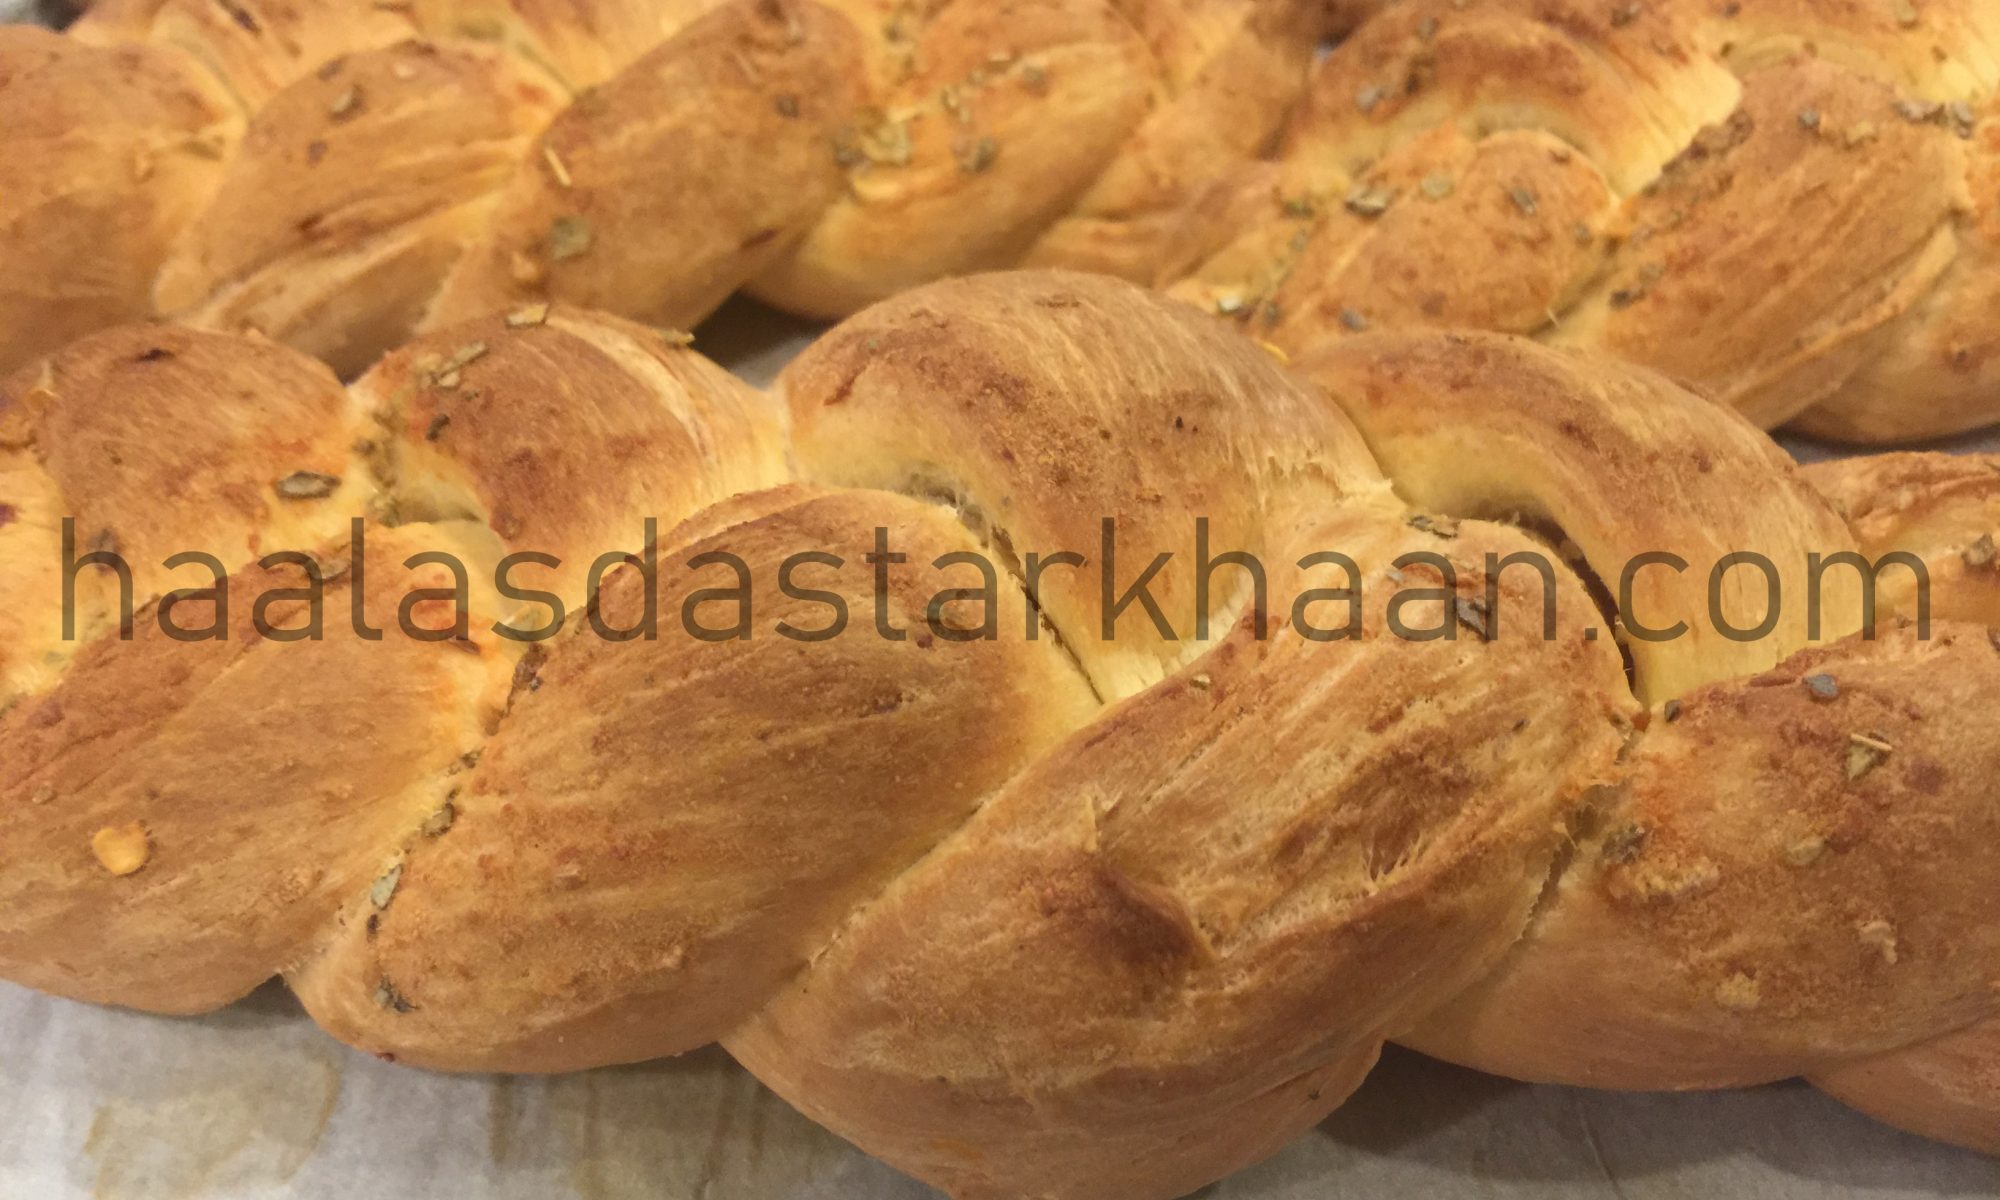
I made mine a little differently. I made the dough using warm milk, yeast and egg with flour, sugar and salt and added butter. Once the dough had risen, I added minced garlic, butter and scallions. Sprinkle some cheesy and bake….Serve hot and enjoy the oozing flavors.

French Baguette

My boys love eating bread. Specially if the bread is served straight out of the oven. Baguette, the long delicious French Bread seems to be a family favorite. Every restaurant that served a good bread had us visiting them more often. Every time we bought French Baguette from our favorite baker, I would reheat it in the oven to make it taste fresh, which was great but not the same. And, that’s when I thought I should try making my own baguette at home. Honestly, looking at so many different recipes, I felt that Baguette wasn’t all that fancily difficult and I decided it was time I just make it.

Now, when I think of France, I think of high end fashionable people, Eifel Tower and also a girl riding a bicycle with a basket full of long loaves of French bagutte Those long loaves are called “baguettes.” (The term comes from the Latin word for “stick.”) They are iconic, and France’s reputation for incredibly crusty and delicious baguettes is known far and wide.

They say that nothing can come close the bread you can get in France. I’ve never been, so I can’t say for sure, but I think you’d stand the best possible chance if you make it yourself. I mean, how could anything be better than a freshly baked loaf of bread? That crackly crust, the tender, airy crumb inside, steamy and yeasty and just begging to be torn into.

This recipe has just 5 ingredients: water, Oil yeast, flour, and salt. But the results are magical. And it’s all because of the technique. Start by dissolving the yeast in warm water. While that is doing its magic, combine the flour and salt. Create a little well in the center, and add in the yeast. Stir it around, taking flour from the outside edge and bringing it into the well, a little at a time. Keep stirring, and adding Oil followed by water as needed, until a shaggy dough forms. You can also use a stand mixer. Now just cover it loosely, and let it rest. For this type of bread, there’s not a lot of kneading involved. It only needs a few quick folds, to become smooth. Place the dough into a greased bowl and cover it tightly. Allow it to proof (or rise) in a warm place until doubled in bulk.

Divide the dough into 4 equal portions, and shape into long logs (about 15 inches long) with pointed ends. Cover with oiled plastic wrap, and allow to rise a second time. While the baguettes are rising, fill a baking pan with water and place it in the bottom of your oven. Preheat the oven and allow it to fill with steam from the water. This is the key to a crusty baguette. Once the loaves have finished their second rise, remove the plastic wrap and sprinkle them with a little flour. Then quickly slash them with a sharp knife. This is not just decorative, but it also allows the crust to crack and the bread to expand in a more controlled way.

Place them in the oven and let them bake until deeply golden brown. They should feel light and dry on the outside, and when you tap them they should give a hollow sound.

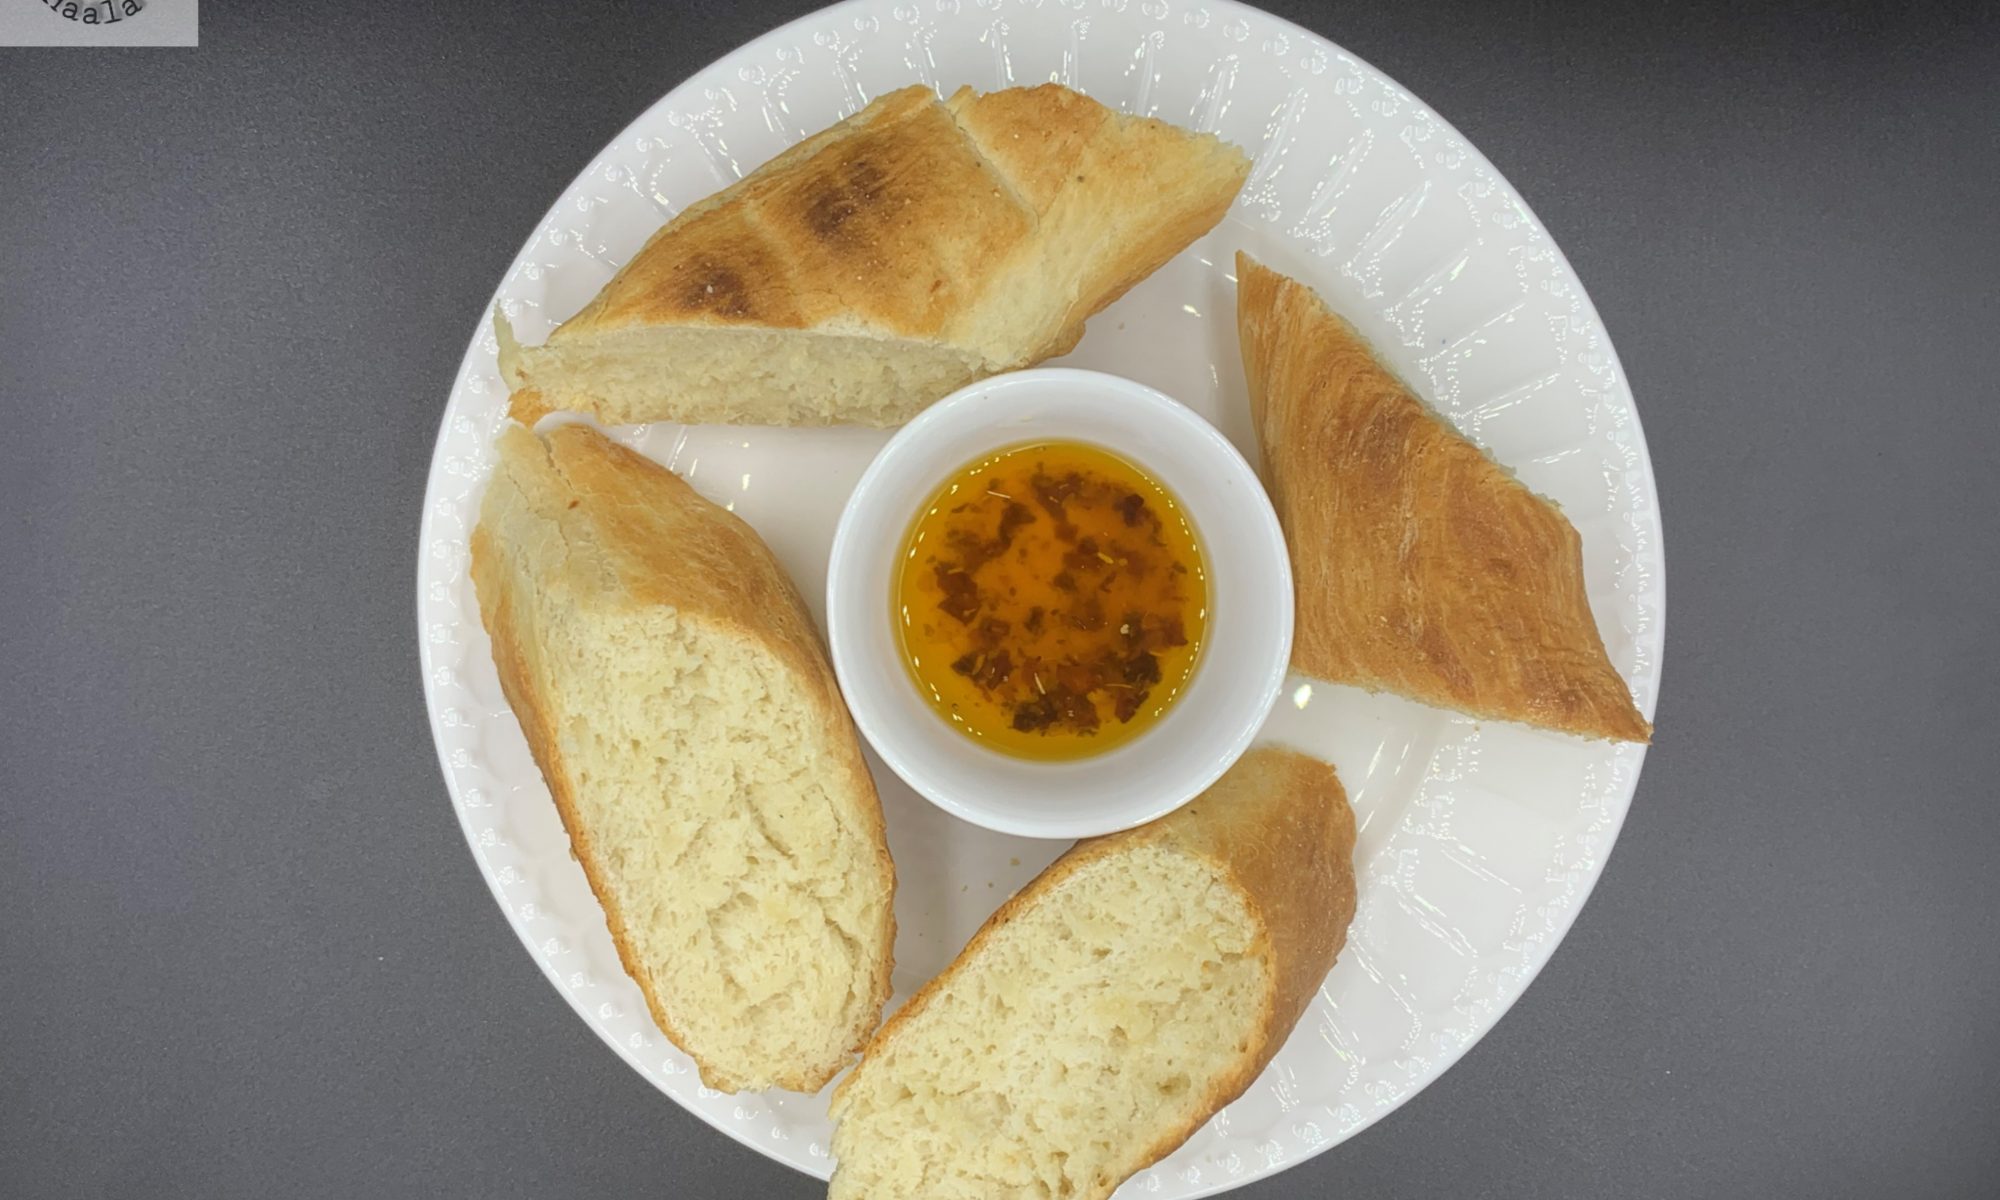
Slice it into 1/2-inch rounds and it’s perfect as a base for bruschetta or crostini. Or it can be used as a dipper for your favorite party dip. And we love it toasted with garlic butter, for garlic bread. So good with a pasta dinner!

Or just tear into it and eat it with a hot bowl of soup. So satisfying!

Pizza Dough

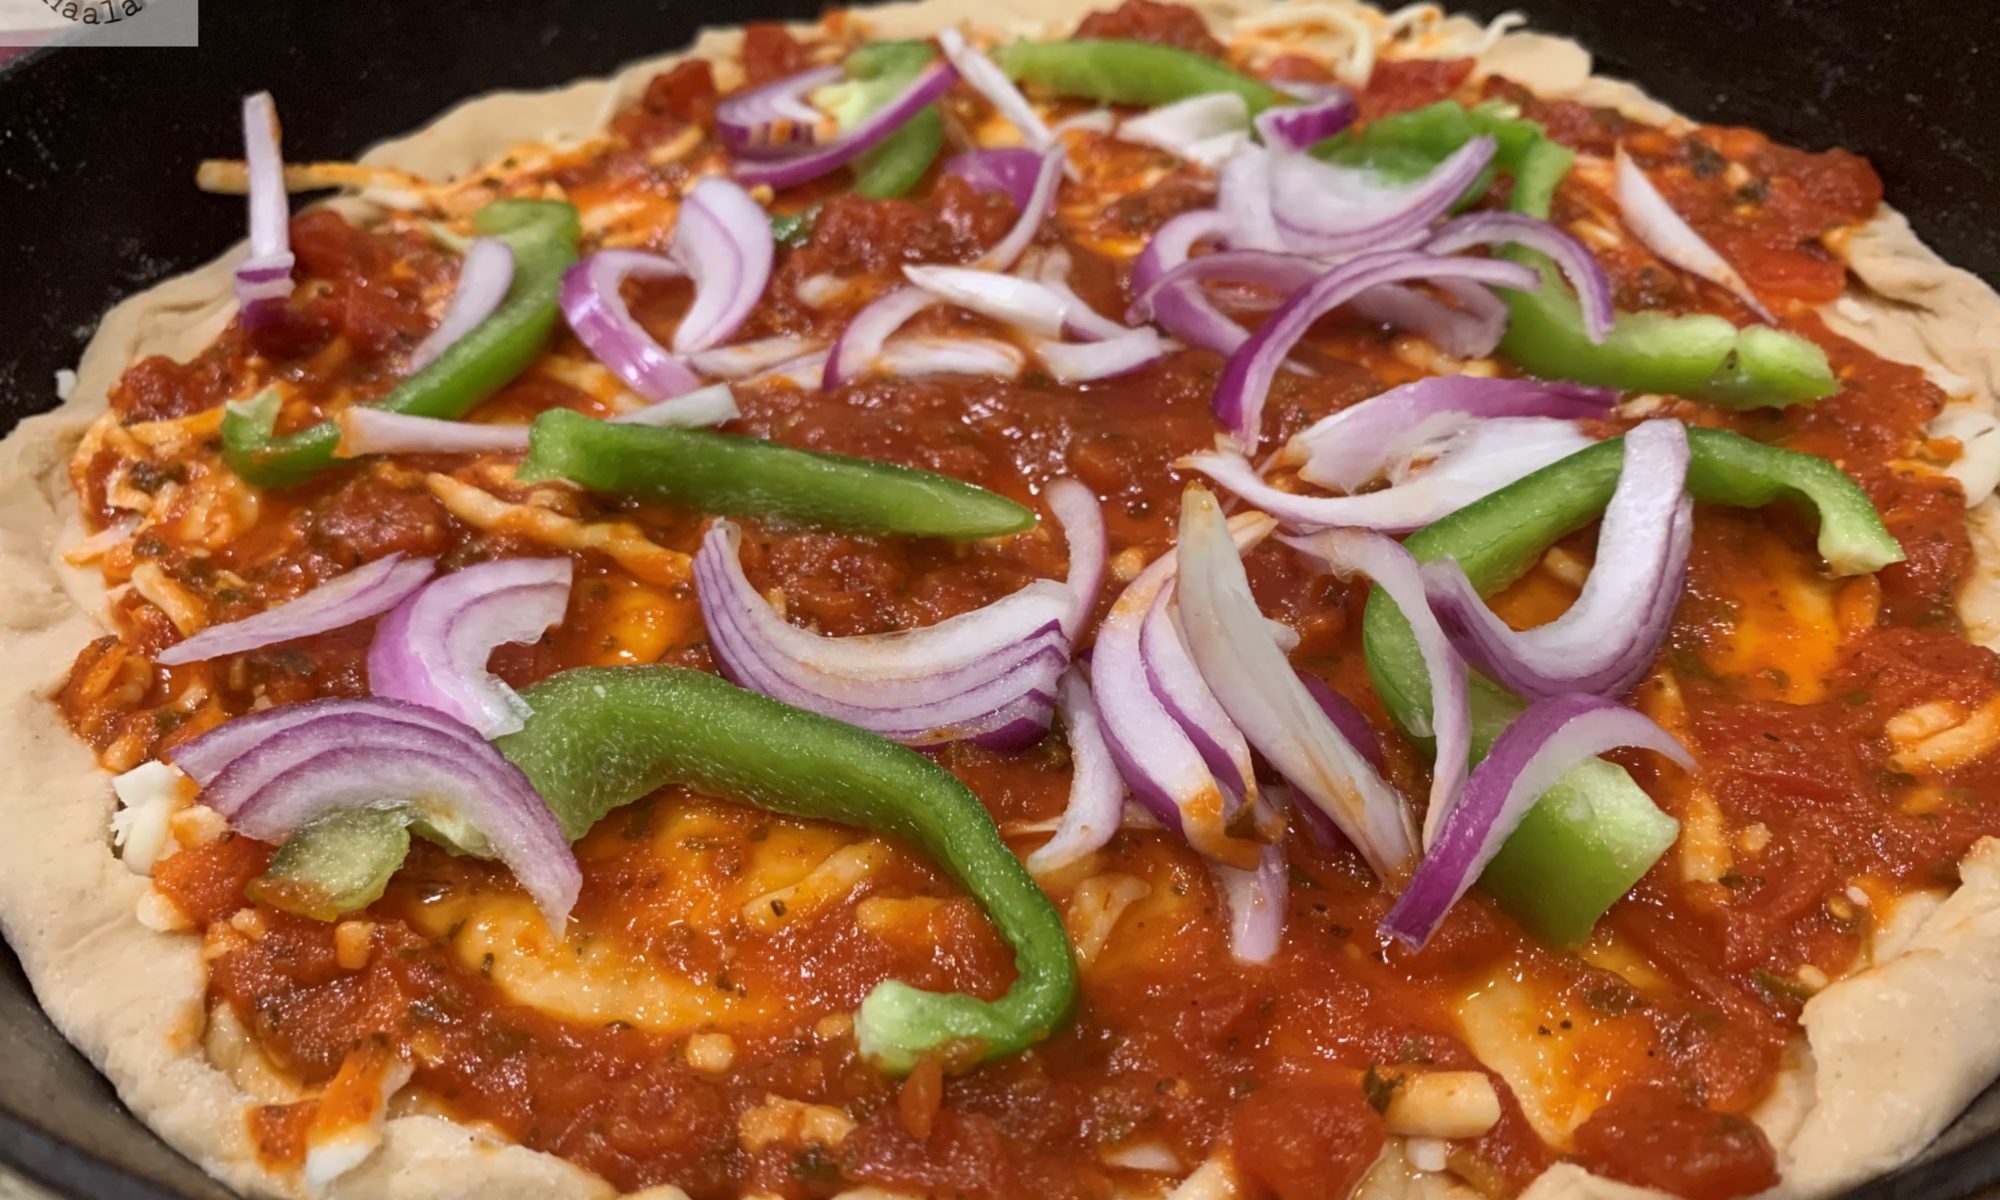
The secret to a perfect Pizza dough recipe? Easy to follow step by step photos that will give you the perfect Pizza dough. You will never have to look for another Pizza dough recipe ever. I have actually been waiting for so long to write down the recipe for this dough, since I know there are so many like me who would love to make pizza at home. One of the best things about making homemade Pizza is that you can always involve your kids and family and it can be so much fun.

The secret to making a perfect Pizza dough at home is the water temperature. You just have to make sure that your water temperature is perfect. I am not going to ask you to boil it, or microwave it , even the water that comes out of the fridge or tap, all work different ways. The temperature should be between 110-115 degrees Fahrenheit or between 43 to 46 degrees Celsius. The best thing would be to use a thermometer. If the water isn’t hot enough, it won’t wake up the yeast. If it’s too hot, it will kill the yeast. Only the correct temperature will bubble up the yeast perfectly. I have wasted loads of dough, thinking even if my yeast didn’t bubble up, my dough will work out fine, but it failed to rise resulting a wasted dough. Until I realized that the temperature has to be perfect. After a few trials you will be able to tell by touch. A candy thermometer should work just fine. Dump your water and restart if its not correct. You add around 2.5 tsp of yeast and little sugar. It doesn’t need stirring. Let it sit for around 5-7 minutes and it will be nice and frothy on top and this is when you know that the yeast will make the perfect dough.

When you are measuring you flour, make sure you scoop the flour in a measuring cup and level it. If you scoop it out right from the container, you might end up getting more flour than needed. If your dough isn’t coming together well, because may be accidentally added more flour than required, then add a tiny bit of warm water, just few teaspoons at a time until it comes together.

If you like the pizza dough recipe, leave me a 5 star and a comment. I would also love to know what your favorite toppings are. Enjoy!!!

Afghaan Noni

When I was new in USA, Middle Eastern food was one of the first cuisines I was comfortable eating outside, besides Pizza, of course…Lolzzz. The restaurant that we went to those days shut down for renovation after a few years and eventually the owner decided to sell off his restaurant, which is sad when one really enjoys the food at a restaurant.

The food the restaurant had typical Afghani food. Chicken, Meat or fish served with Rice. The Rice pilaf would be White Rice with cashews and Raisins, which I wasn’t really a big fan off and spent the first 5 minutes taking raisins and cashews off my rice. I am one of those weirdos who don’t like sweet flavors with my main dish, specially something as sweet as Raisin. But, something more than this great Afghani Rice Pilaf with Chicken, what I actually loved and enjoyed most was the Afghaan Noni.

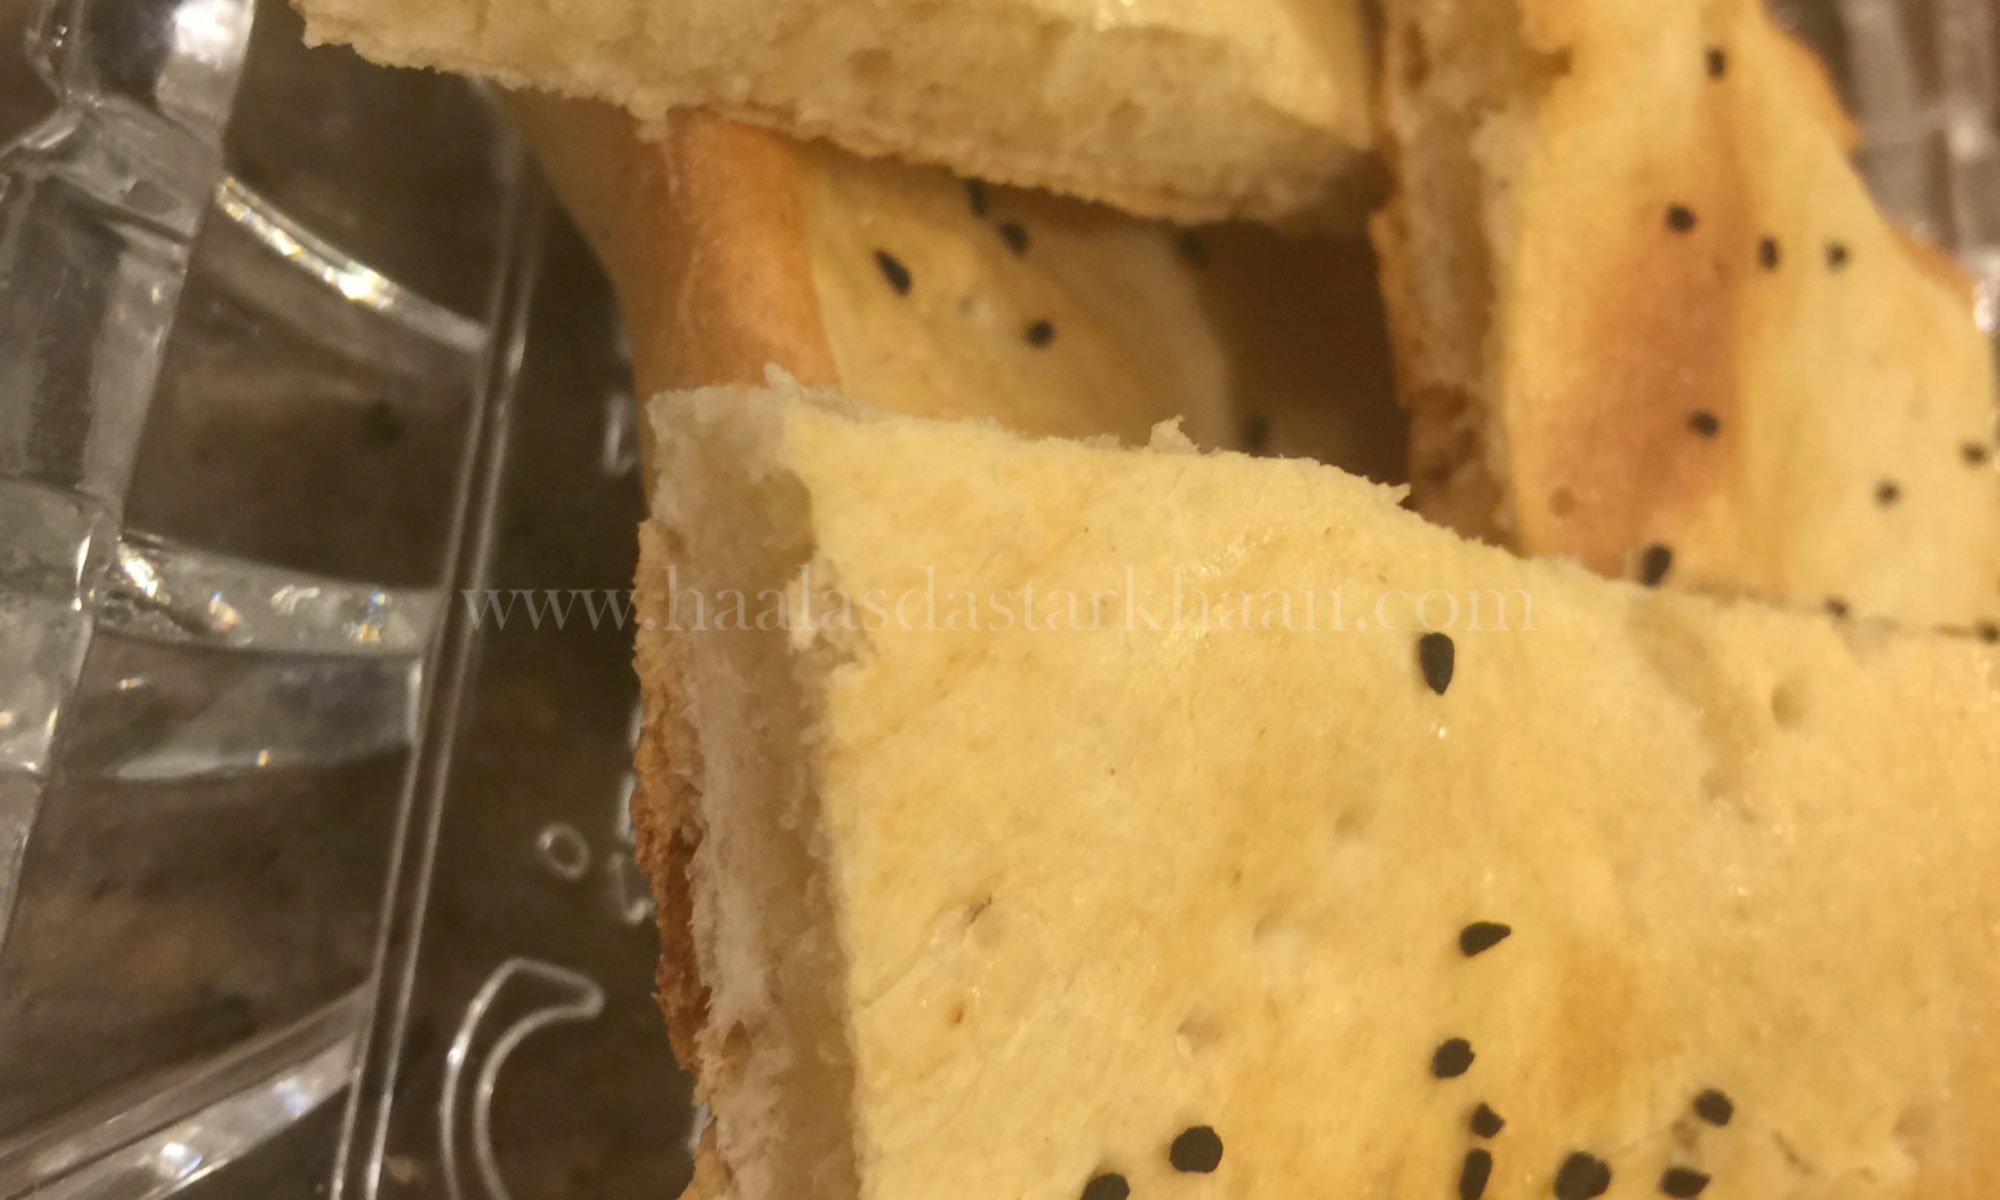
Afghaan Noni is an Afghaani Bread, made with Refined Flour or Whole wheat flour, which is then formed into a dough after mixing egg yolk and yeast. You will have to let the dough rise in a warm space until it doubles. The Afghaan Noni requires some egg white to be brushed on top for glaze and you also have to sprinkle some Nigella seeds on top, though its optional.

The dough needs to be left to rise for at least 1 hour, more if you are living in a colder region or baking during the winters. The dough can be kept in the freezer for up to 2 months and in the Refrigerator for 3 days.

I usually serve it with another Afghaani vegetarian dish “Bourani banigan”, which is eggplants cooked with tomato gravy and Garlic and served with sweet Yogurt. It makes an excellent appetizer or even a light lunch. These actually even taste great with a cup of tea. Bread so simple that this recipe is great for beginners as well.

Braided Cheese Spicy Rolls

These delightful braided rolls are a great accompaniment to any meal, specially the brunch or lazy lunch days. The coarse chili flakes isn’t overpowering. I could have used this dough to even make burgers.

Its lovely to experiment with breads at home. The trick I learnt with time is that if your yeast doesn’t rise, redo it. A yeast that does not rise won’t make your dough airy and won’t make the dough rise. Generally, when people add the yeast directly to the flour, its advisable that you use instant yeast.

Besides the yeast, before you get pro at baking breads, always make sure you read the recipe and all the instructions properly before you start. Don’t believe anyone when they tell you how difficult it is to make a great bread or pizza crust or rolls, because trust me, it isn’t as difficult as it seems. Making good bread is an art, but it can be easily be learnt.