For me, Pav Bhaji is not just a dish — it’s a memory, a time capsule that takes me straight back to childhood.
I still remember when the Pav Bhaji trend first arrived in my town. I was in elementary school, and almost overnight it became everyone’s favorite food. The rich aroma, the buttery pav, the vibrant, spicy bhaji — it felt exciting and new, like a taste of a bigger world arriving in our quiet little city. My whole family fell in love with it instantly, especially me.
I never got to experience it the way many people did — standing at a bustling roadside stall, eating straight off a hot griddle. I always wanted to, but in the small town where I grew up, it wasn’t considered proper for women to eat at street-side vendors. It sounds like something from another era, yet it wasn’t that long ago — just a few decades. Writing about it now, I’m amazed at how much my town has changed since then. The transformation is exciting, but also a little unsettling.
Small towns have a magic of their own. Life moves slower, people are warmer, and relationships feel closer. Back then, I could walk down the street and run into dozens of familiar faces — neighbors, shopkeepers, school friends, distant relatives. Today, I might still see just as many people, but that easy sense of connection feels softer, almost faded. Progress brings many good things, but sometimes it quietly takes a few precious ones away too.
Since I couldn’t go to the stalls, my father would bring Pav Bhaji home as takeaway, and those evenings felt like celebrations. We would gather around, tearing into buttery pav, scooping up the spicy bhaji, savoring every bite. Eventually, my mother began recreating it at home using store-bought Pav Bhaji masala, and soon her version became just as beloved. Over time, she developed her own blend — simple, balanced, and deeply comforting. It’s the same masala I still use today, and every time I cook with it, it feels like bringing a piece of her kitchen into mine.
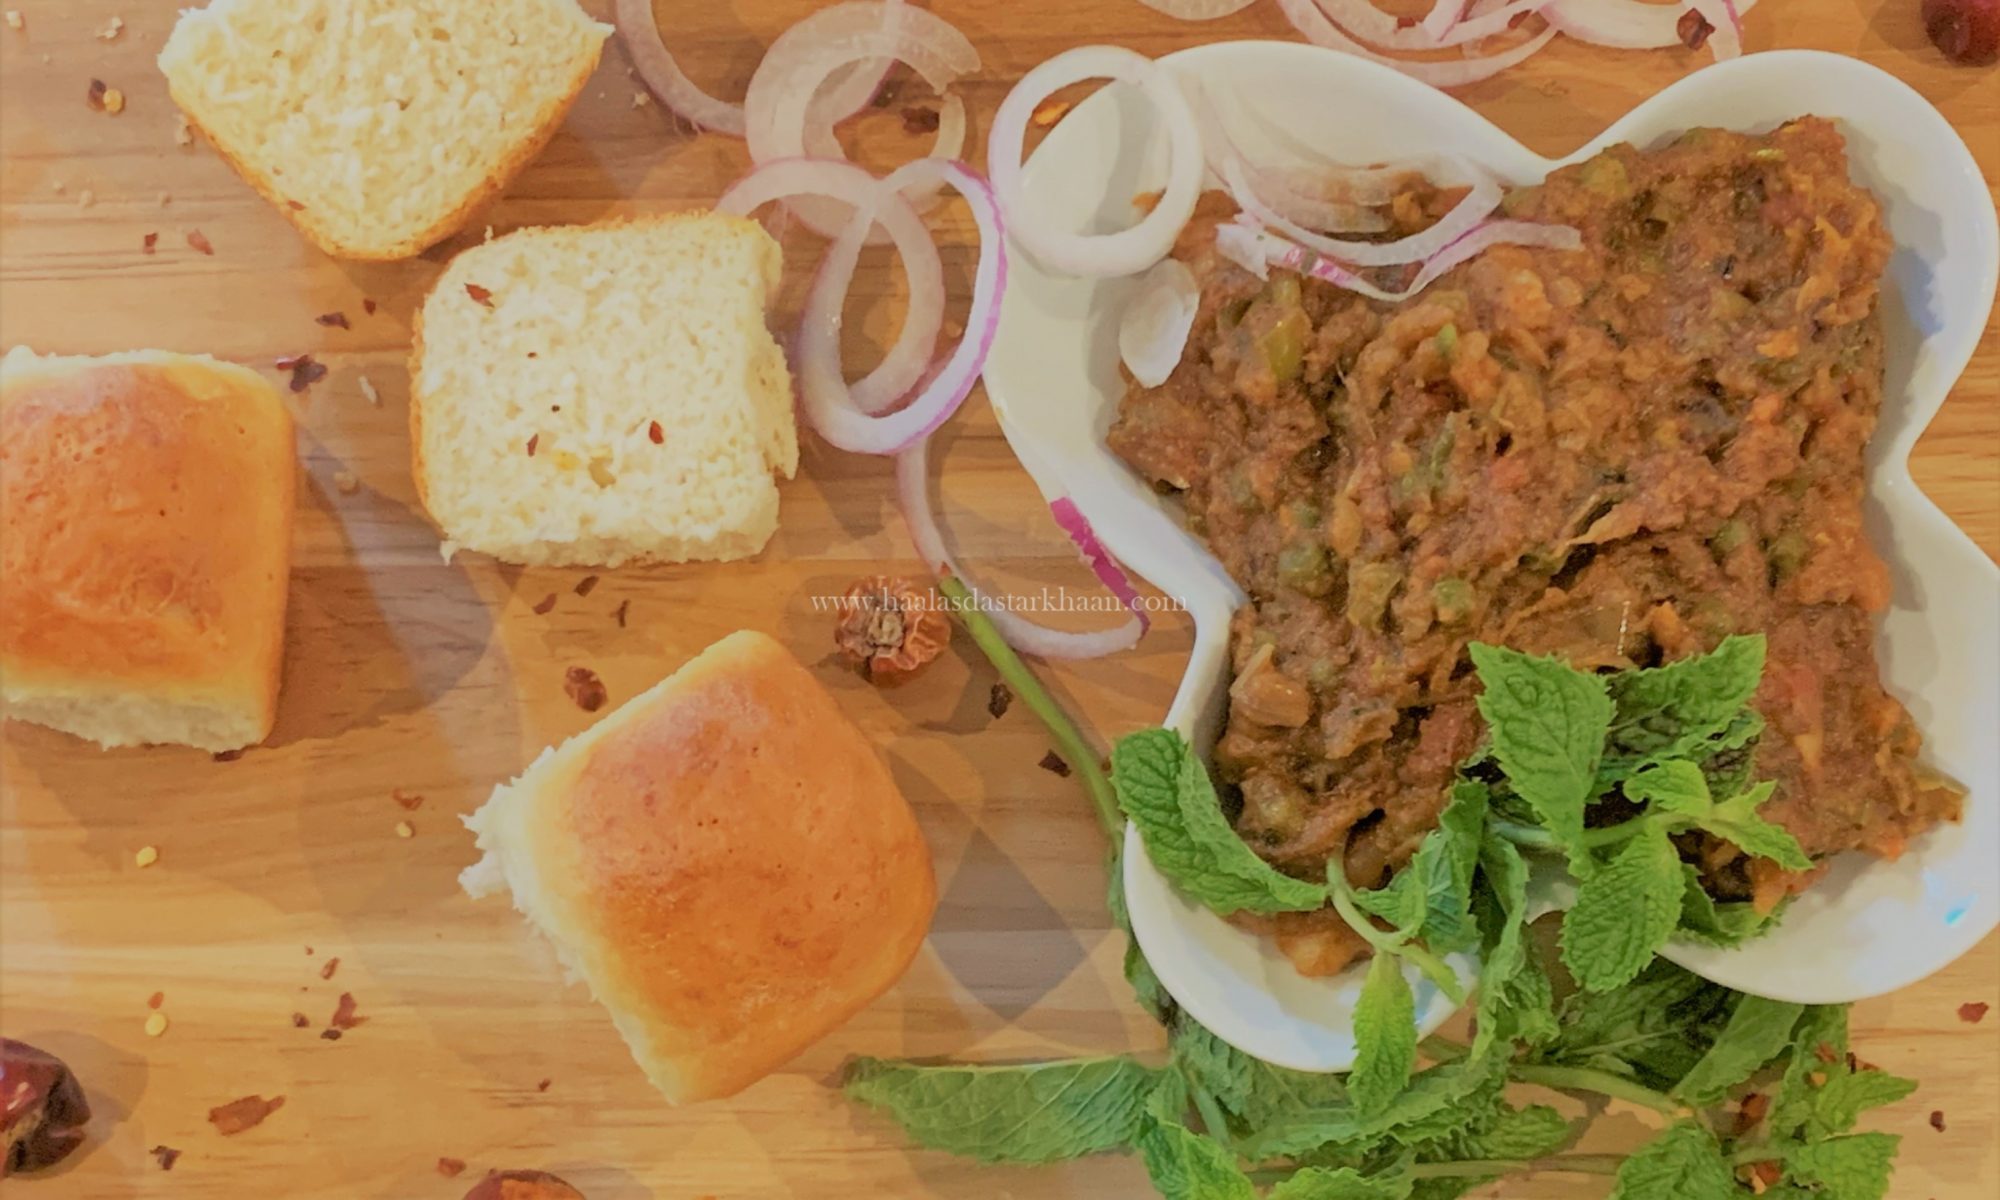
I’ve made Pav Bhaji countless times over the years, and it never loses its charm. My mother liked to add a variety of vegetables — cauliflower, carrots, peas — making it wholesome and hearty. I, however, prefer a simpler version with just potatoes and bell peppers. Somehow, that minimal approach brings me closer to the bold, buttery street-style flavor that first captured my heart.
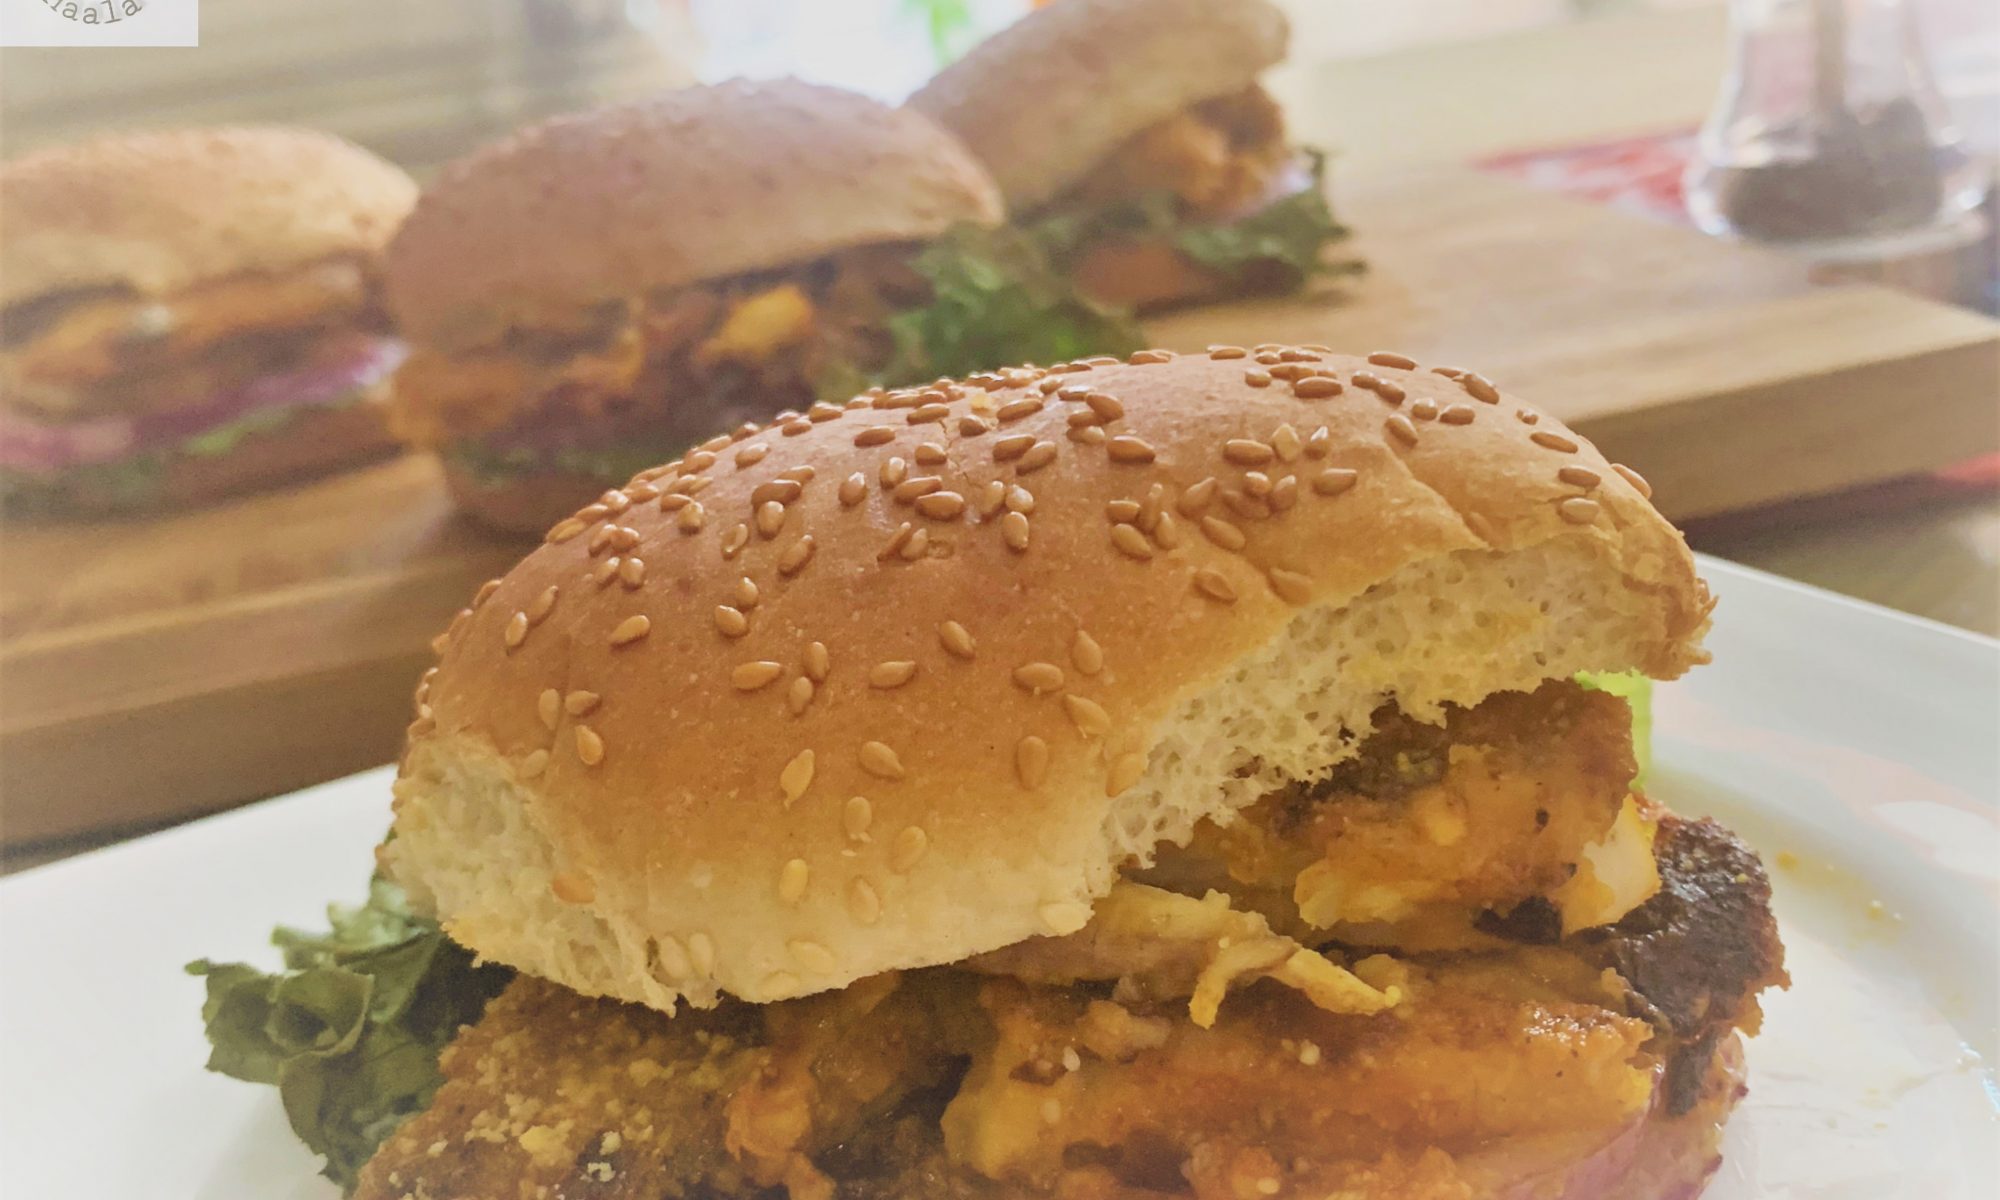
The pav in this recipe are homemade too, and they’re surprisingly easy to make. If you follow the steps carefully, you’ll be rewarded with soft, pillowy buns that rival any bakery version. Of course, these buns are wonderful with many dishes, but paired with bhaji, they become something truly special.
For the best experience, slice the buns in half, spread a generous layer of butter, sprinkle a little Pav Bhaji masala, and toast them on a hot tava or pan until golden and fragrant. That simple step transforms them completely — crisp on the outside, soft on the inside, and infused with buttery spice.
Some foods nourish the body. Others nourish the heart. For me, Pav Bhaji does both.
Click and make your own Paav at home